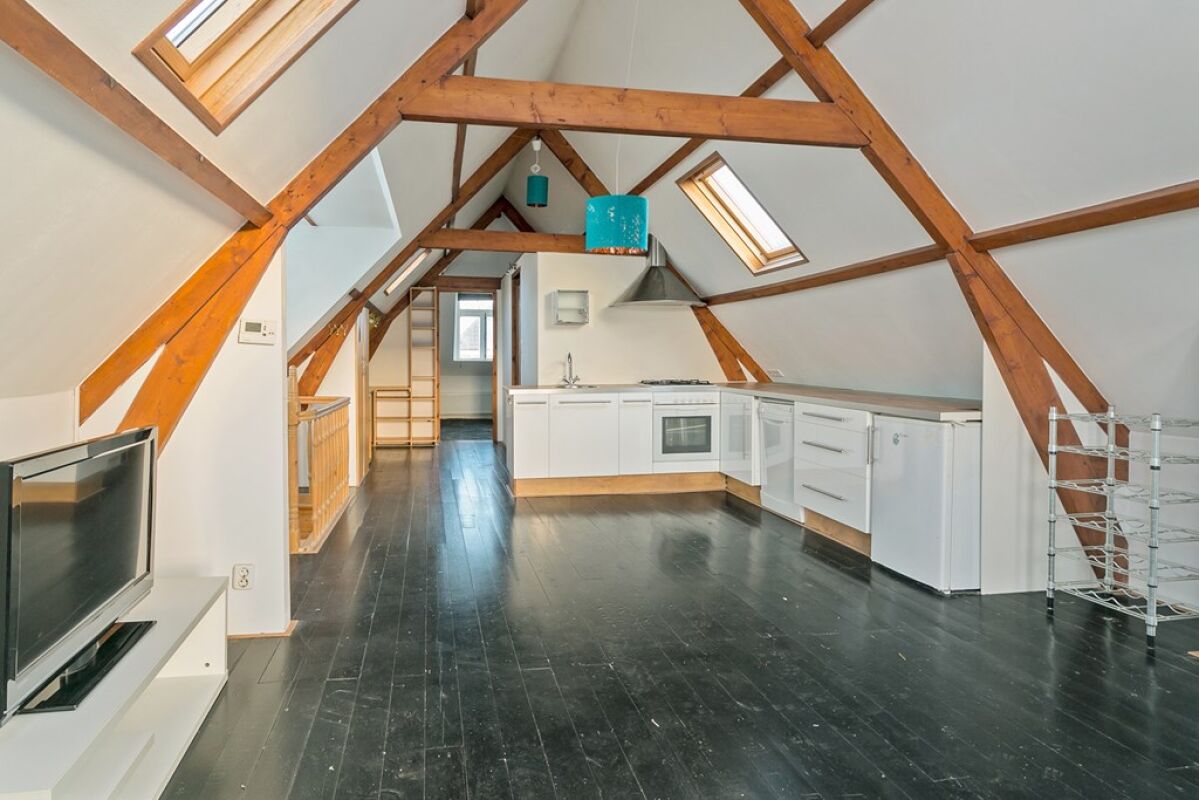
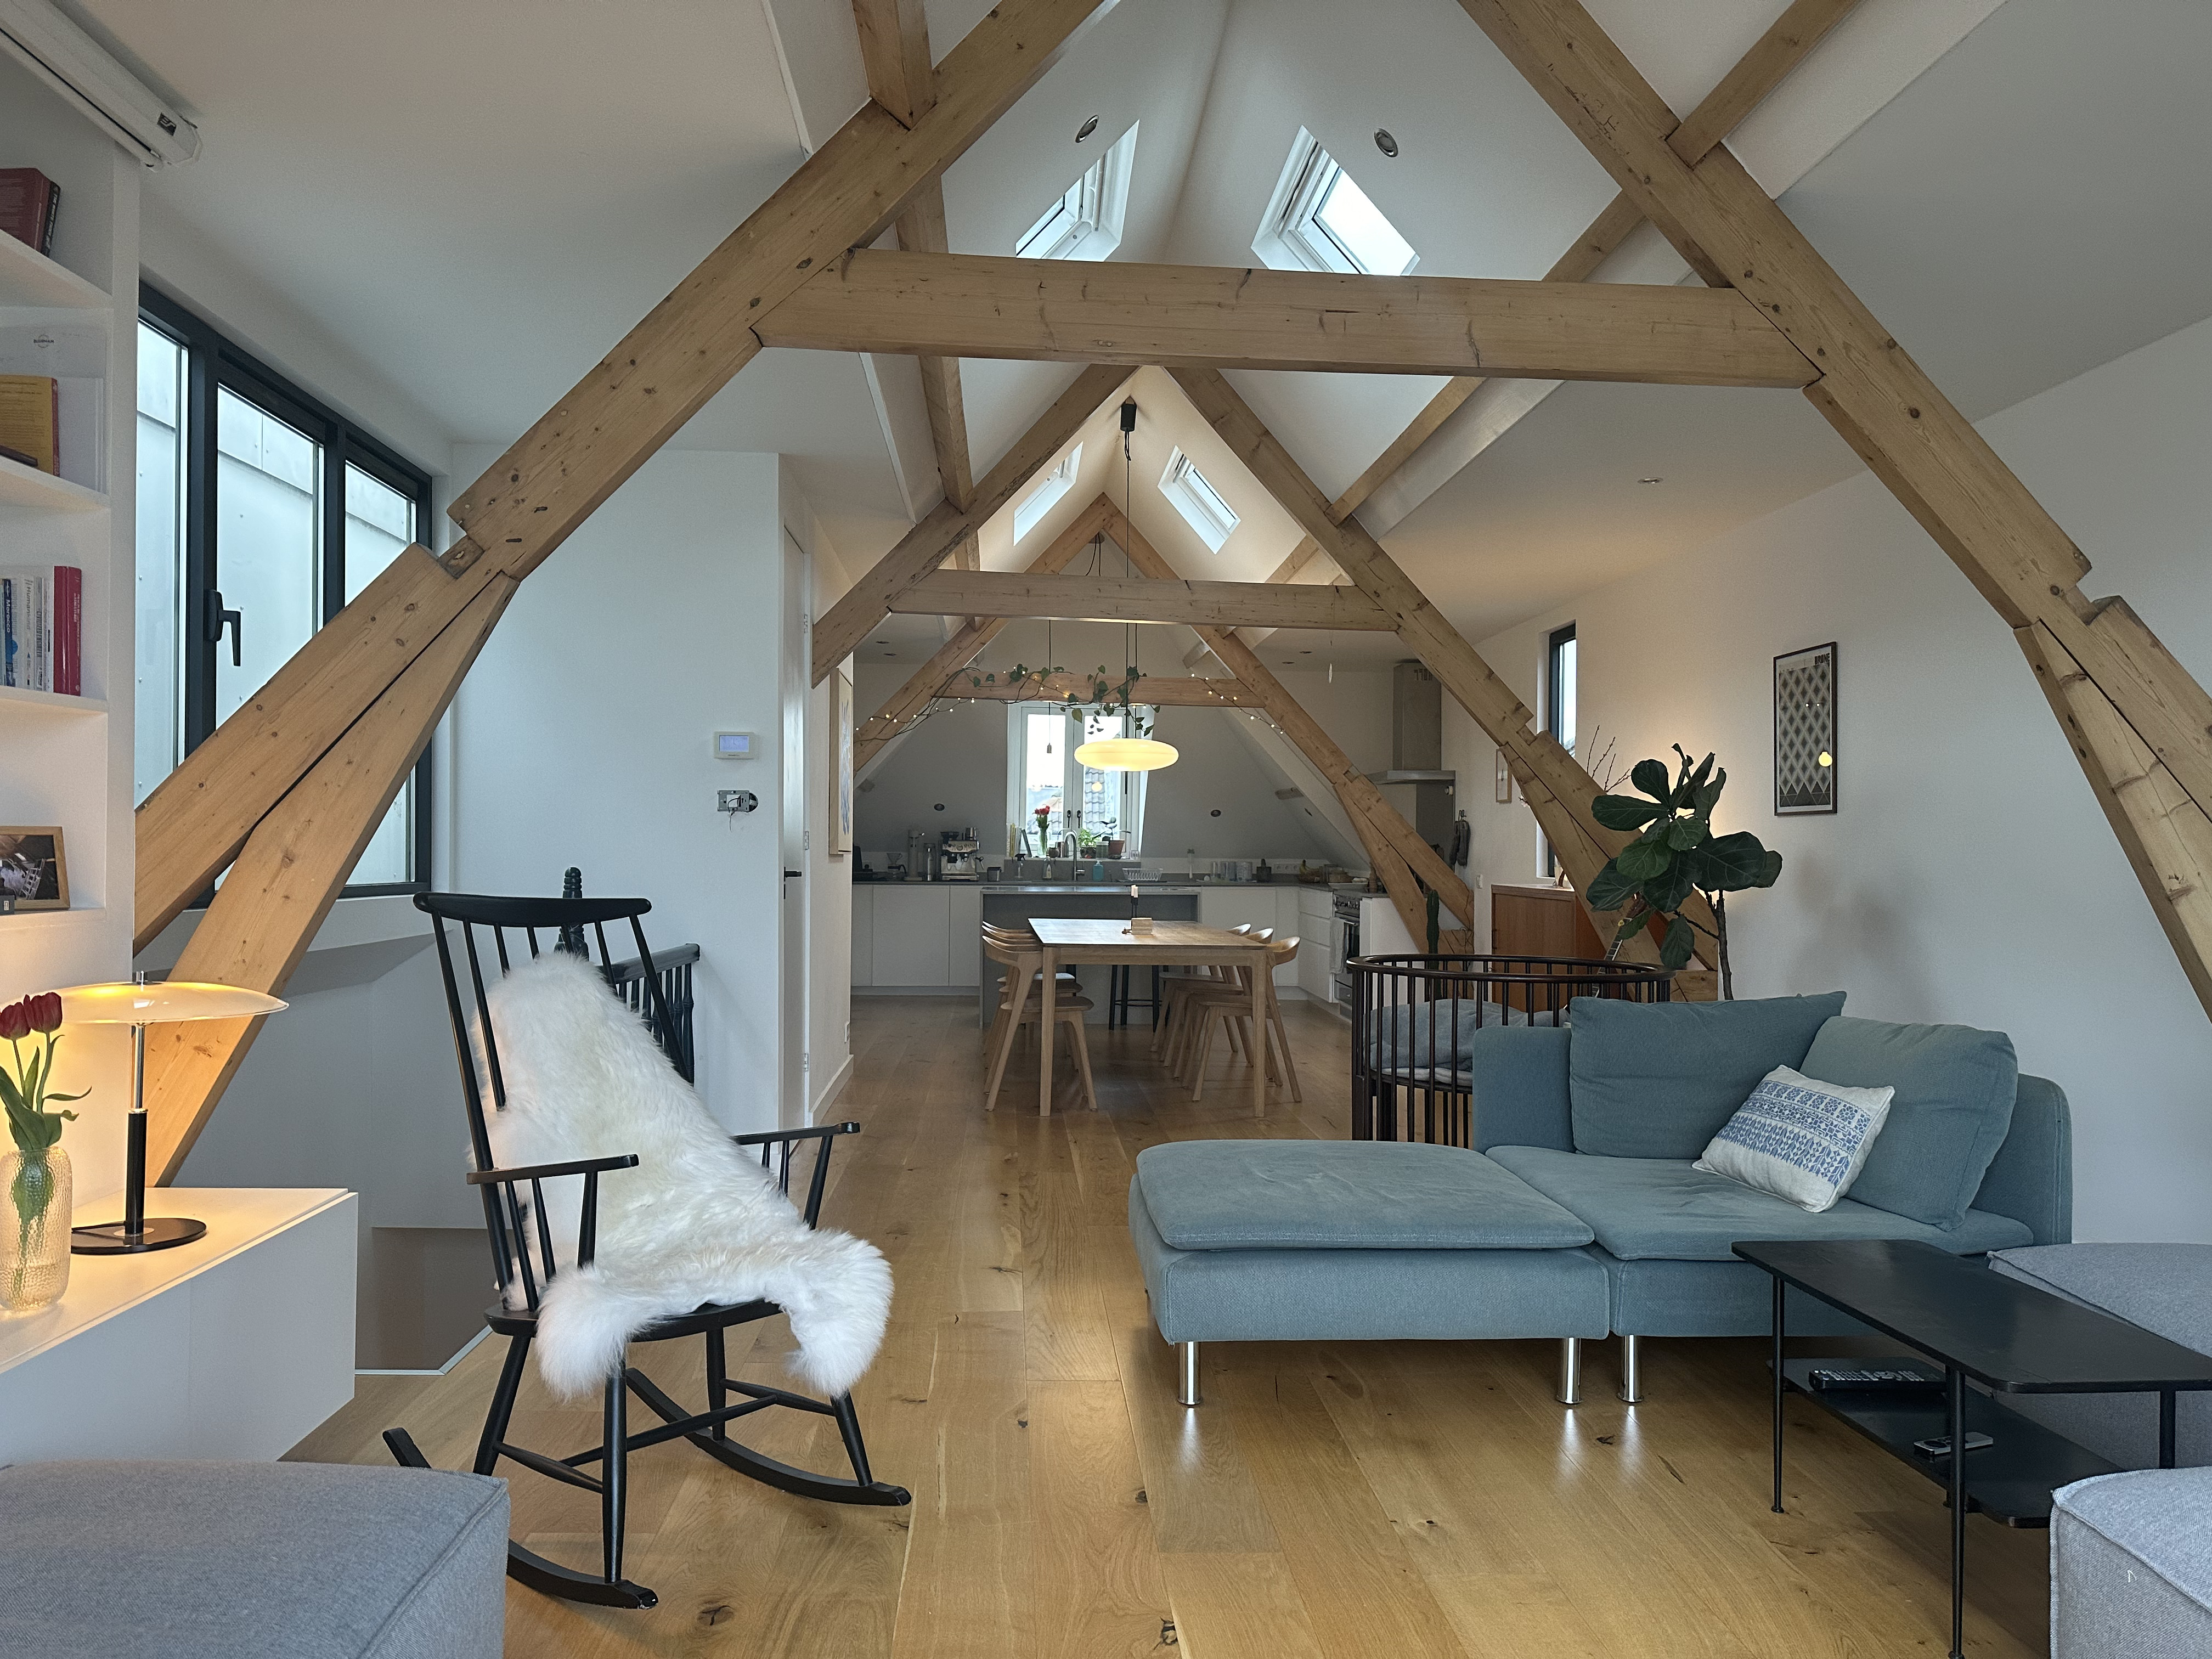
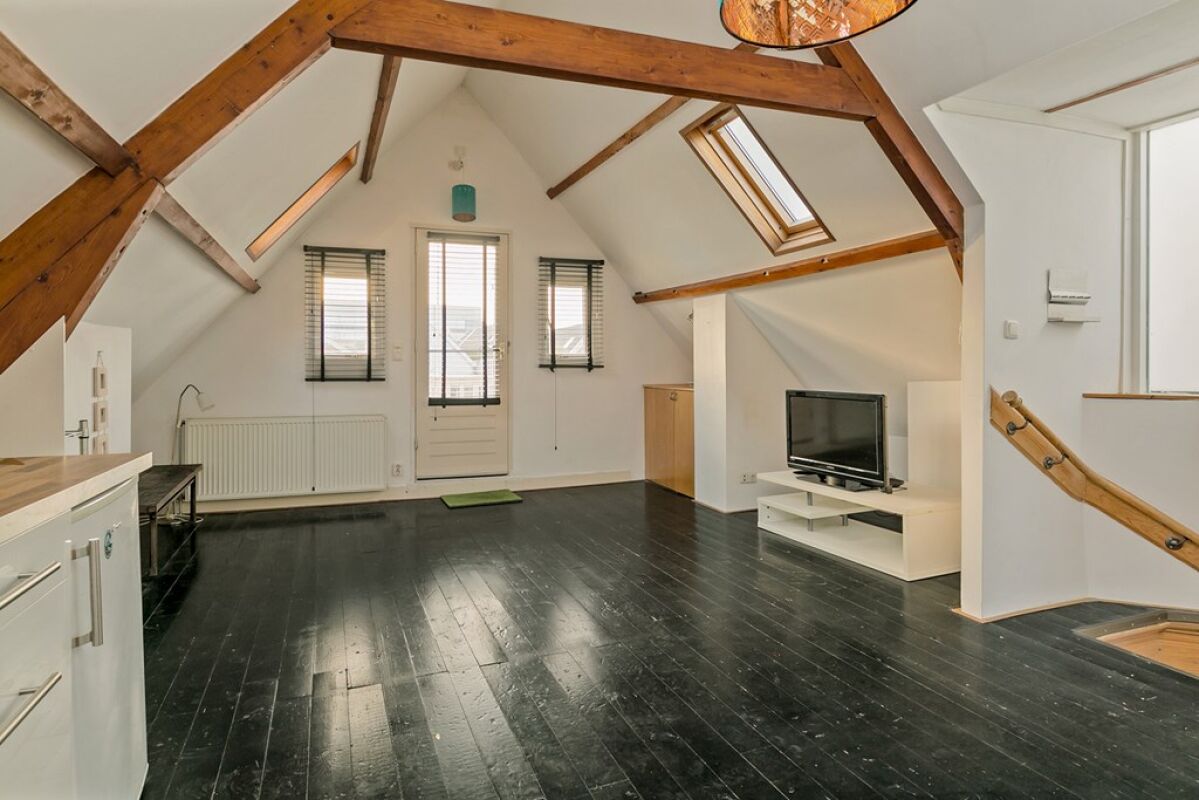
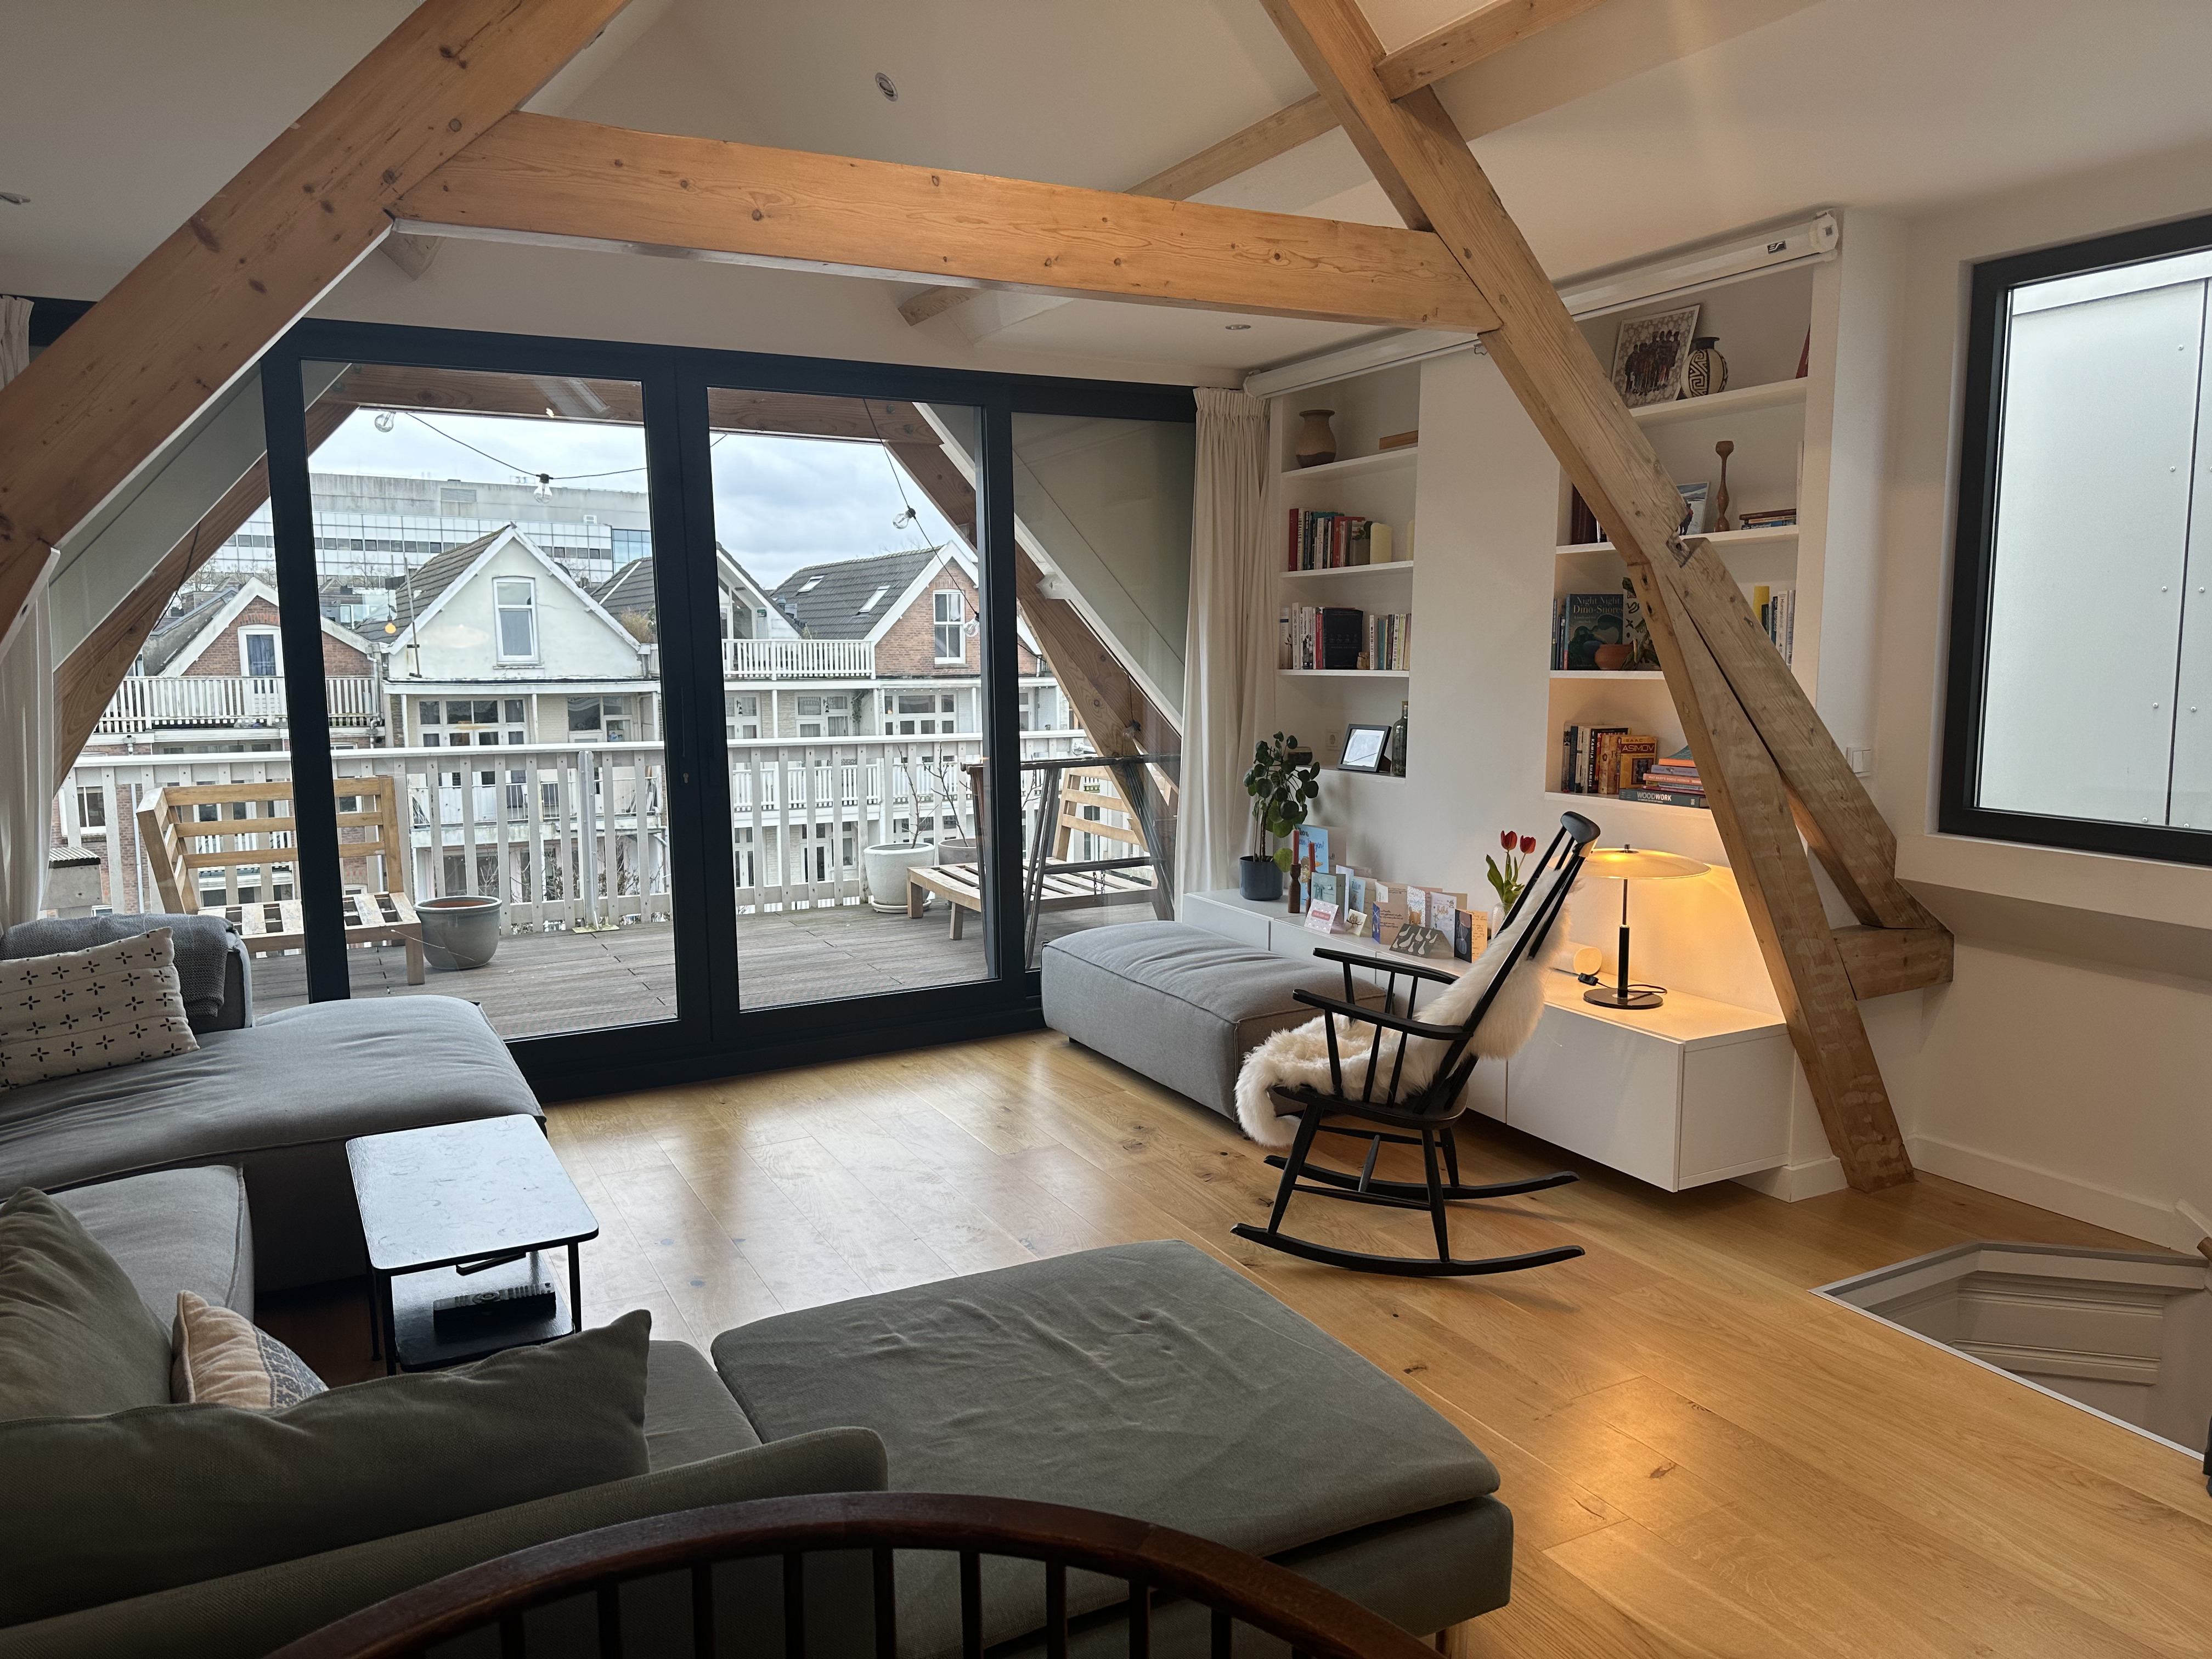
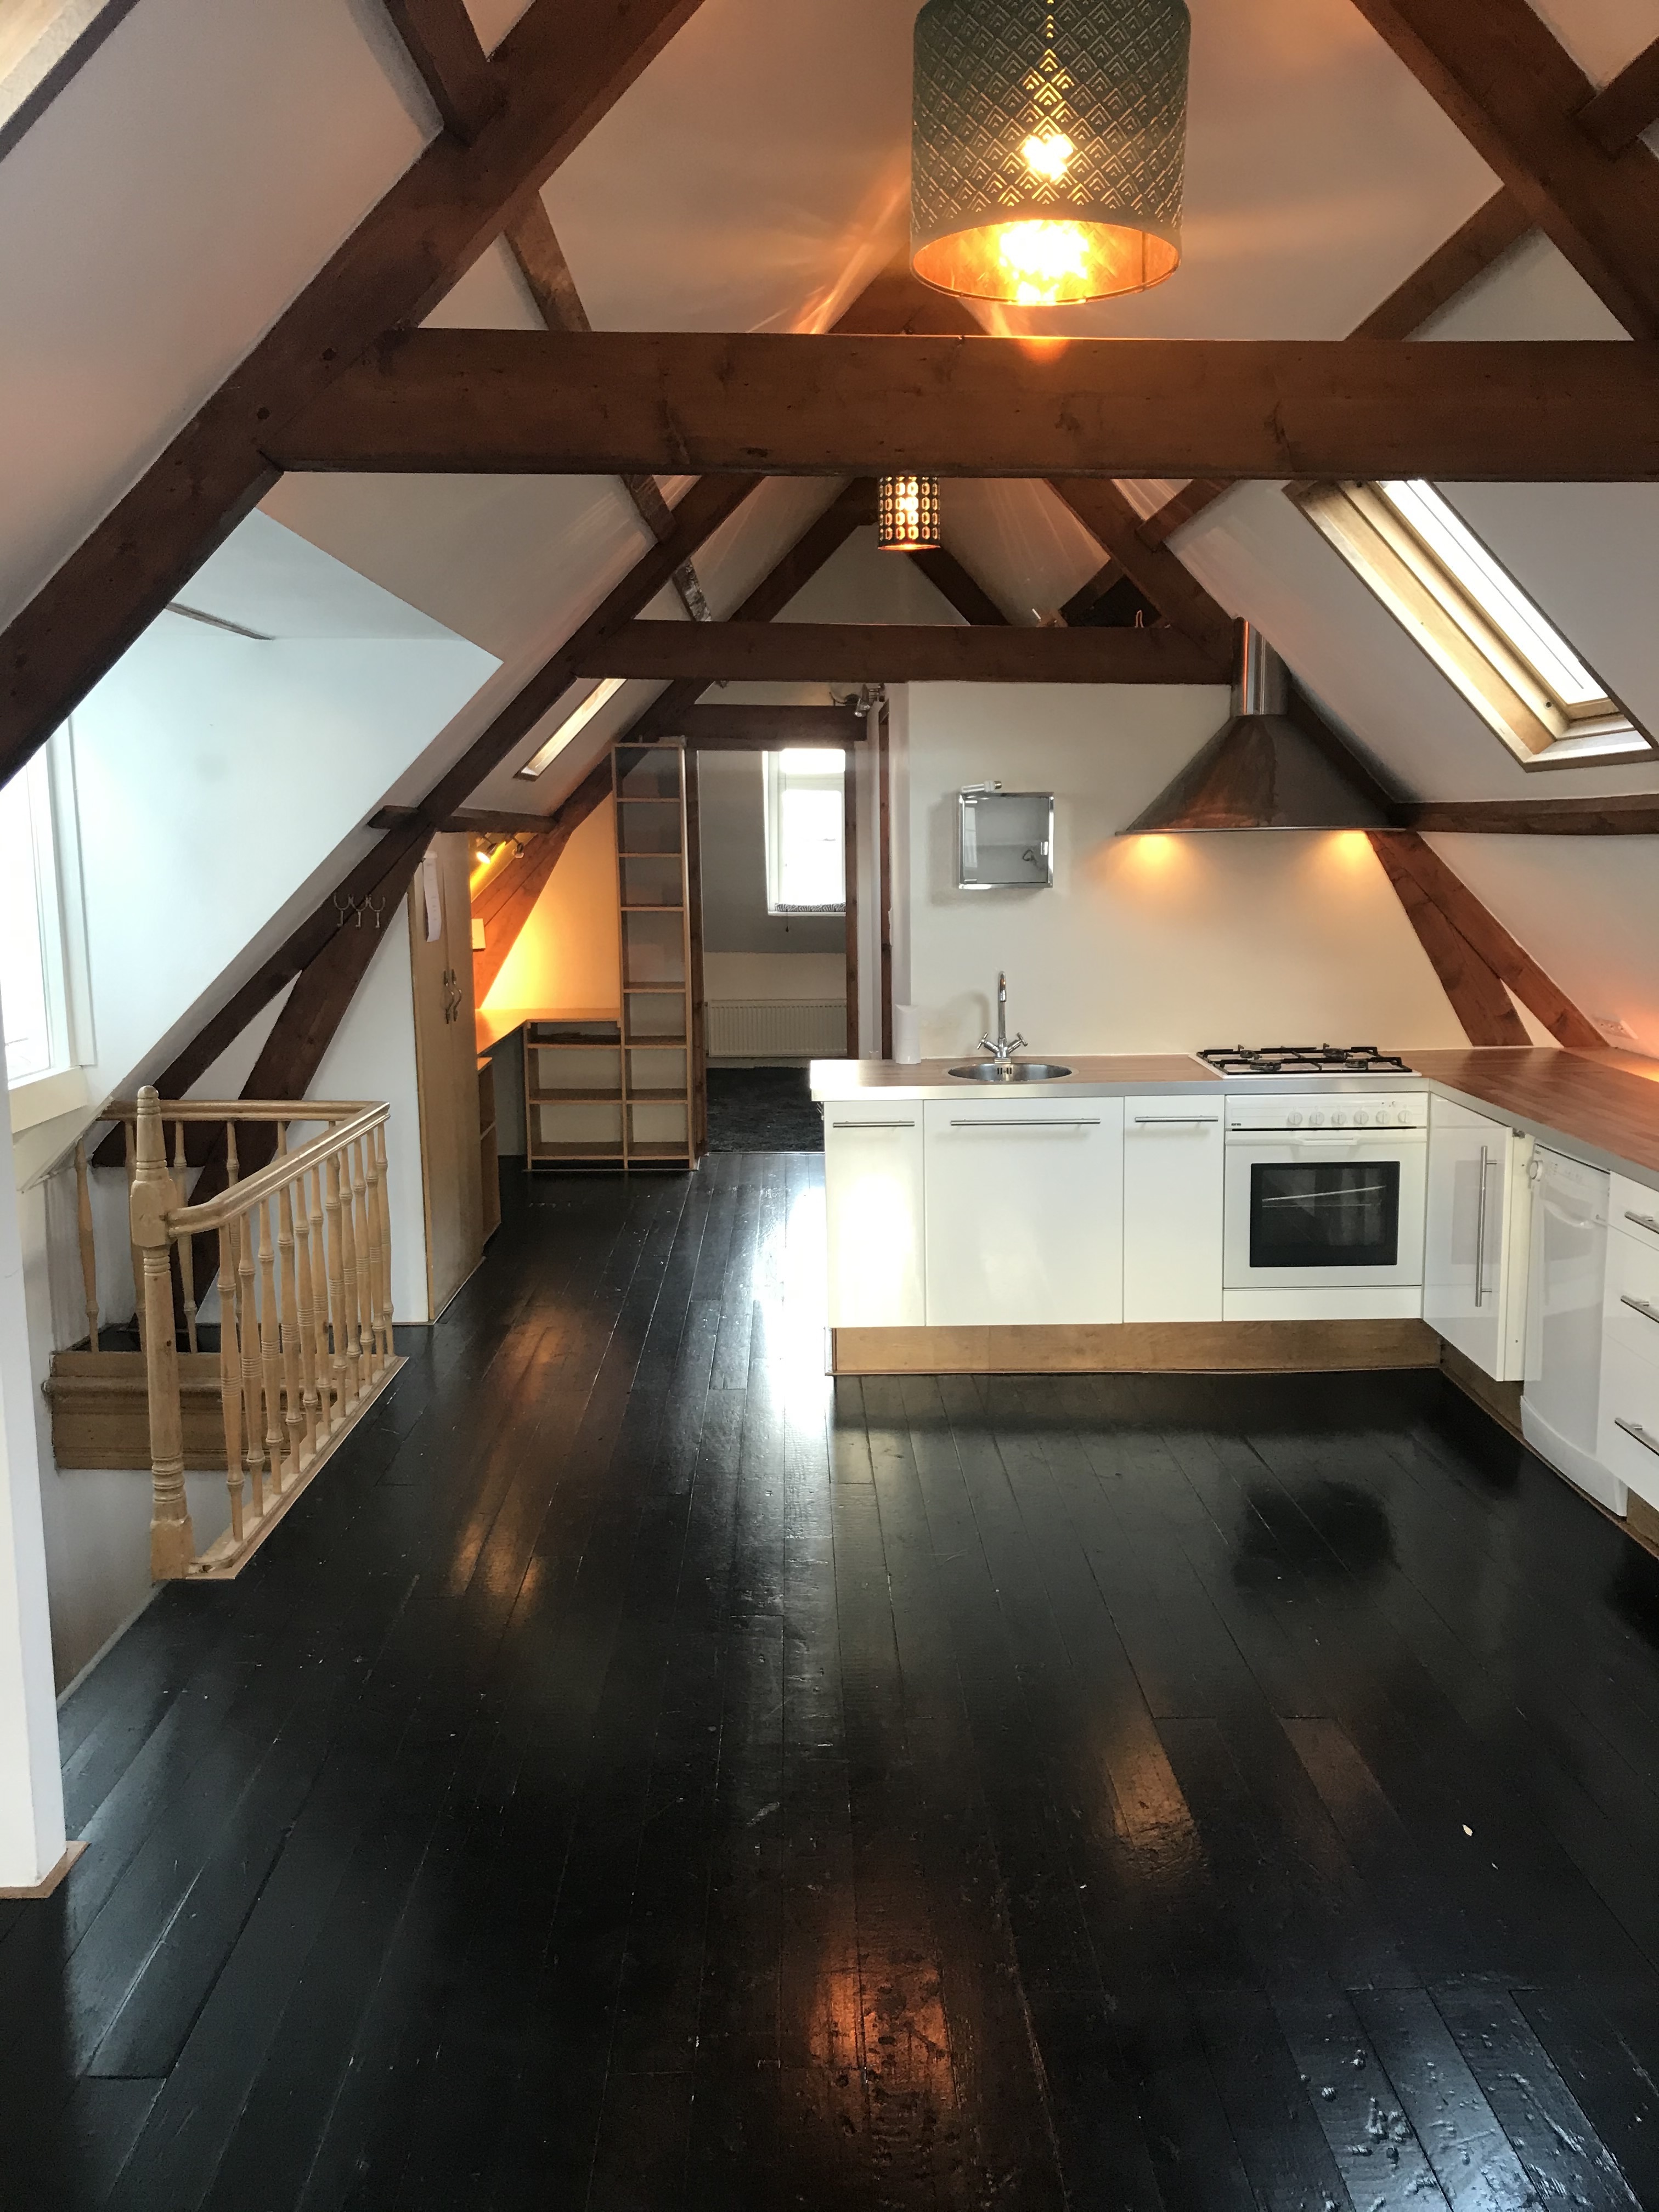
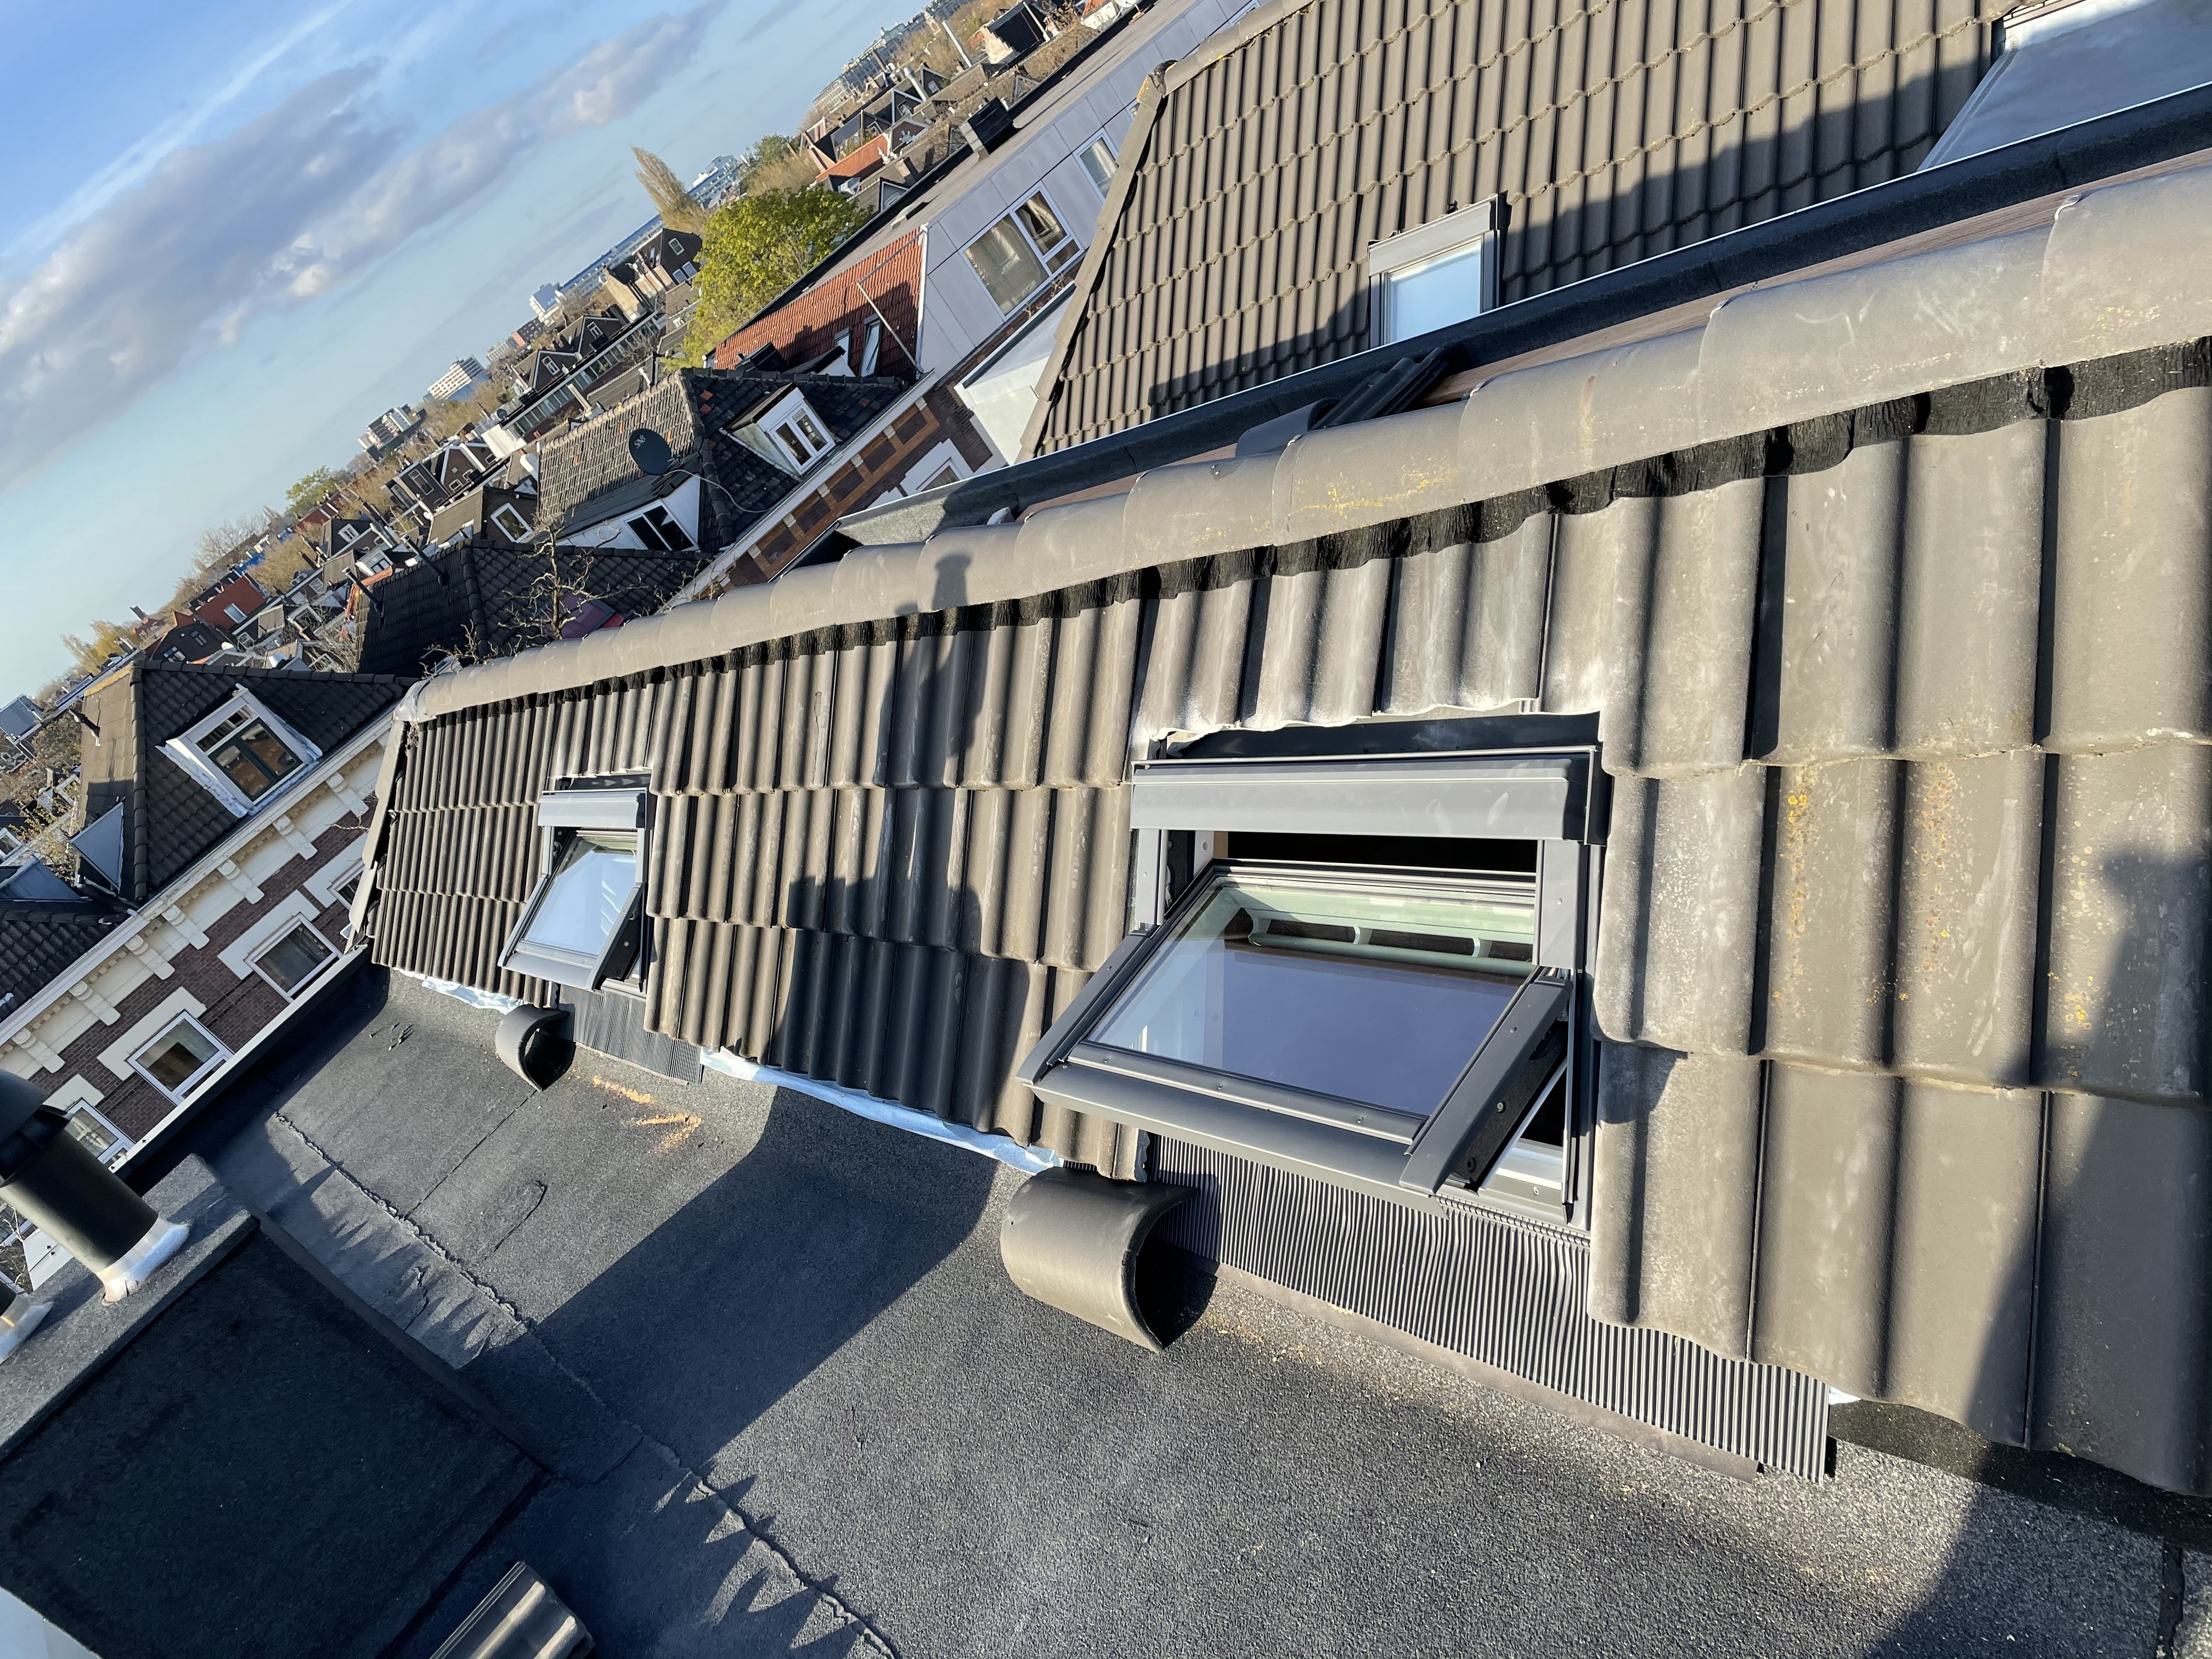
During COVID-19 (2020 and 2021), my partner and I renovated the top floor of a Rotterdam house built in 1906. We added two 11.5-meter-long dormers to either side of the structure, transforming an A-frame attic apartment into a spacious loft.
We bought the top two floors of a four-story house at the beginning of COVID-19 and started the renovation in the summer of 2020. We lived in the lower floor for the entire duration of the renovation. The renovation took approximately 1.5 years to complete because we did most of the work ourselves while working full-time jobs. A significant challenge of this project was that the house had settled unevenly. The front (north side) of the house was 14 cm lower than the back, and the east side was 7 cm lower than the west.
Pre-Construction: Planning and Permits, 6 months
#
Obtained approval from the association of homeowners.
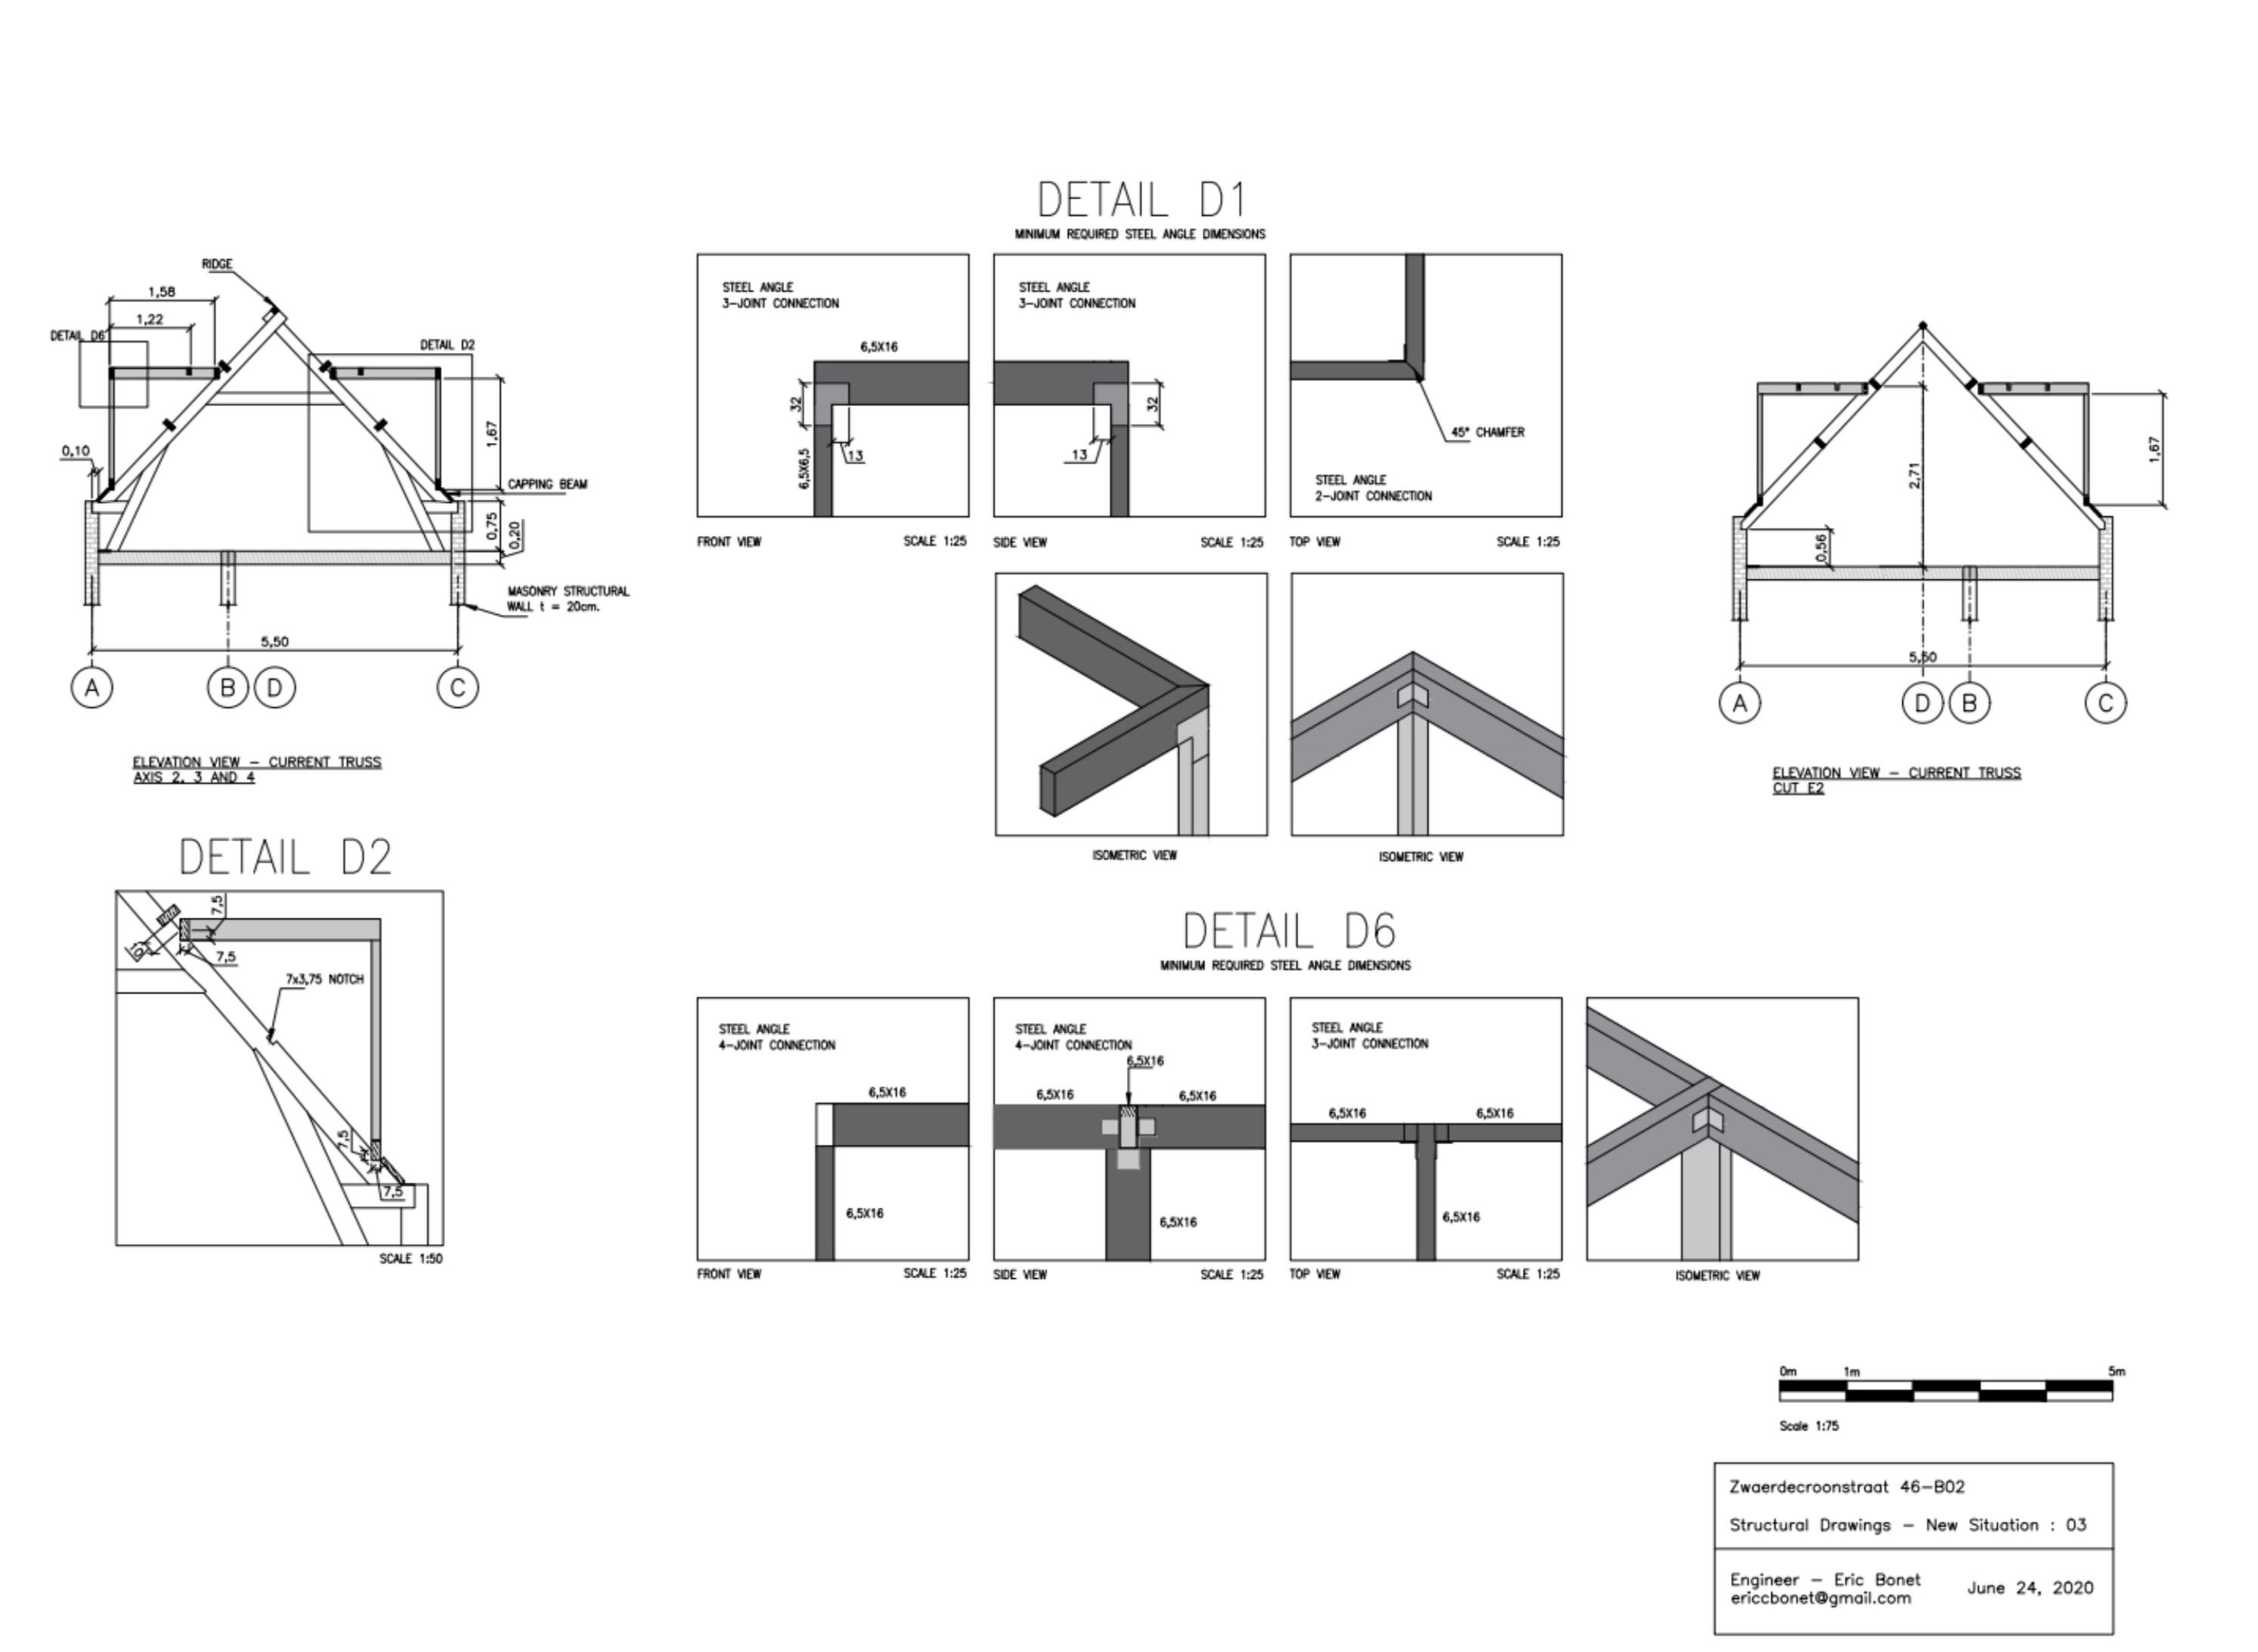
Secured building permits from the municipality of Rotterdam. This required architectural drawings and structural calculations. Fortunately, my master’s degree in structural engineering allowed me to complete these myself.
Stripped interior spaces: Removed interior walls, floors, kitchen, and bathroom.
Removed three old chimneys, two of which were no longer in use. The third one had a gas and toilet exhaust, which were rerouted until the dormers were installed.
Confident that the permit would be approved, we began interior demolition before receiving official approval.
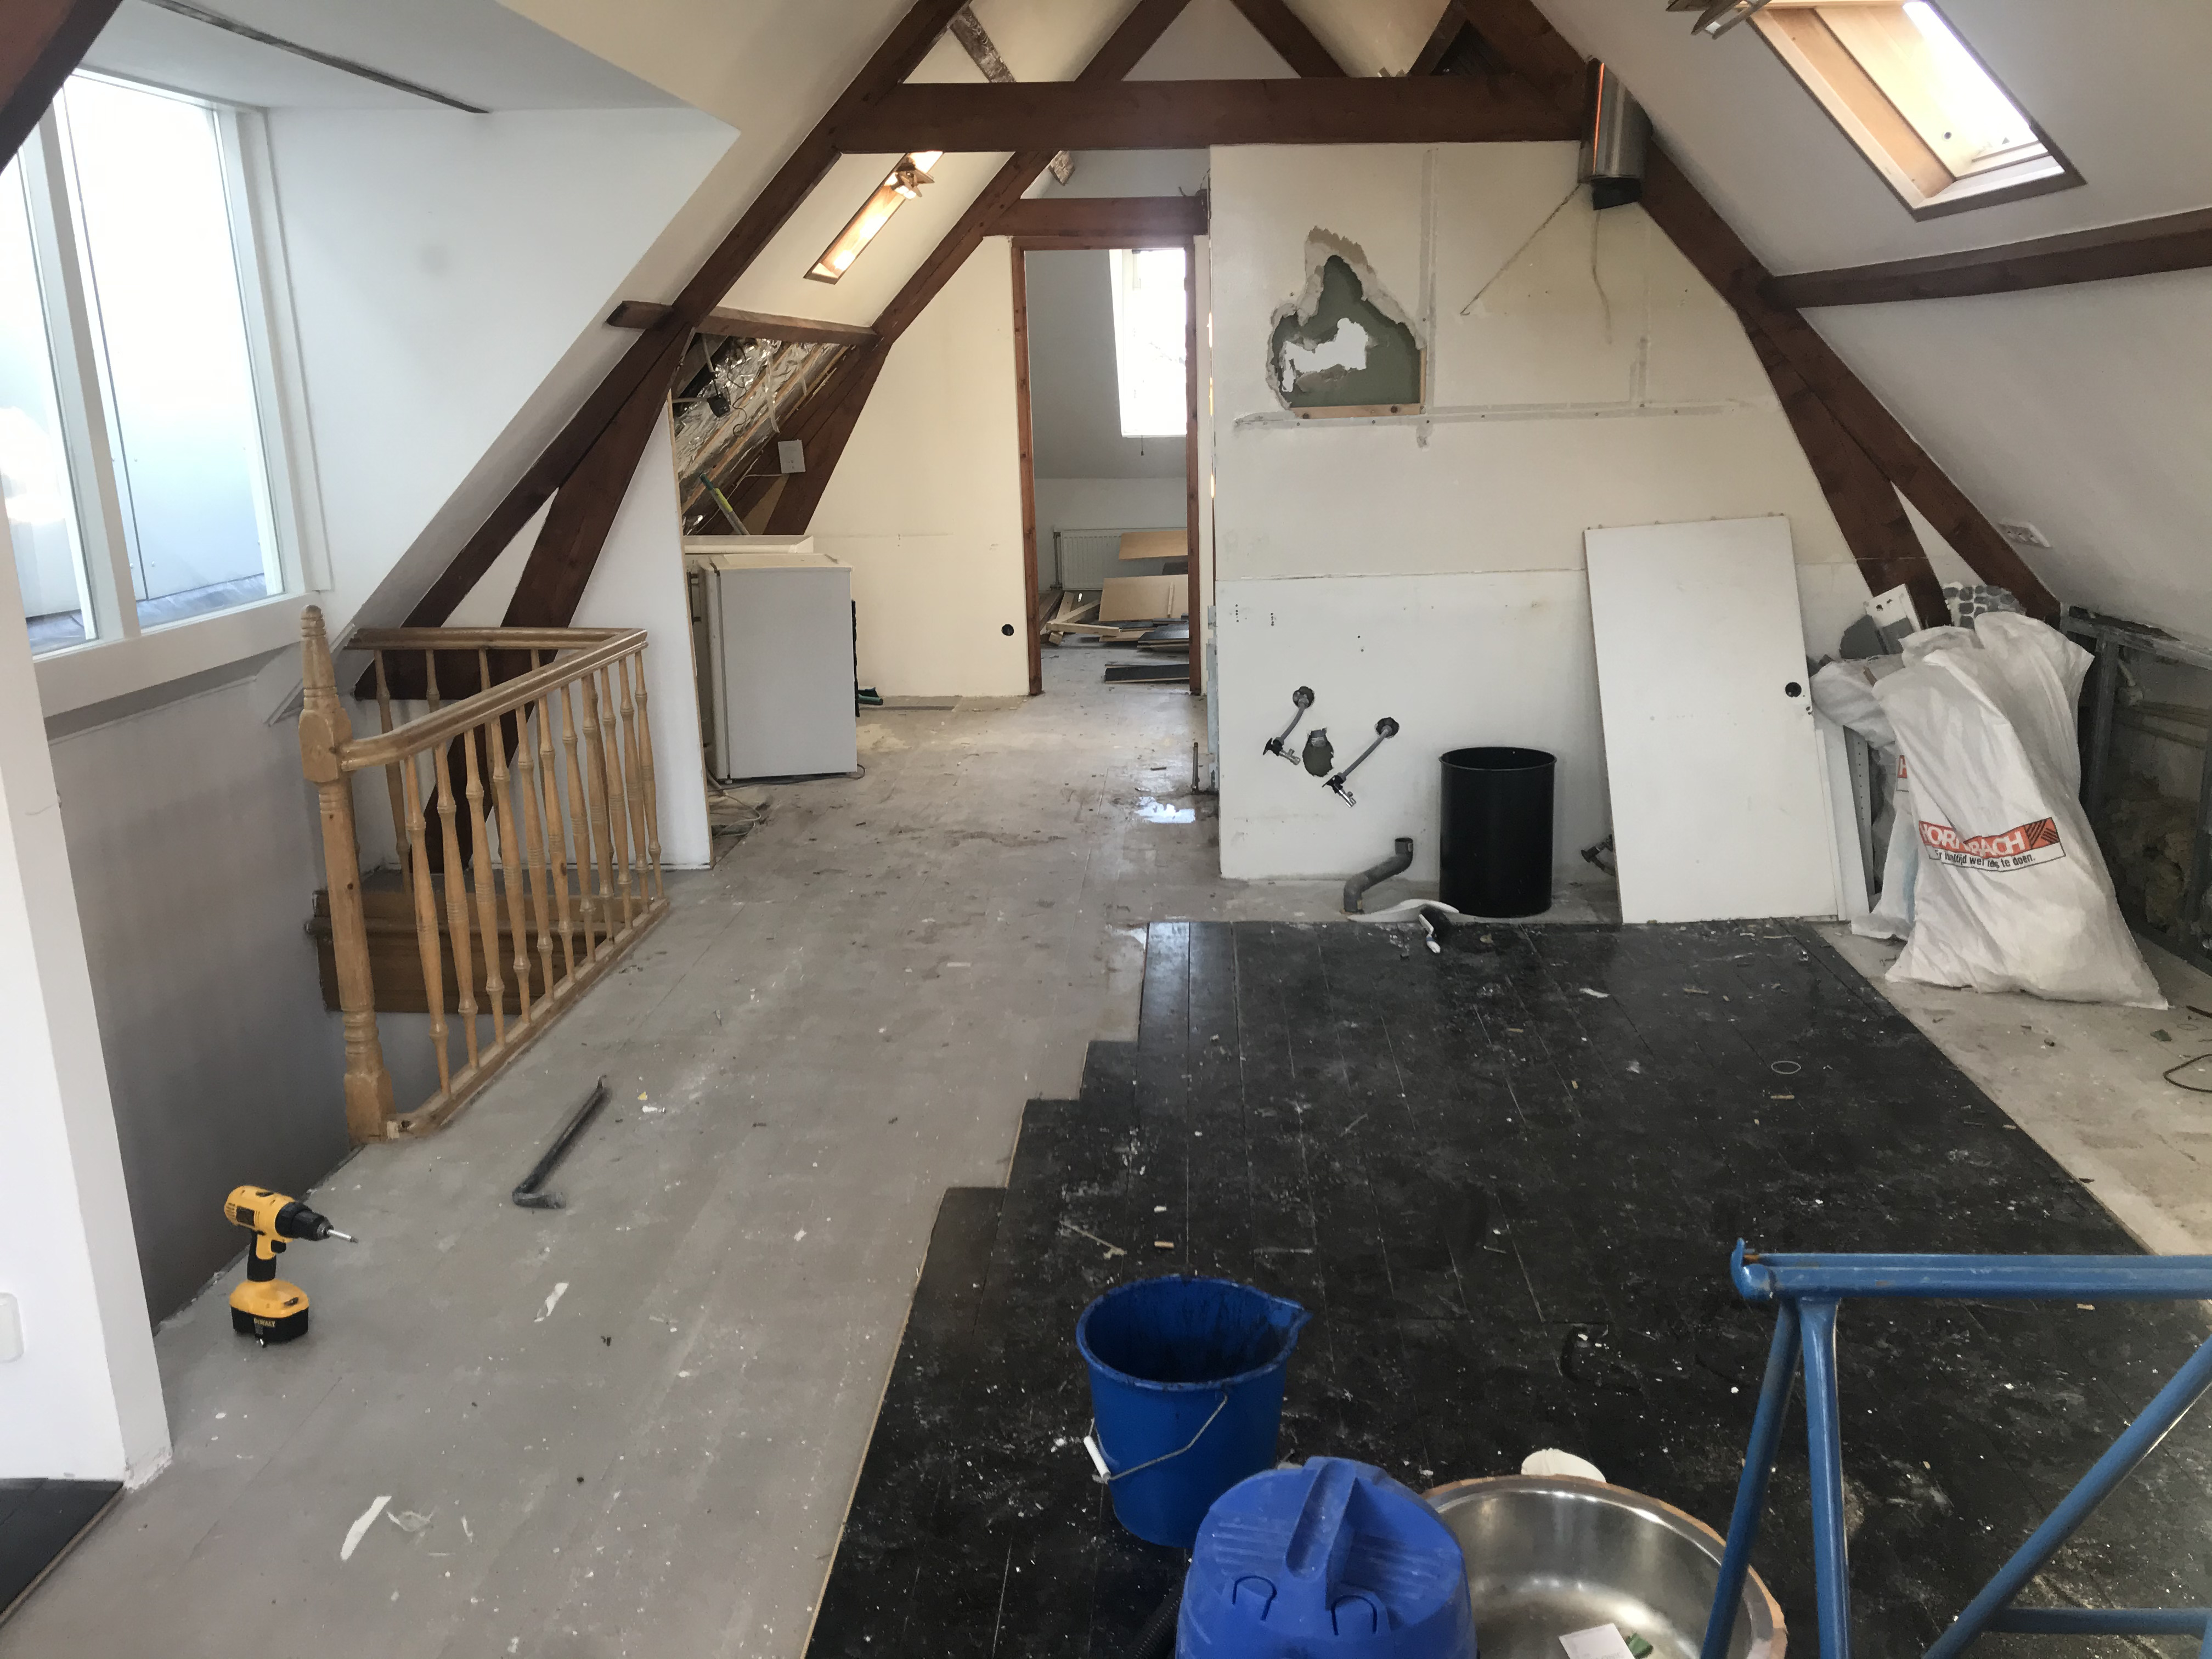
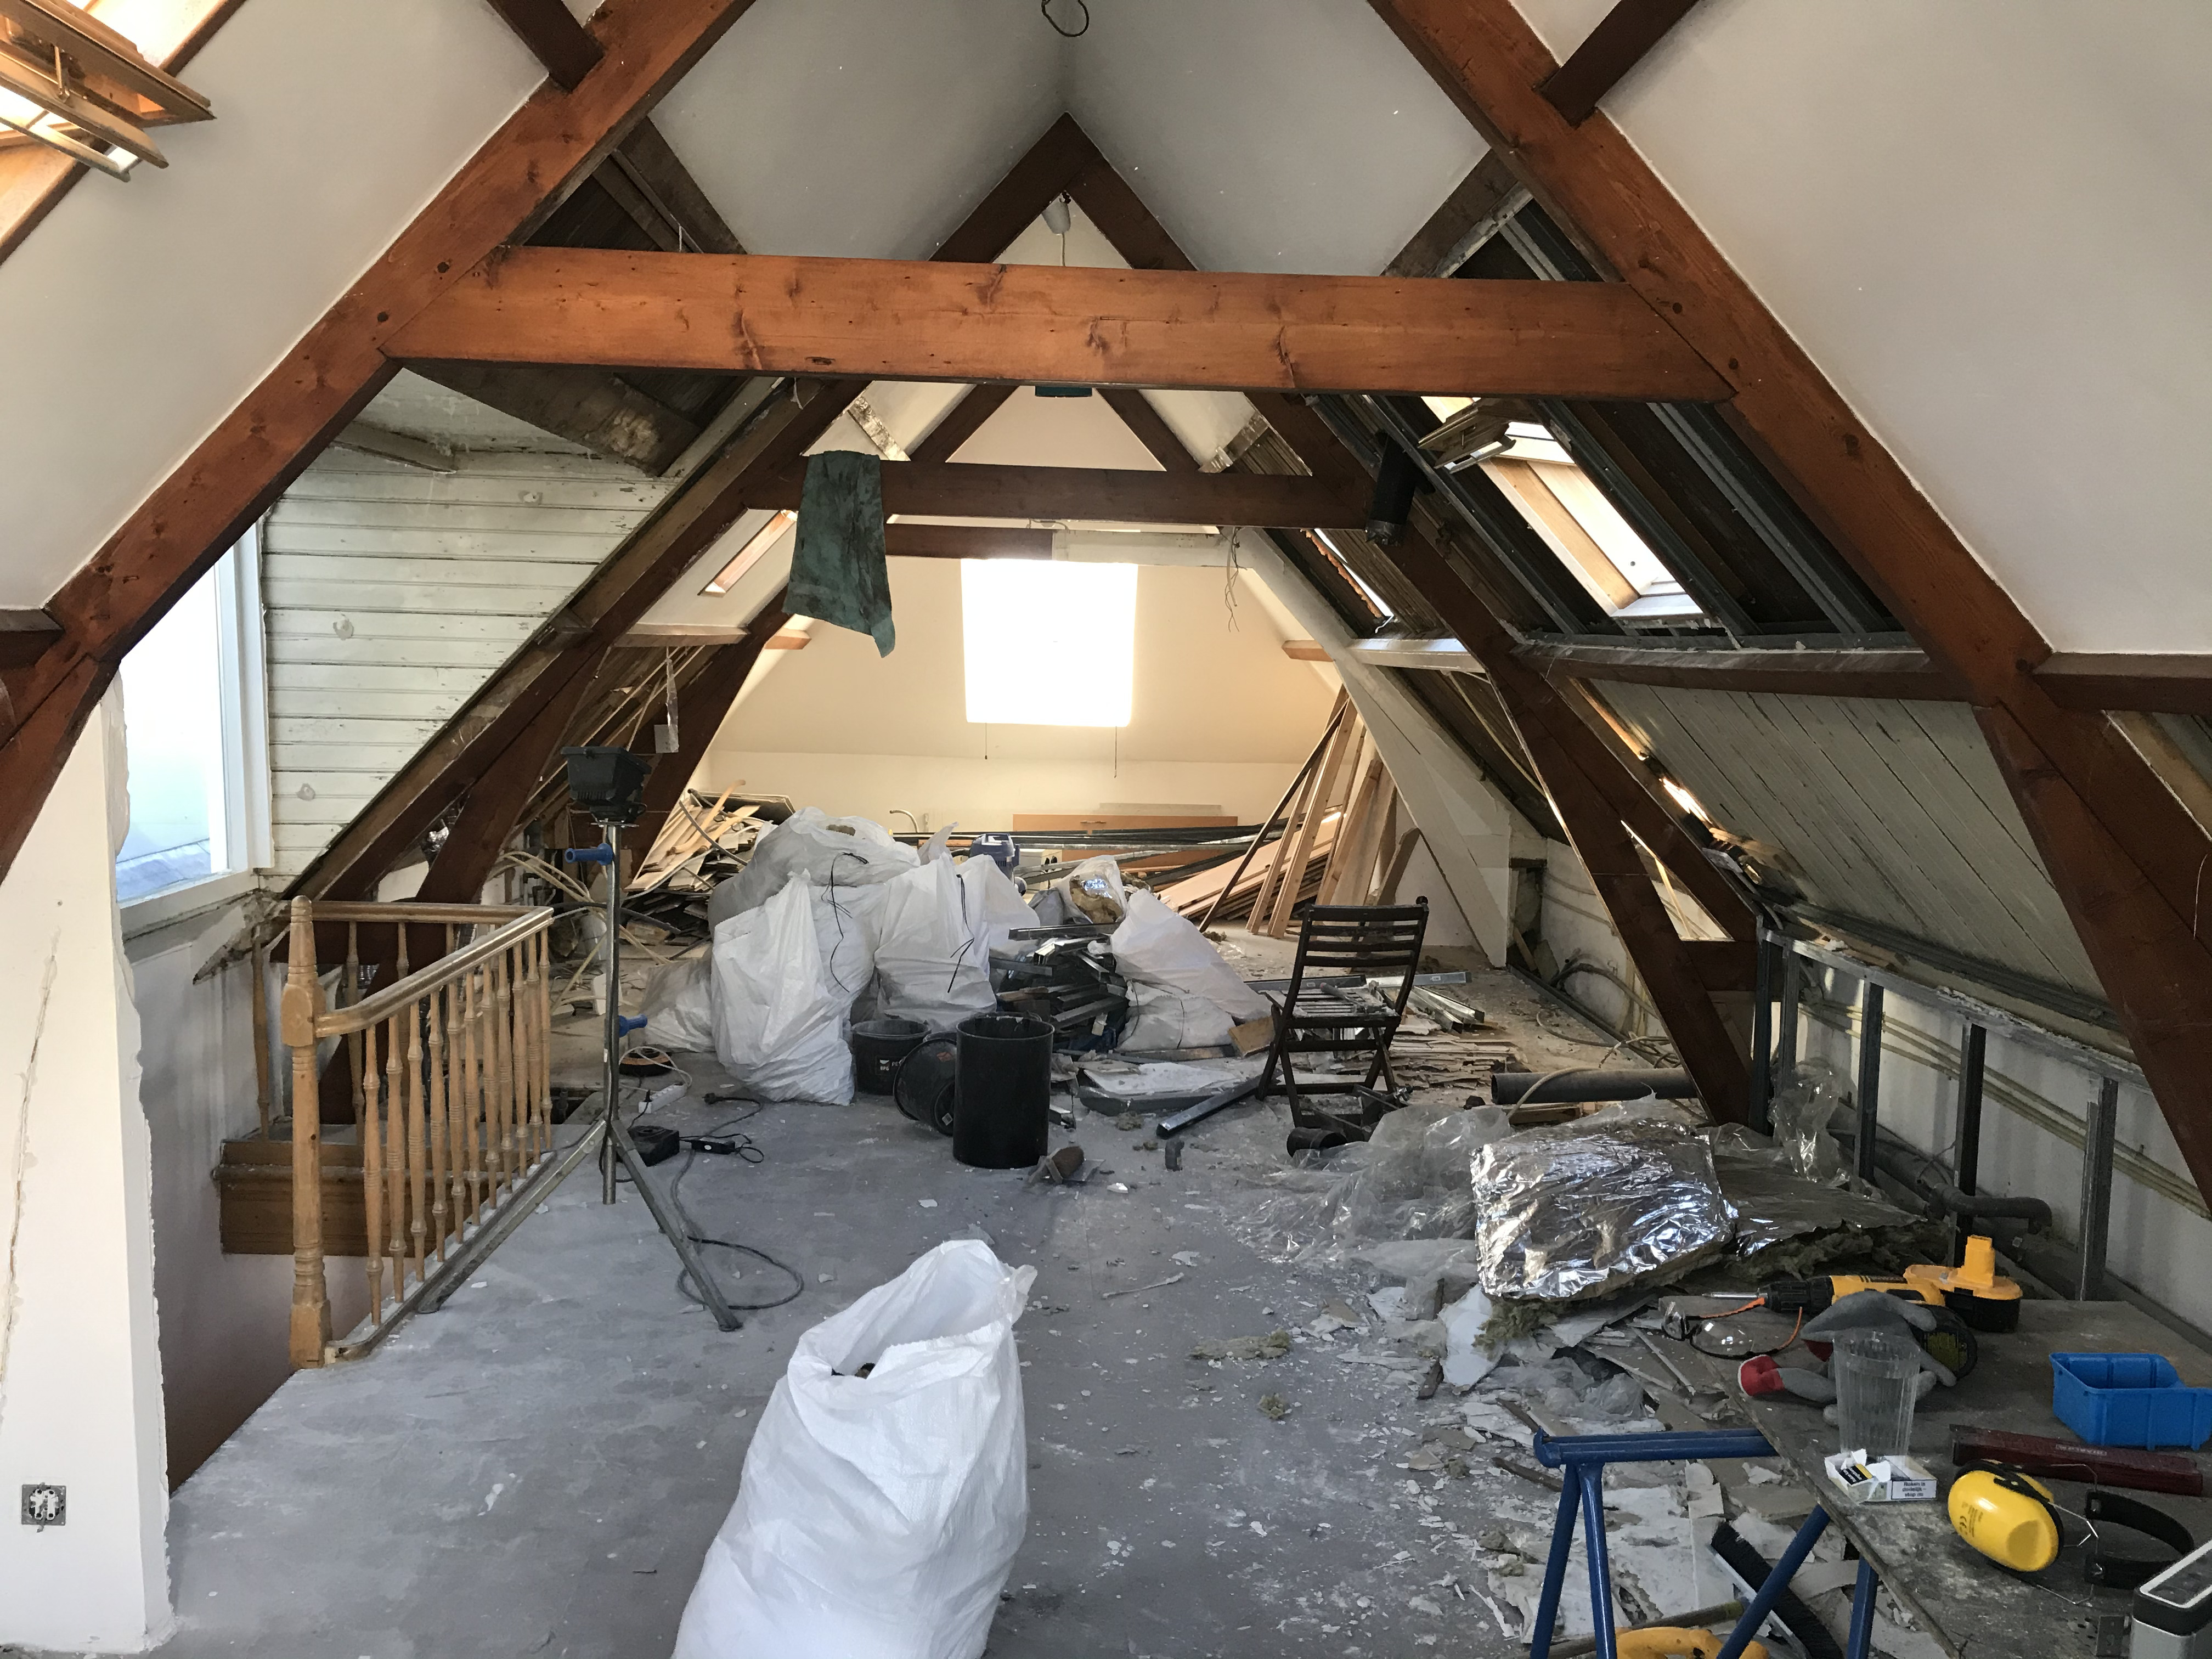
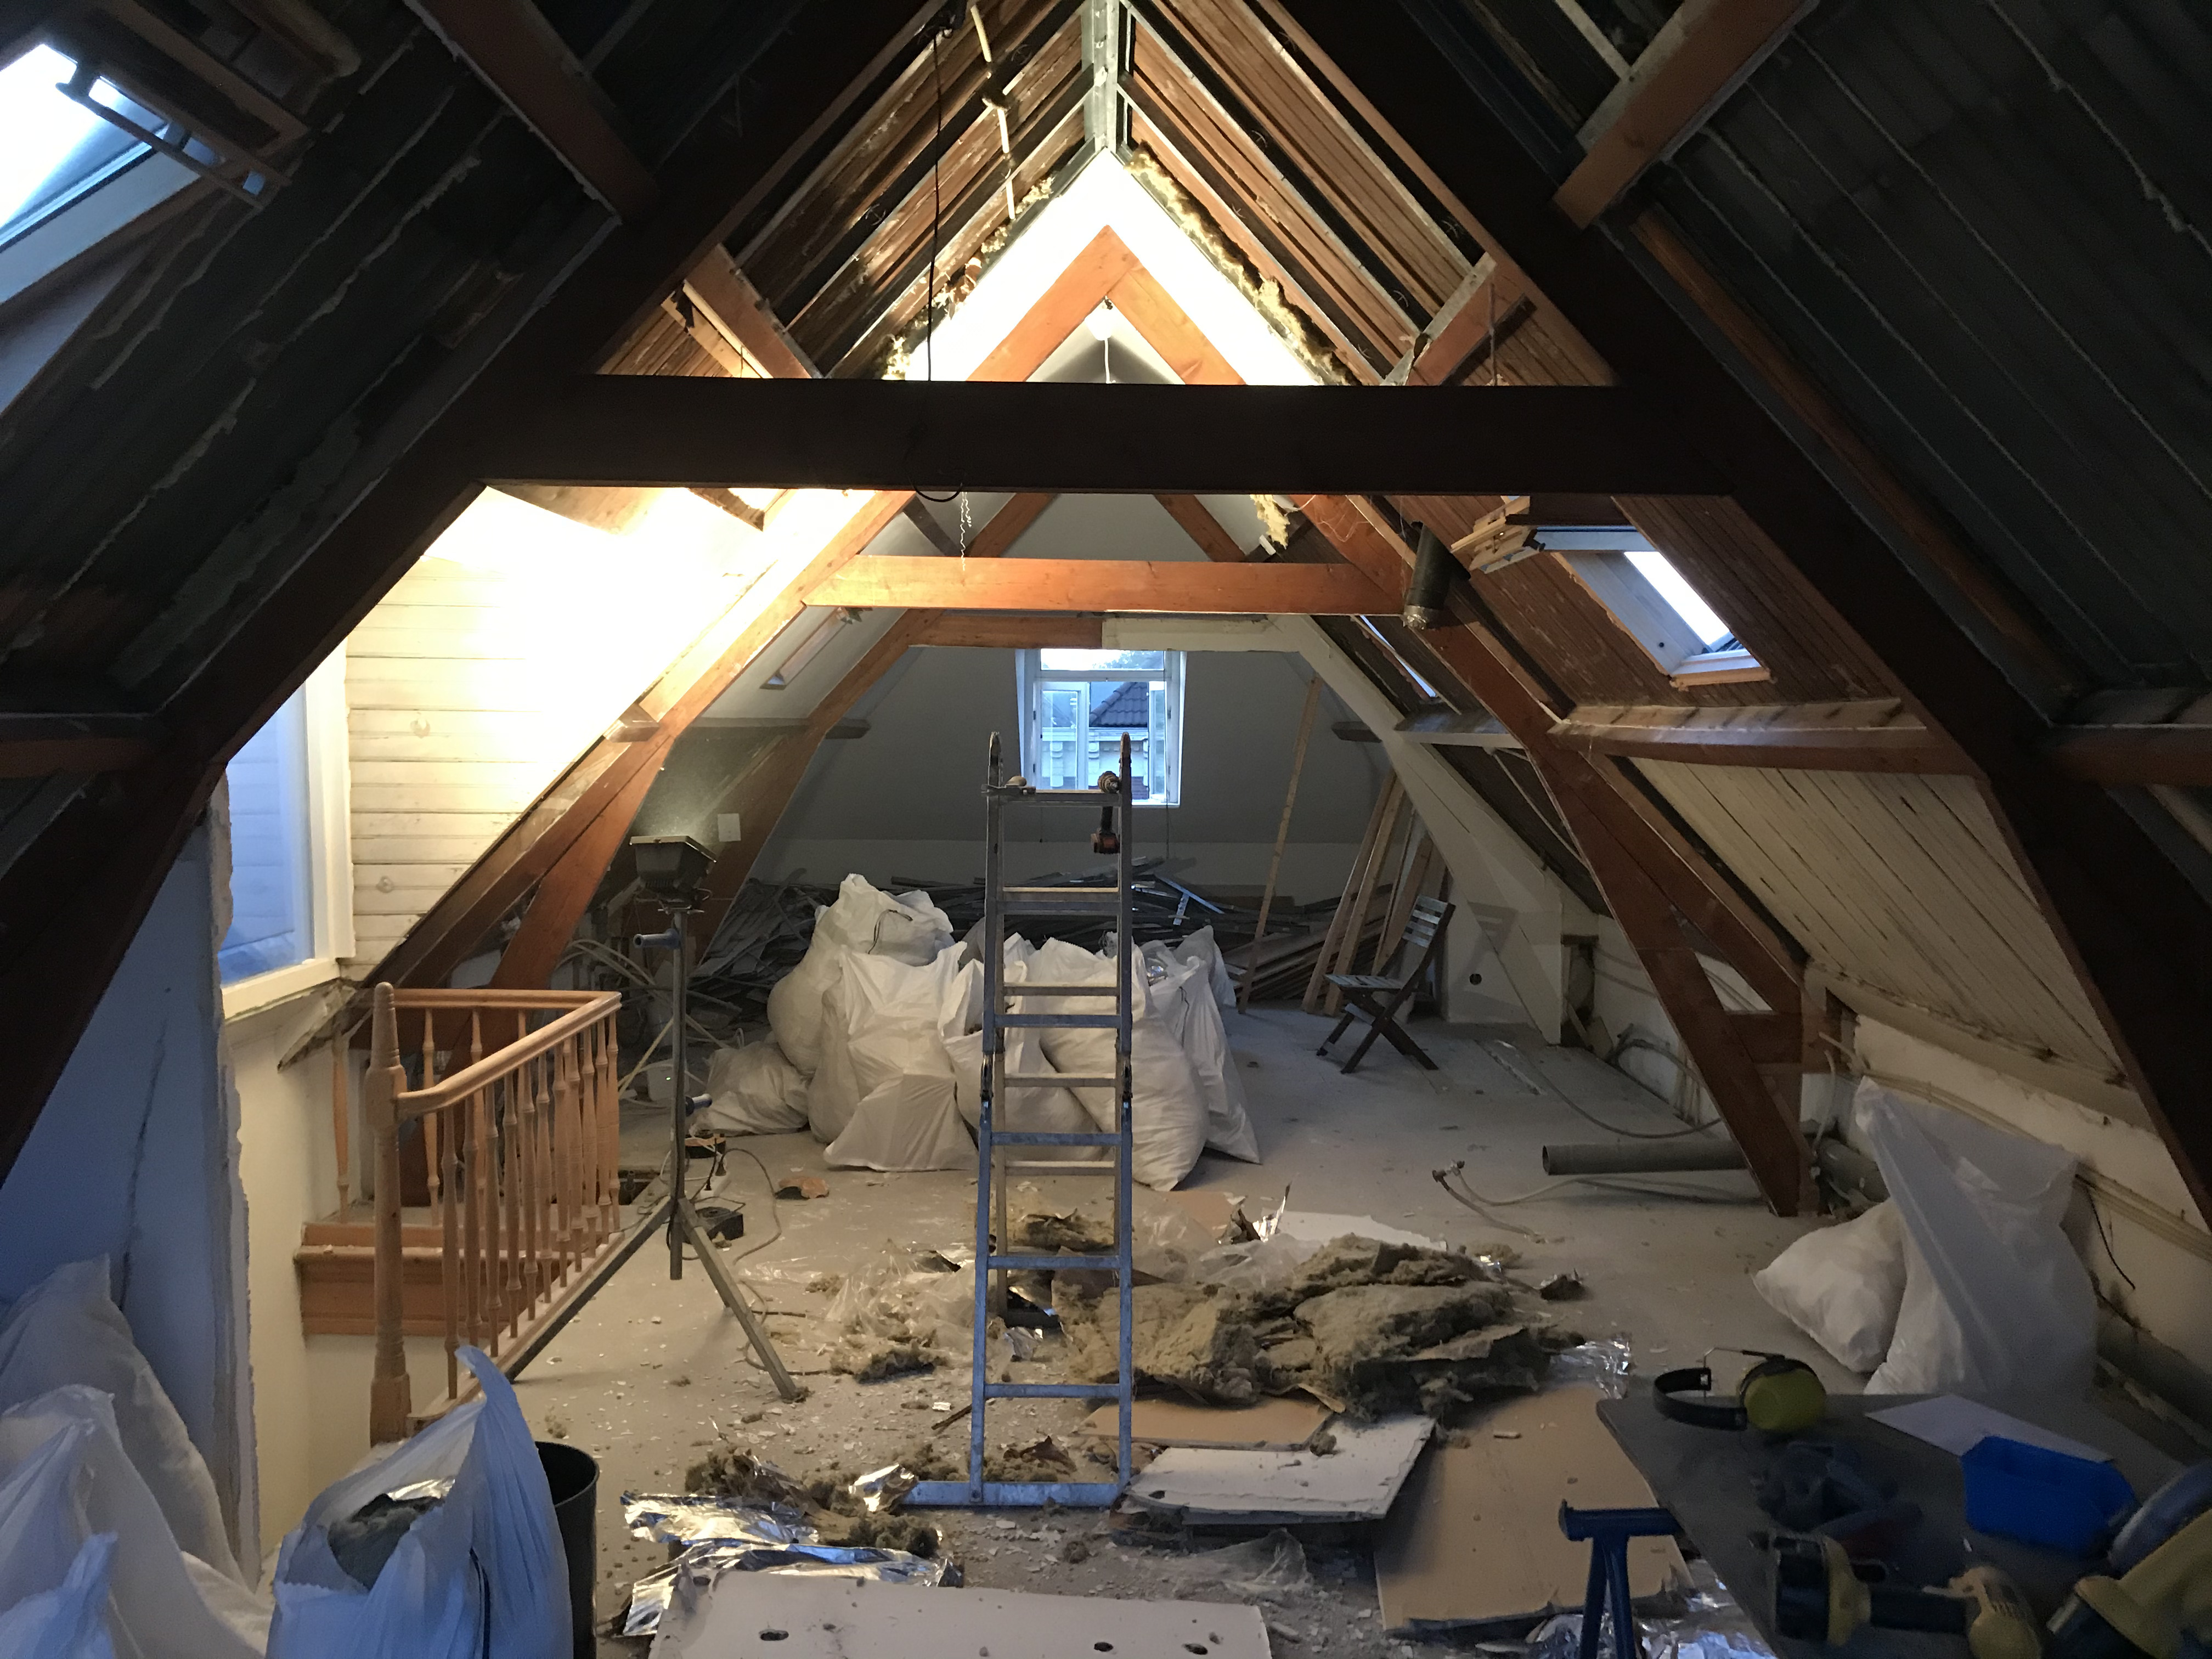
By the time demolition was complete, we had filled about five 10-cubic-meter dumpsters with debris. We removed the debris in stages. We would demolish sections of the house, creating a pile until it became difficult to manage. Then, we rented a dumpster and a moving lift and enlisted some friends to help us transport the debris to the dumpster using the lift for an hour
The beginning
It got full quite quickly at the start
Kitchen removed, starting to remove old wooden floor
Destroying the bathroom
Removing tiles with a chisel. This process really tested our neighbors' patience at times. Looking back, a hammer drill would have saved us a lot of effort early on in the construction process.
Starting to take down the drywall and insulation
Wear long-sleeved shirts, a HEPA filter mask, and goggles when working with rockwool insulation. It’s incredibly irritating.
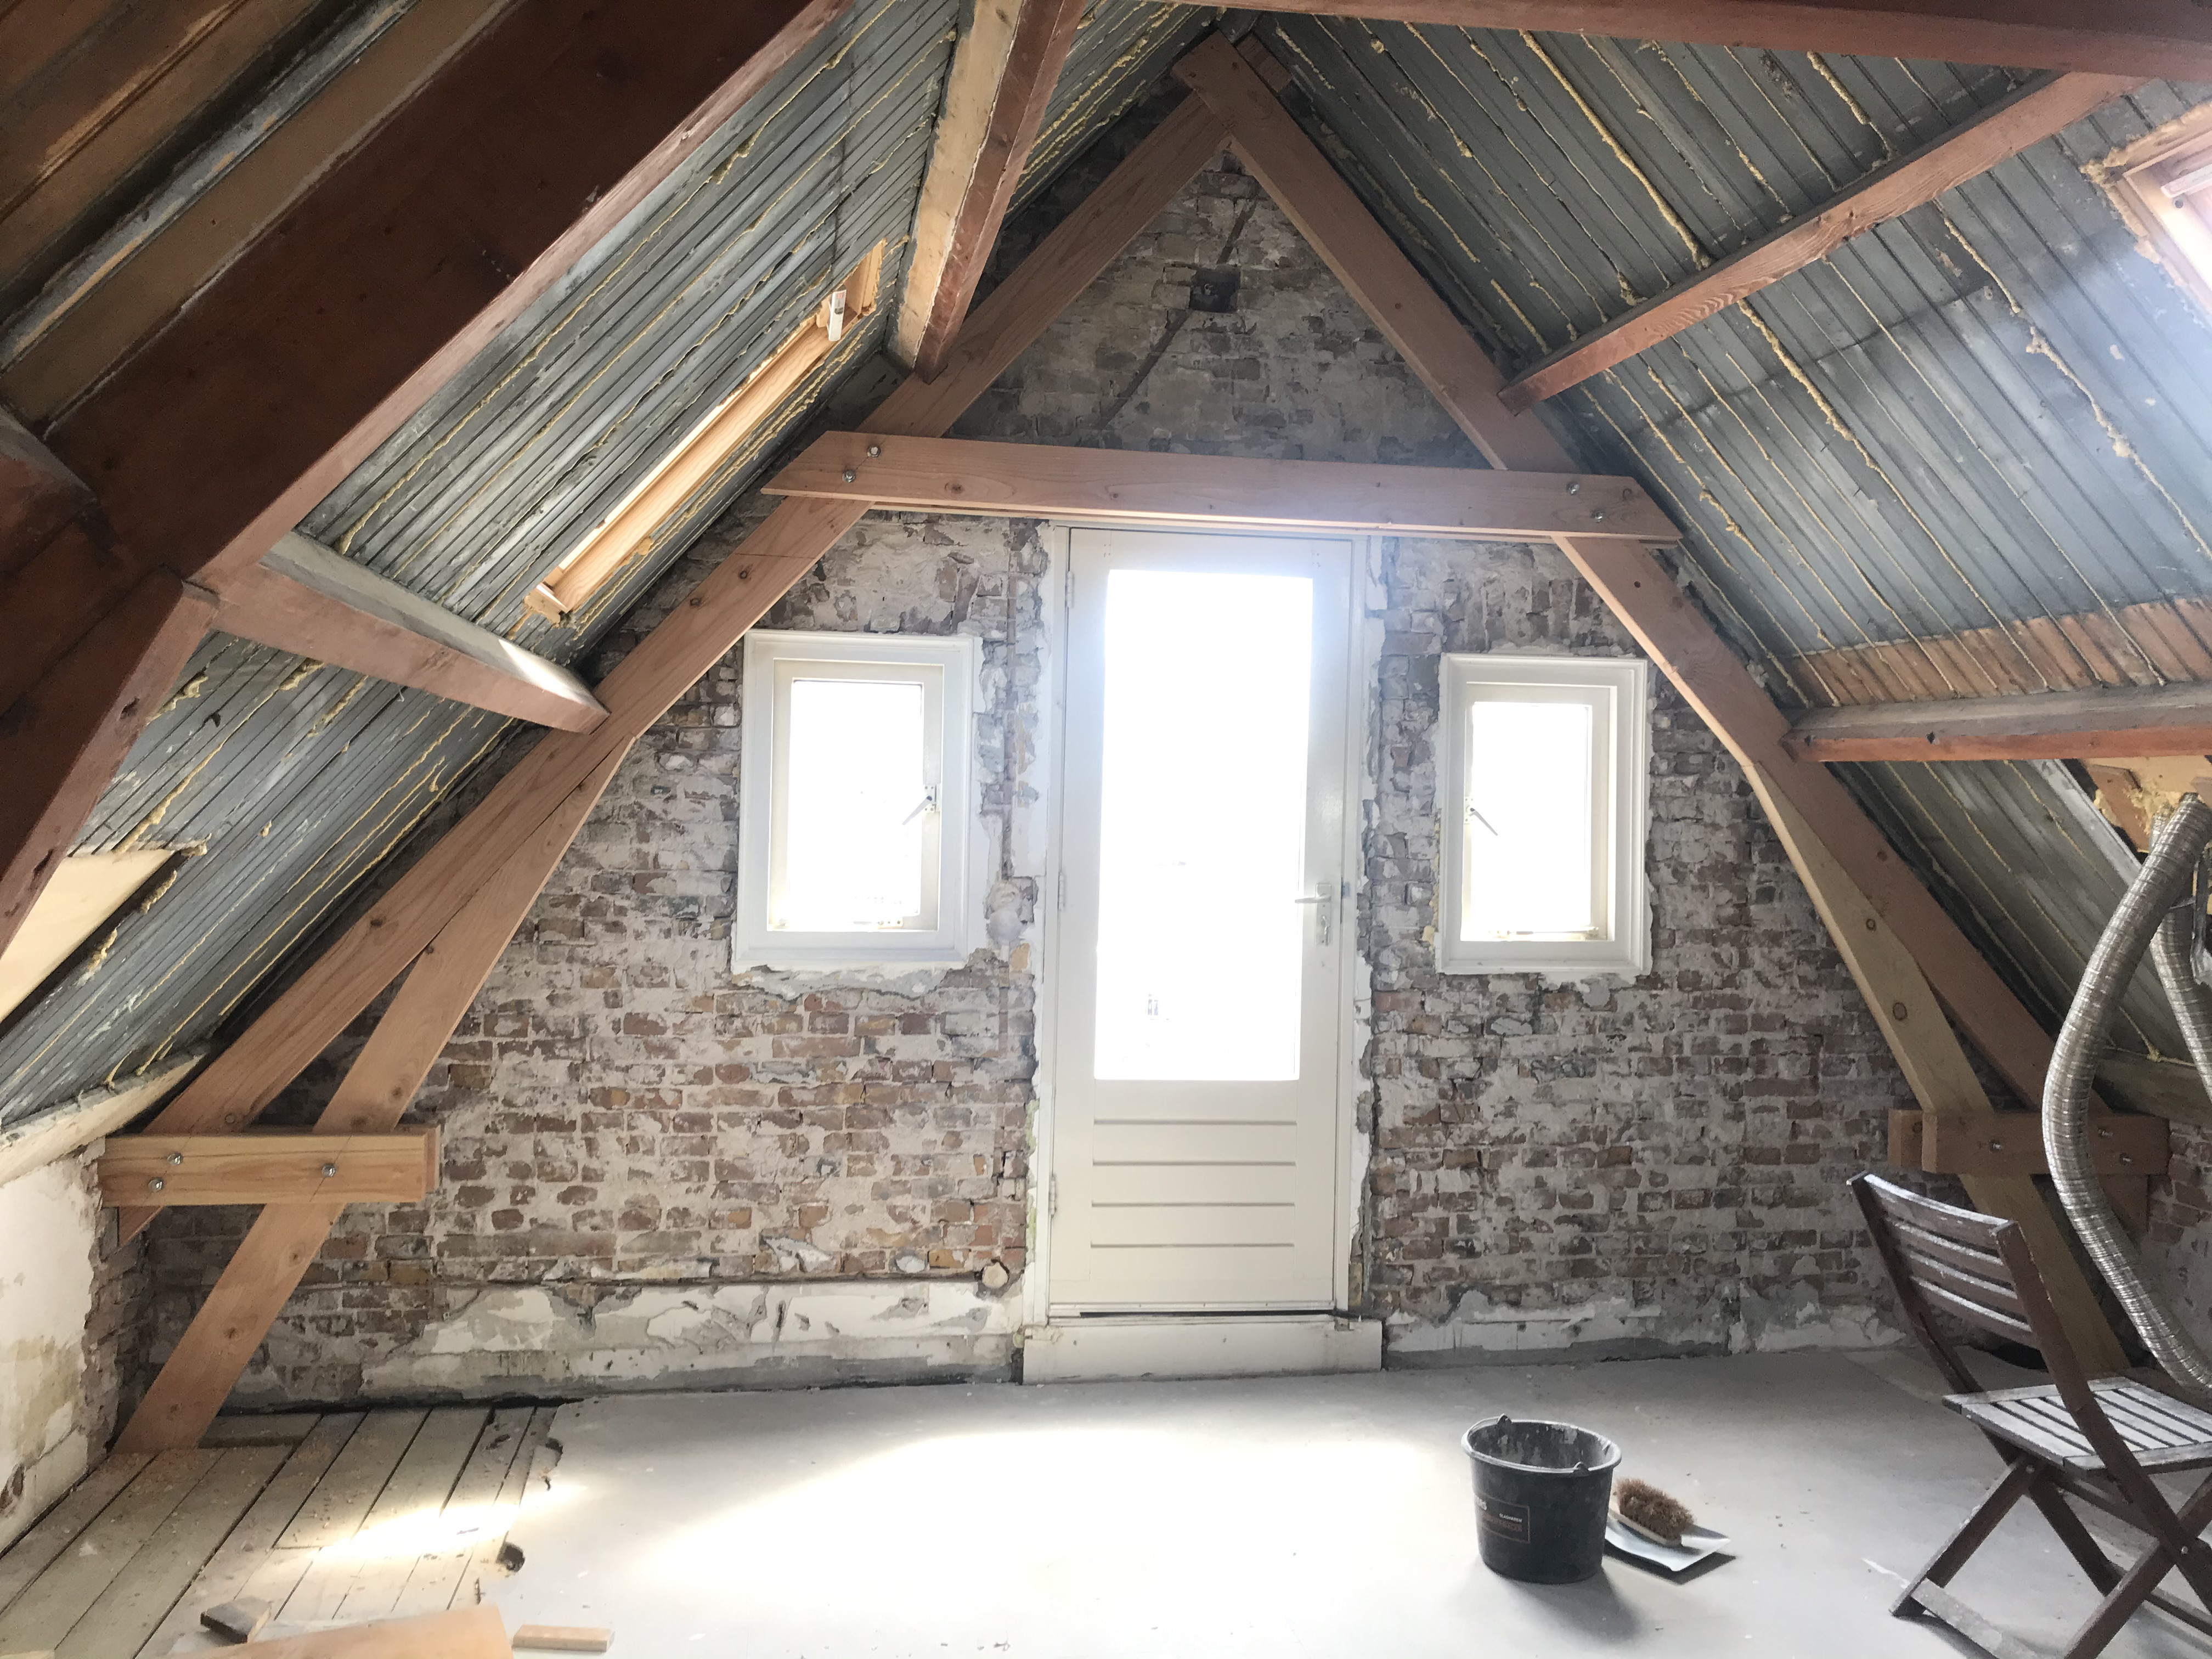
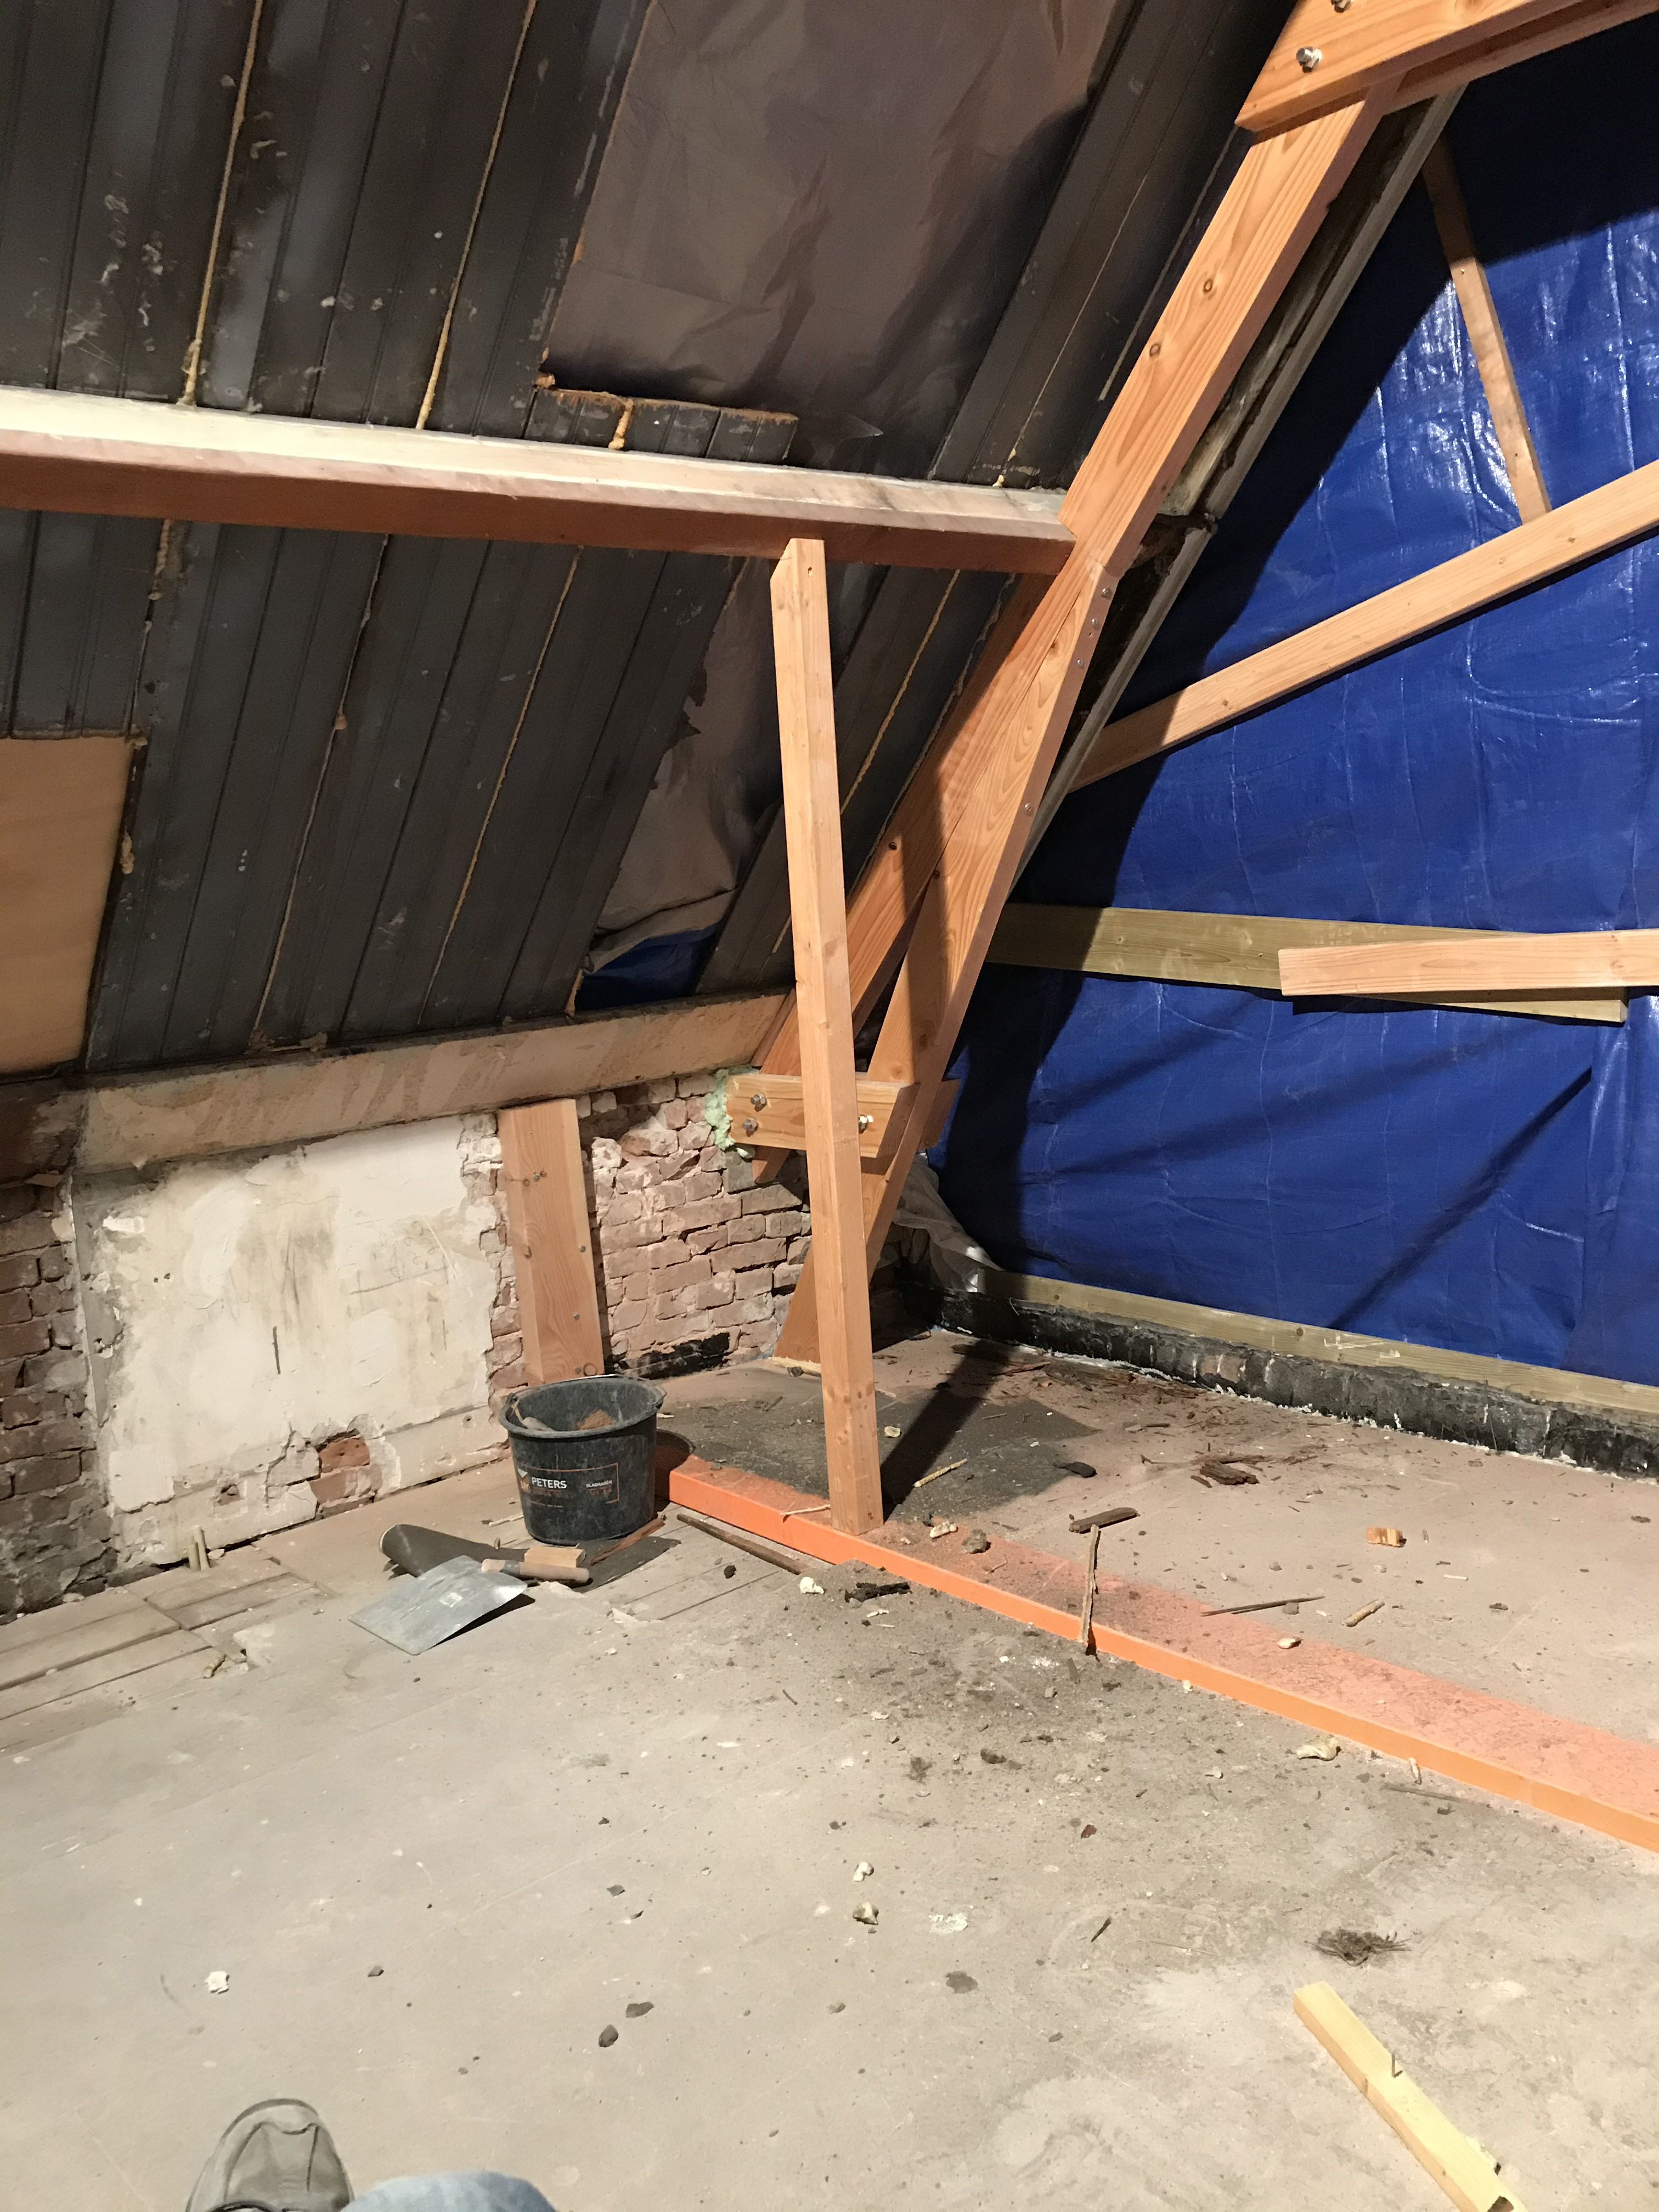
We expected this masonry wall on the south face of the old dormer to support the dormer, but it didn’t. Luckily, the dormer was resting on the truss. It was convenient that we could remove this wall before taking out the old dormer.
We loaded all the building materials in burlap bags and either carried them down four flights of stairs or rented a moving lift to remove them from the front window. Demolition was easy, but getting rid of all the debris felt like much more work. We reused the bags until they became too worn.
This was the house lift we rented for an hour to remove debris. In later phases, we used it to bring materials up. The demolition phase felt never-ending.
A full dumpster. After this one, we used either brick-only dumpsters (which were cheaper) or closed dumpsters with locks to prevent people from throwing their trash in ours.
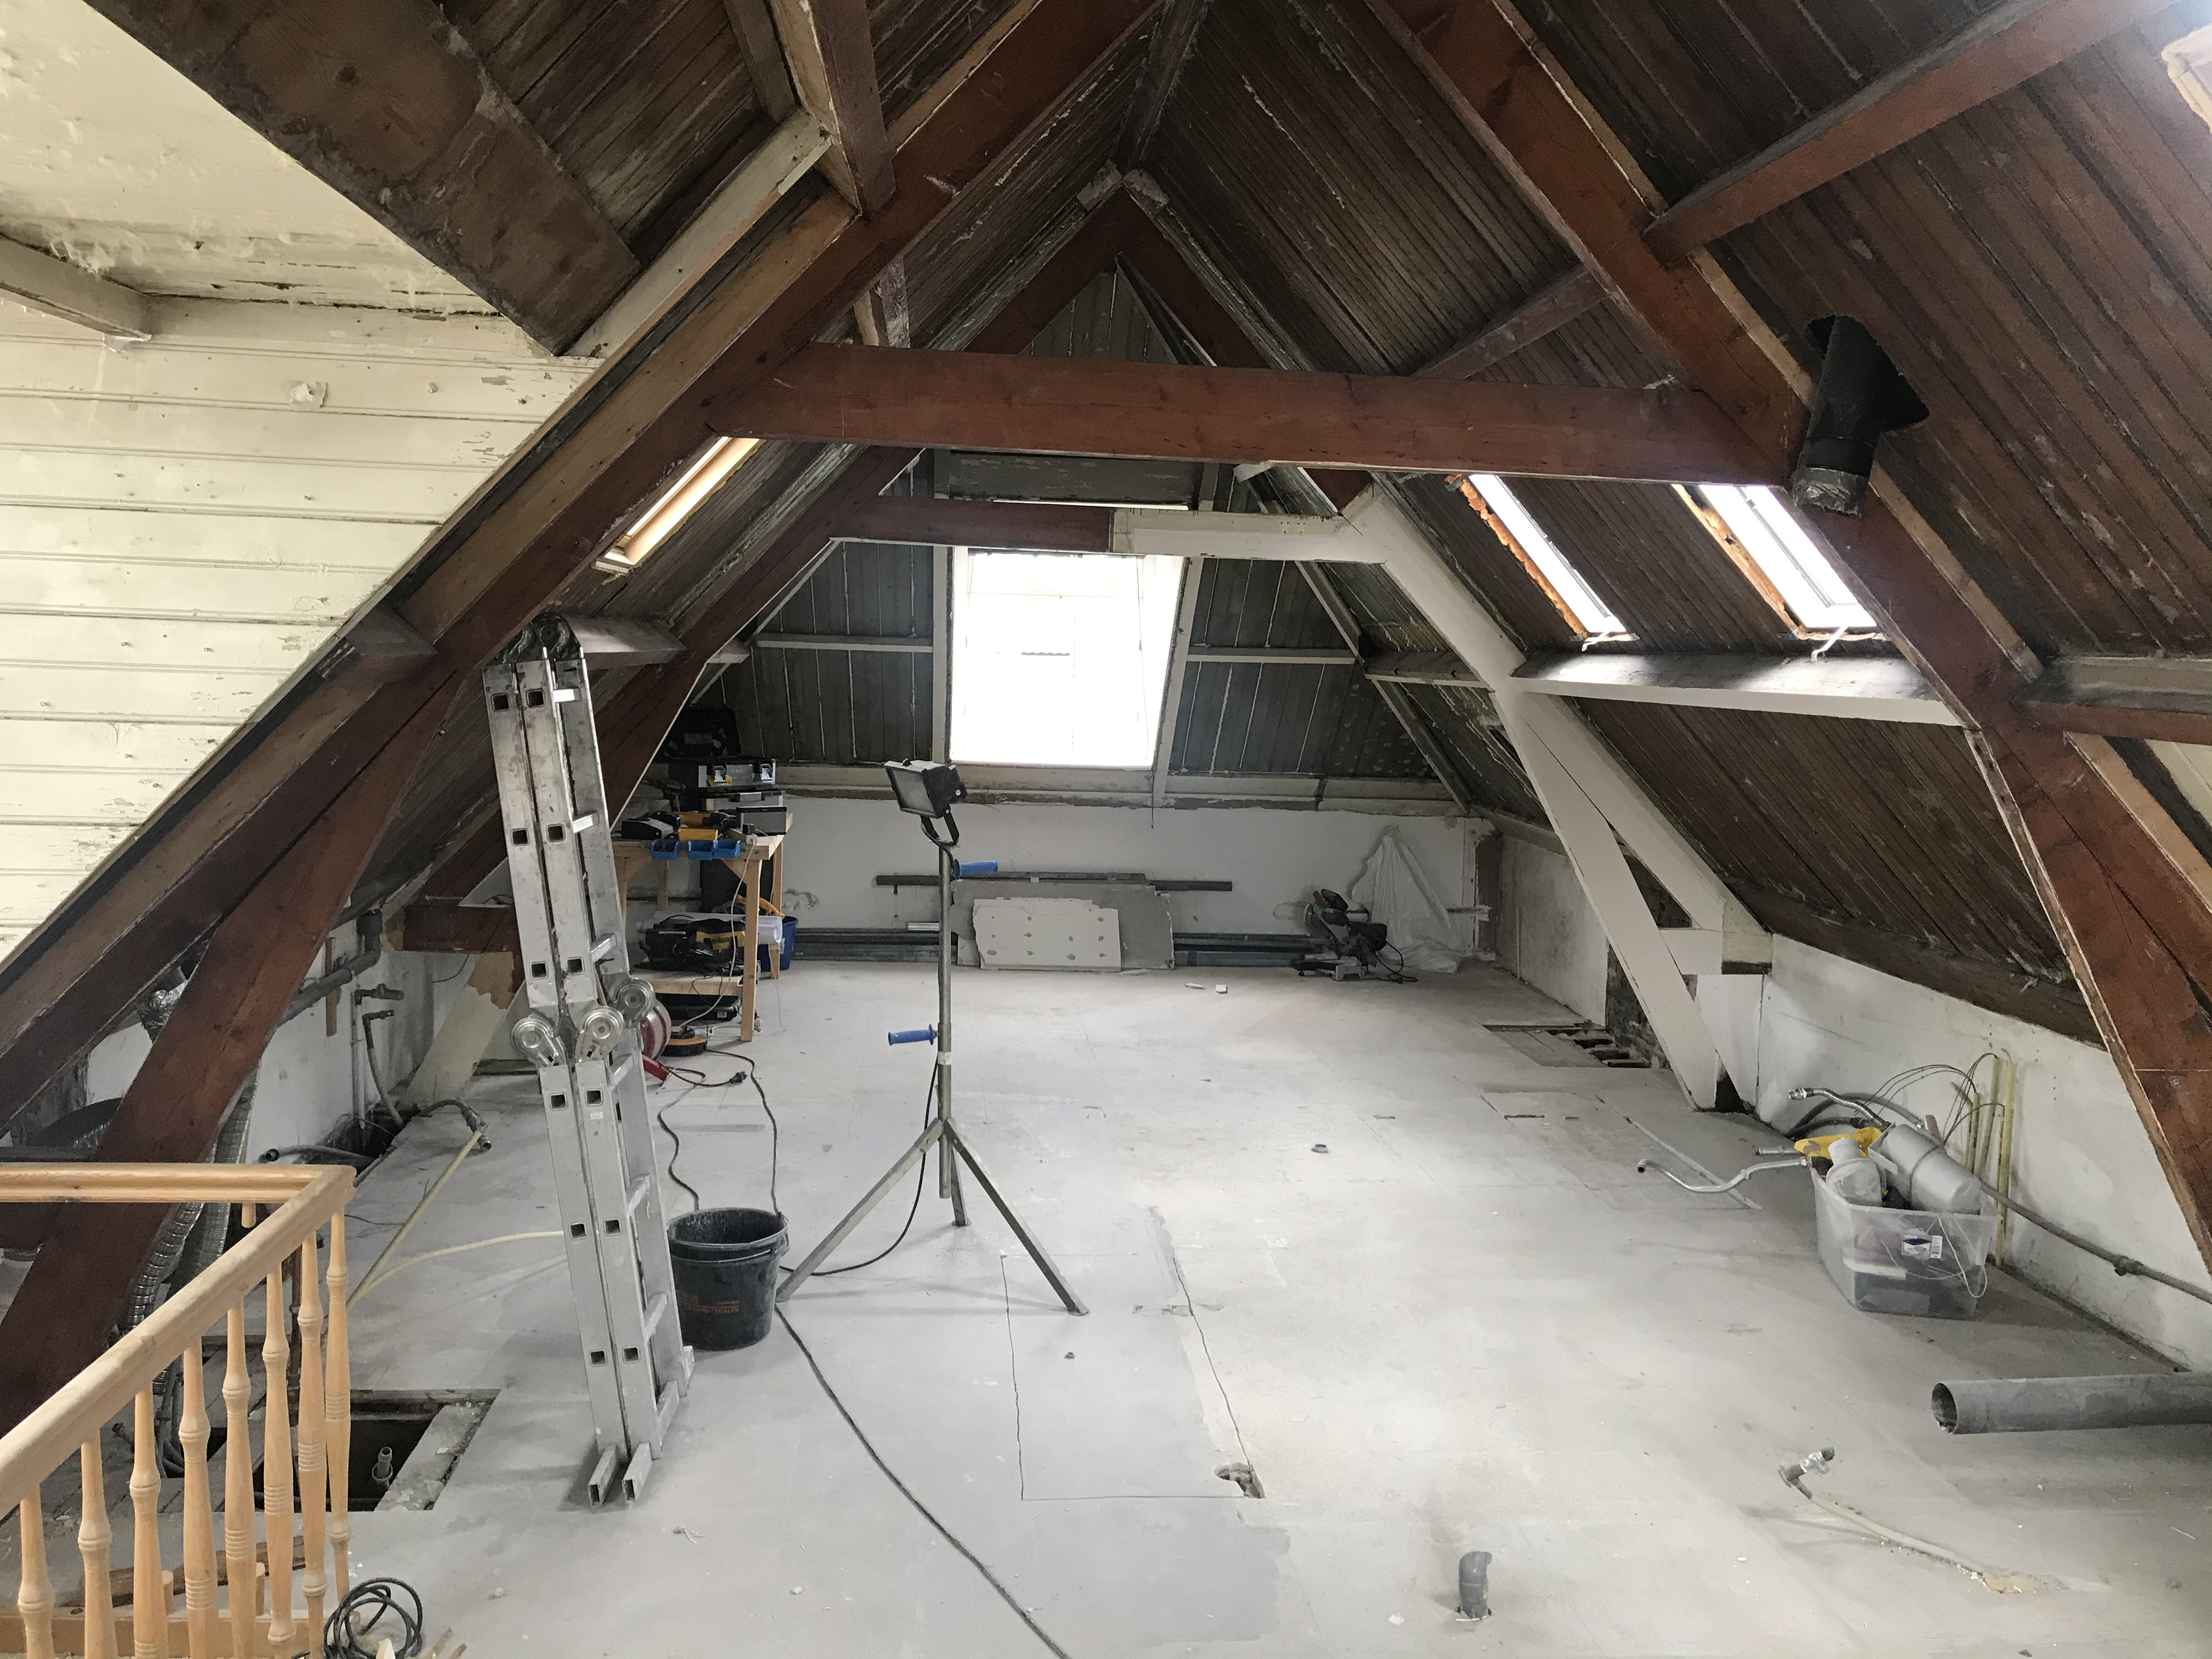
It was a great feeling when the space was finally empty!
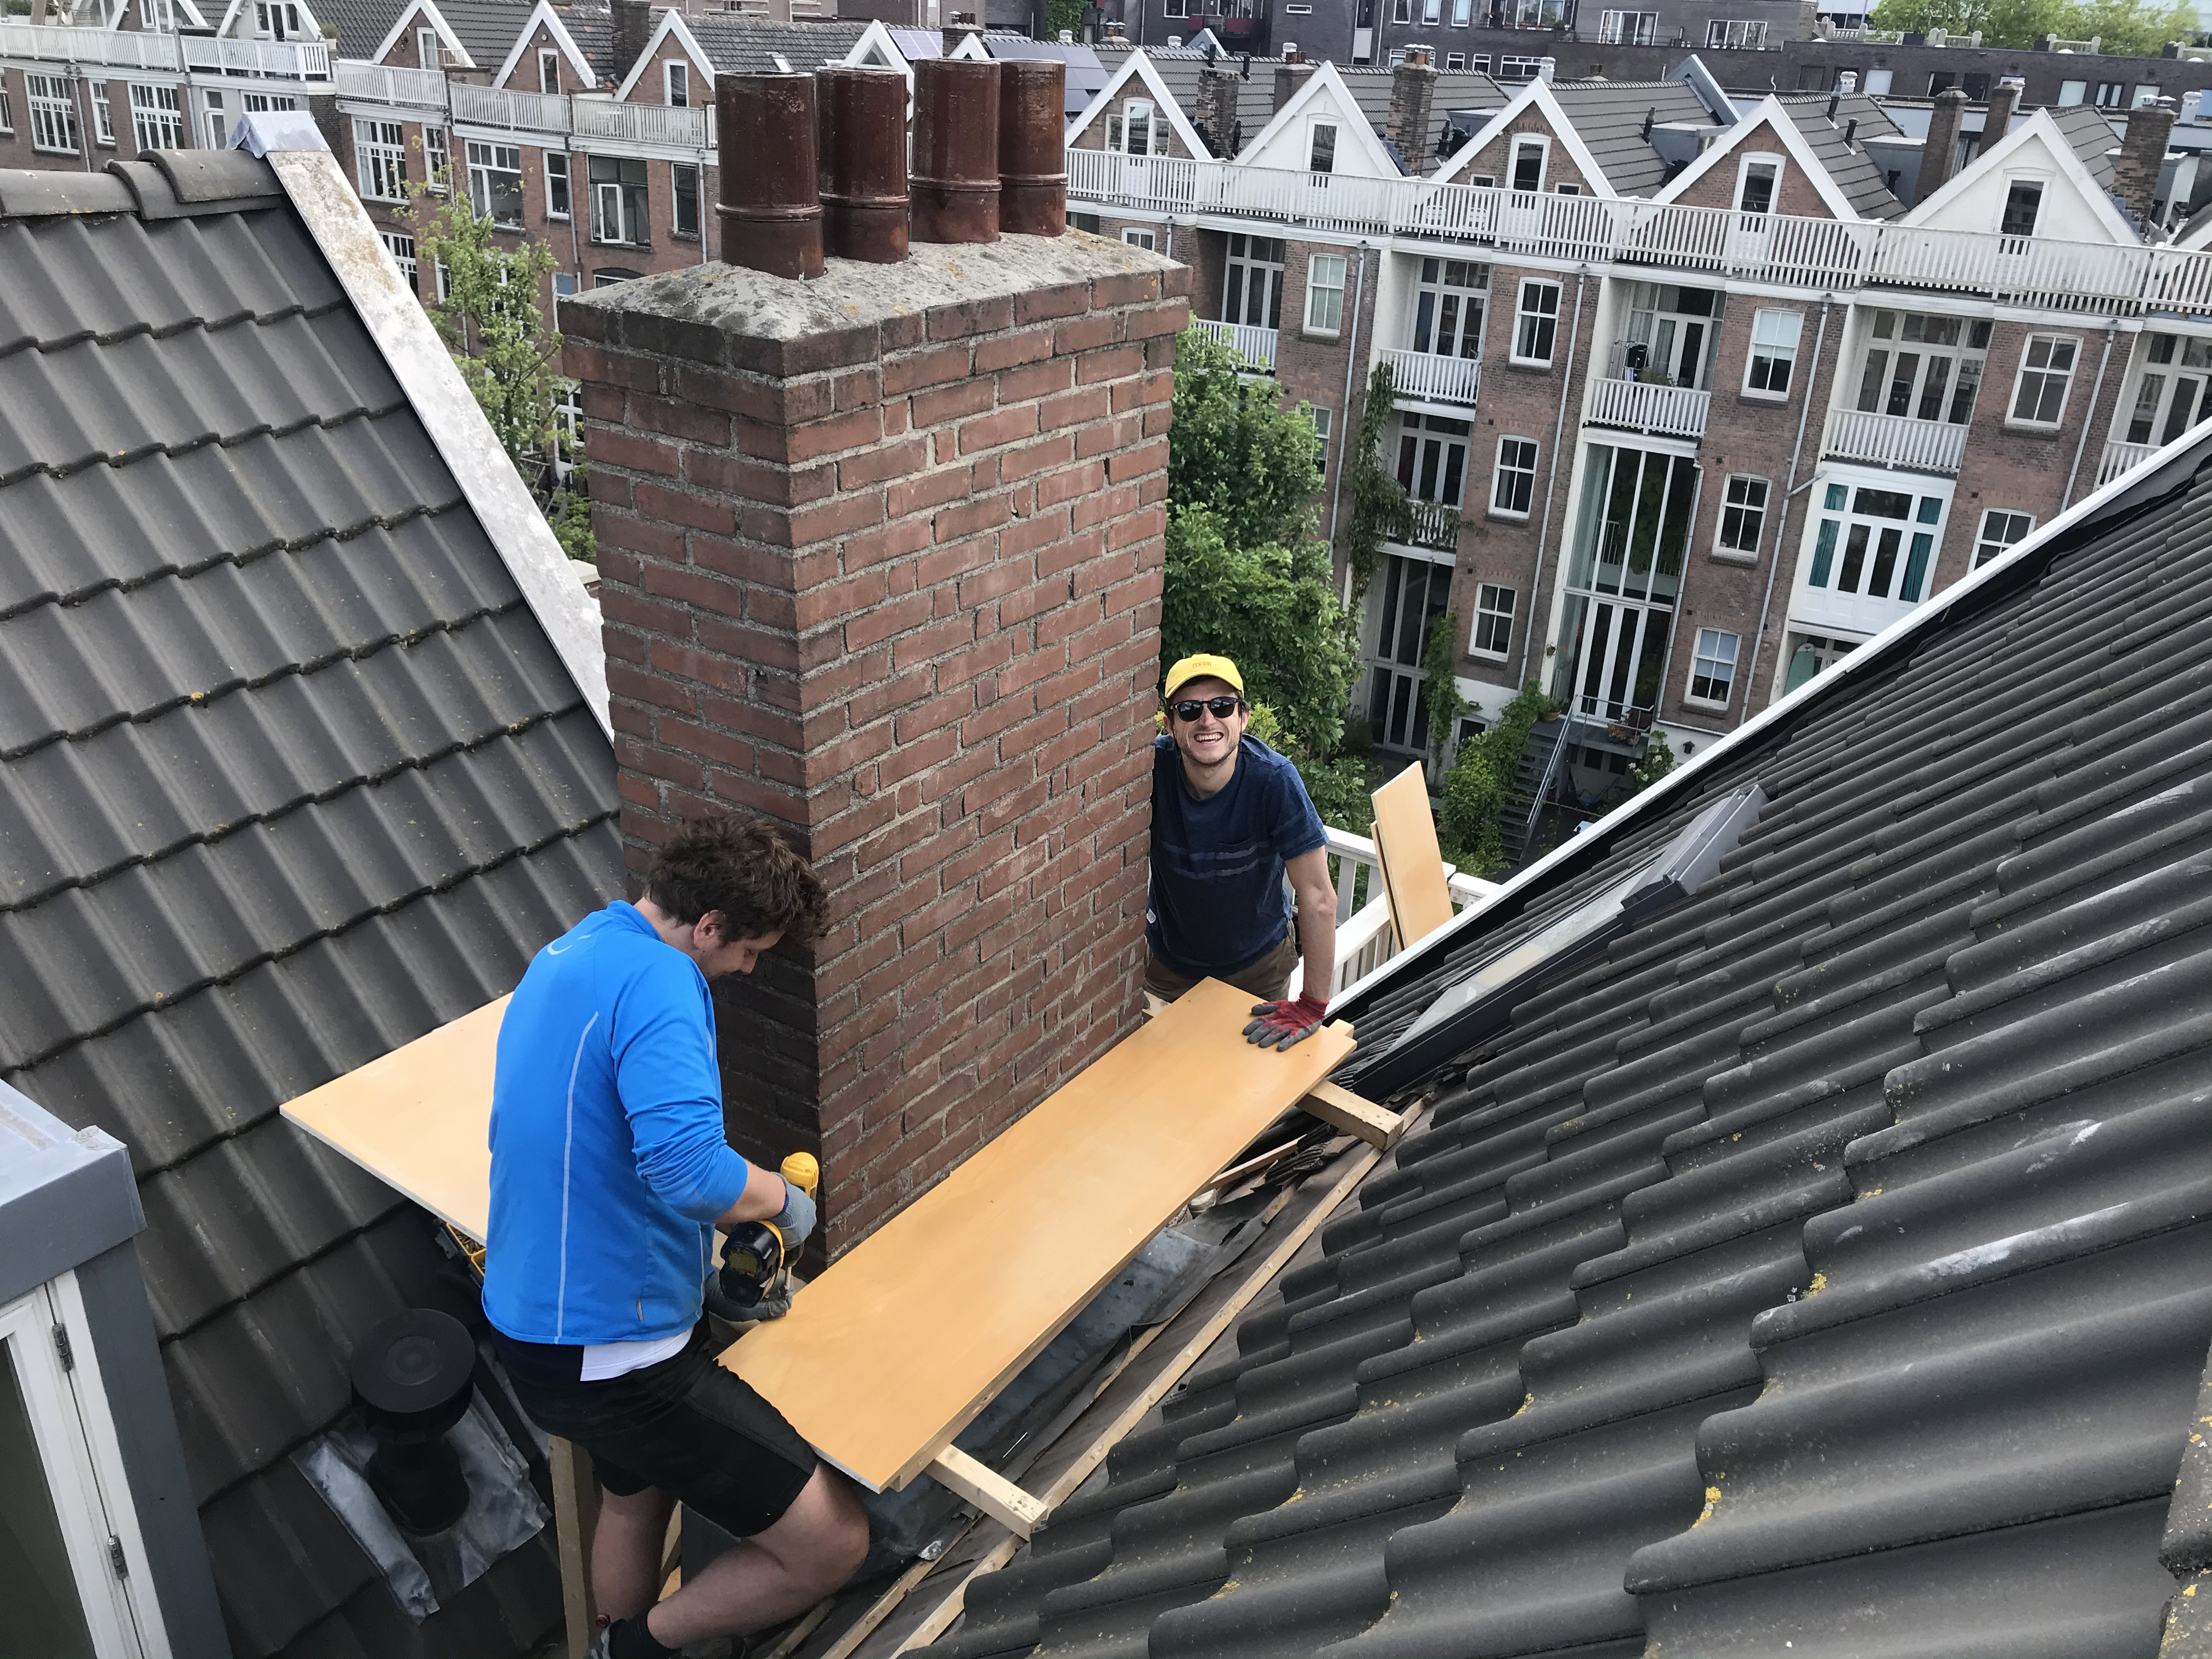
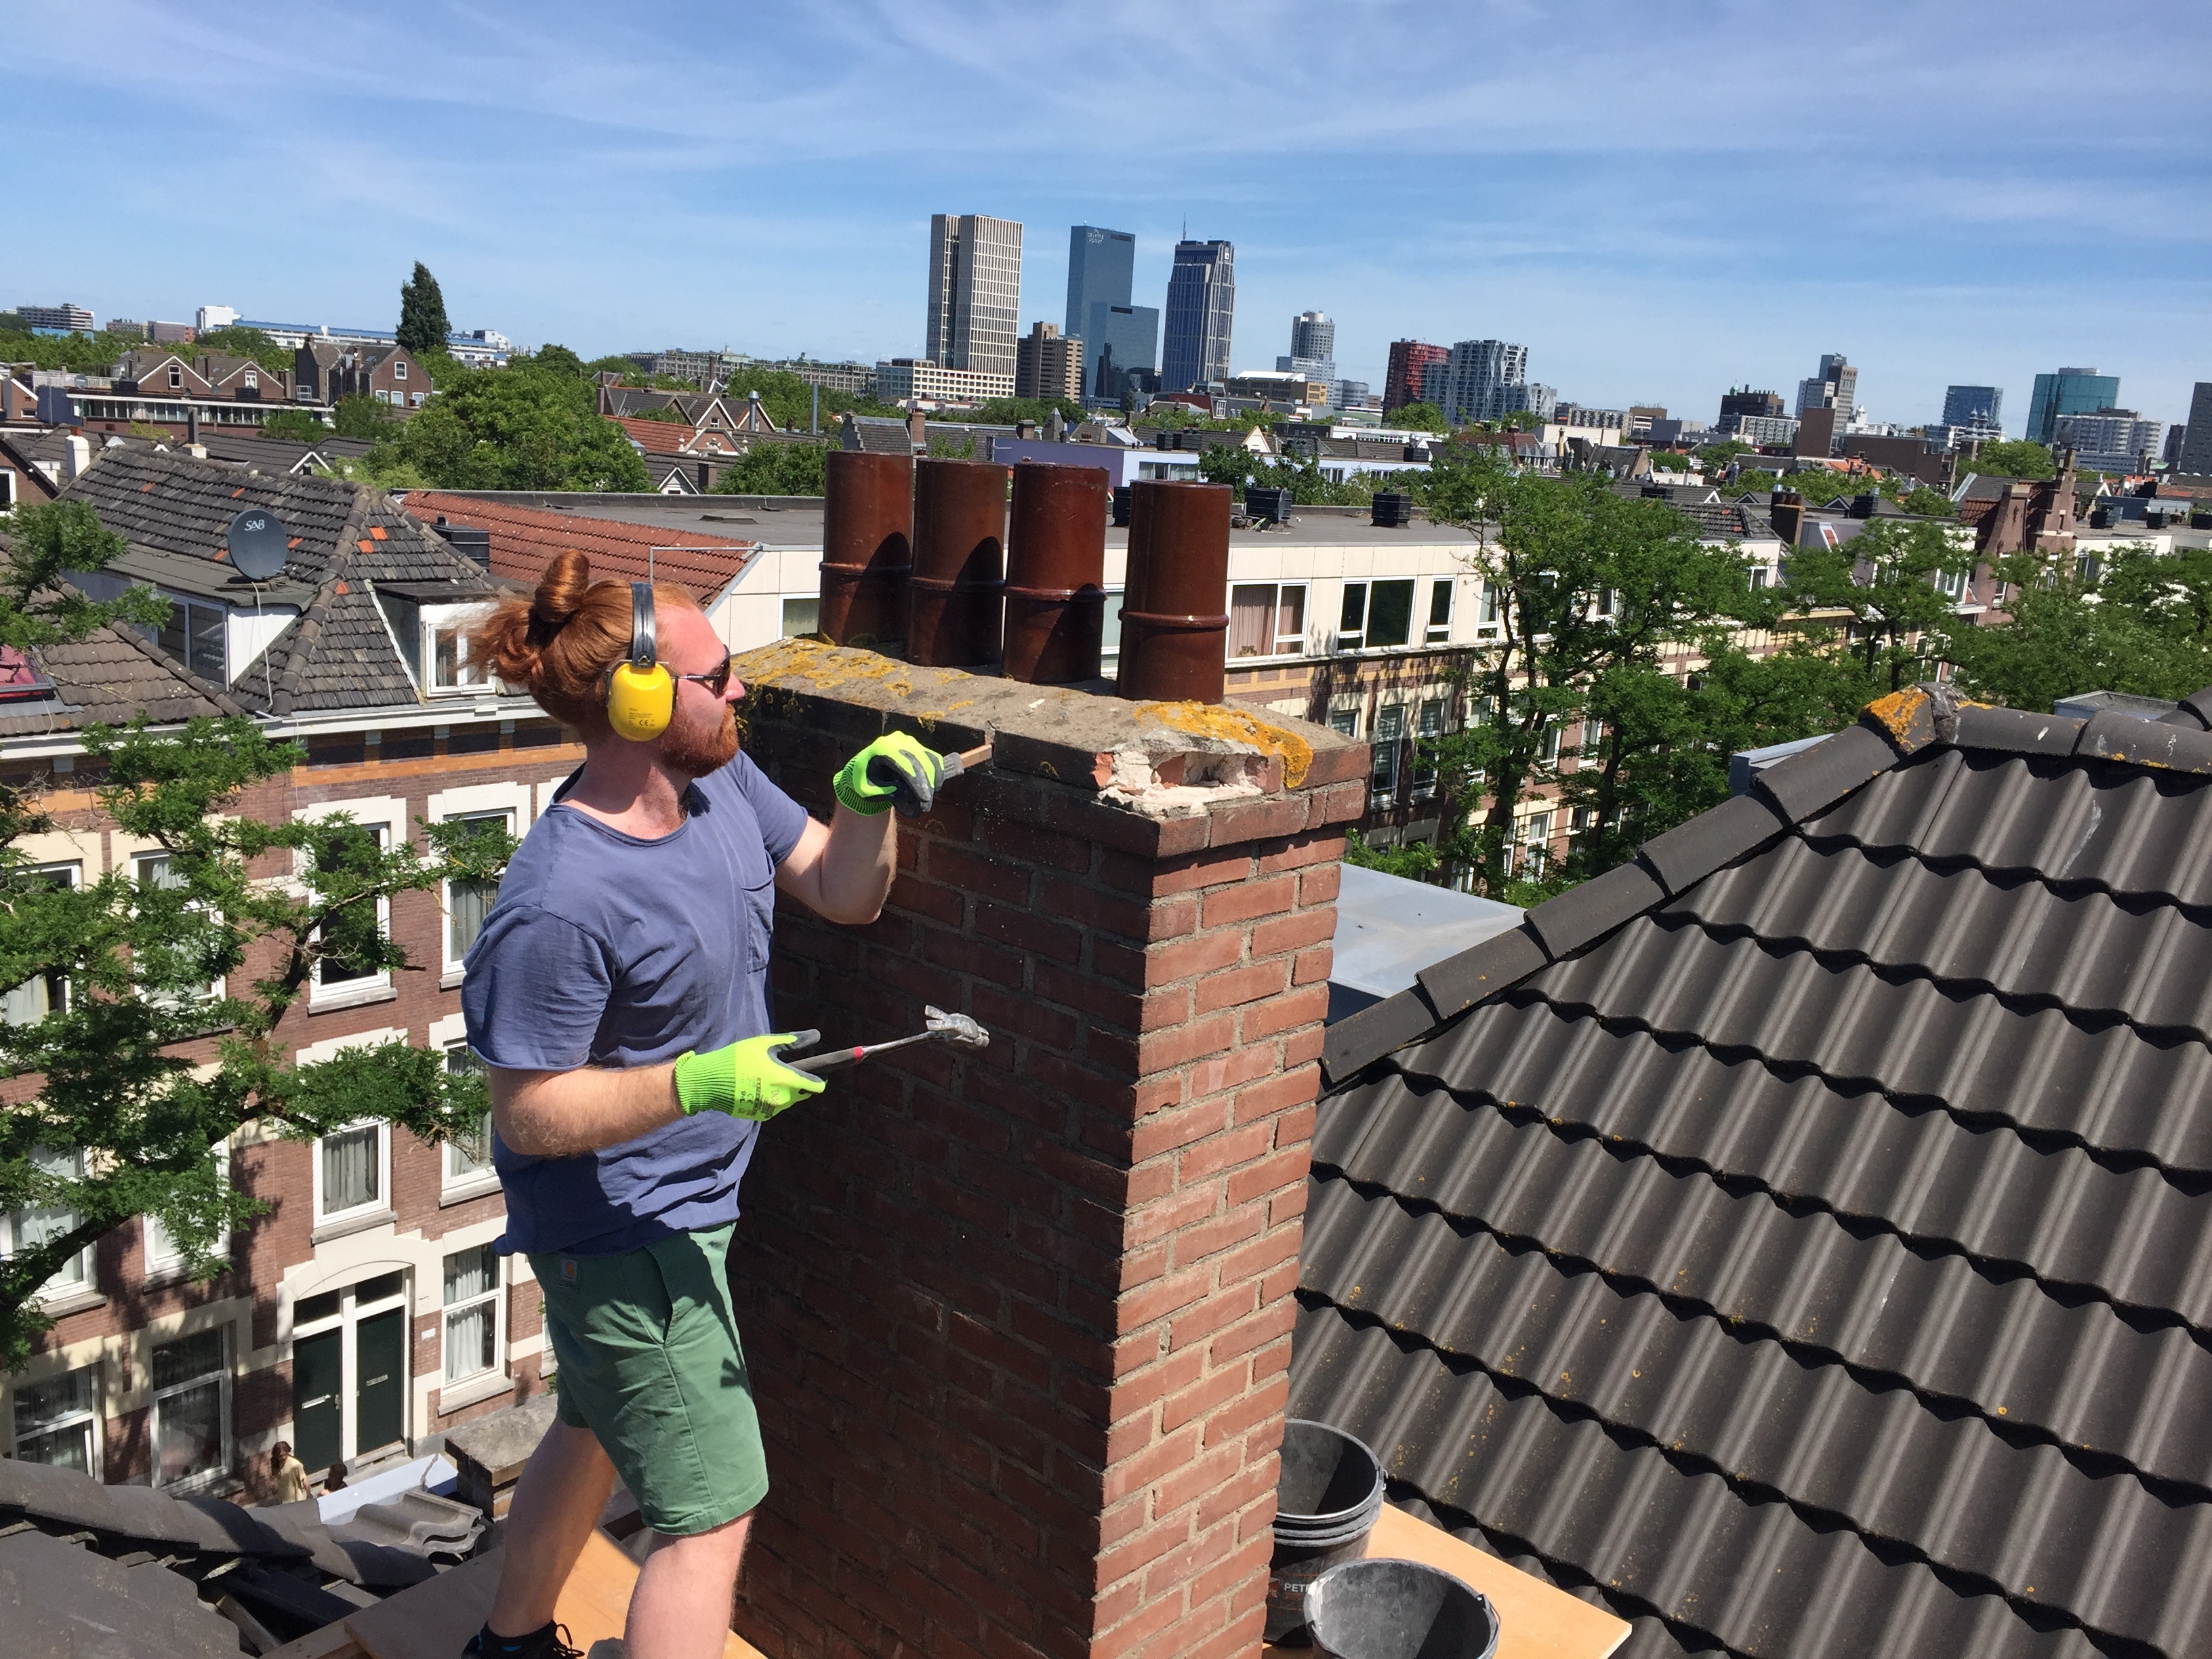
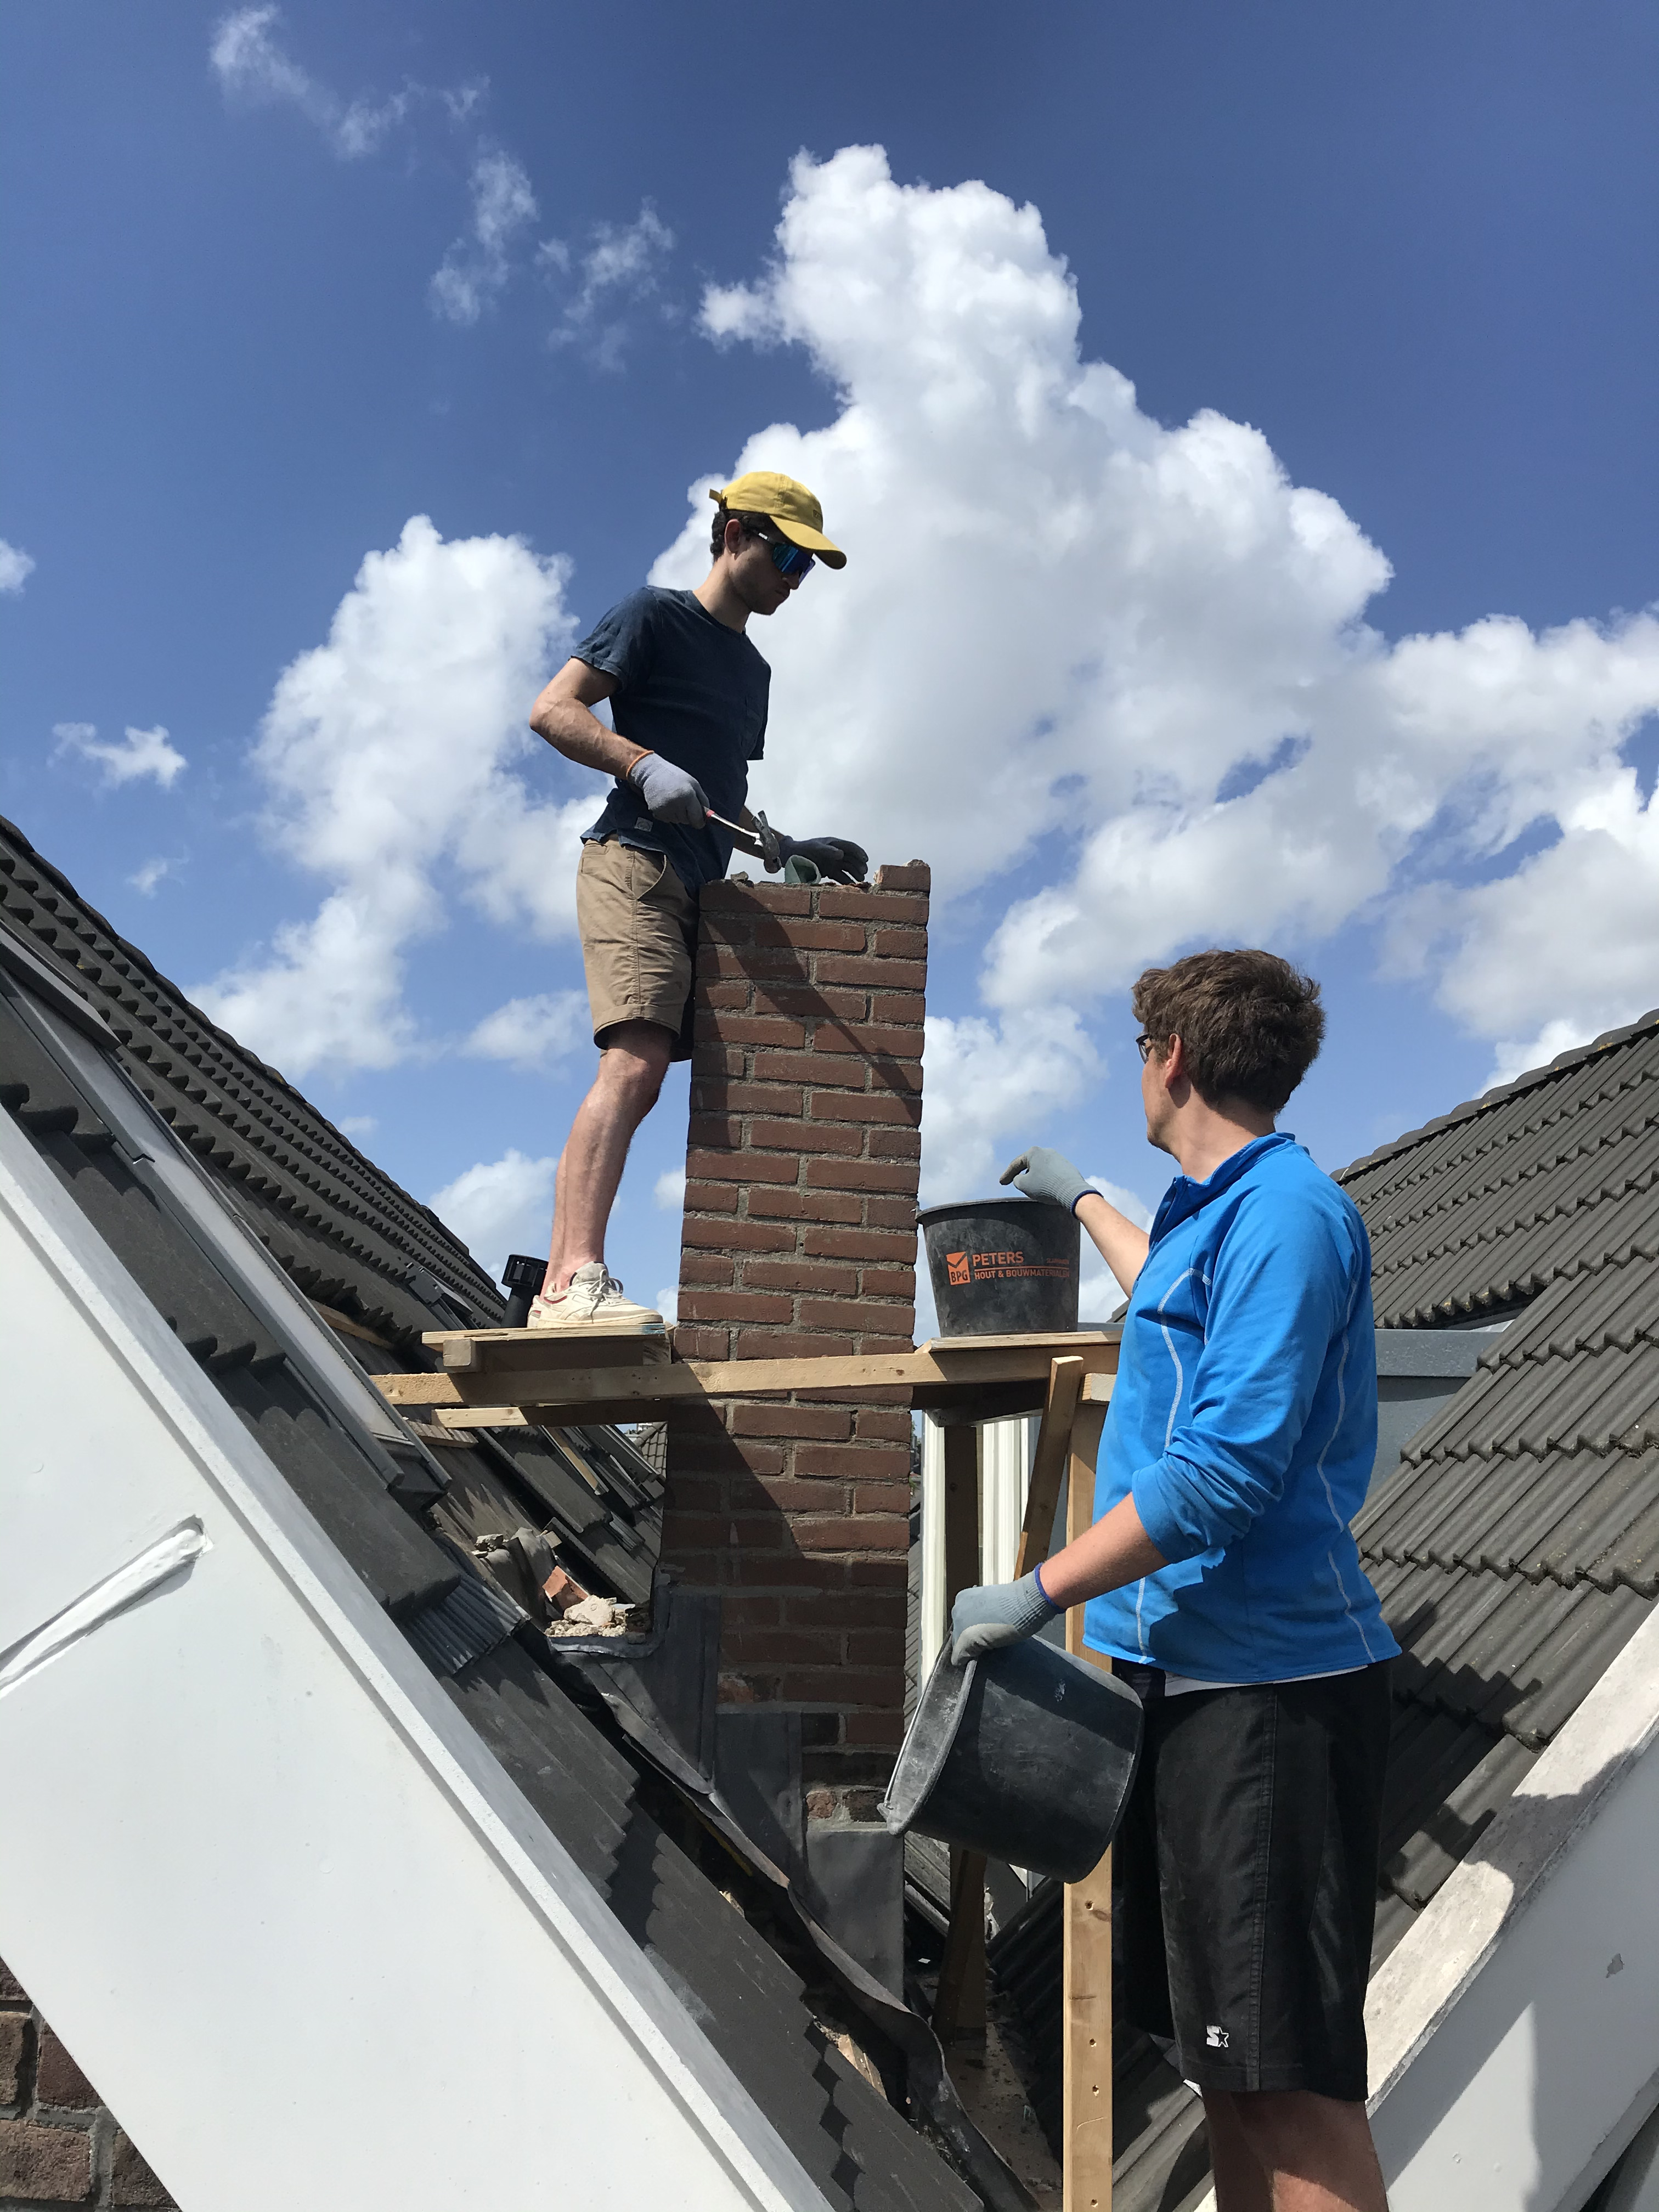
Destroying chimneys was fun! After my partner and I did the first one together, we invited friends over to help with the other two (I took on the glorious task of filling burlap bags with bricks). Here’s a breakdown of the chimney removal process:
Remove the plaster on the interior of the chimney. This makes it significantly easier to remove the bricks.
Build a platform on the exterior to stand on while destroying the top of the chimney.
Take the chimney apart brick by brick with a hammer and chisel. Once you get going, a light tap with the hammer should be enough to loosen the bricks so you can remove them by hand.
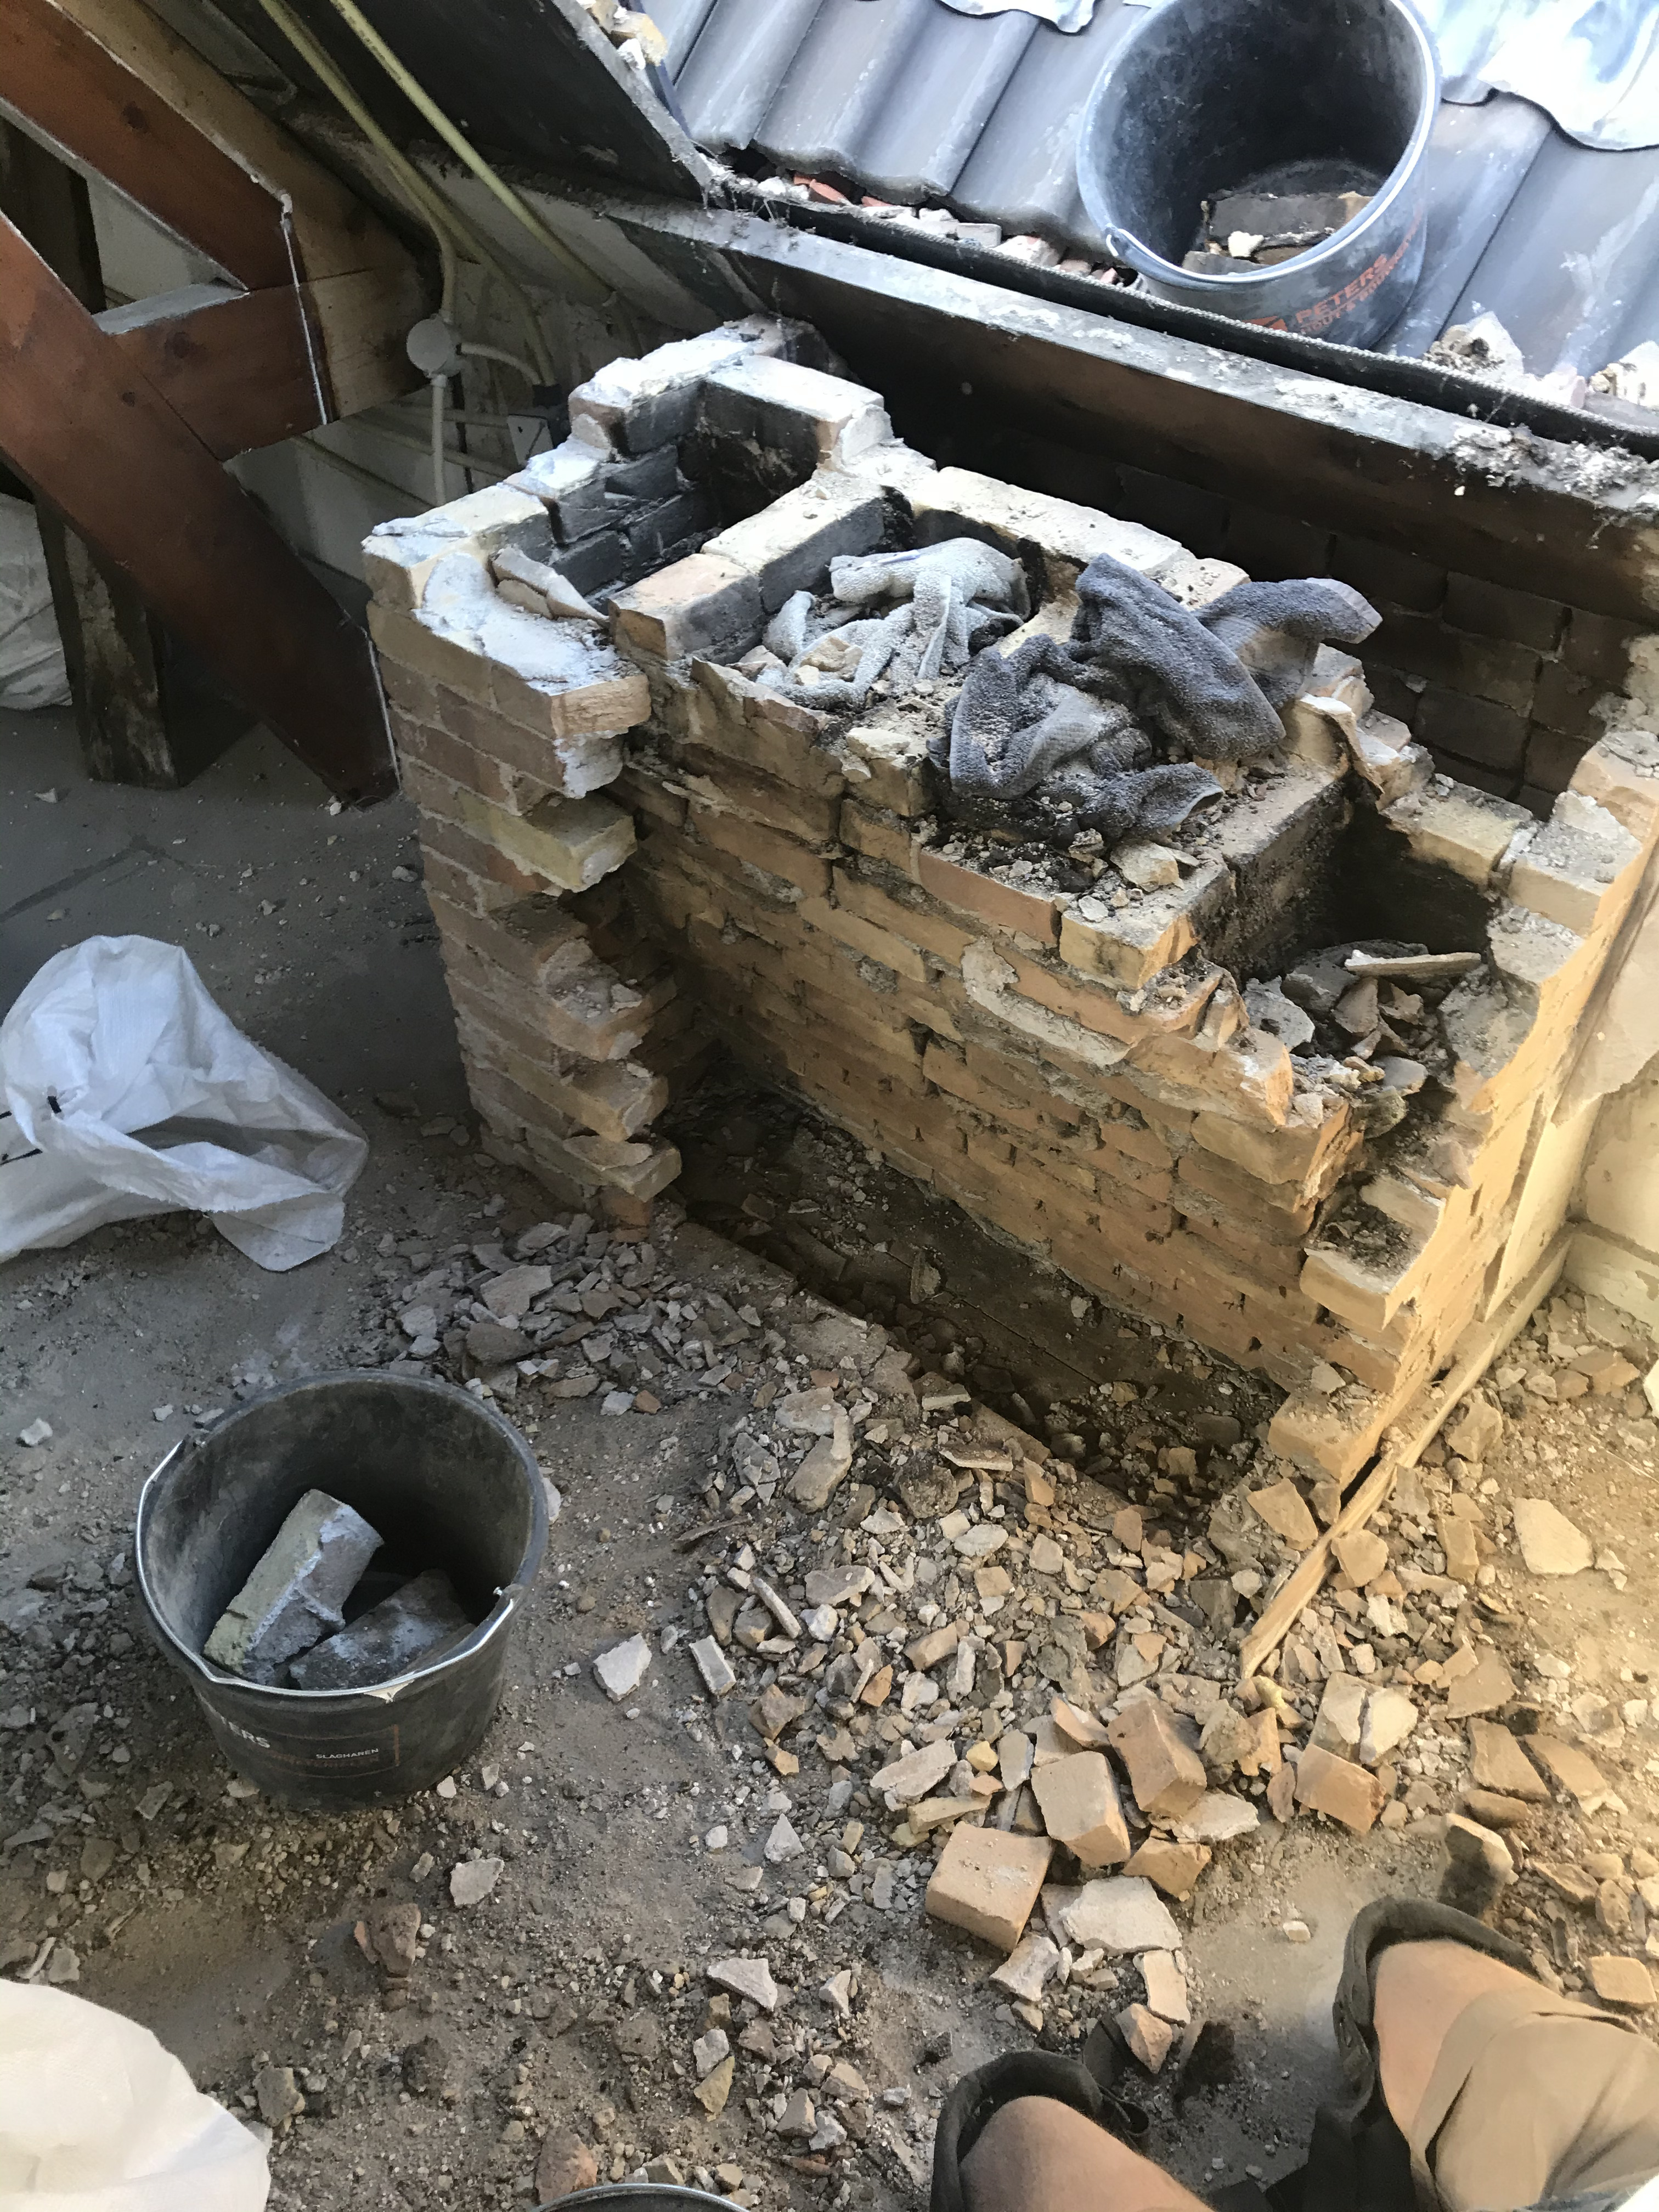
Stuff towels in the chimney holes to prevent debris from falling into them.
Once the chimney is destroyed, create a temporary waterproof cover for the hole in the roof where the chimney served as an exhaust. Expandable foam is your friend for closing any gaps.
Add new supports and subflooring where the chimney once stood.
Building a platform to stand on
Removing the first bricks
brick by brick
This chimney had the exhaust from our downstairs neighbors water boiler
Stuffing the holes with towels
Temporary chimney cover, not our proudest moment, but it only lasted for a few winter months
This phase involved preparing the back facade for the future dormers and the balcony extension. The goal was to create a full glass back facade with sliding doors opening onto a larger balcony with a partially covered roof.
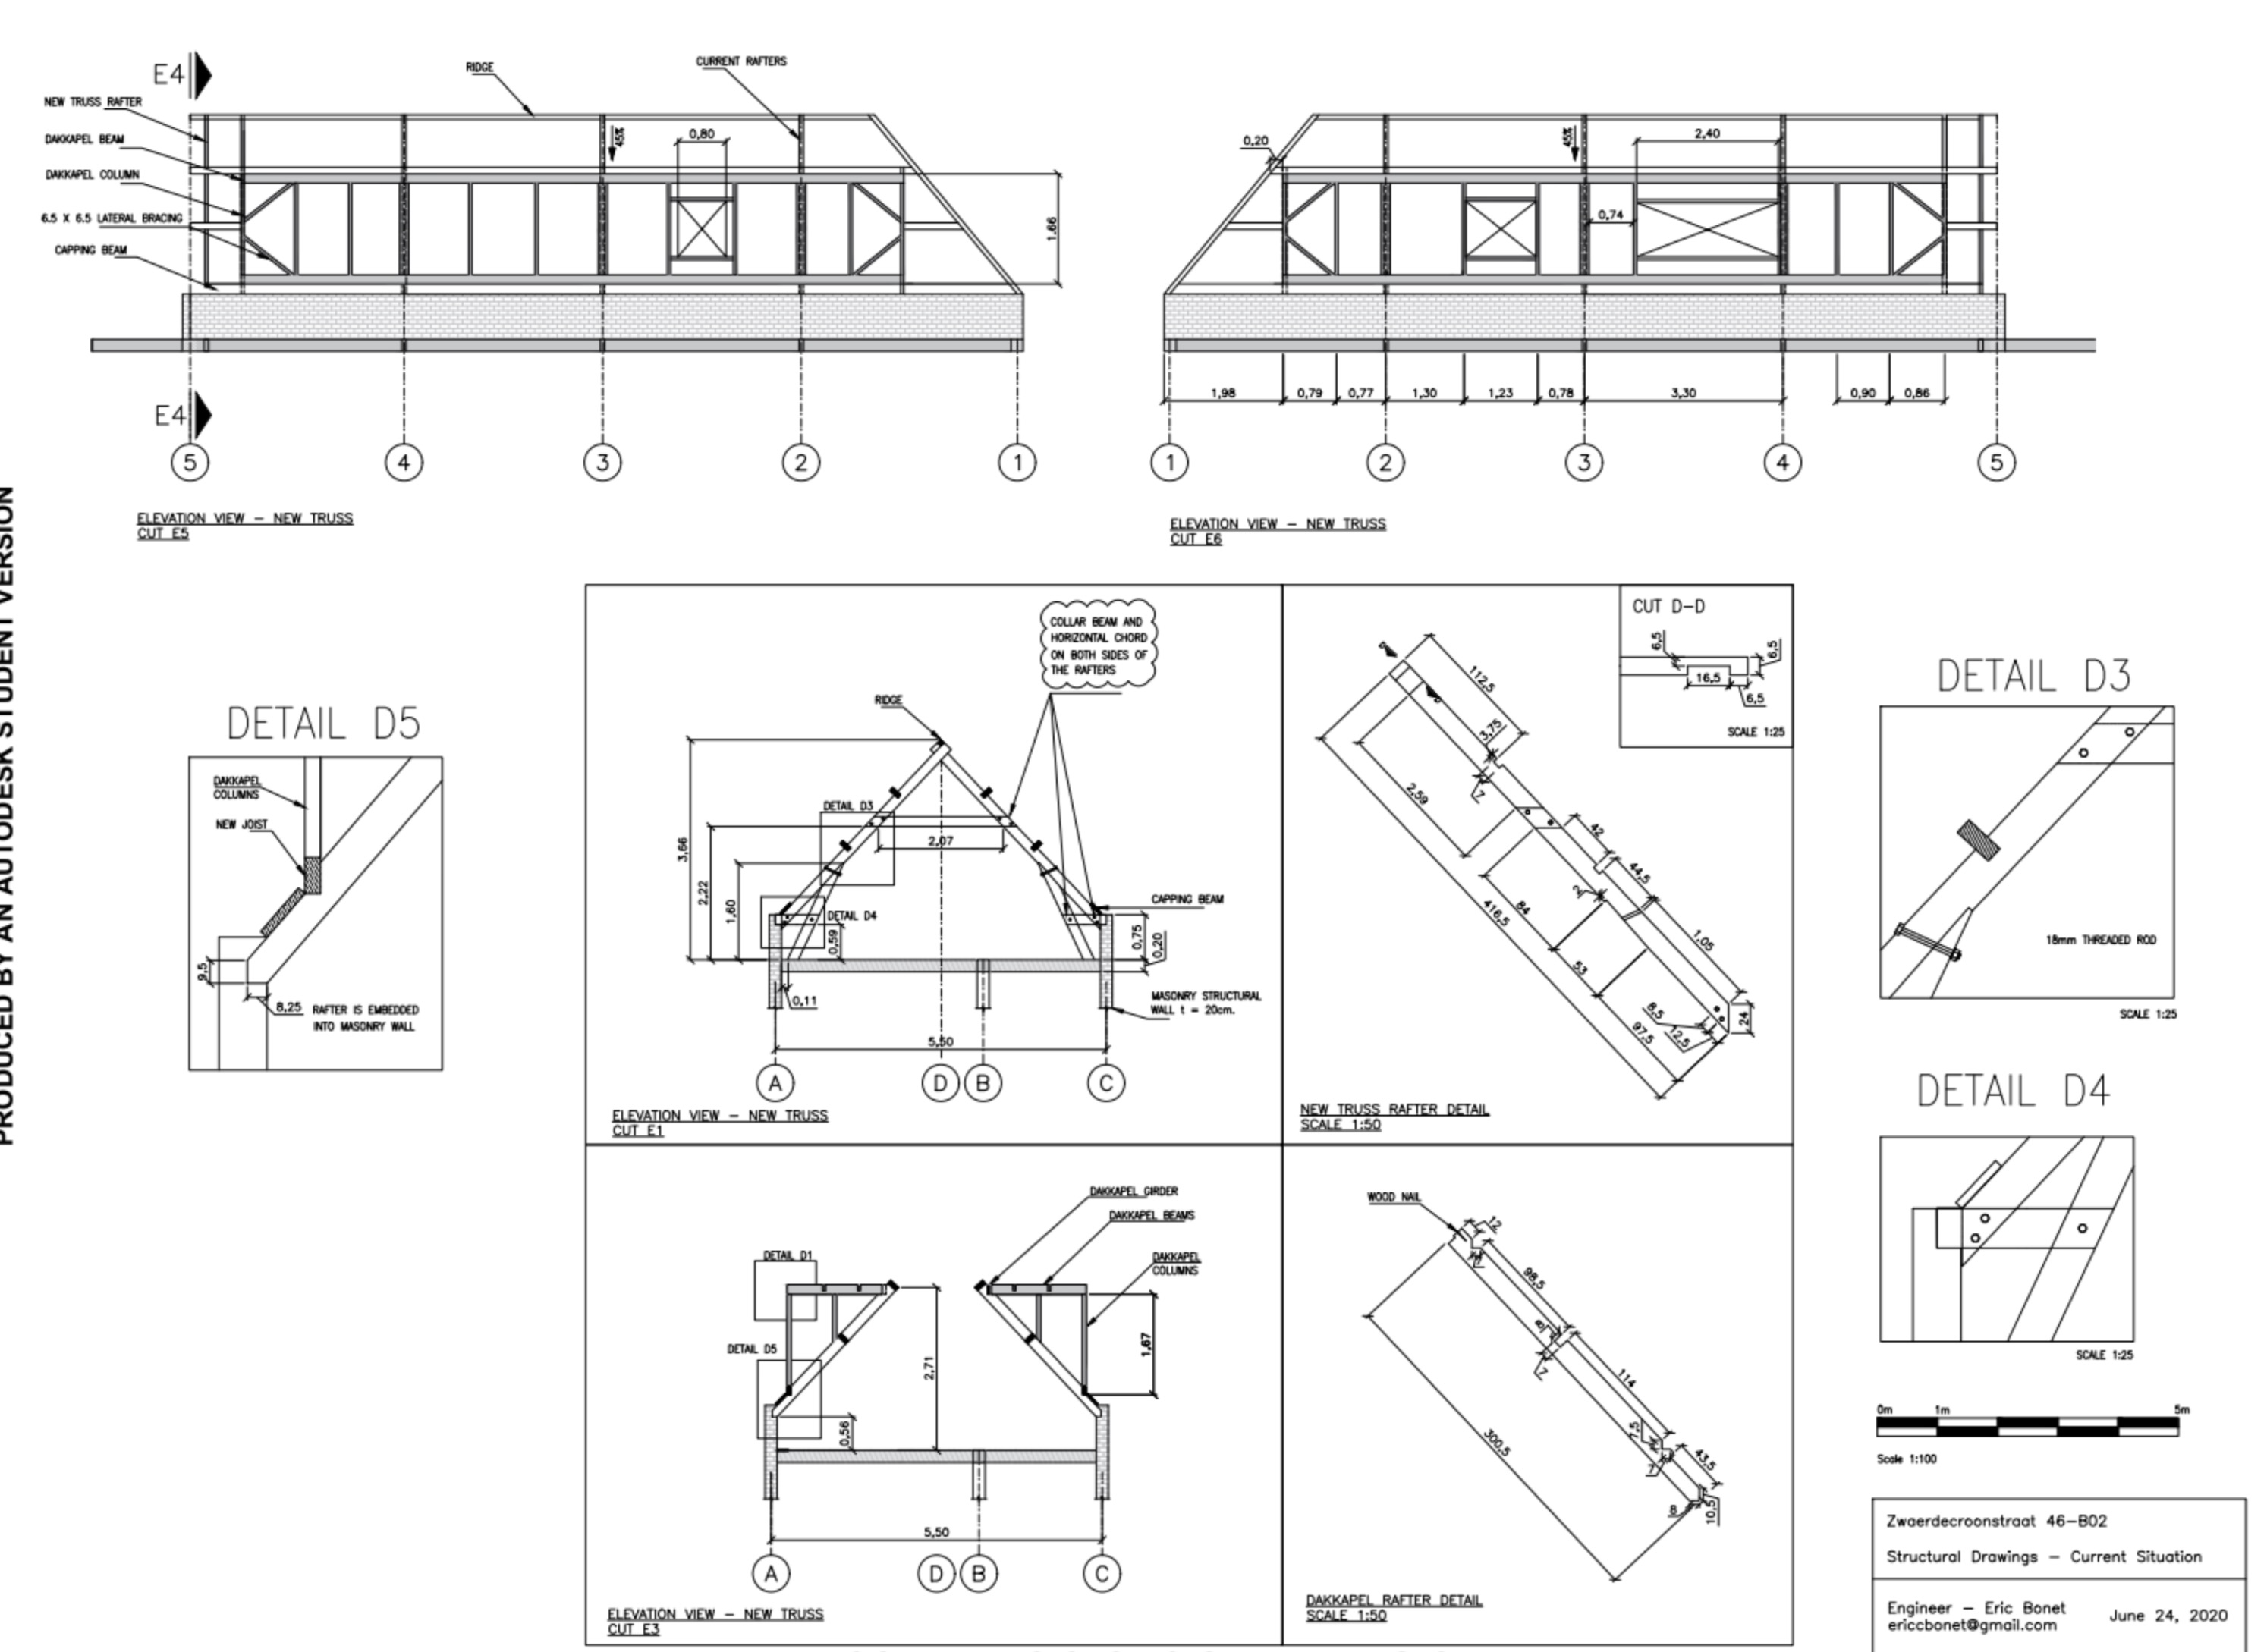
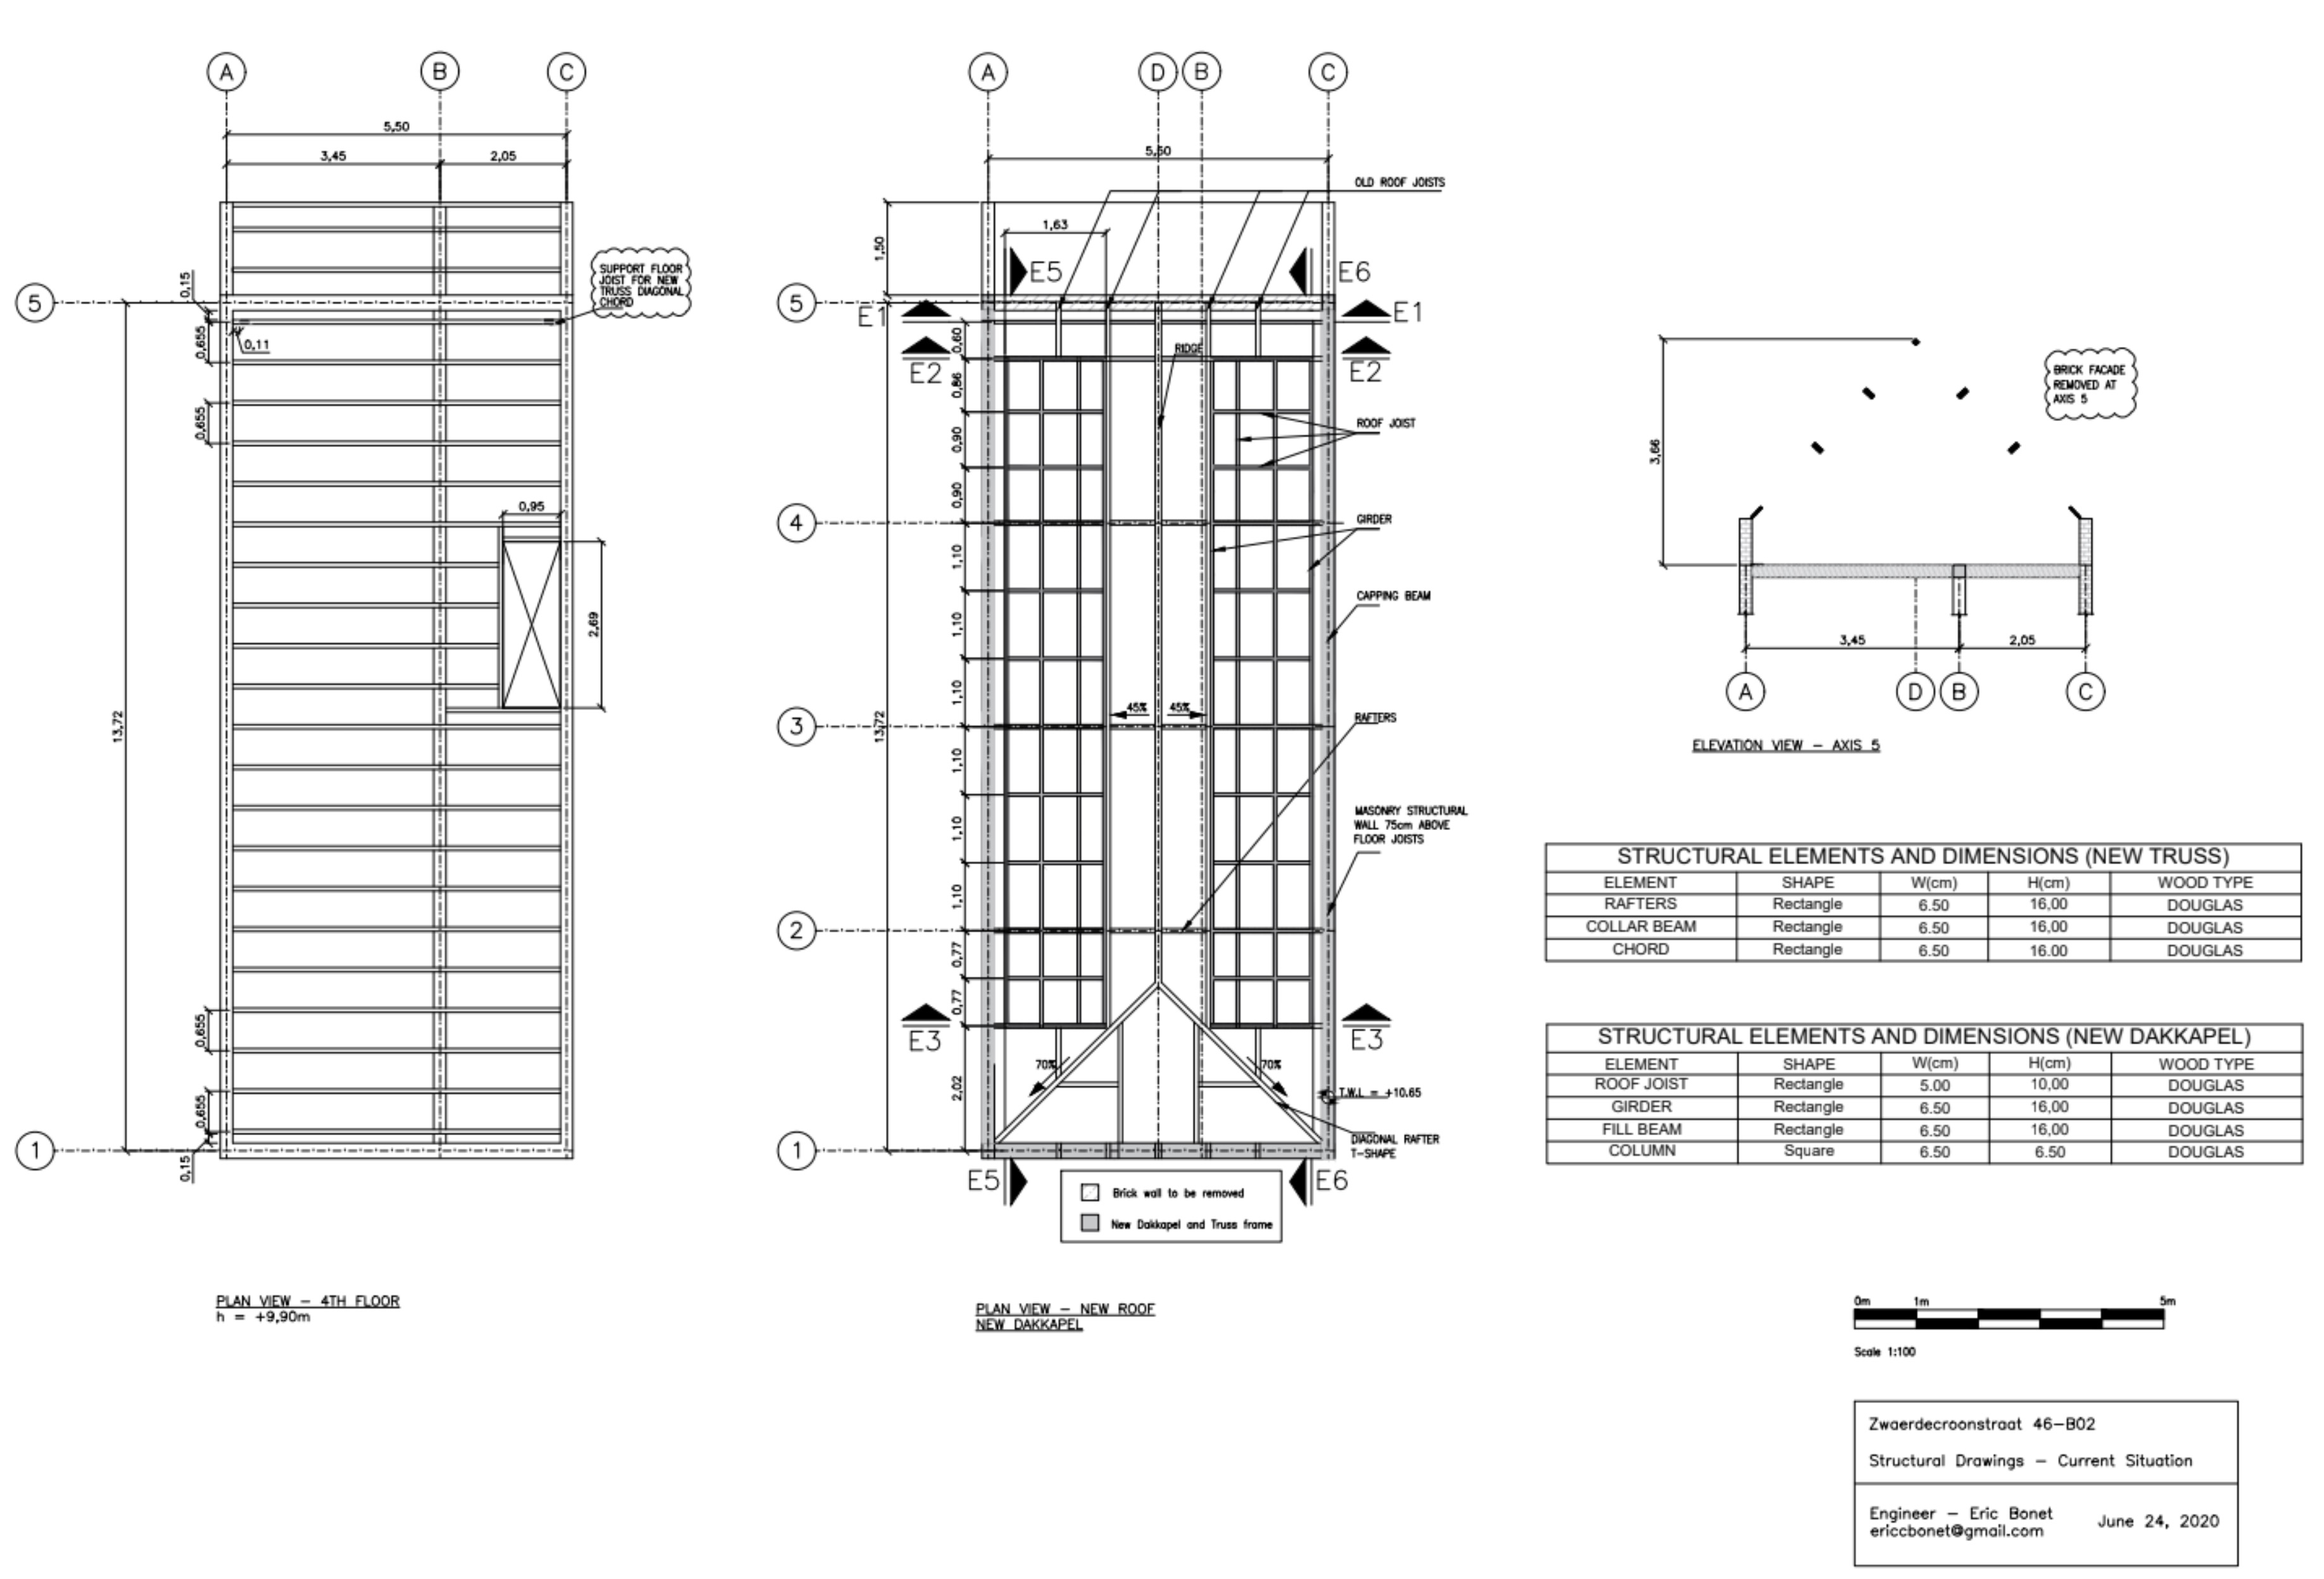
Created a new truss, in place, which would carry the loads from the roof and dormers once the exterior brick wall was removed.
Demolished the exterior brick wall.
Built a temporary facade to protect the interior from the elements until the new facade was installed.
Fixed the flooring where the old brick wall was removed.
Installed a beam to create the foundation for the future sliding door.
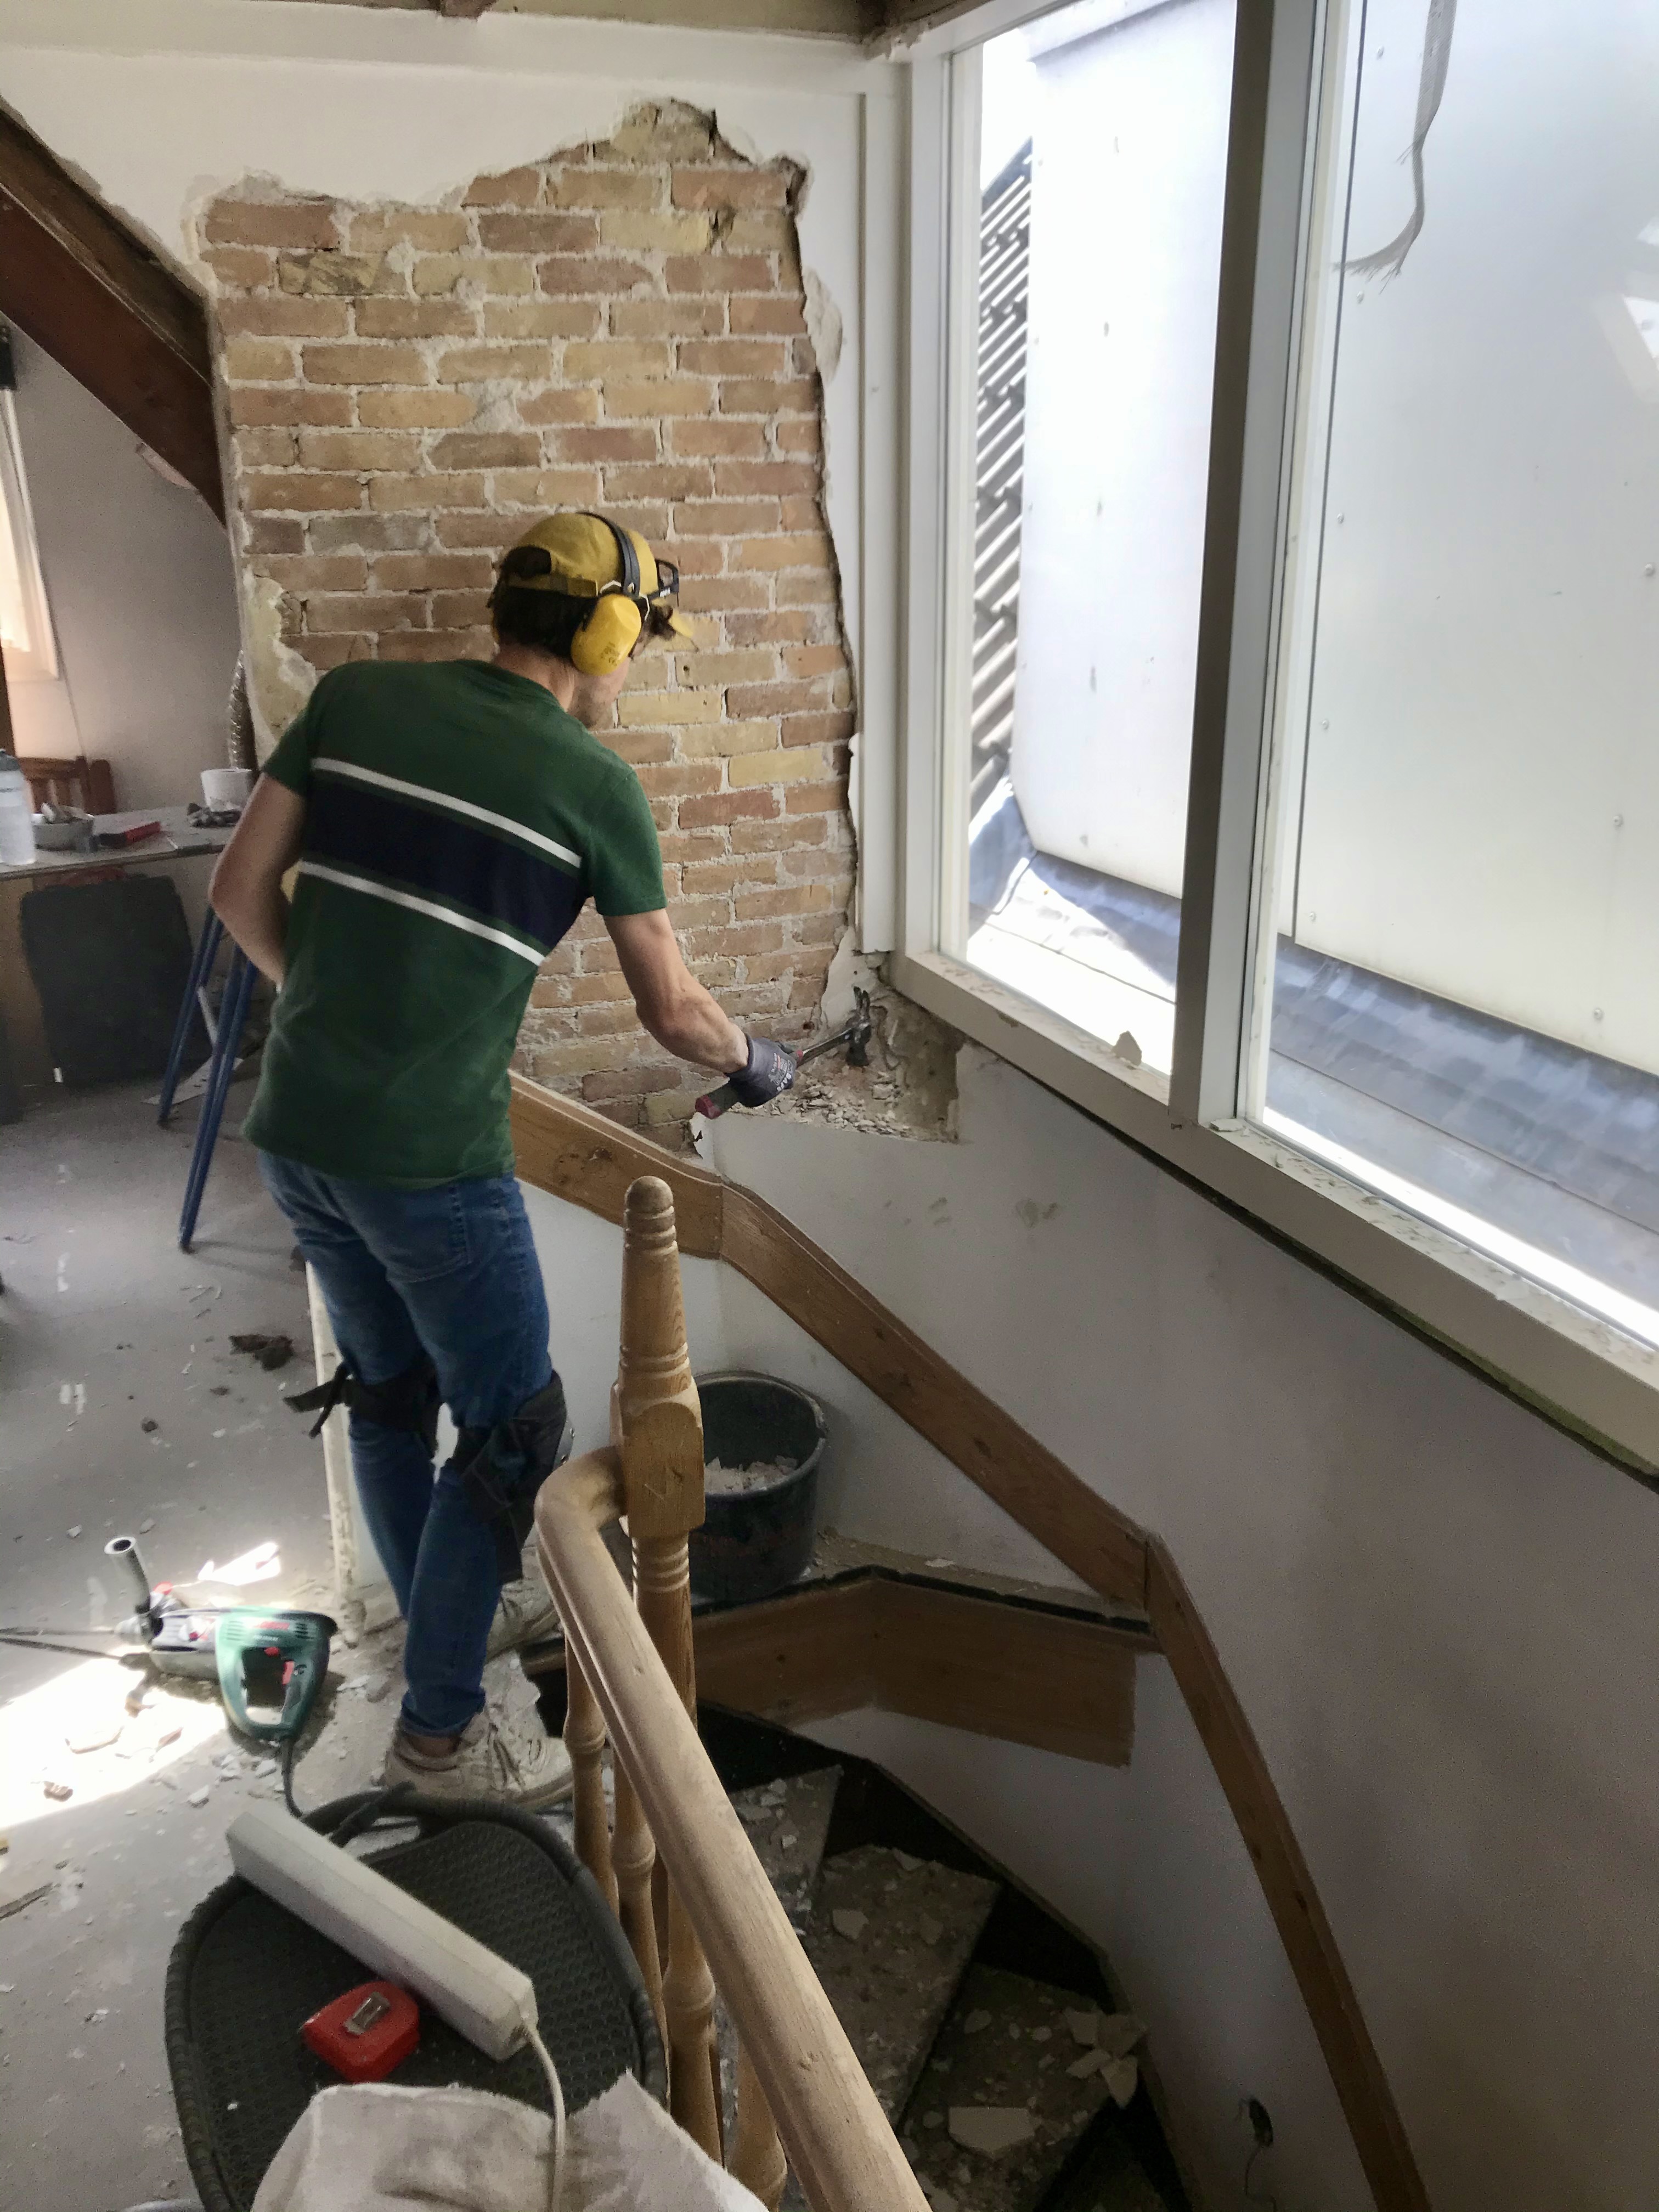
Removing plaster for easier wall demolition and prepping for floor repairs.
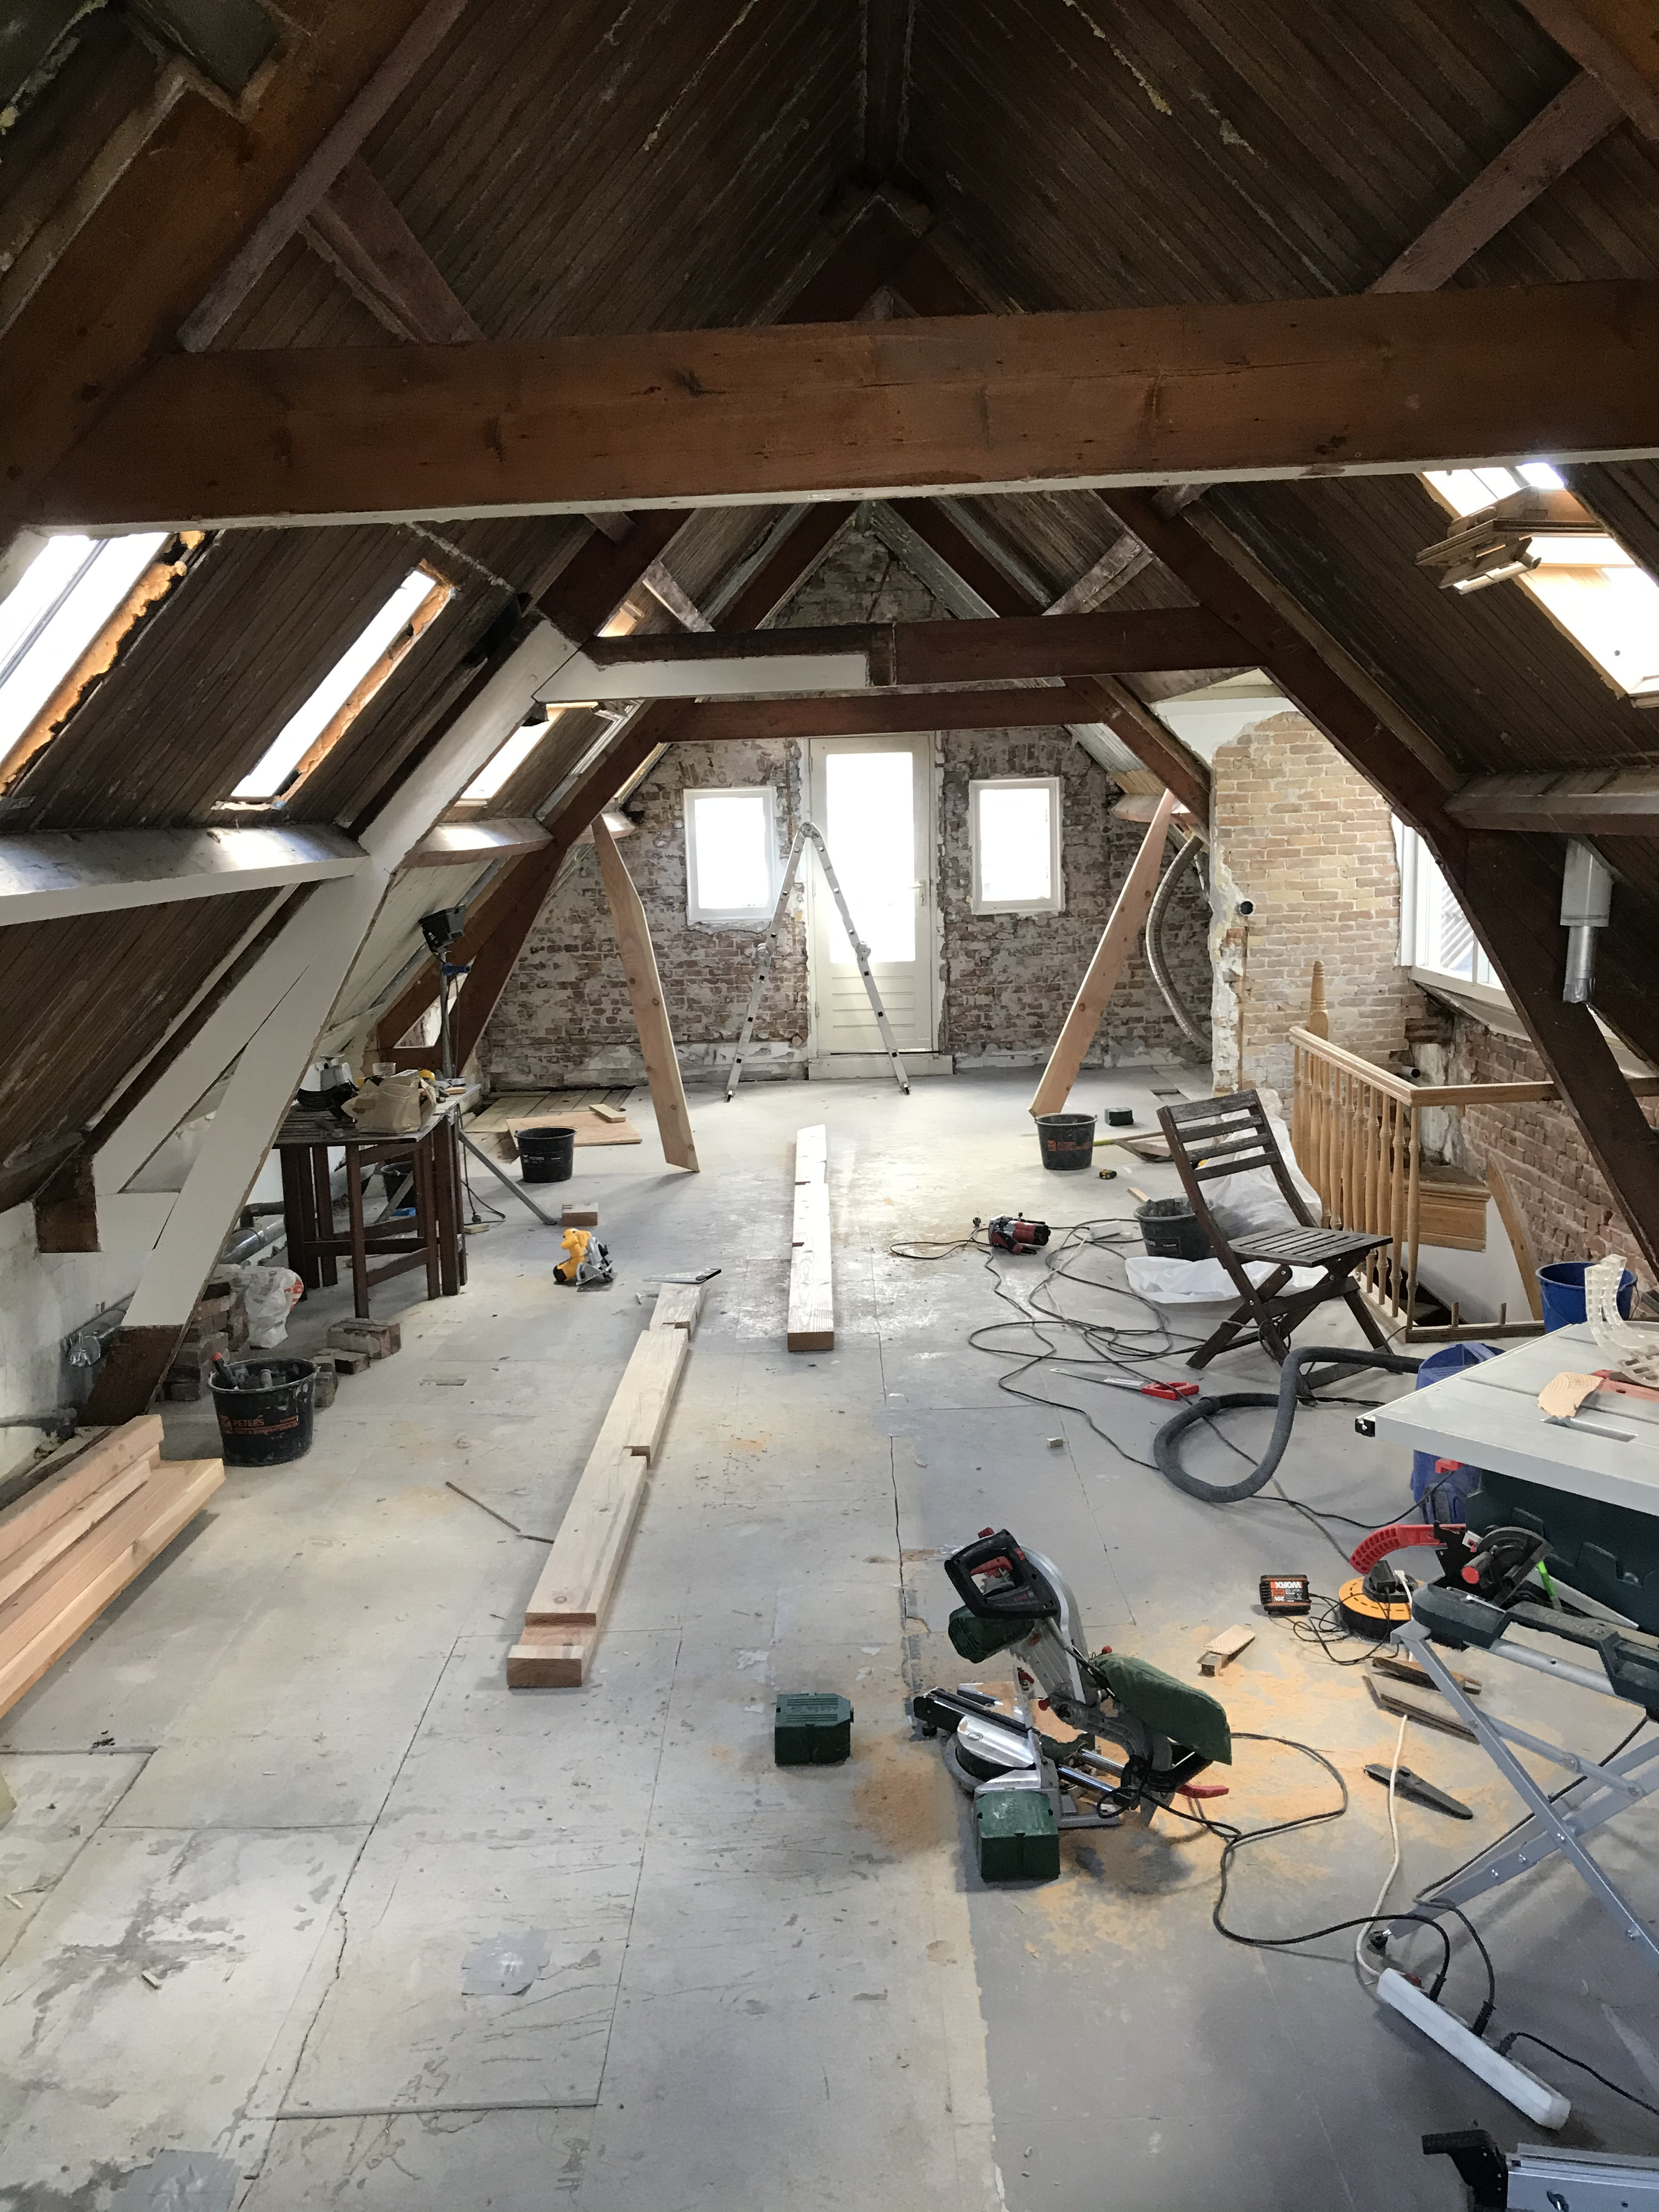
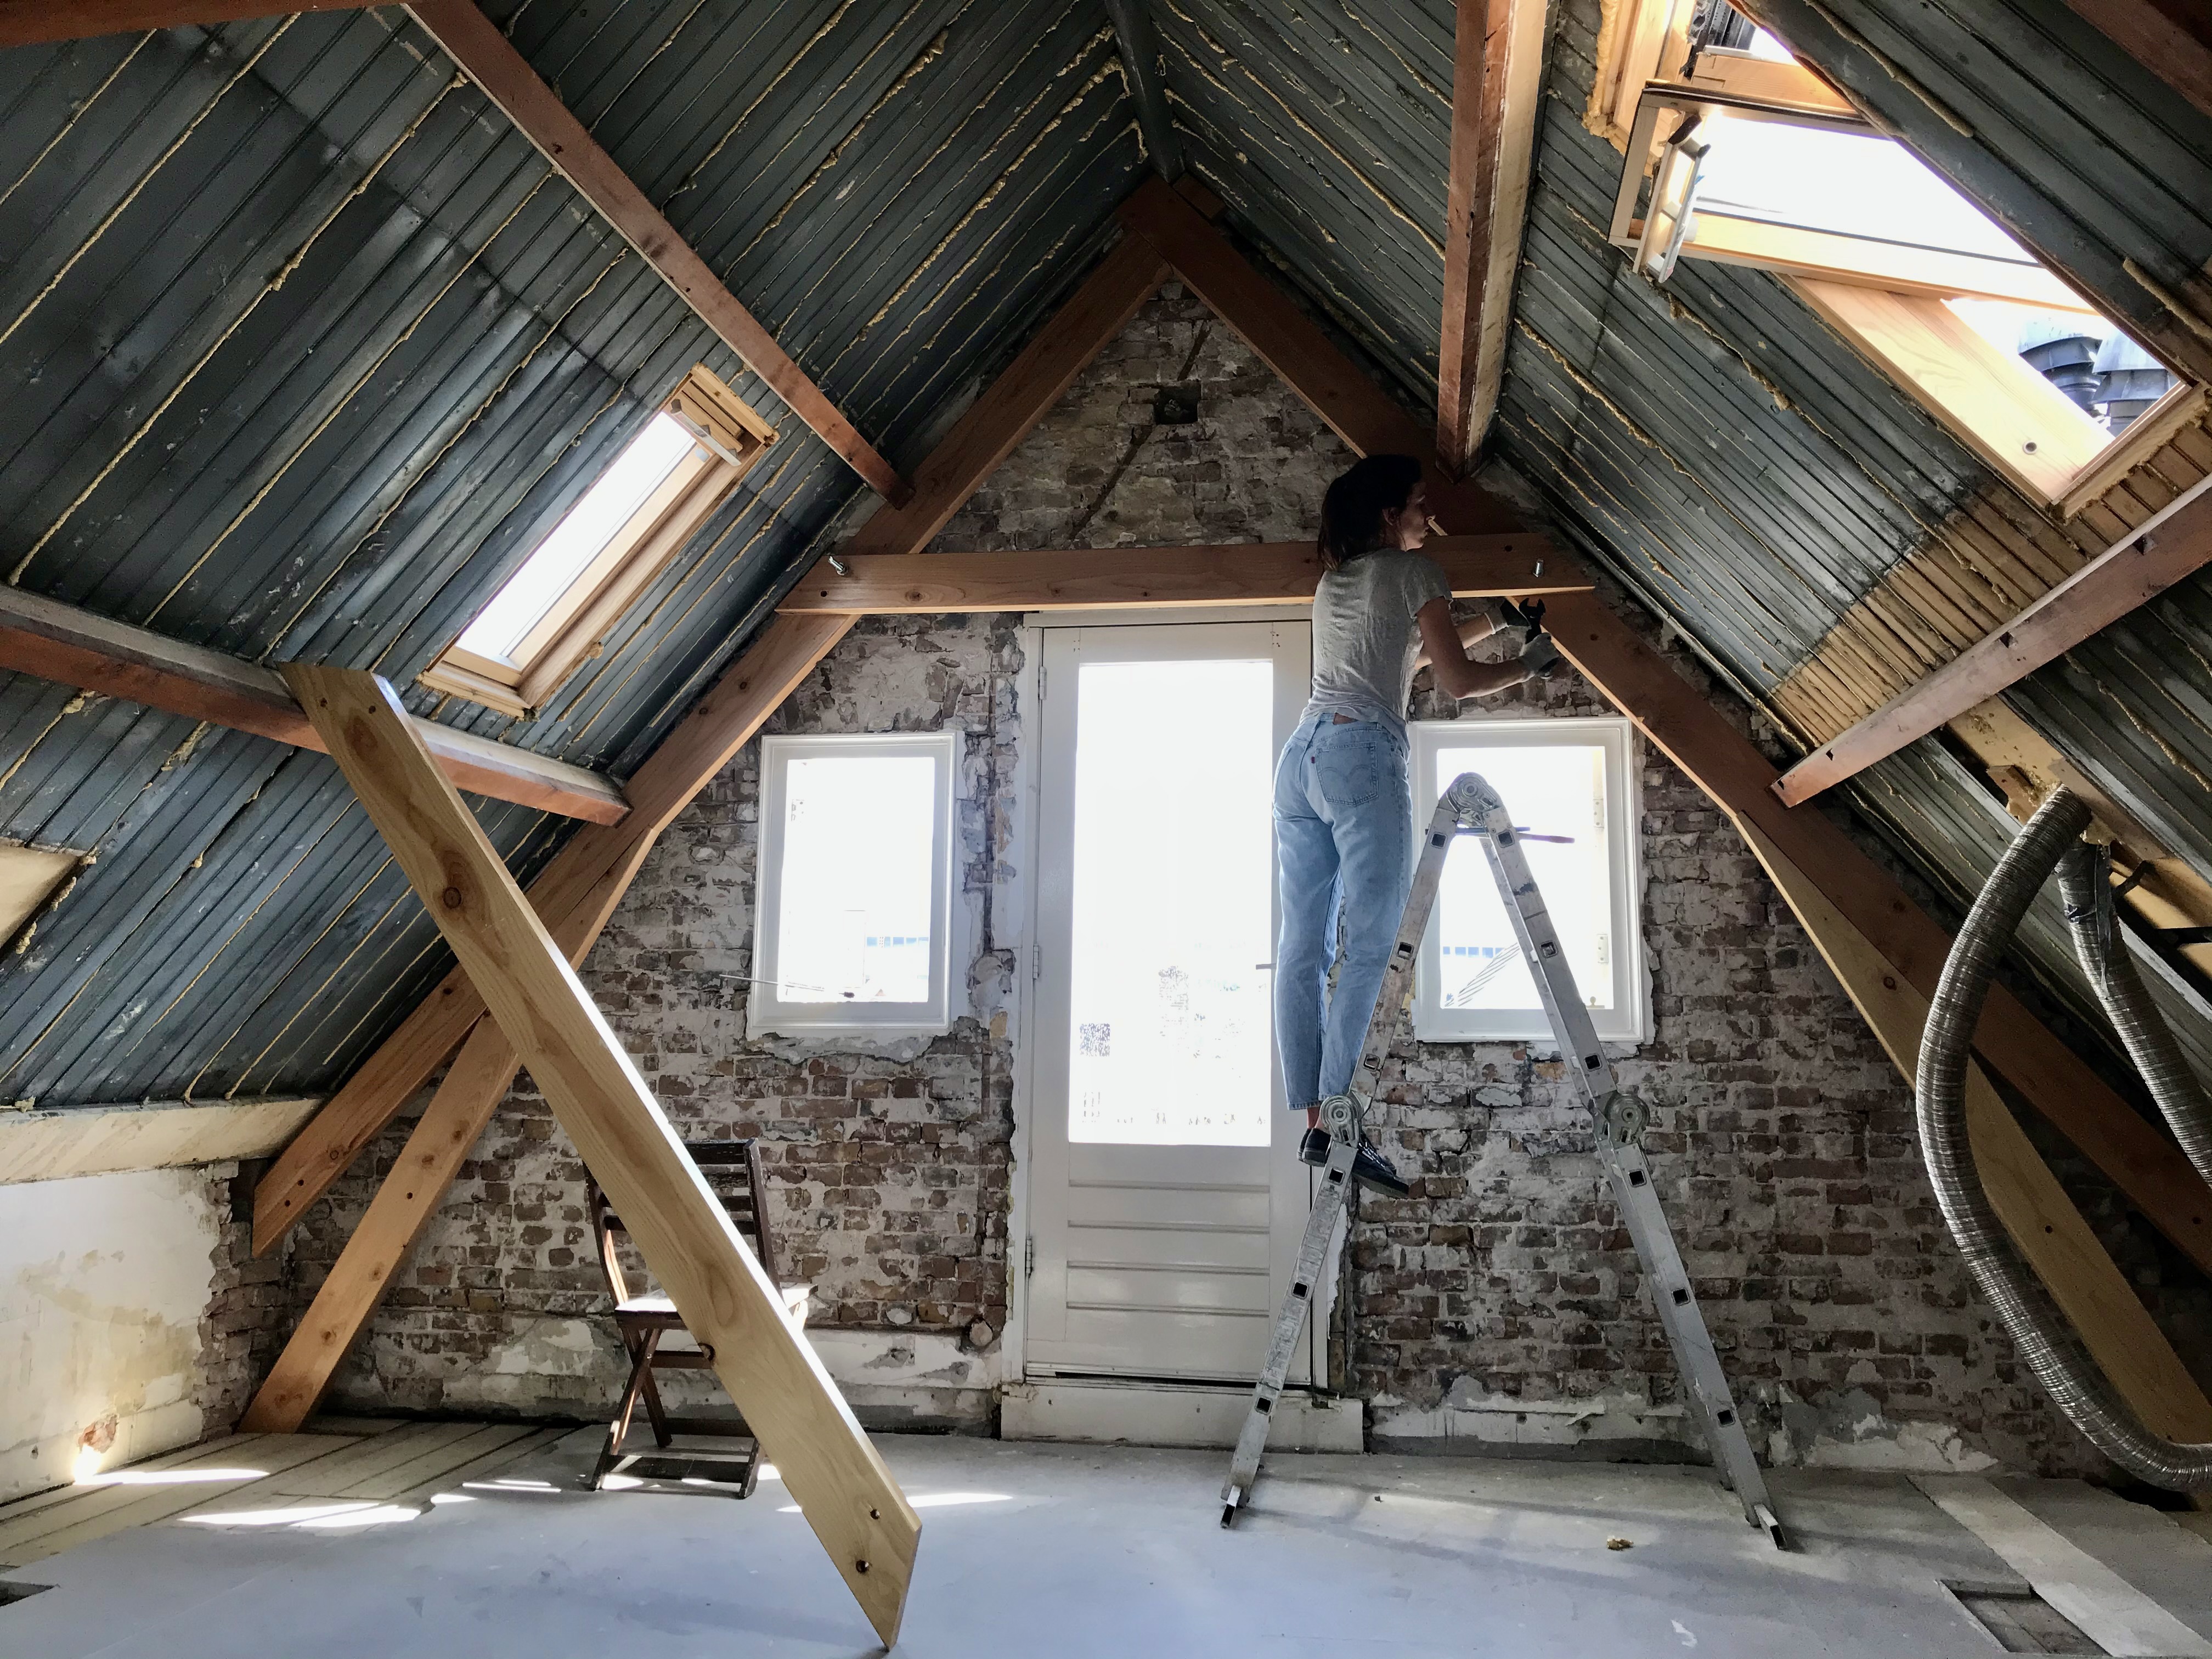
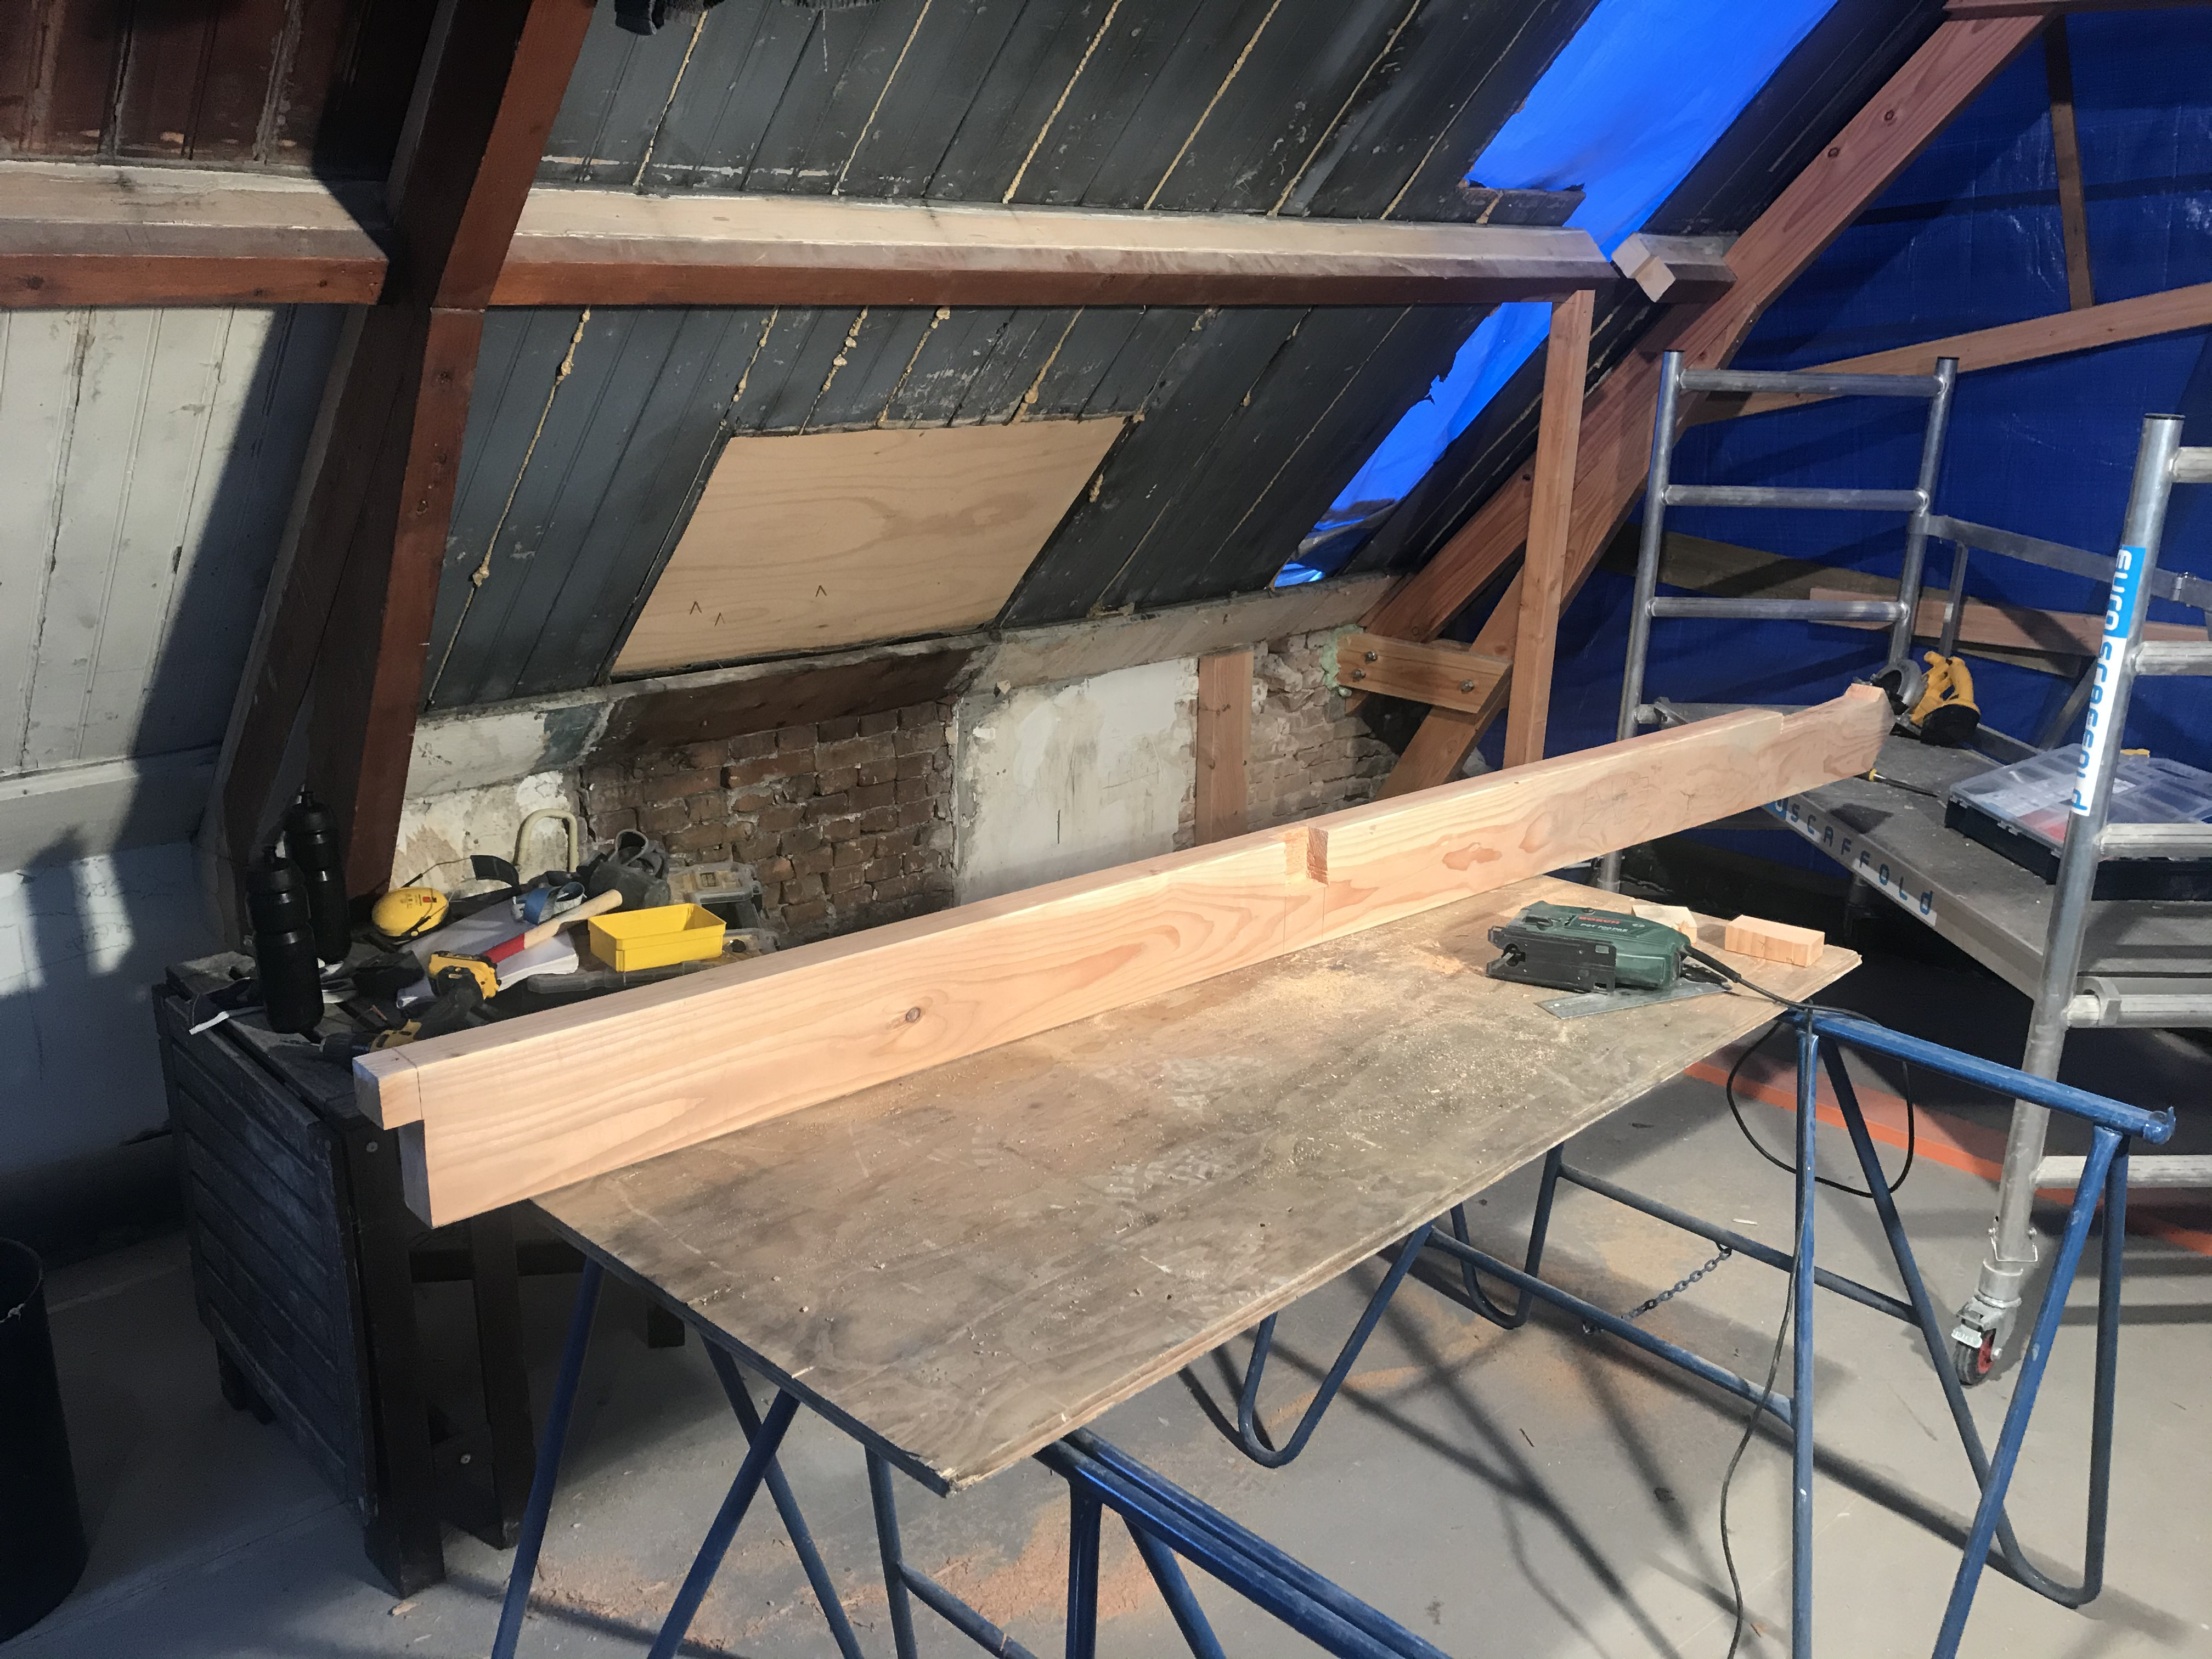
A major milestone: bringing the truss wood up. Before this we were only taking things down.
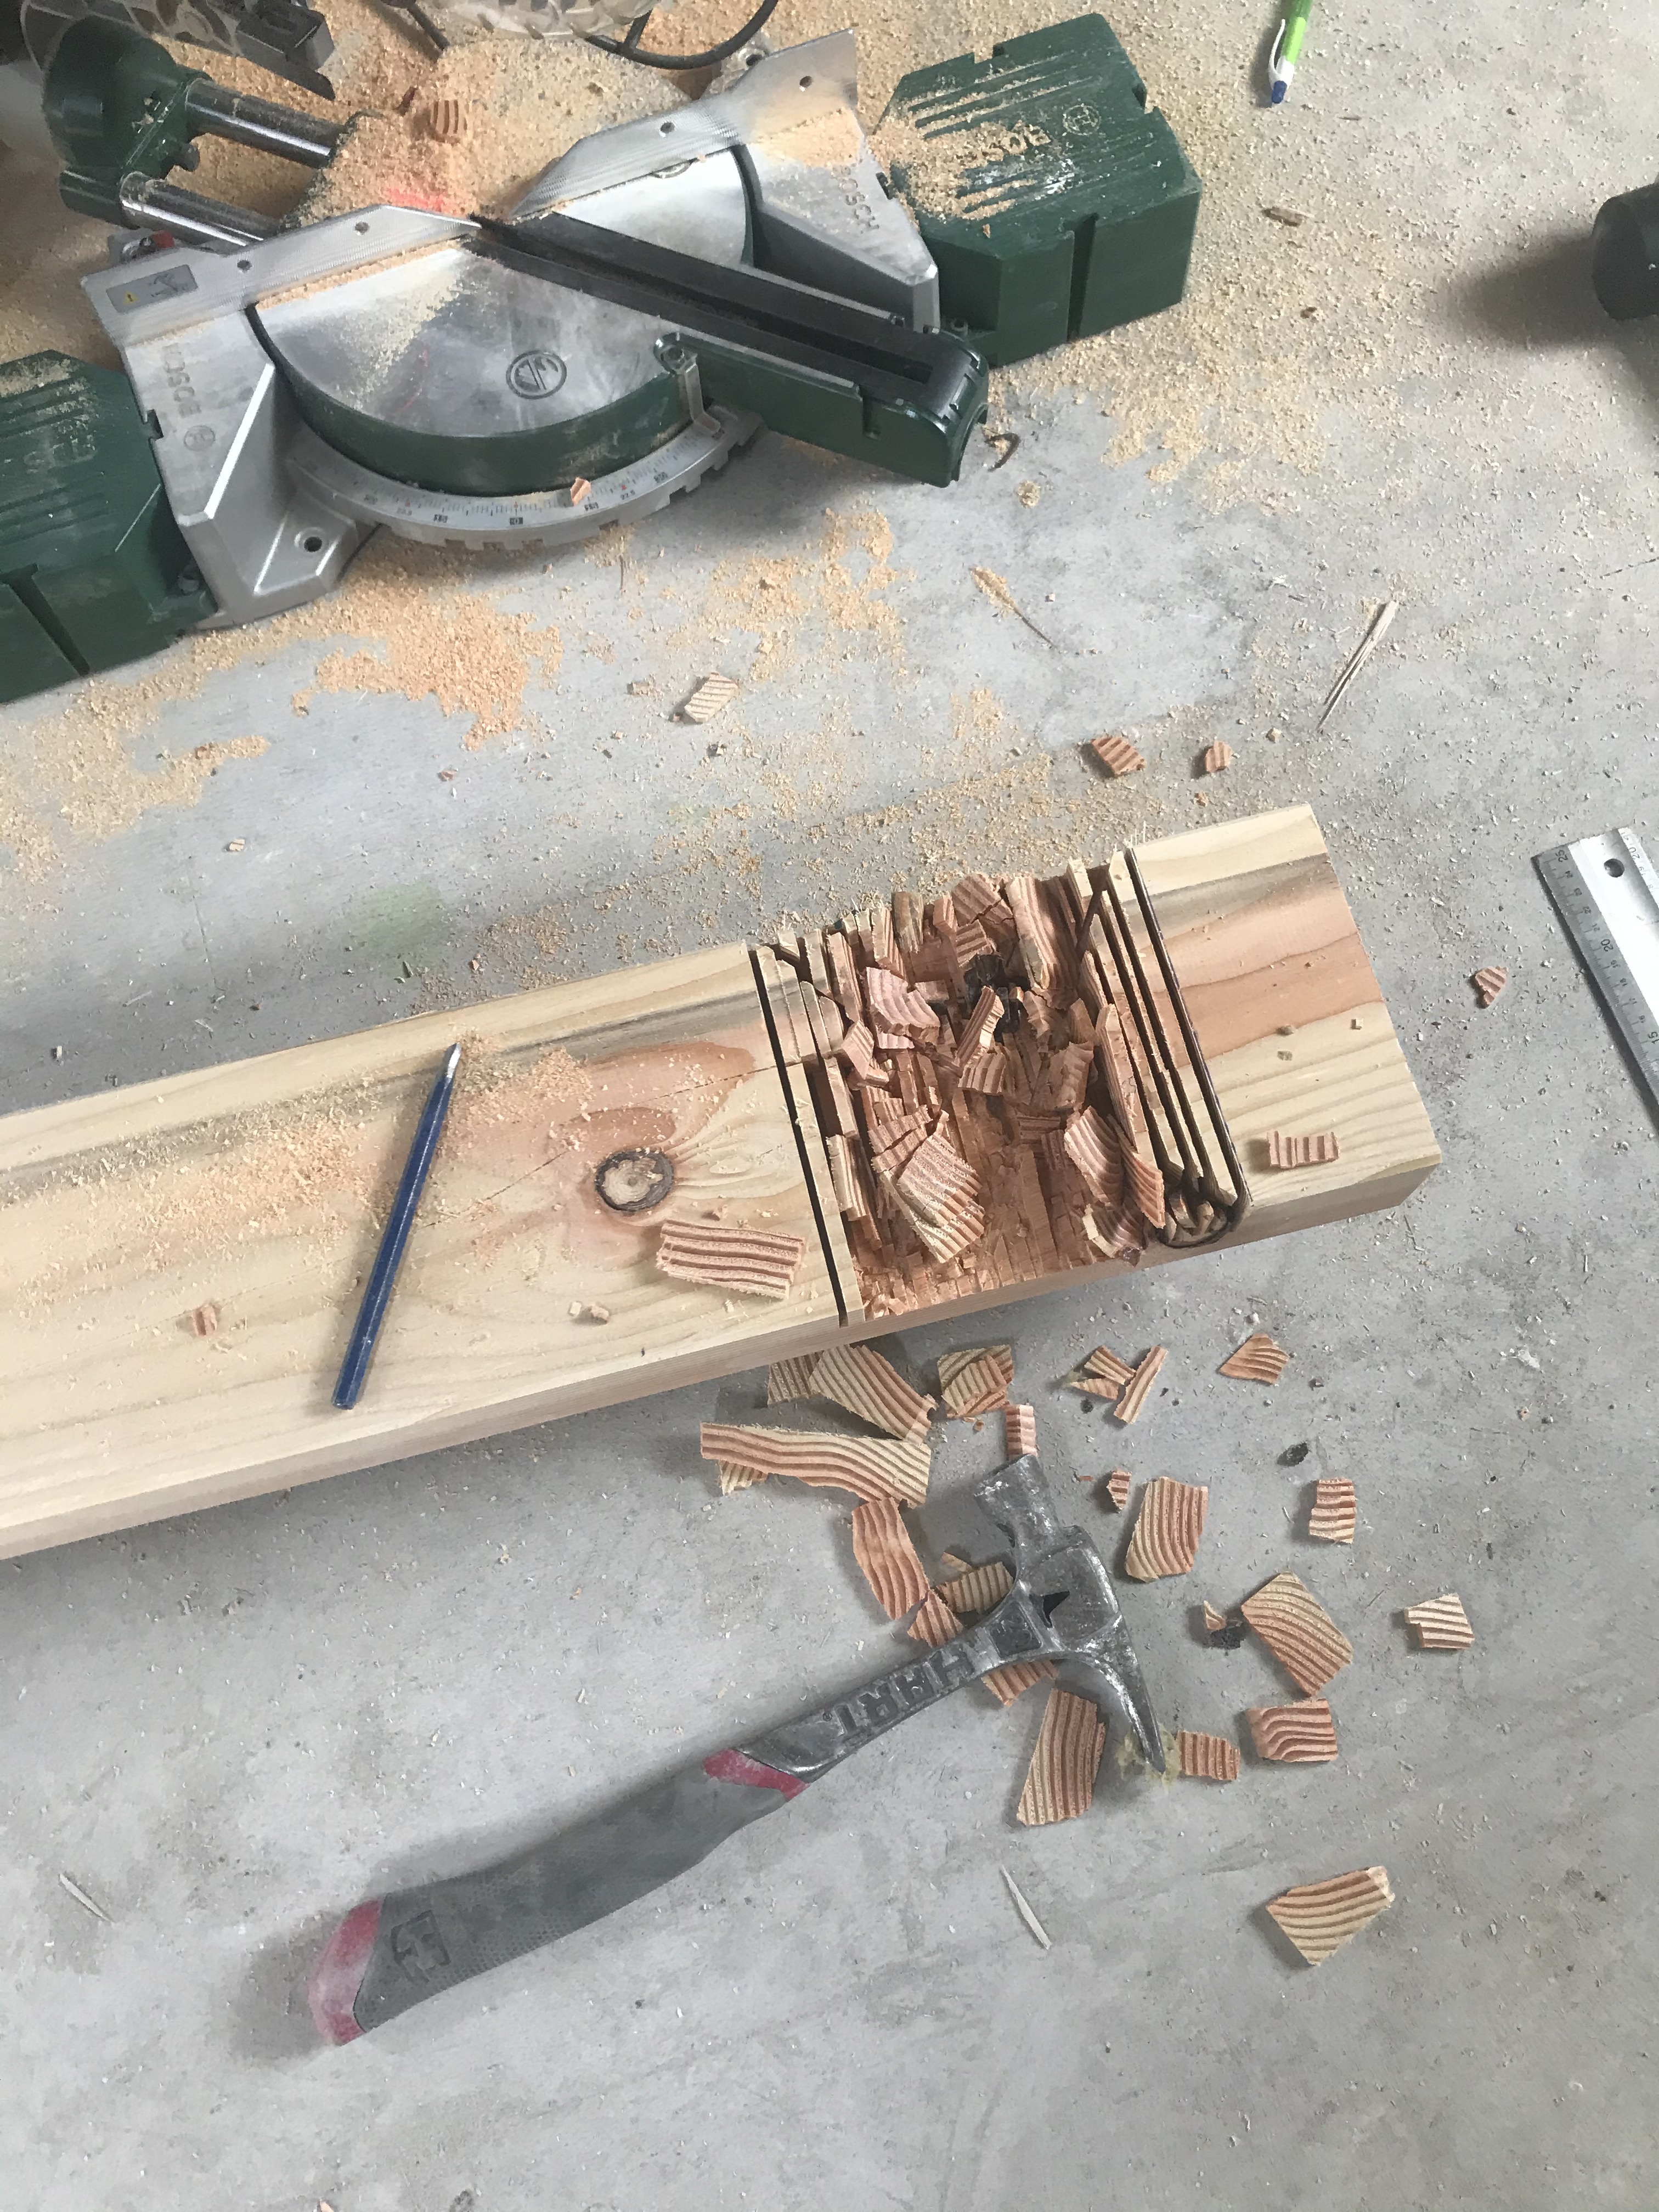
Fabricating where the top of the rafters will connect
Cutting and chiseling away excess wood after initial cuts.
The first attempt at a rafter, which failed was used as a template.
In hindsight having the whole space as my private workshop was a luxury, I miss that at times now
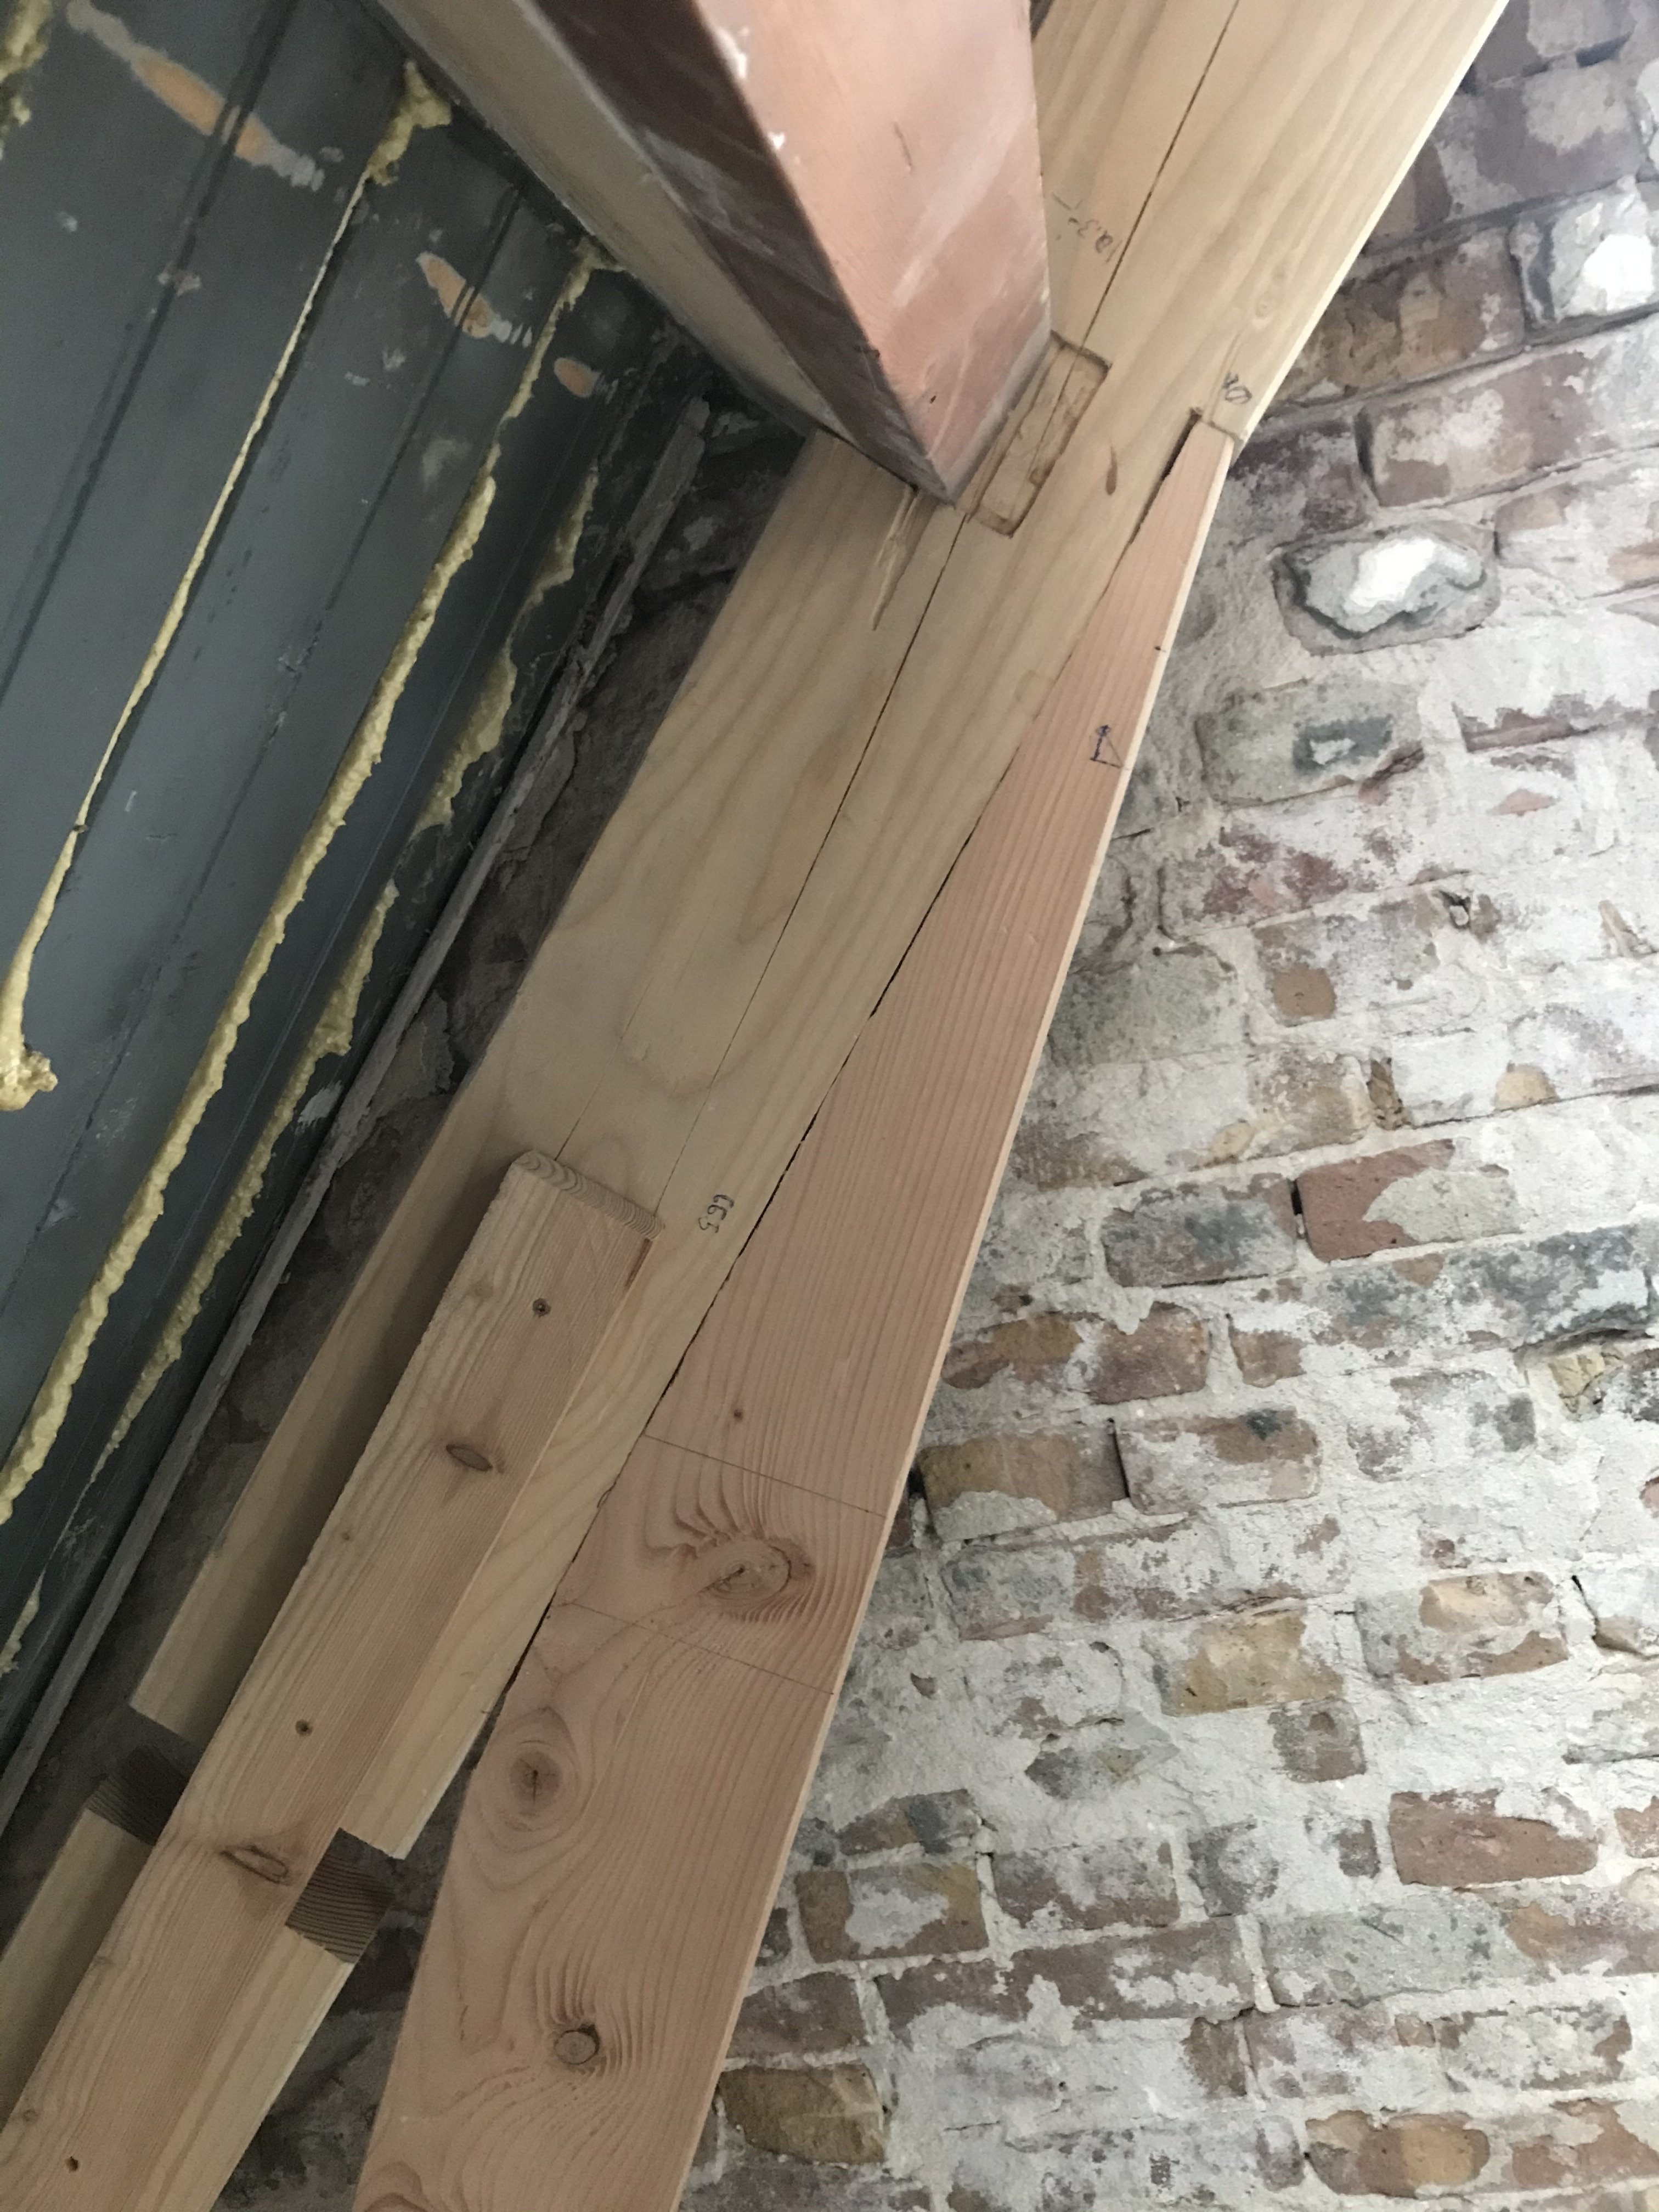
A lot of thought went into the truss design.
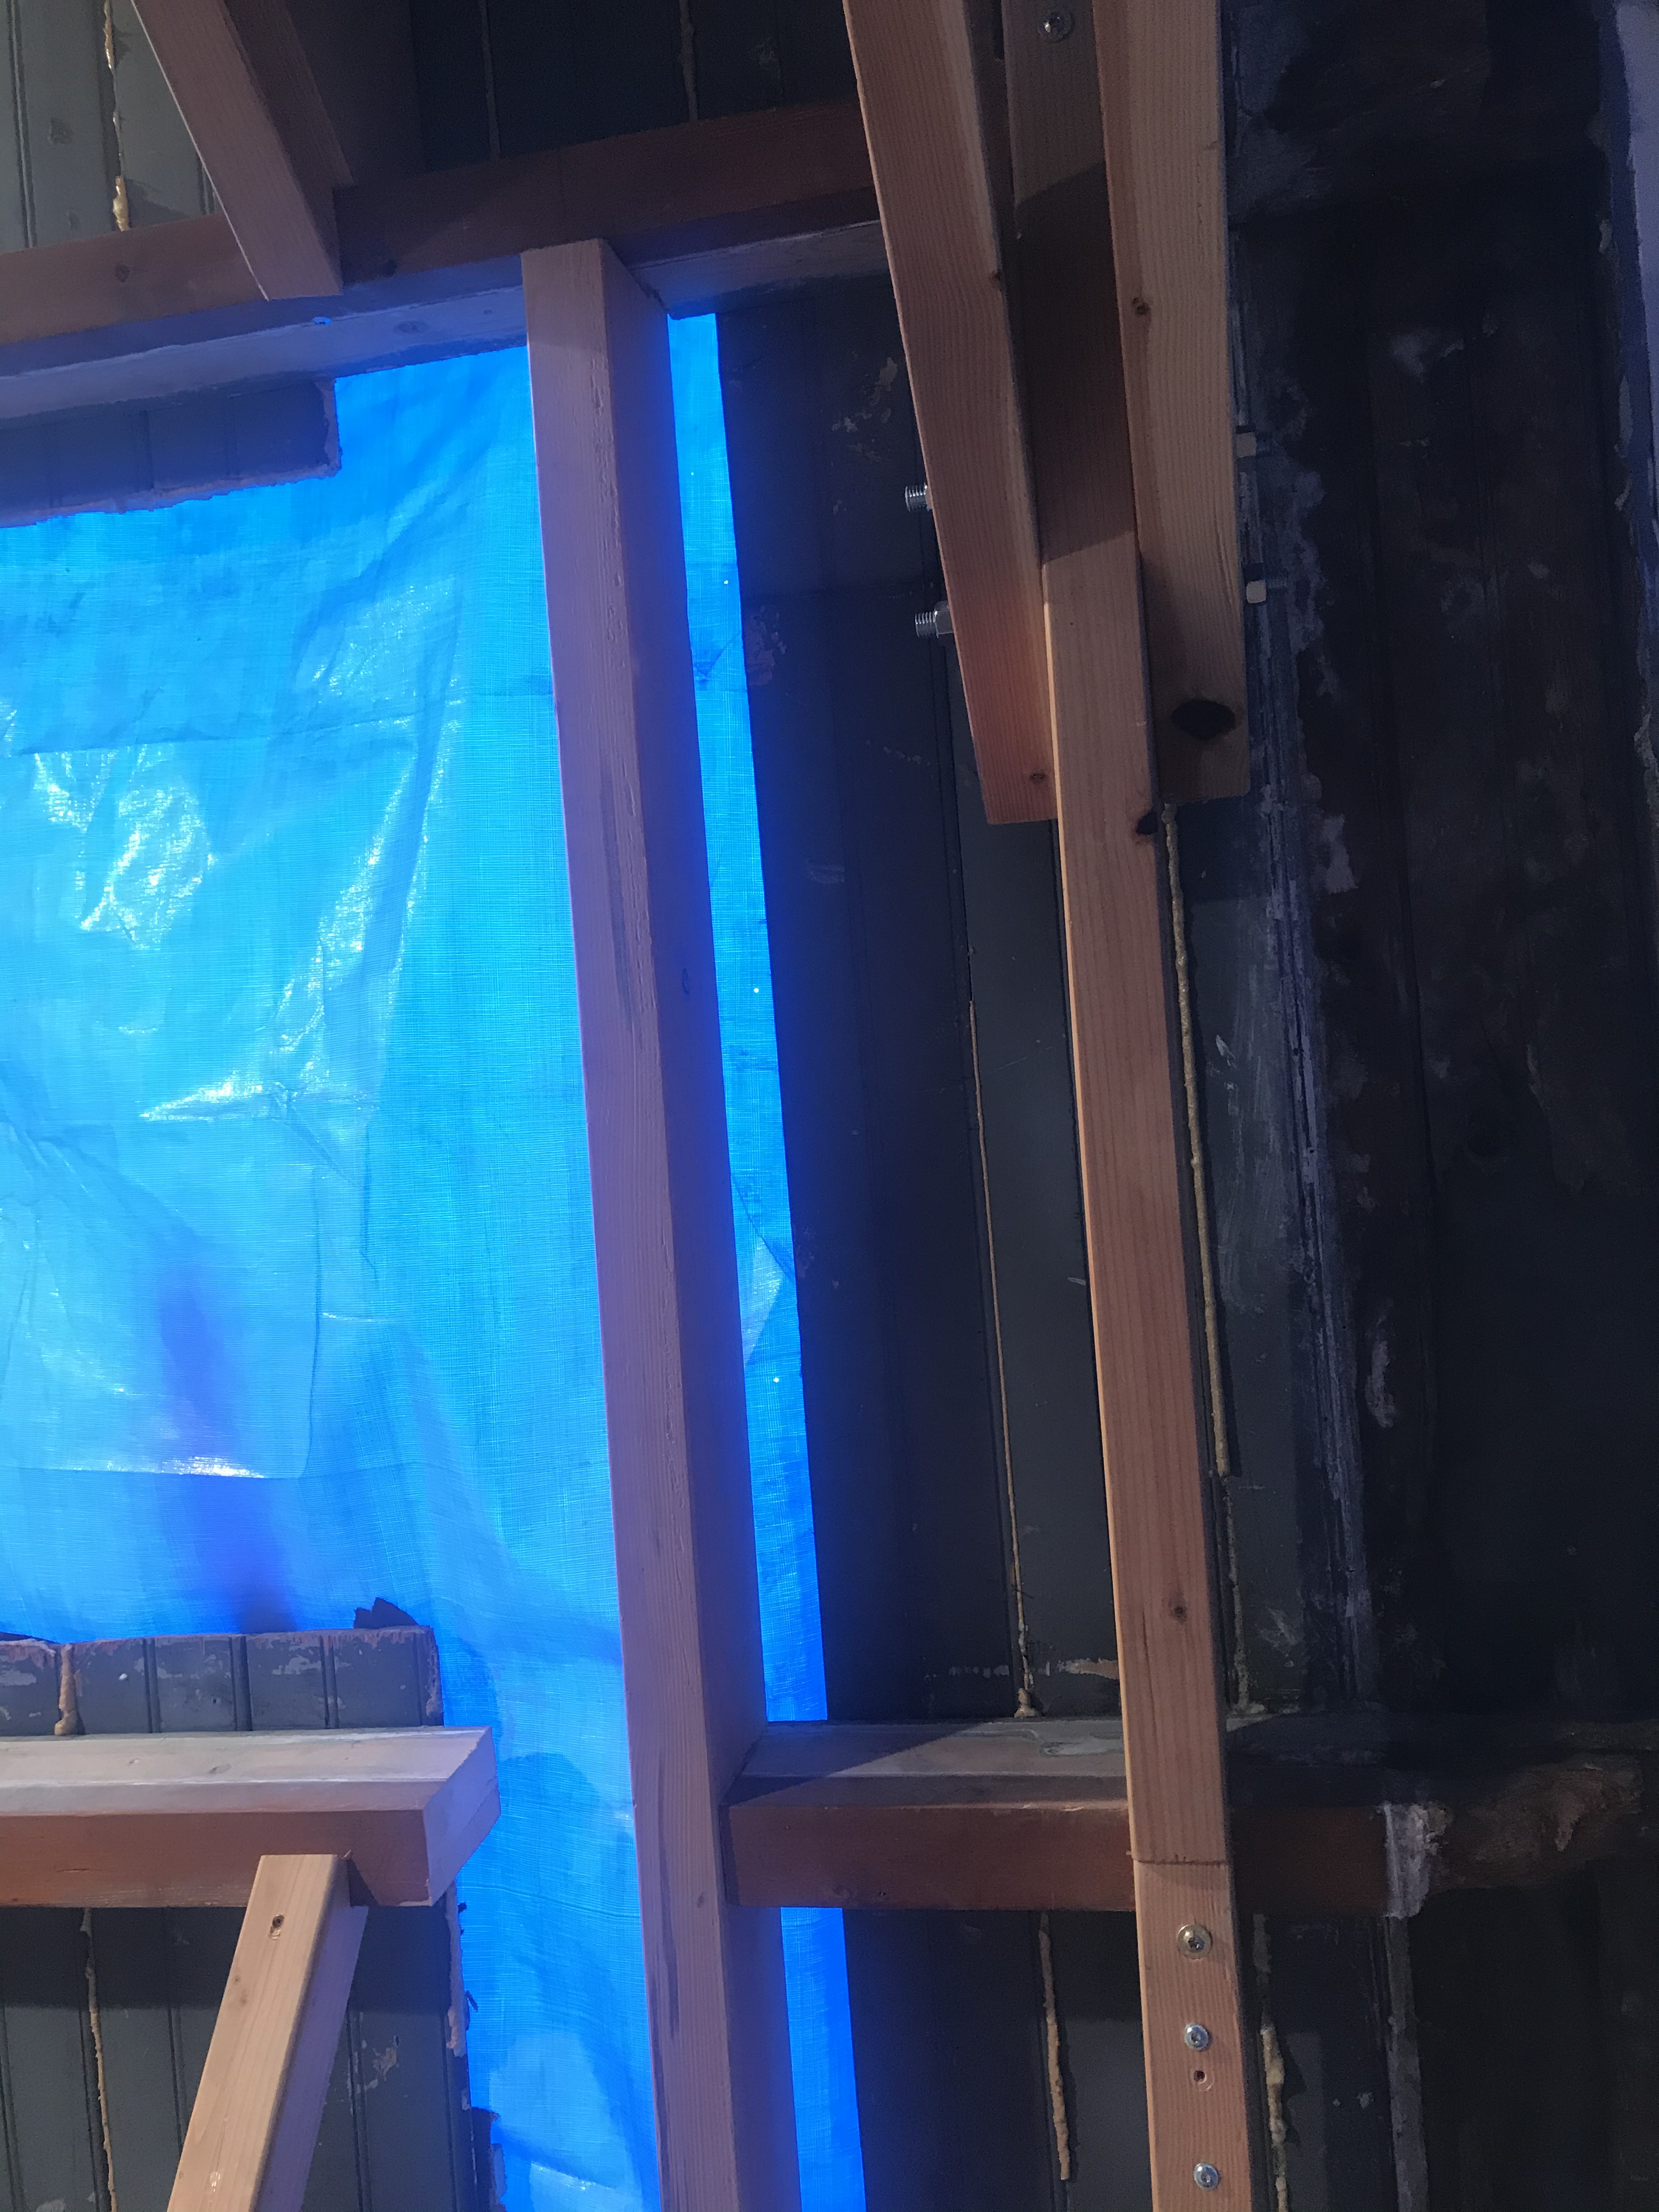
Since the truss was built in place, I sandwiched the rafter and strut together. In theory, this was not necessary because all the load should be transferred through the strut, but this was the geometry the original trusses had, and it would keep the truss together if there was some out-of-plane force.
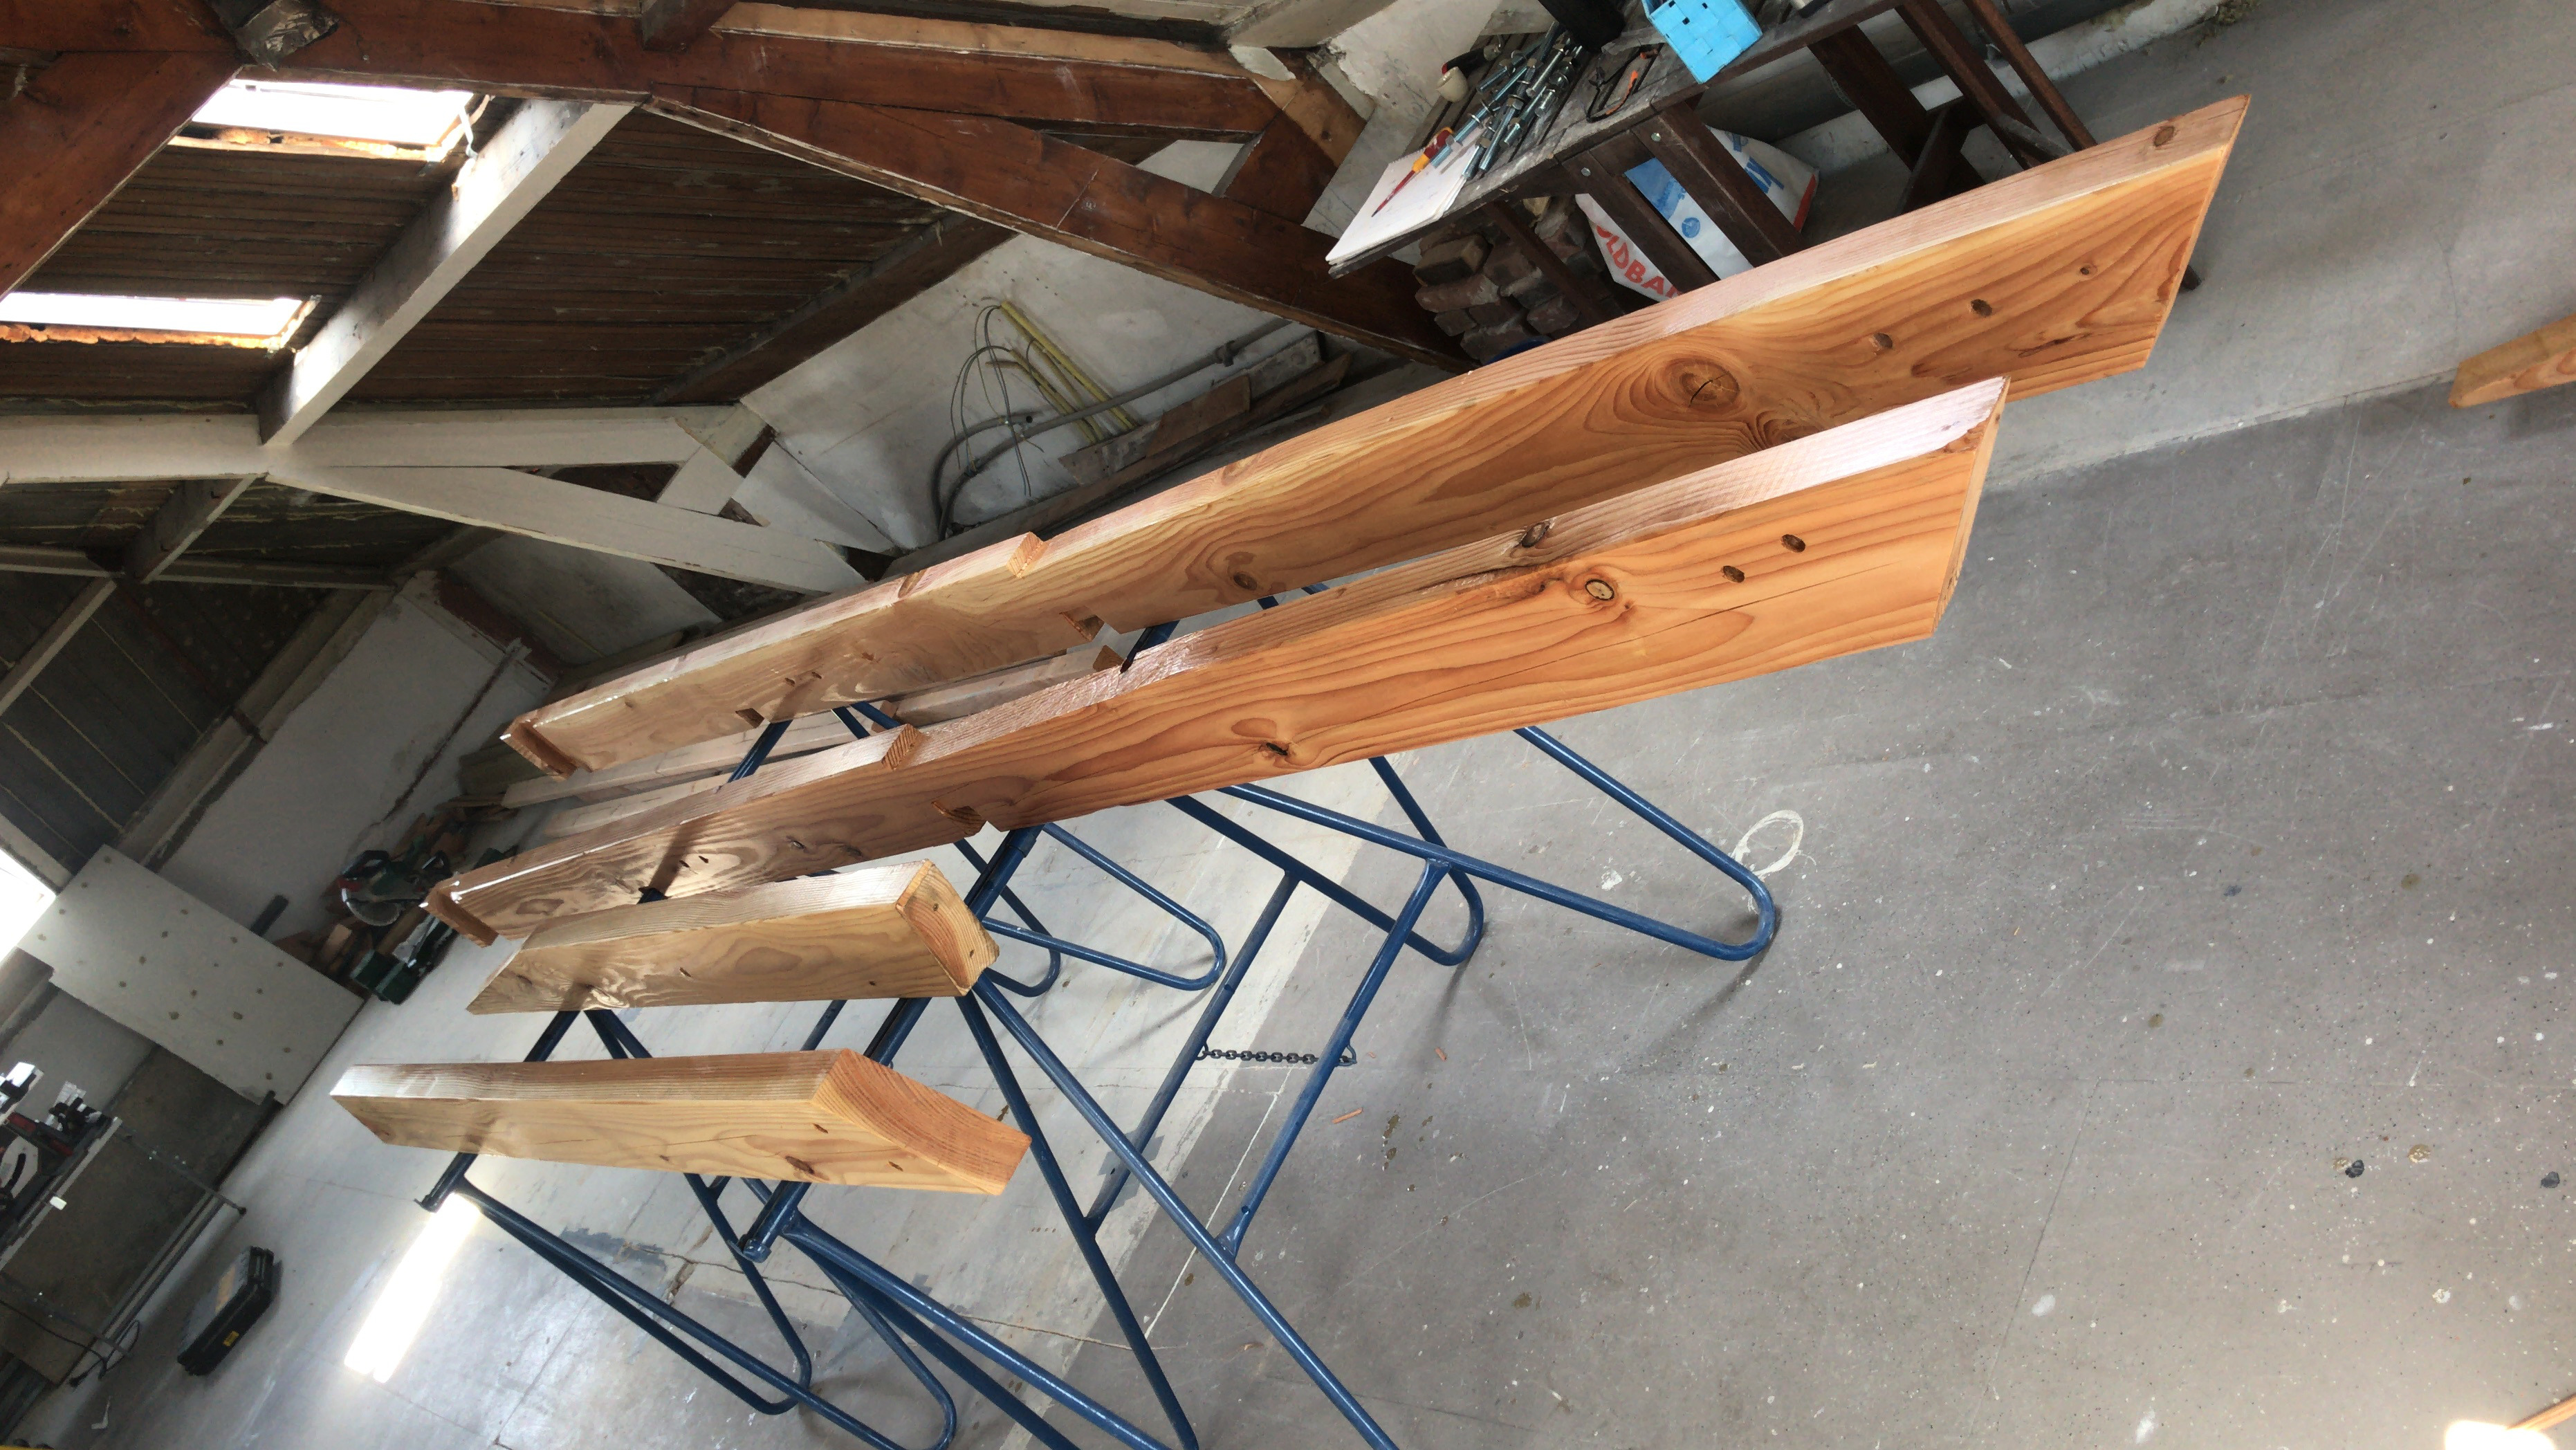
Bolted together, but needing final cuts and painting.
Using boat paint to preserve the wood color (wish we used white - sun exposure is causing graying).
Here, we’re doing the final assembly of the truss. The top chord also sandwiched the rafters.
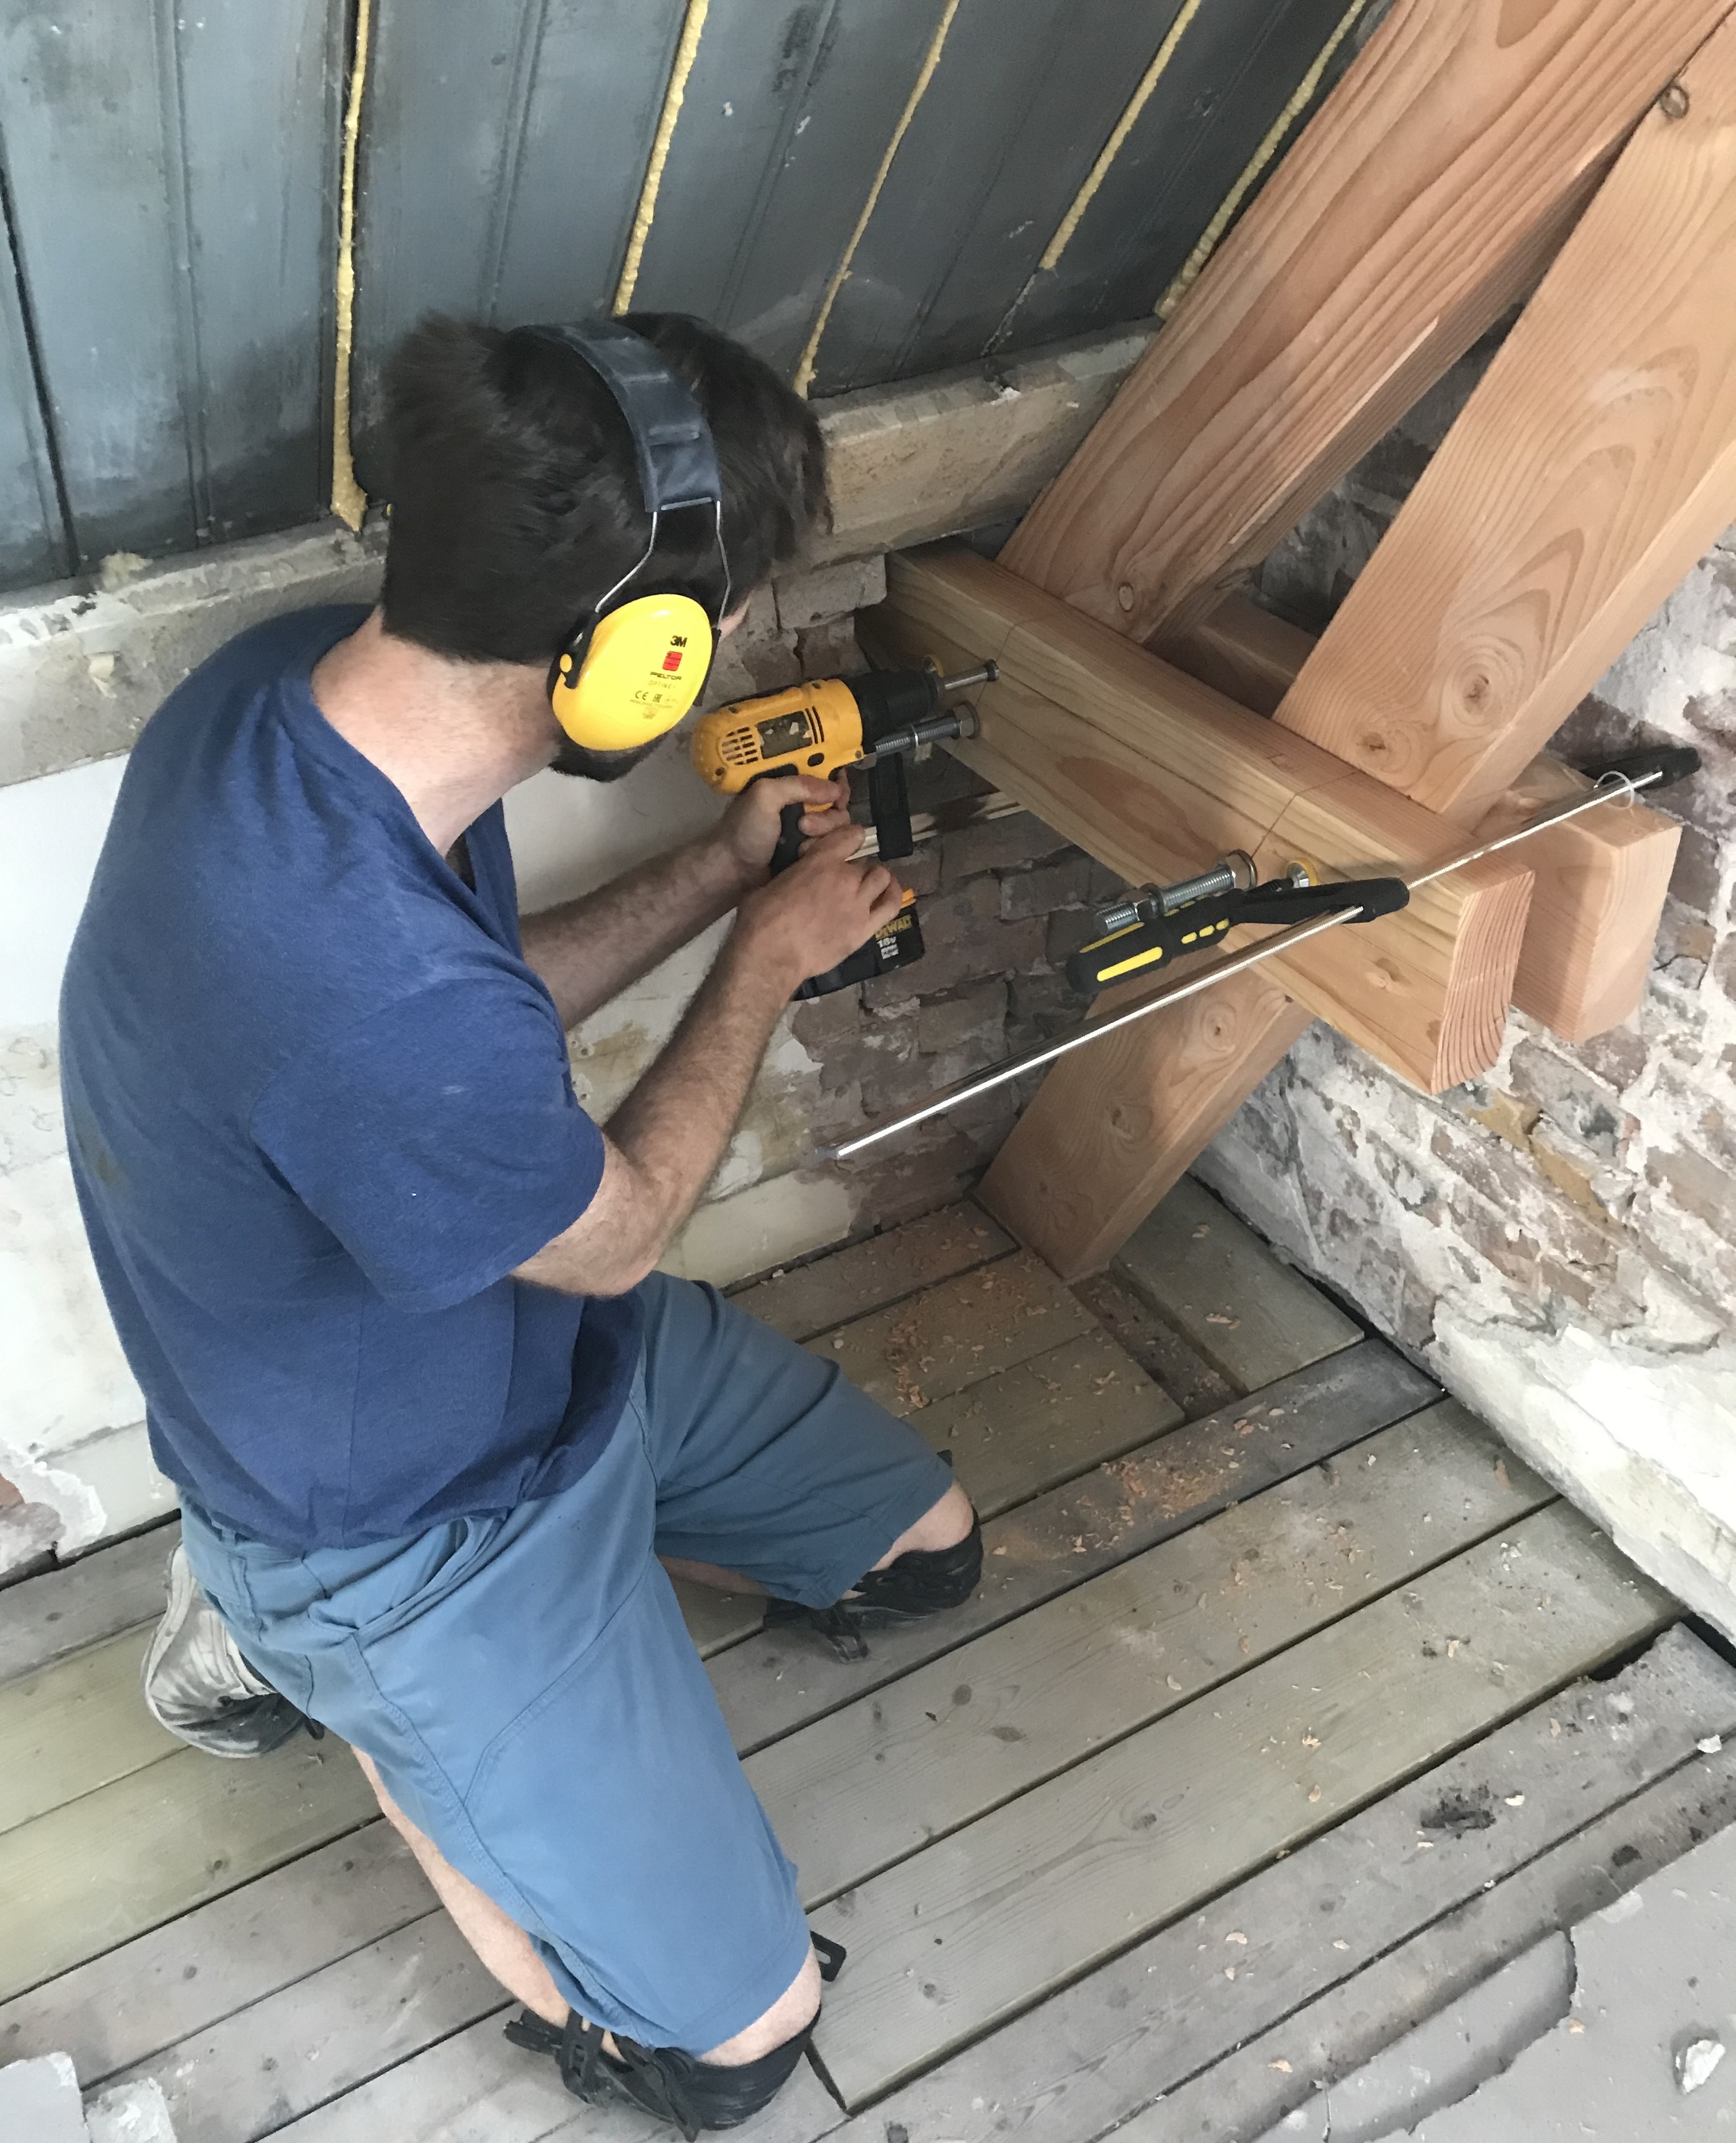
With the truss securely in place, we could now remove the back facade. This was a nerve-wracking moment, as the truss would be solely responsible for supporting the roof.
We began demolition on a rainy day. The large triangle in front of the truss is the new facade wall, we cannibalized the truss template for this.
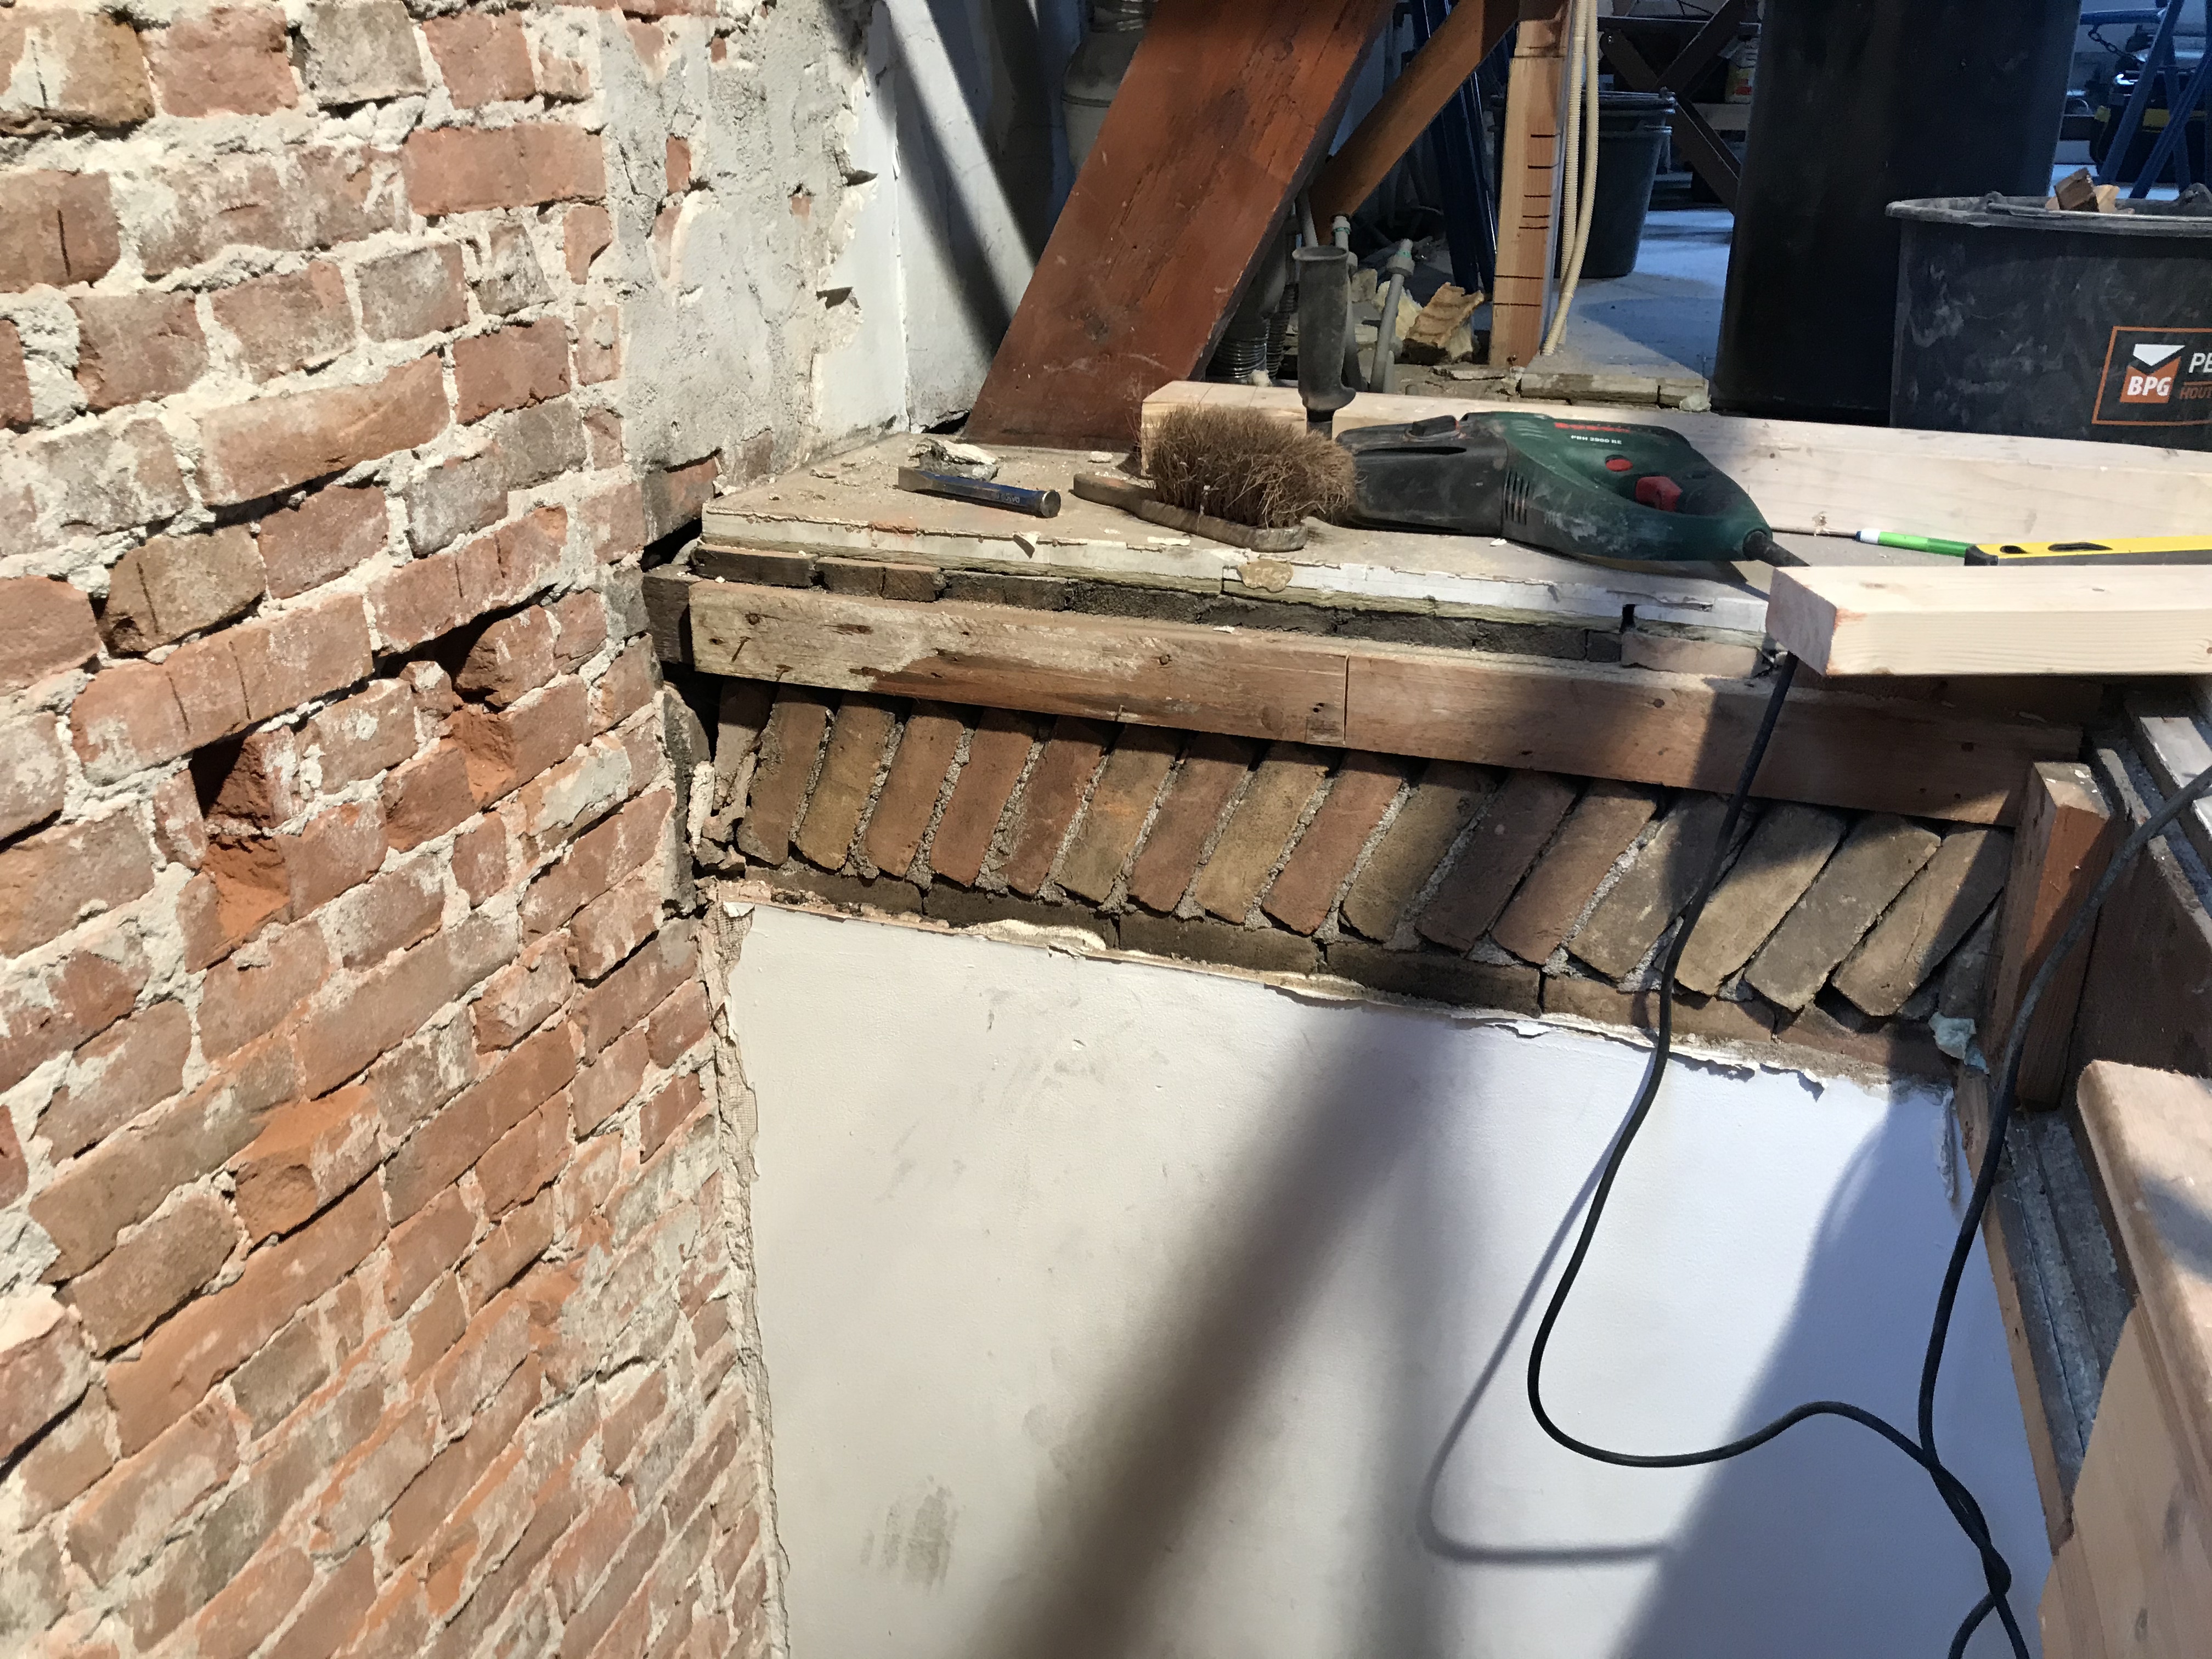
Similar to the chimneys, the 25 cm thick brick wall wasn’t too difficult to remove after taking out the initial bricks. We were able to break most of it apart by hand.
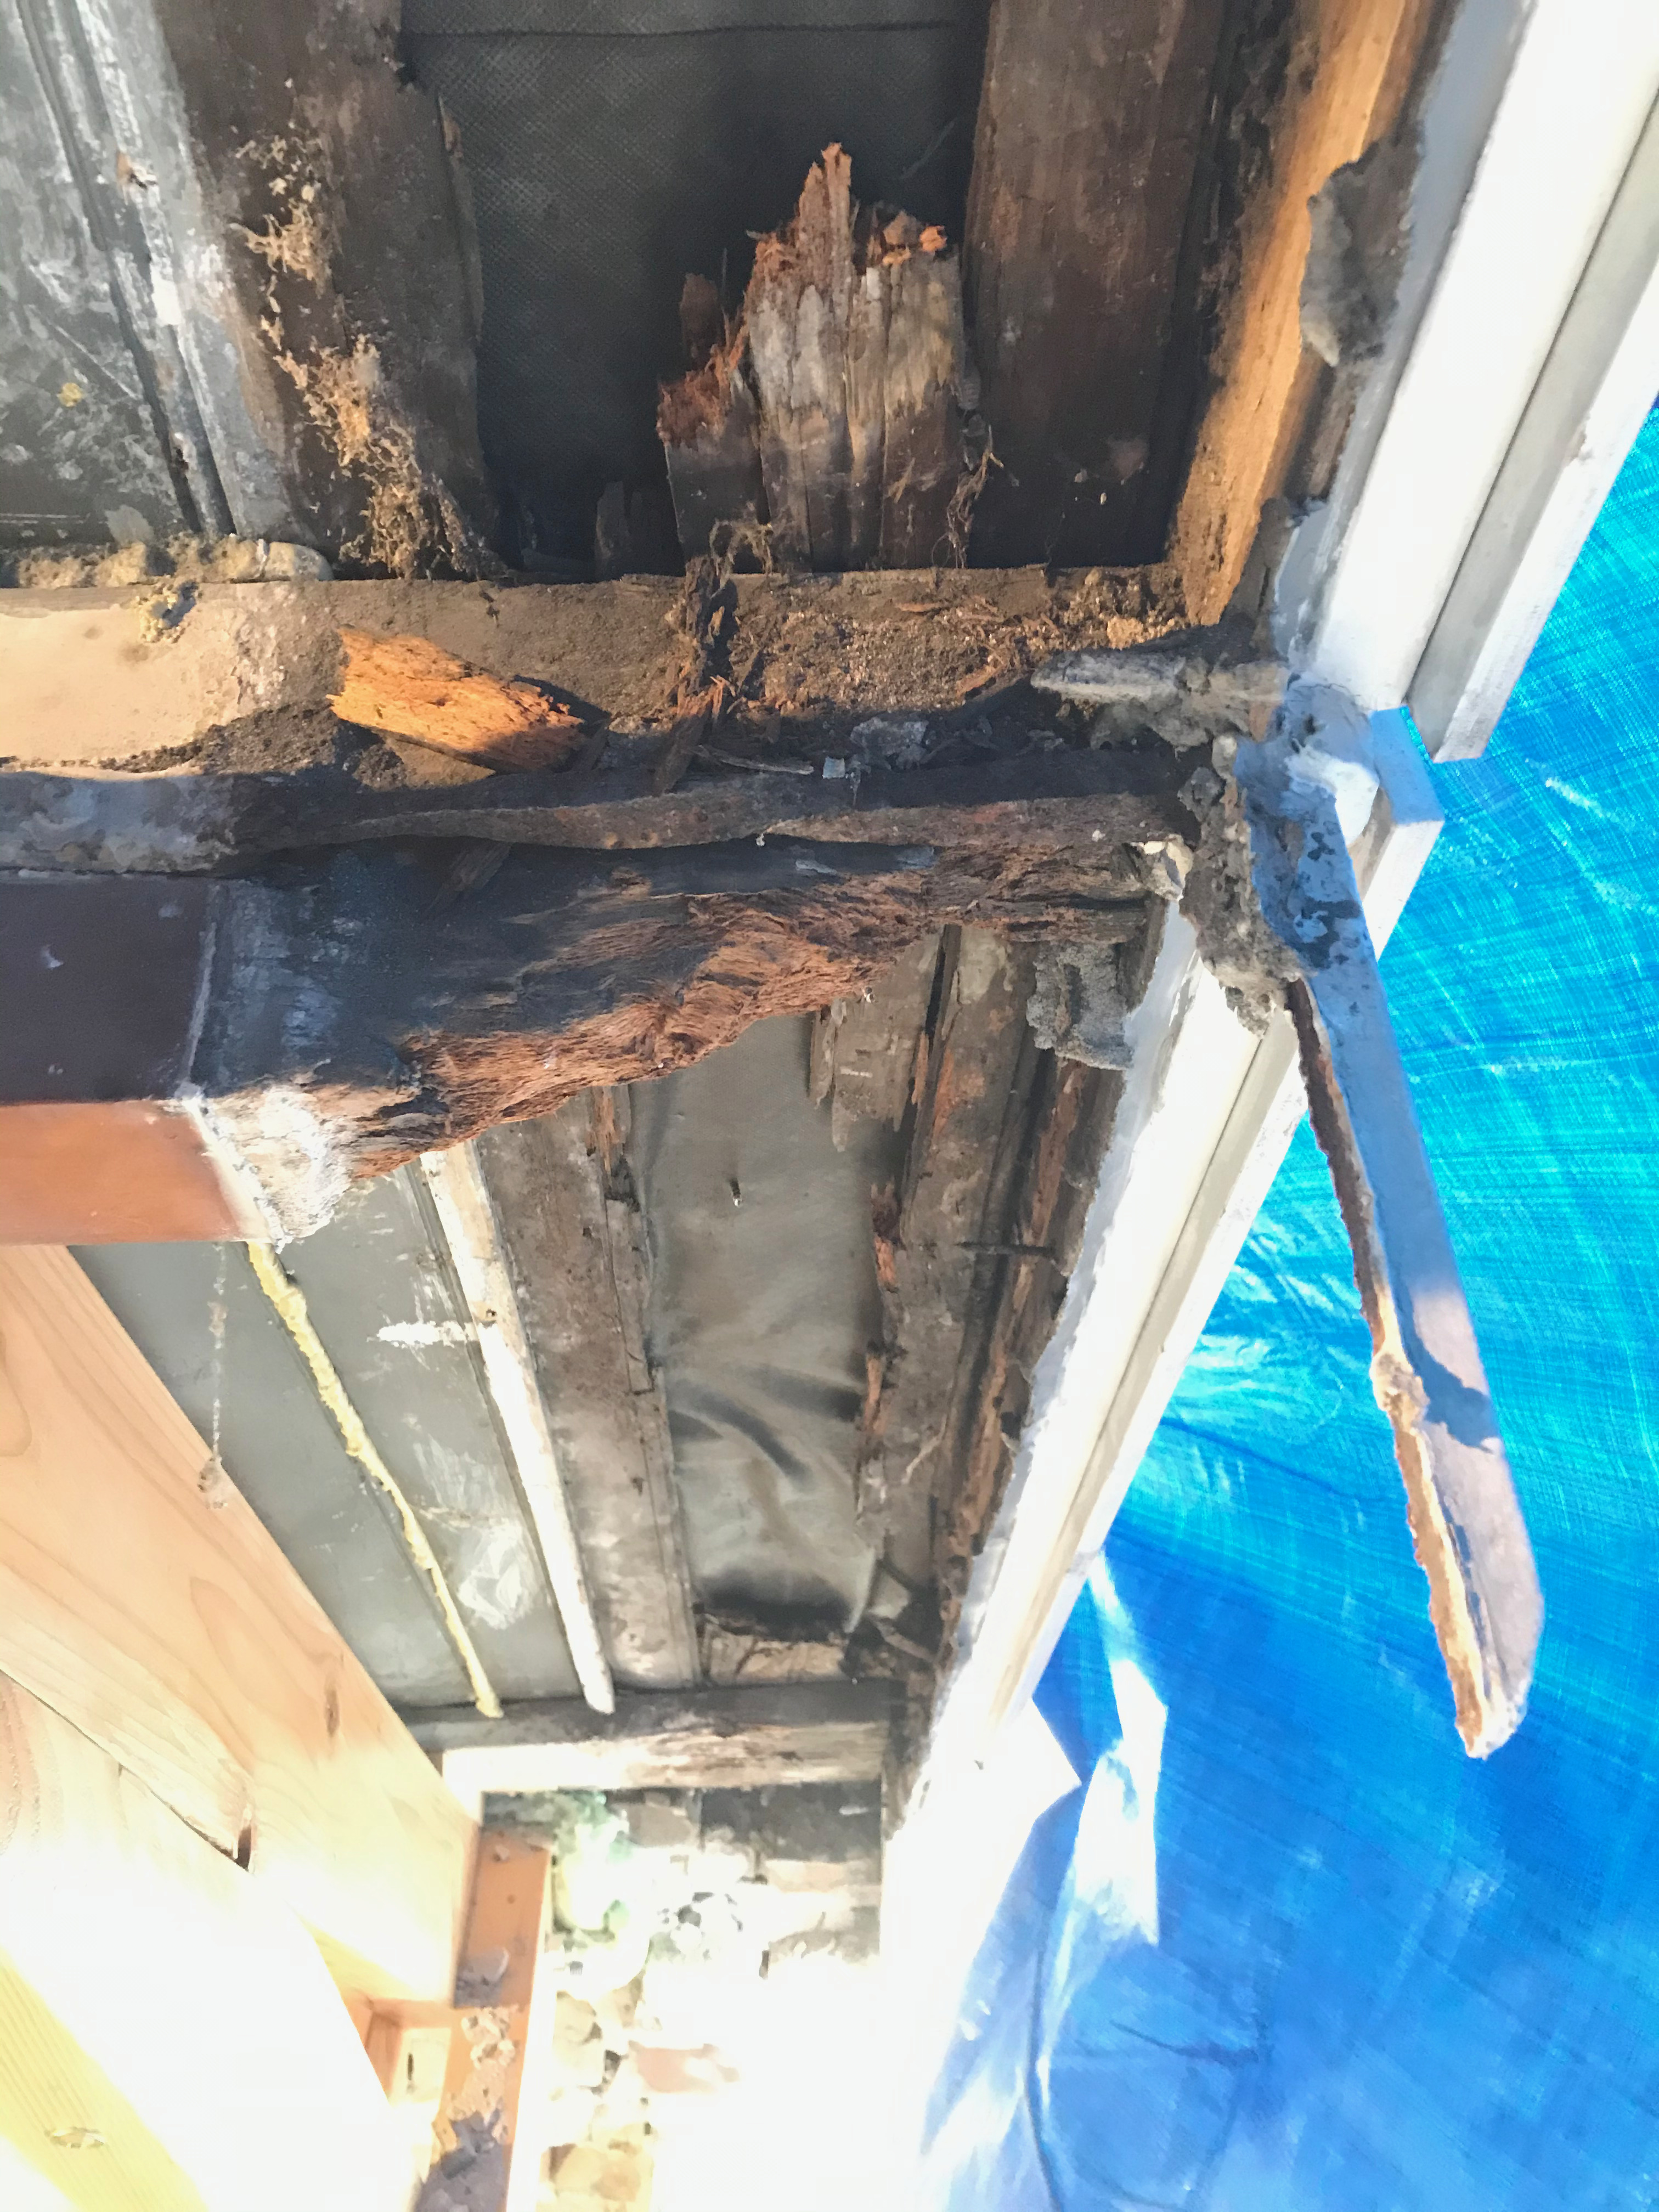
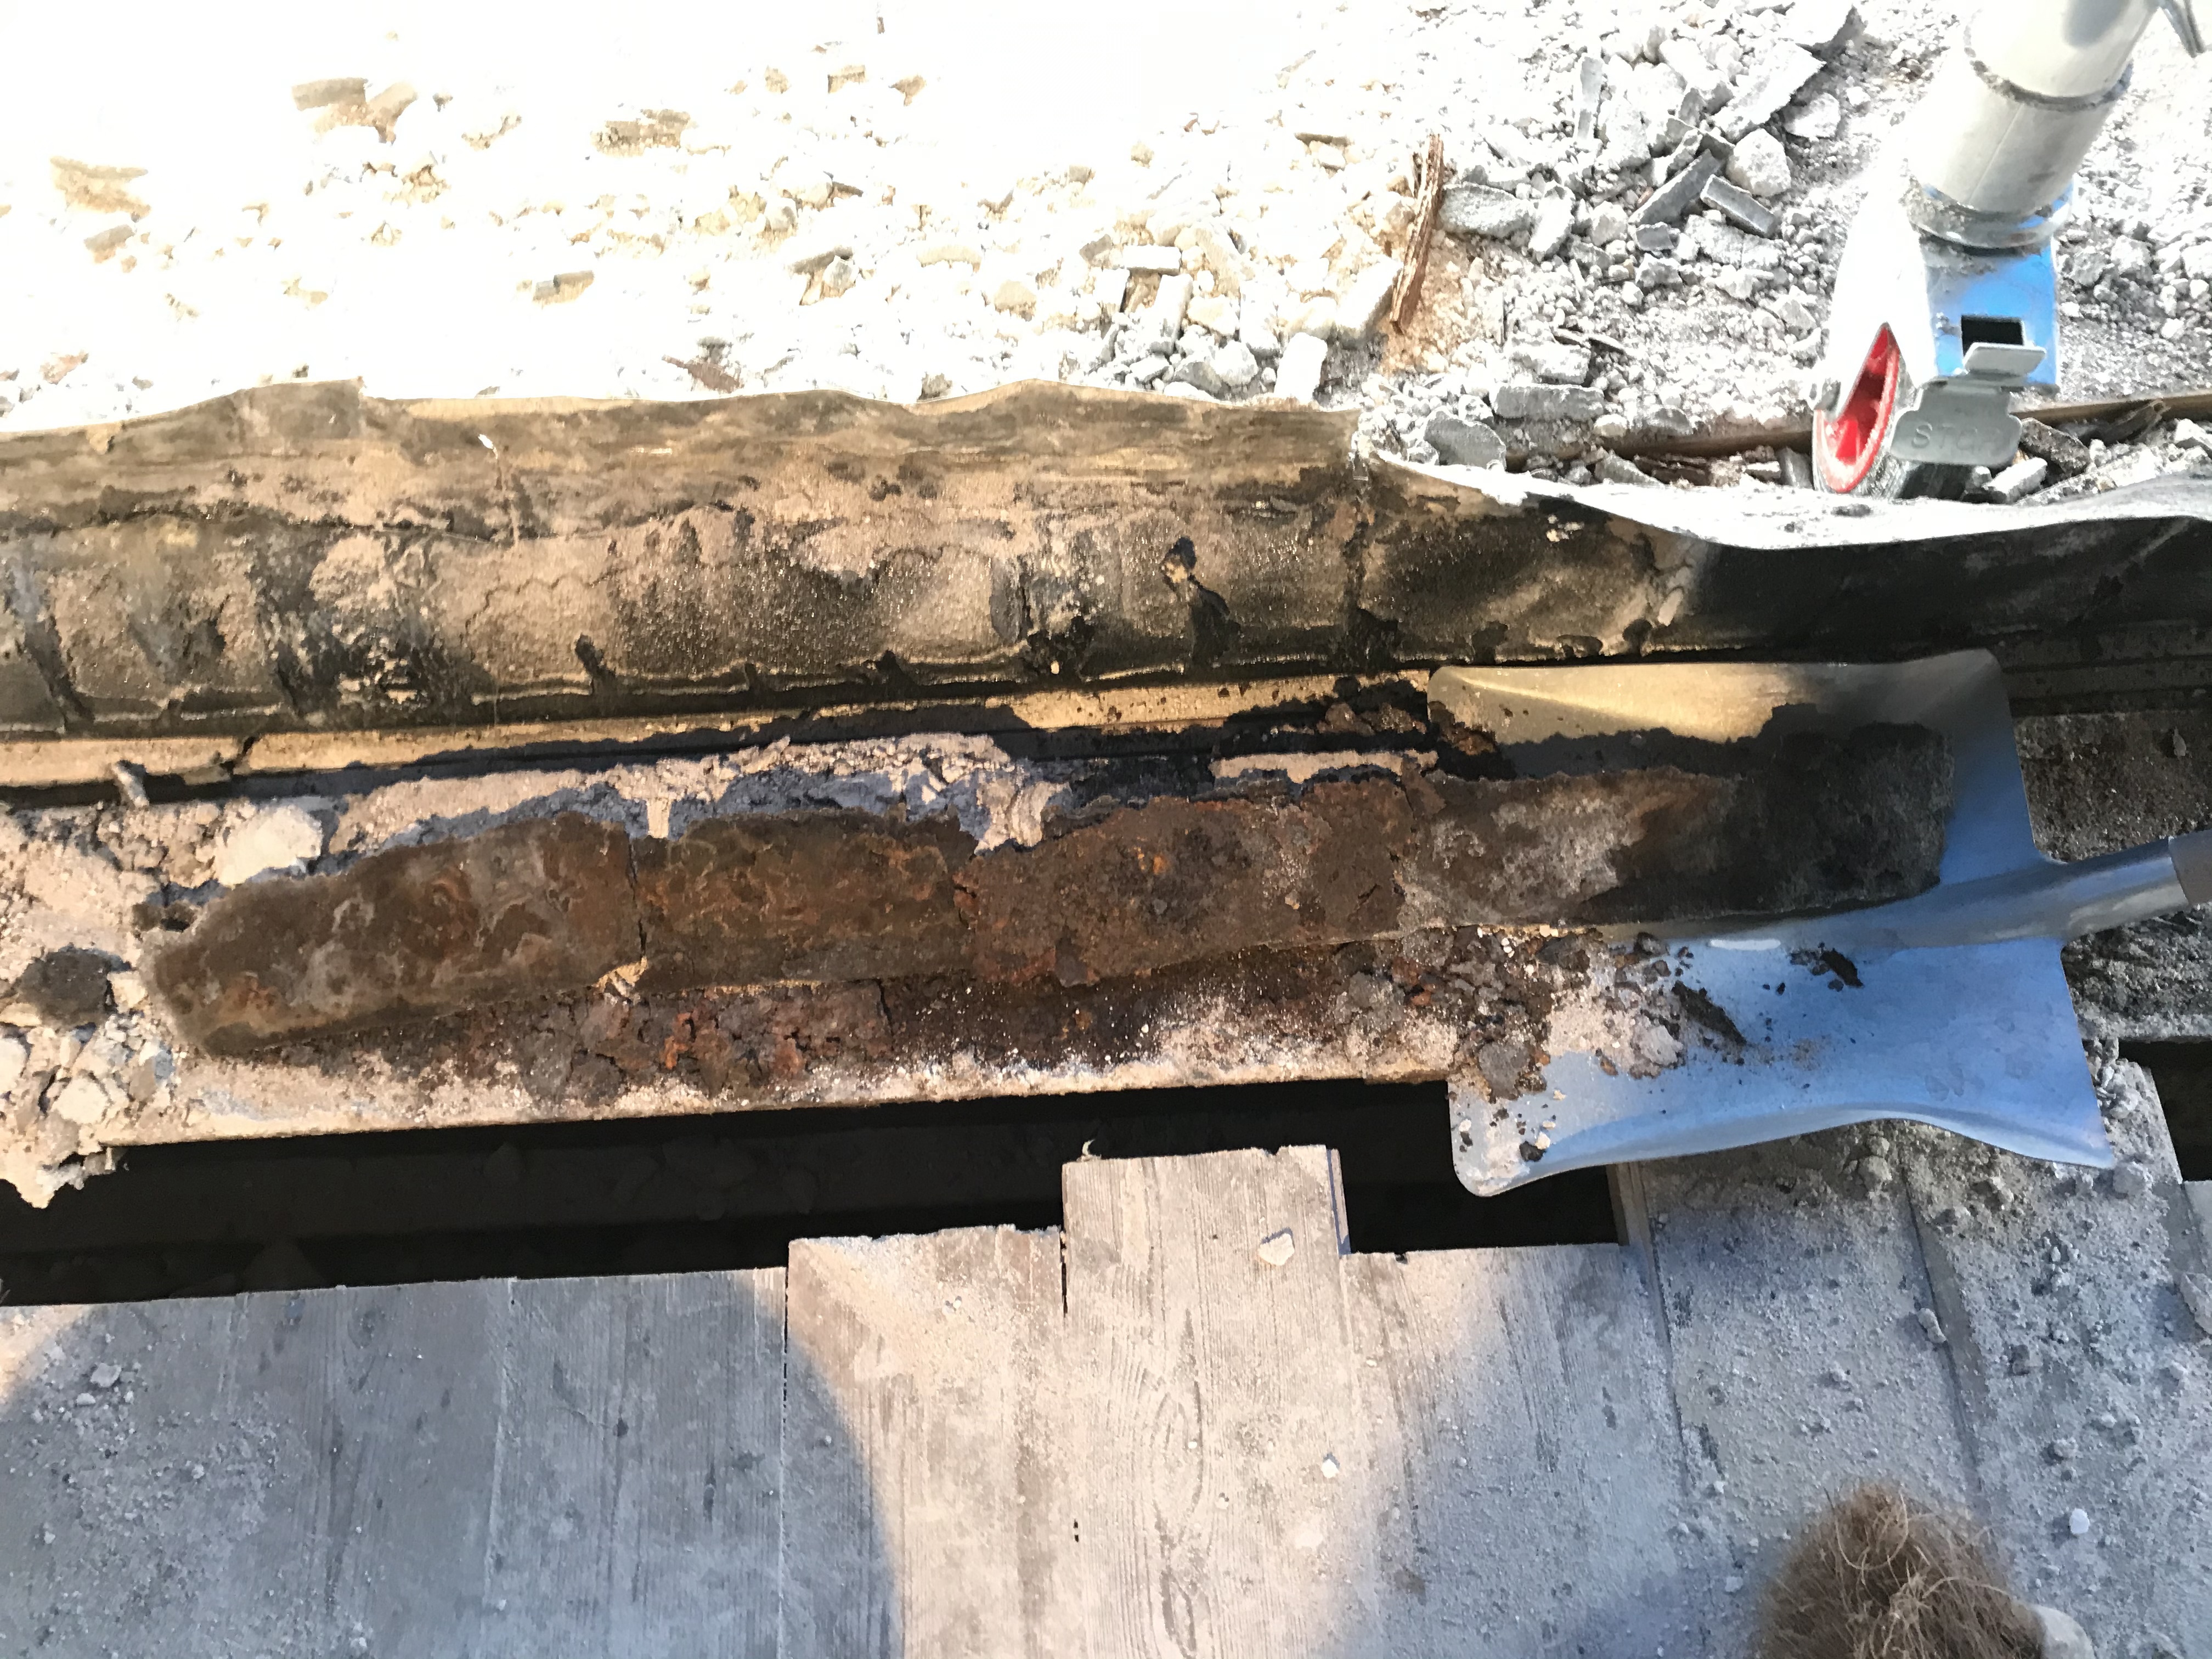
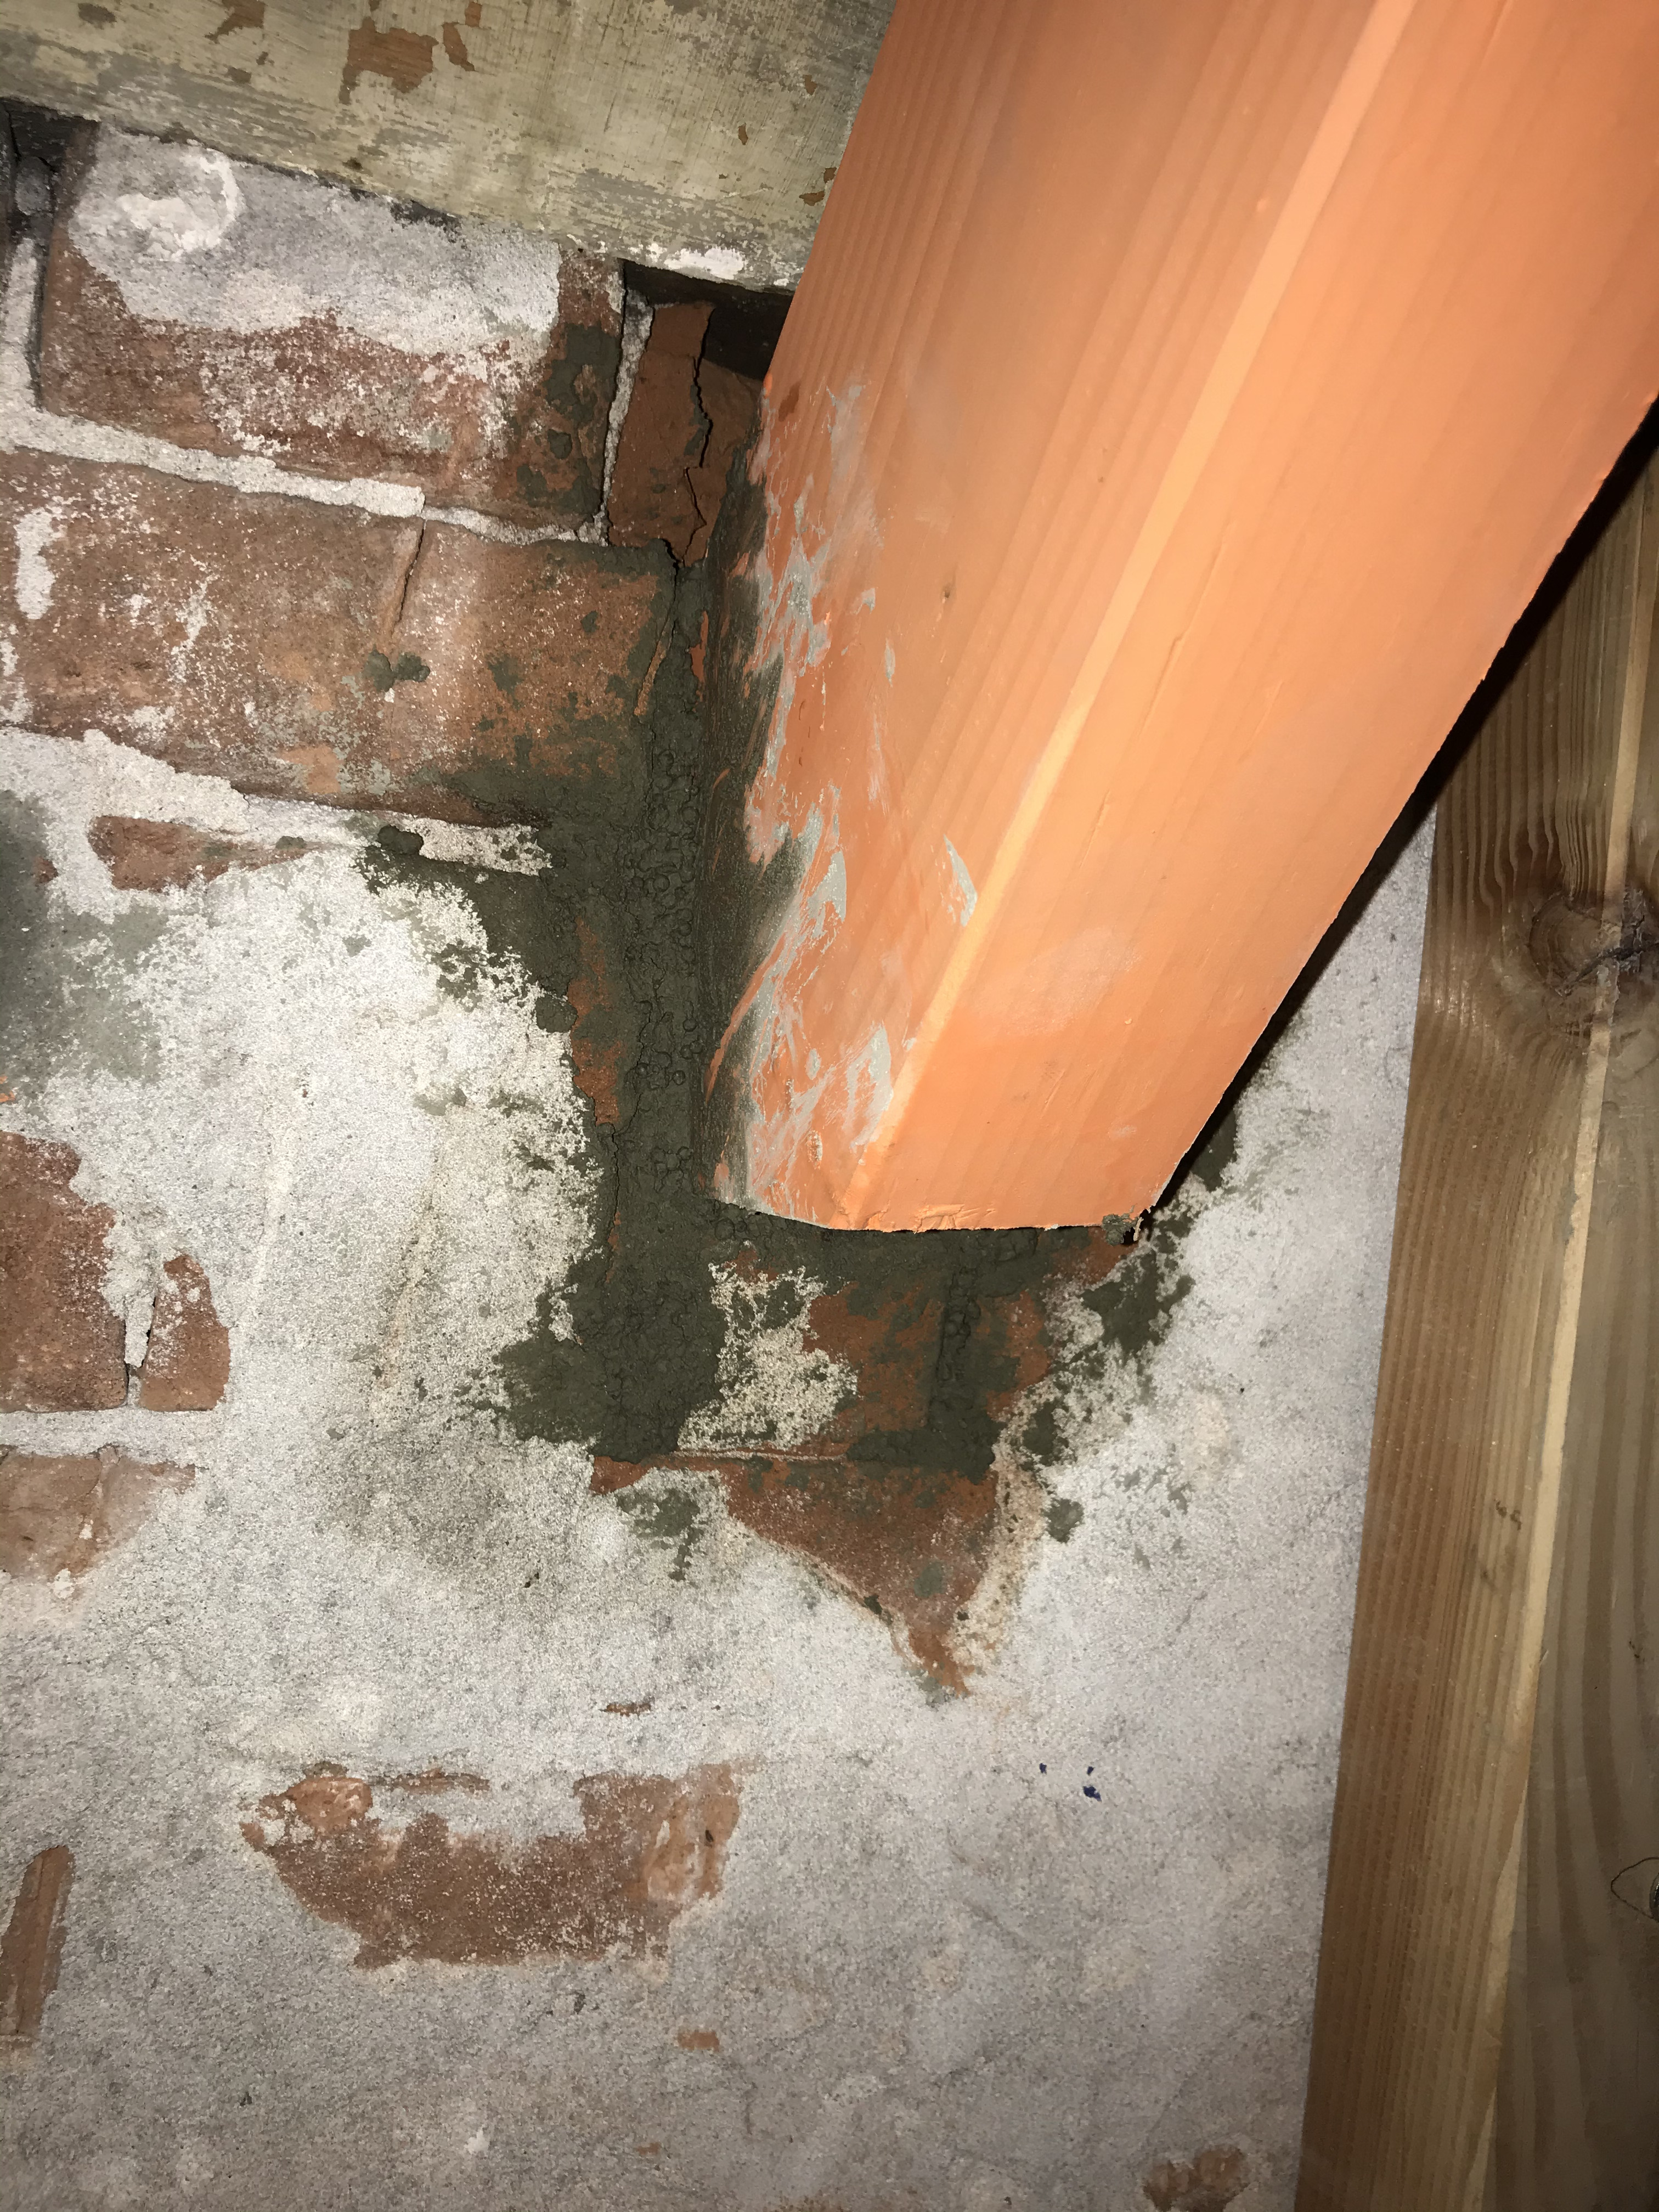
The demolition process exposed some unexpected deterioration. Over a century of being embedded in the brick wall had caused significant rot in the wooden joists.
In a single day of work, we were able to demolish the entire back facade and bag all the bricks.
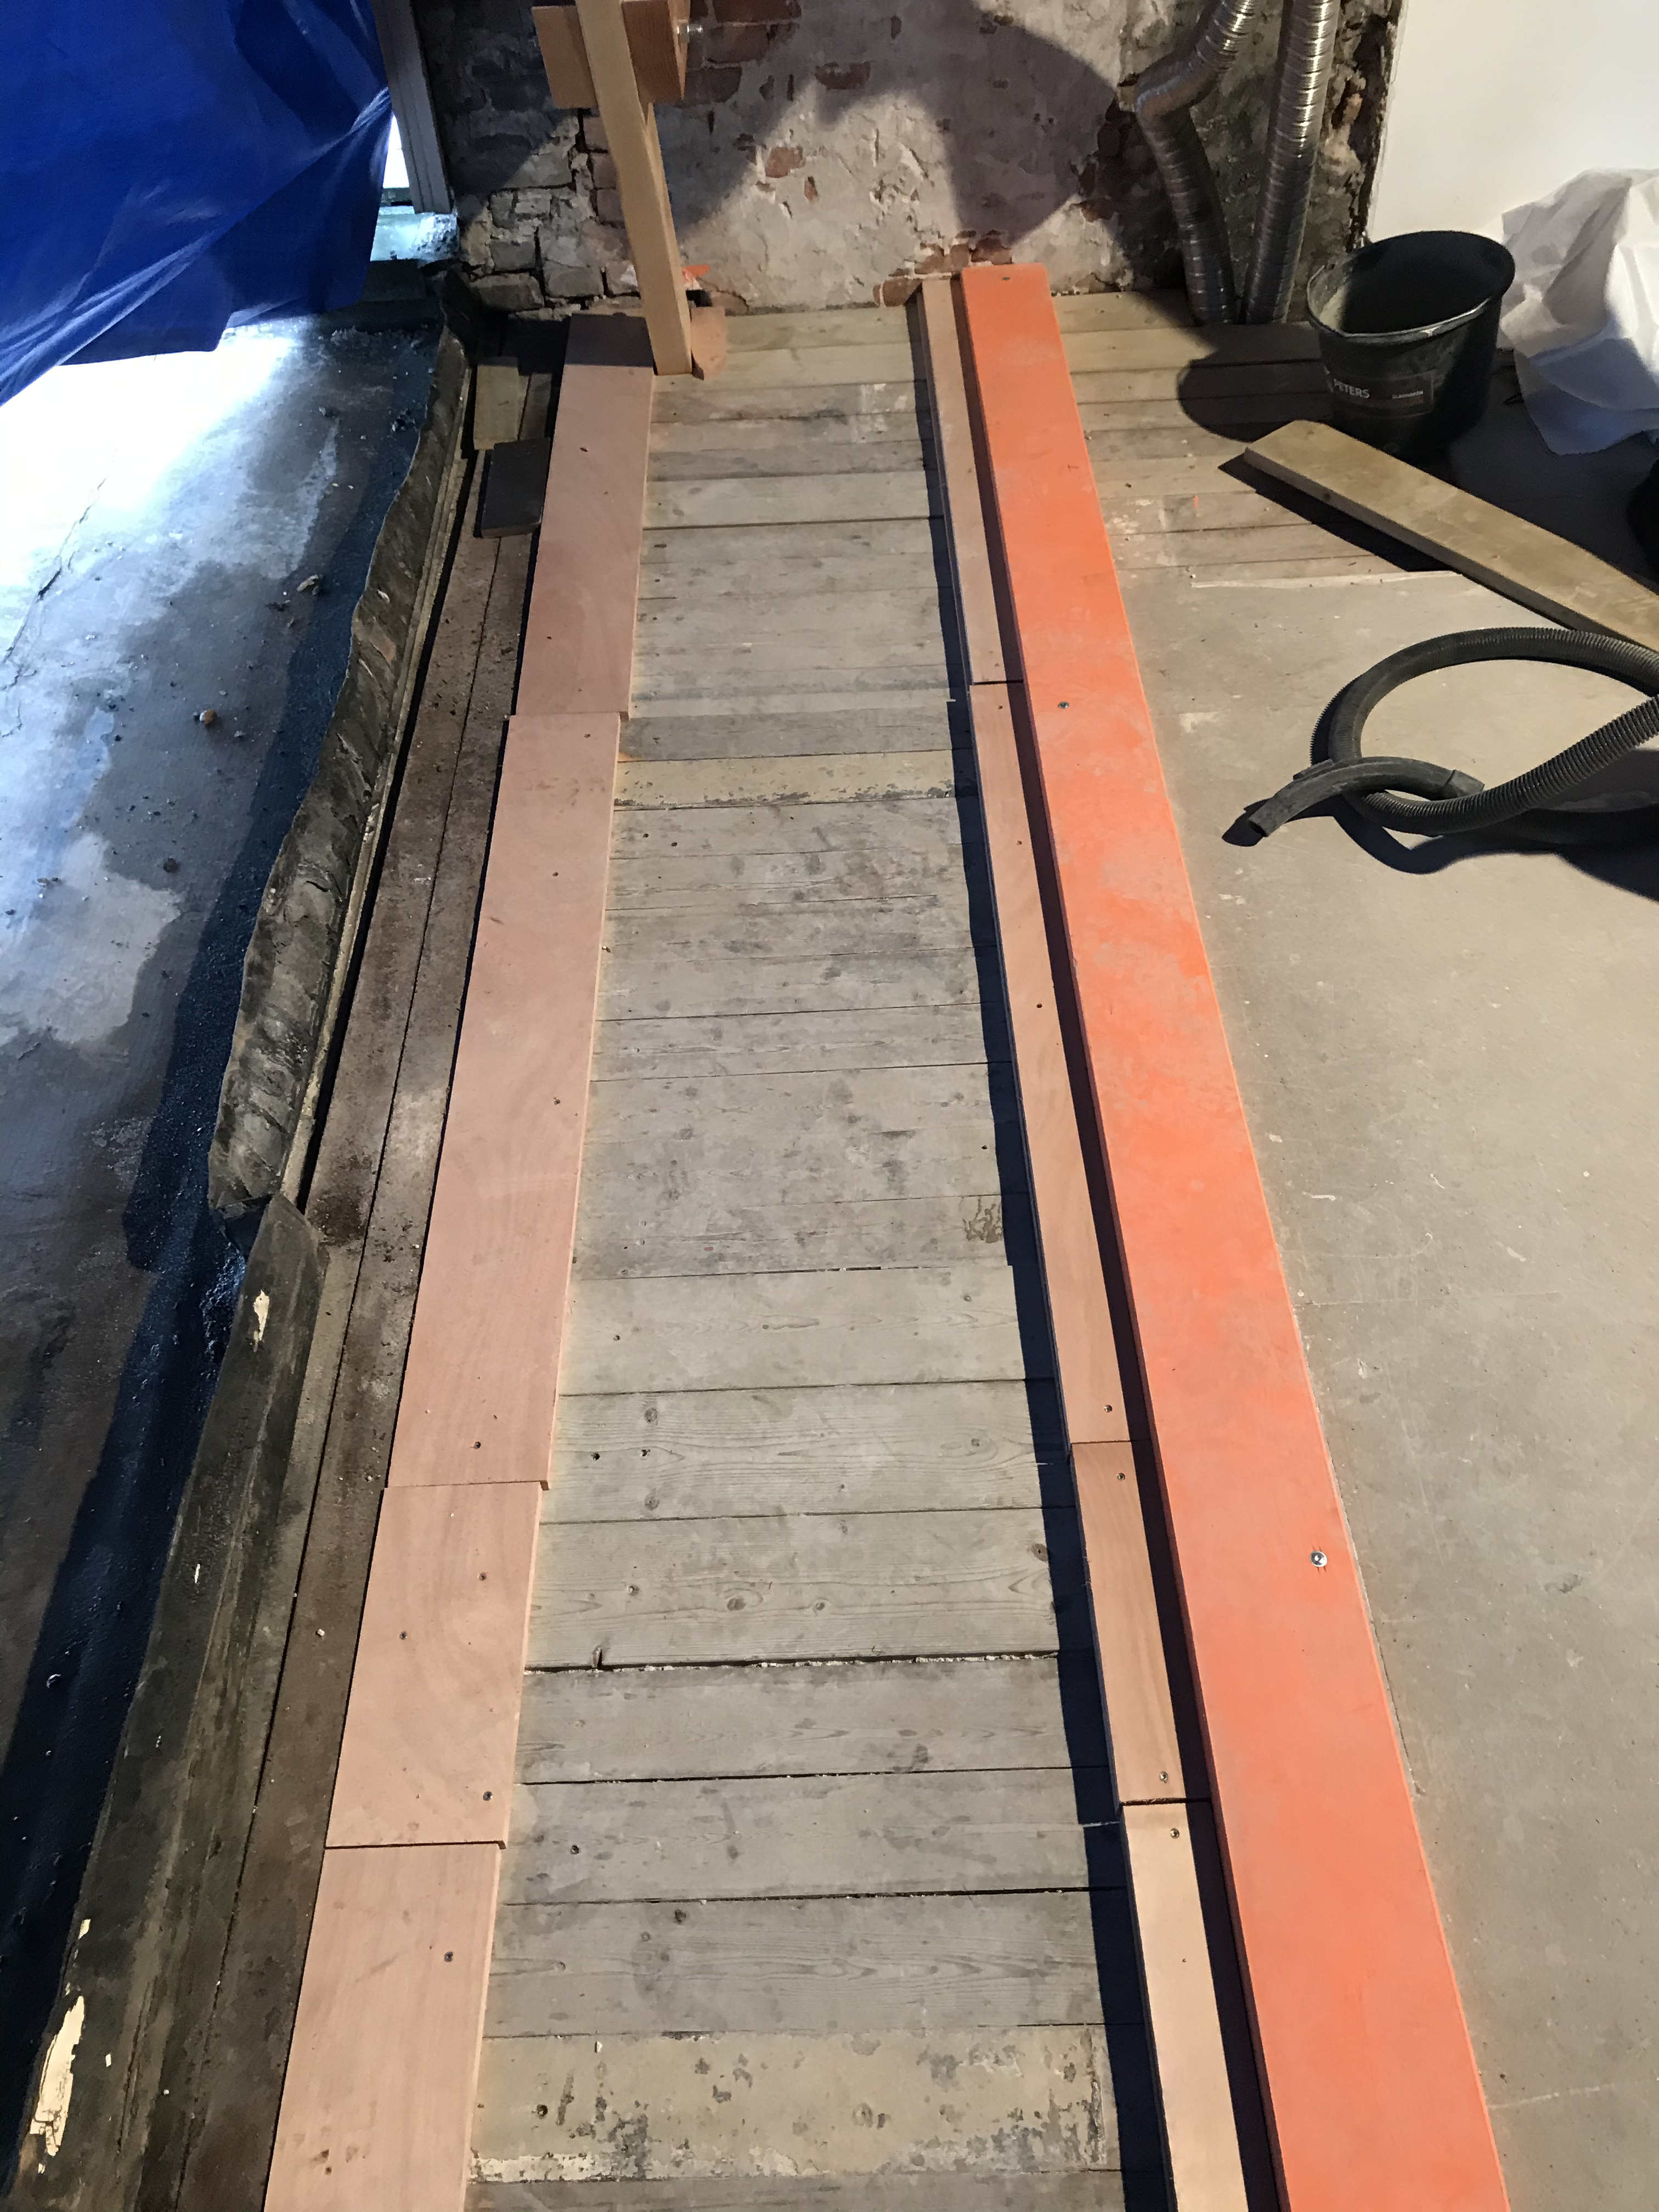
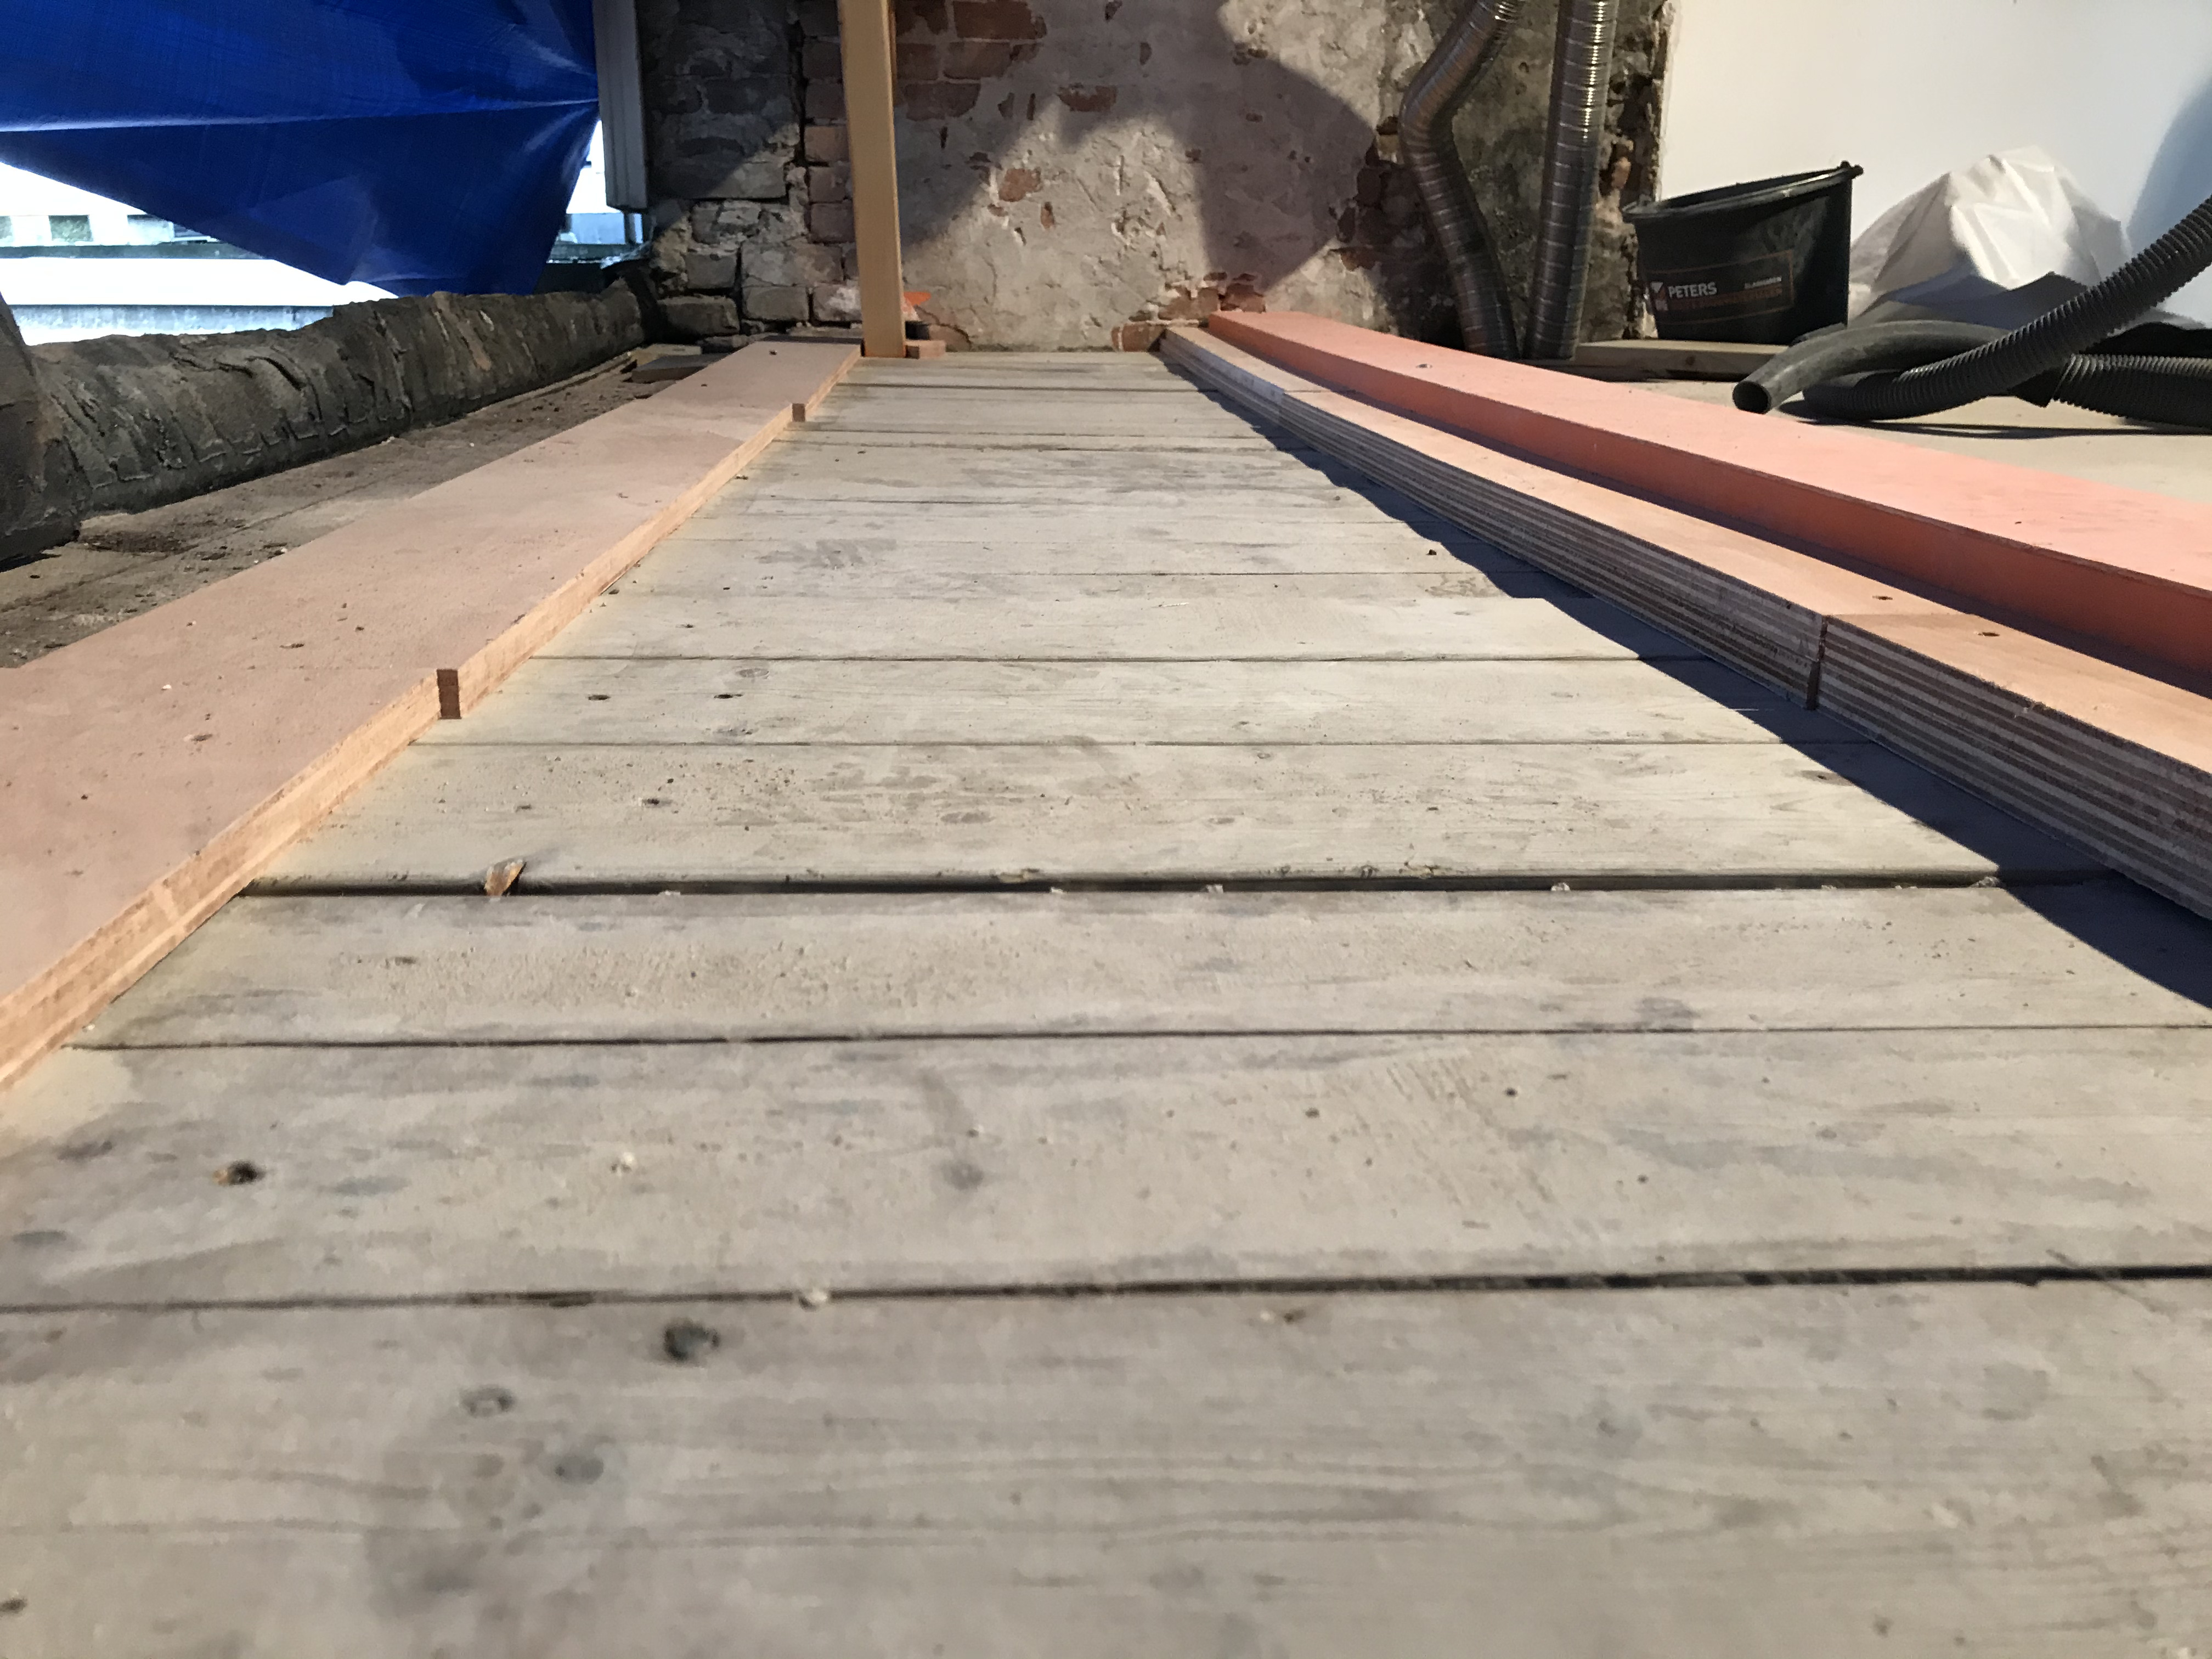
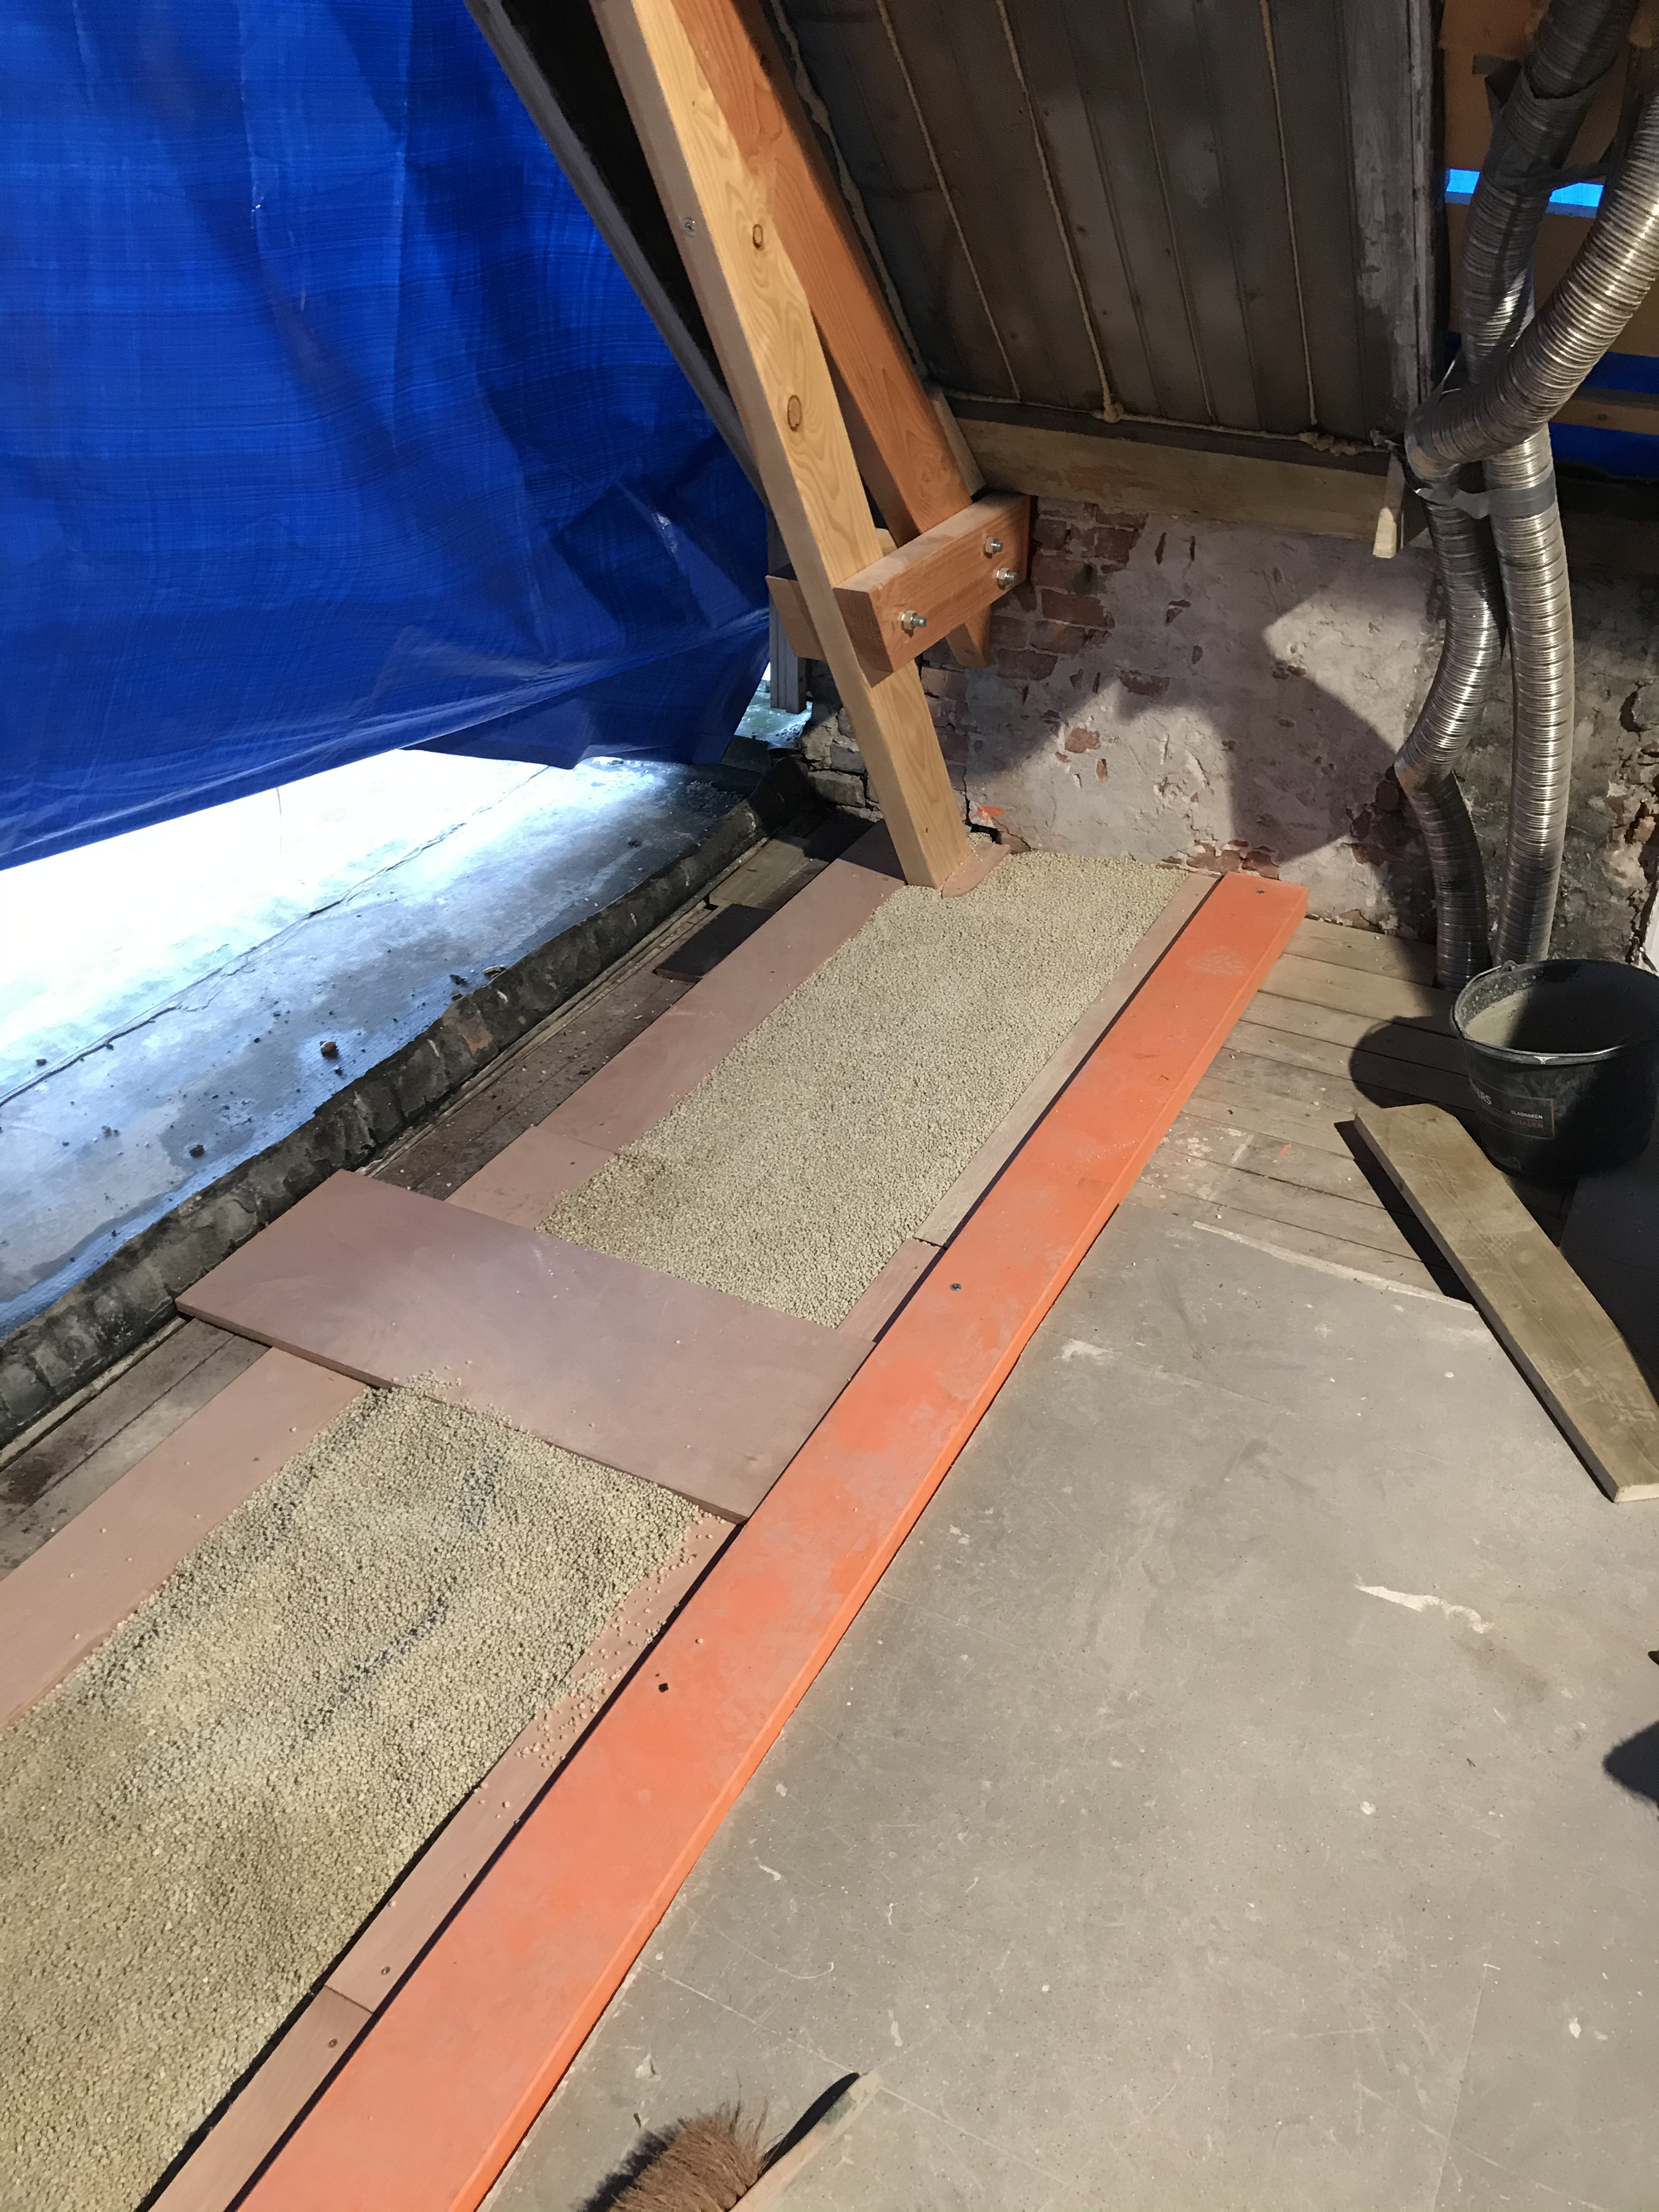
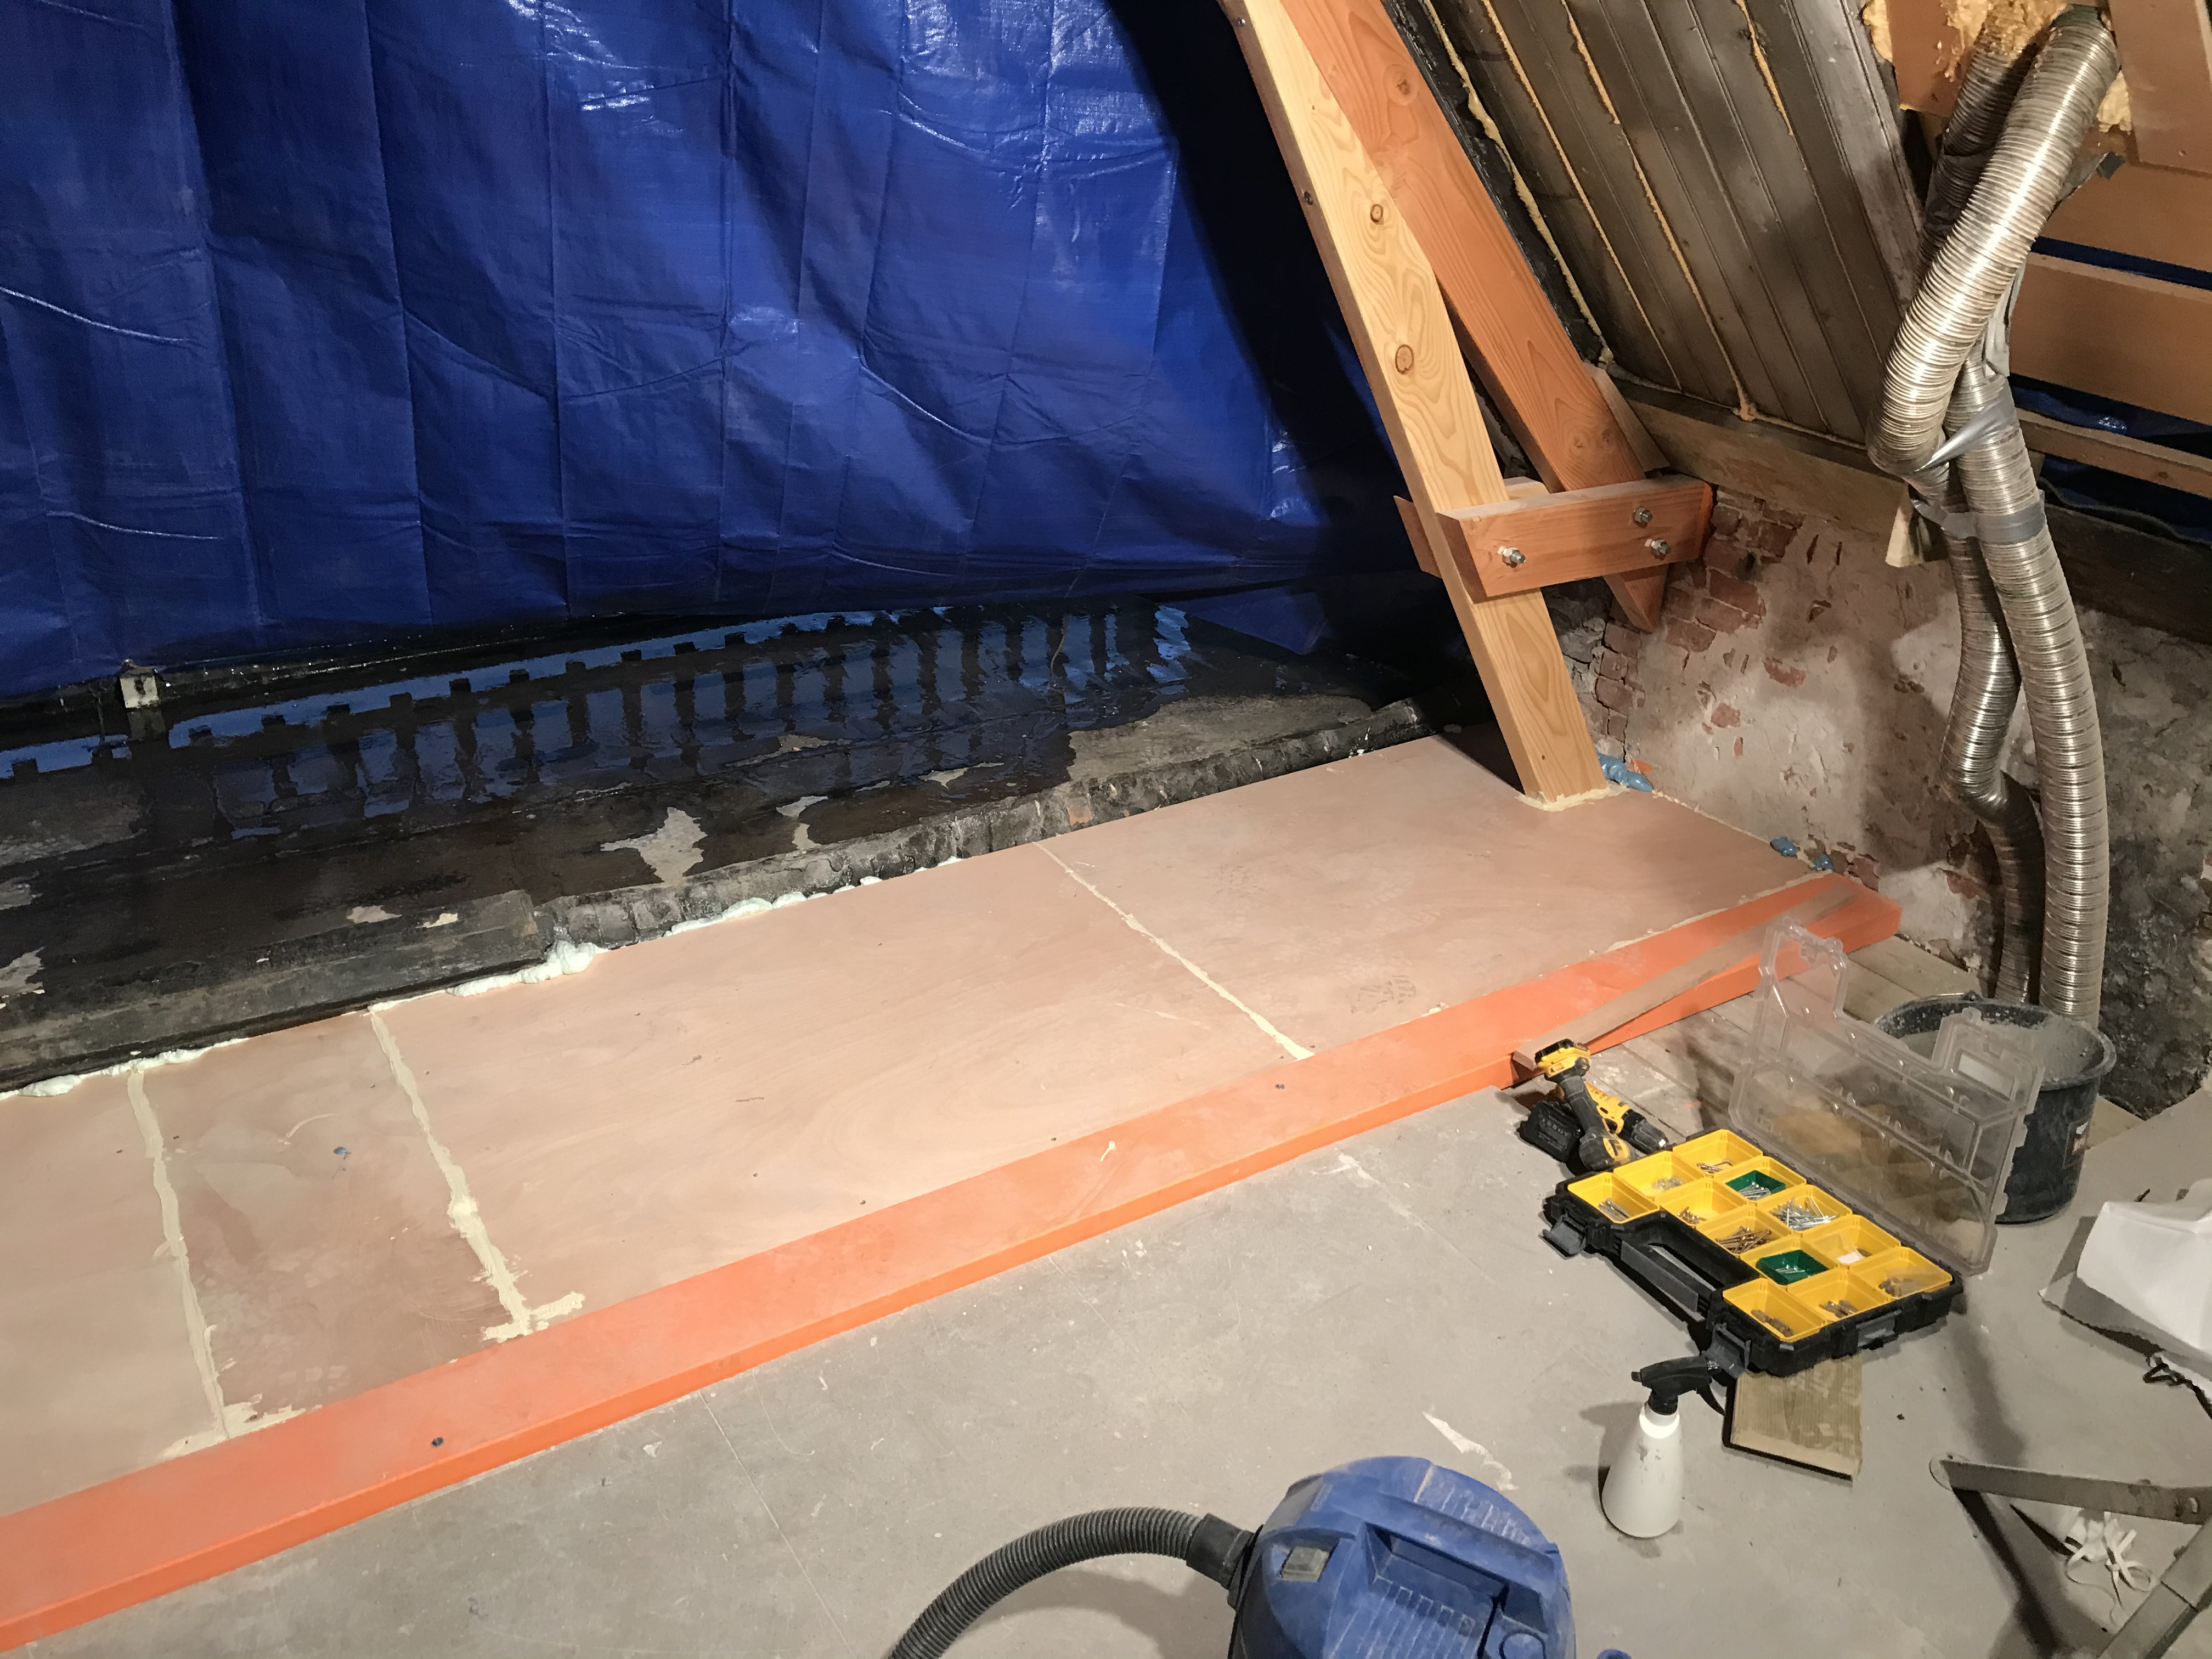
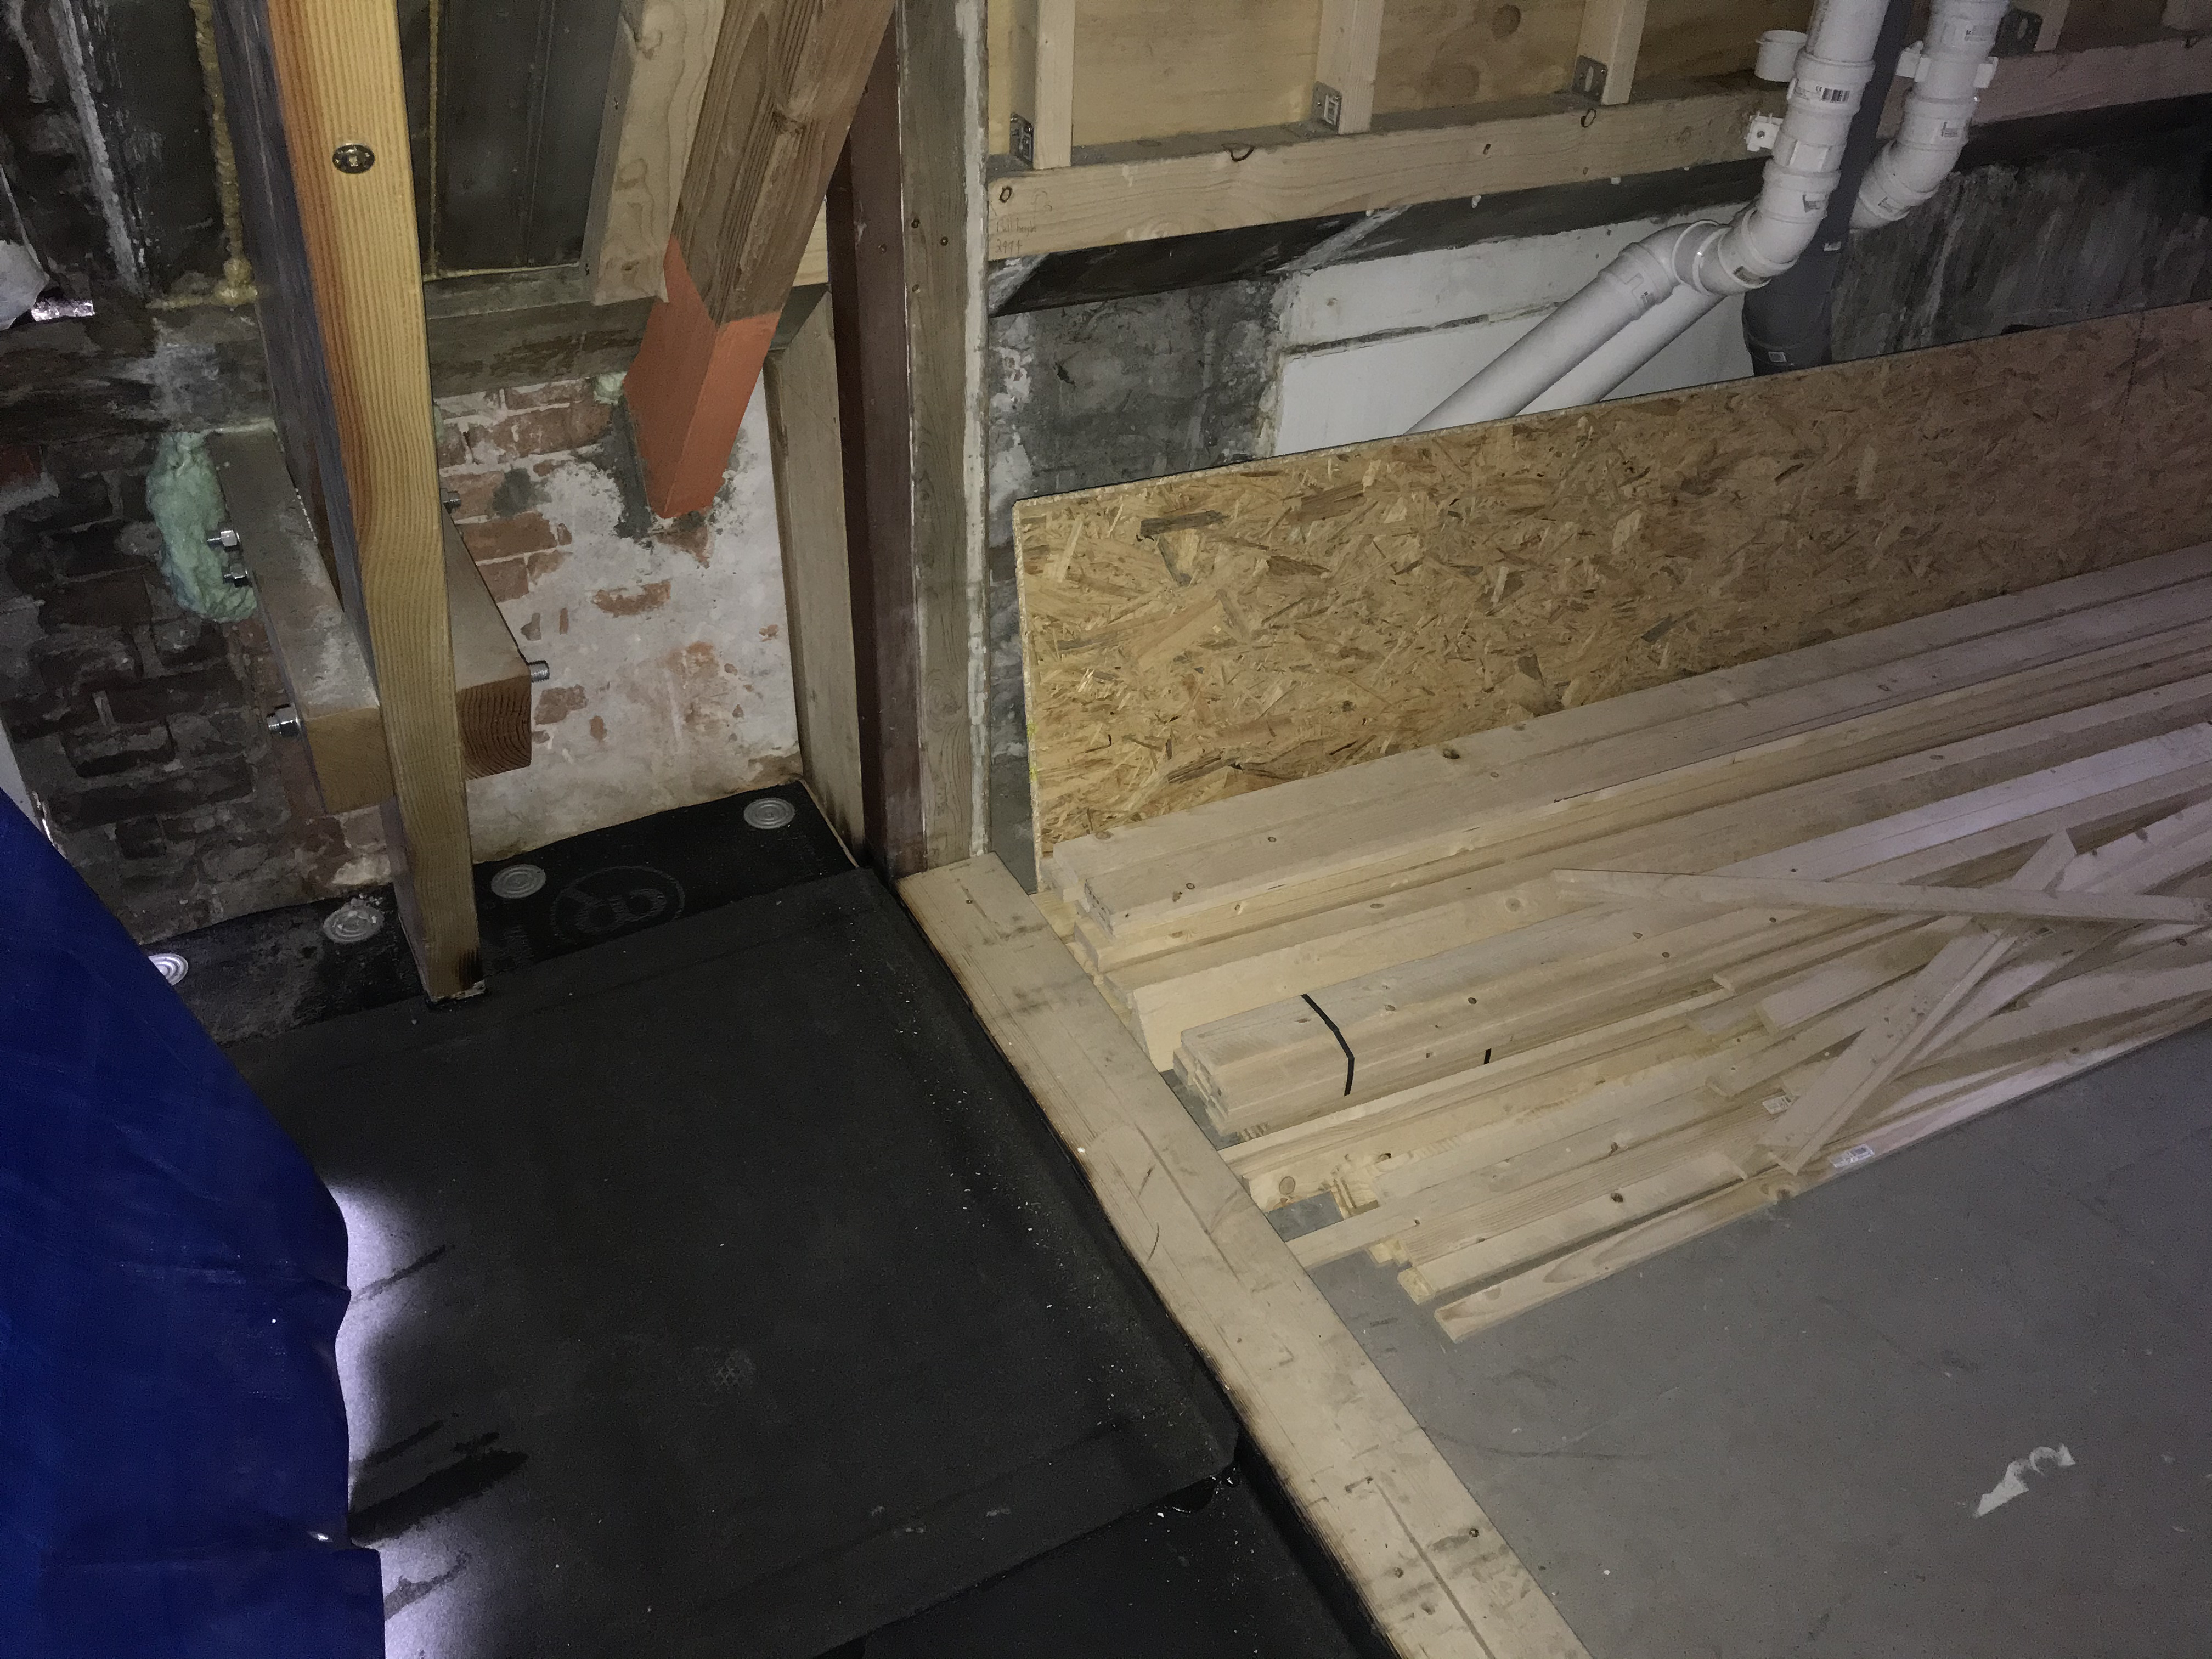
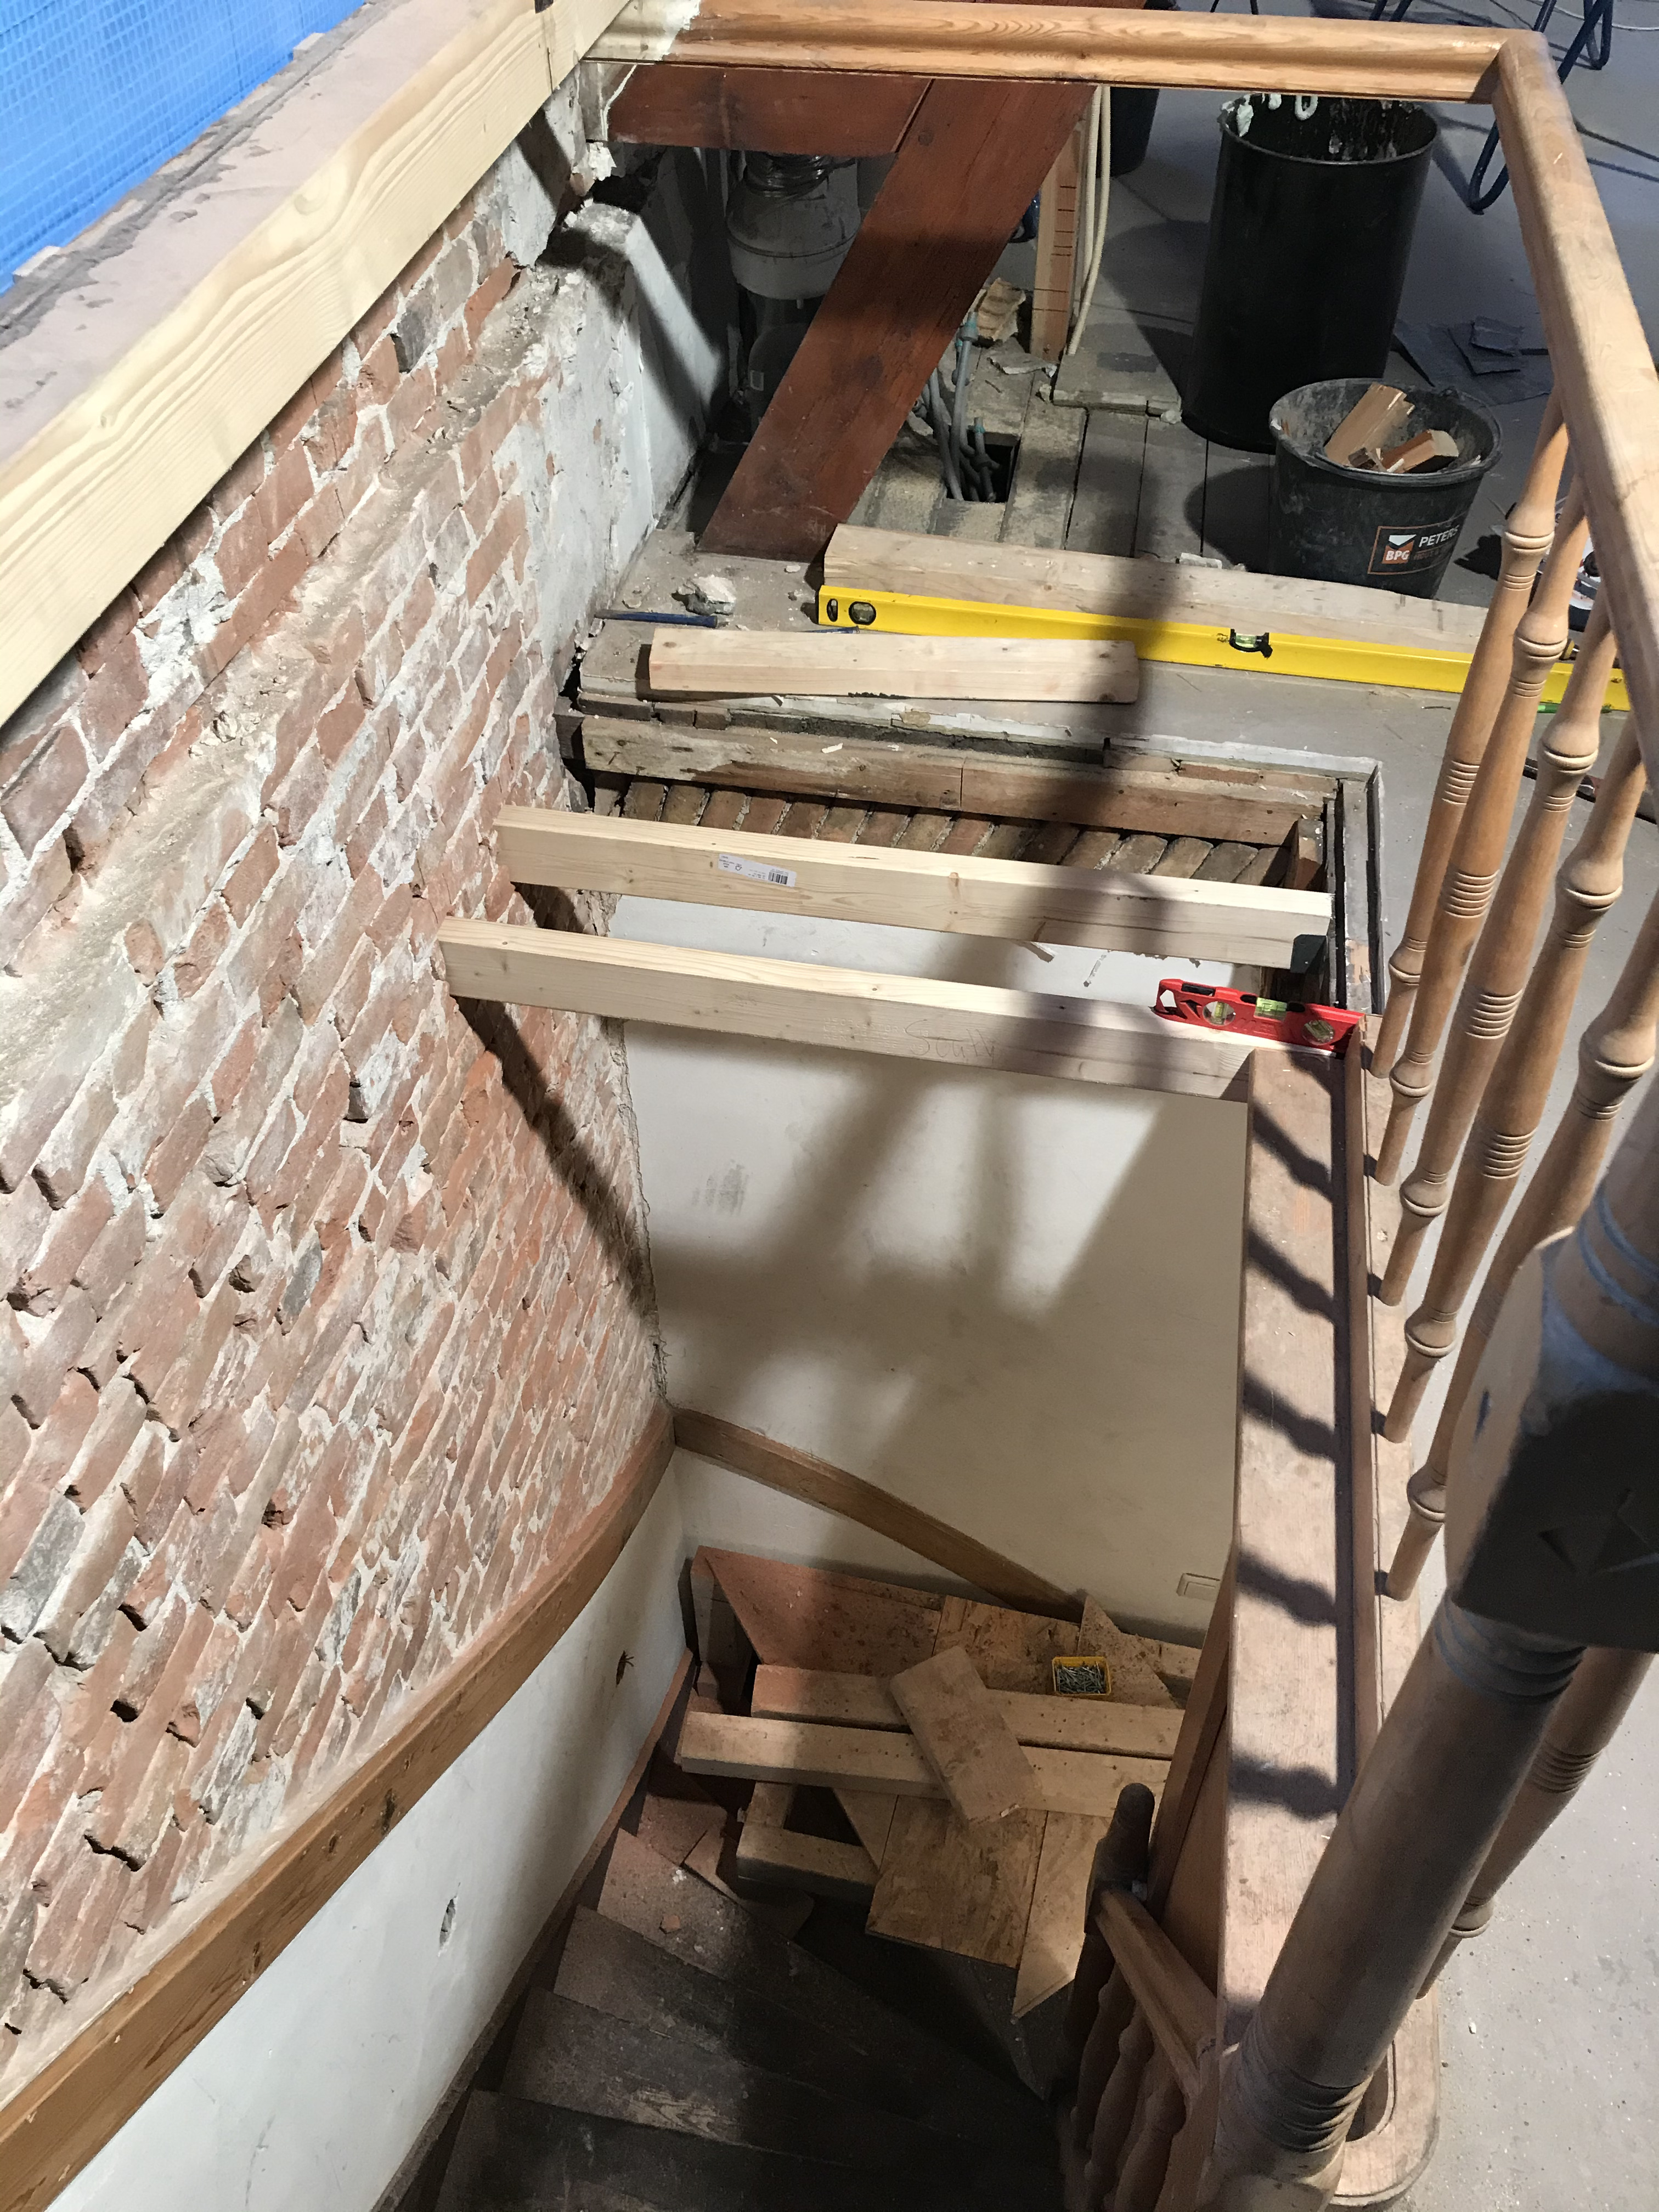
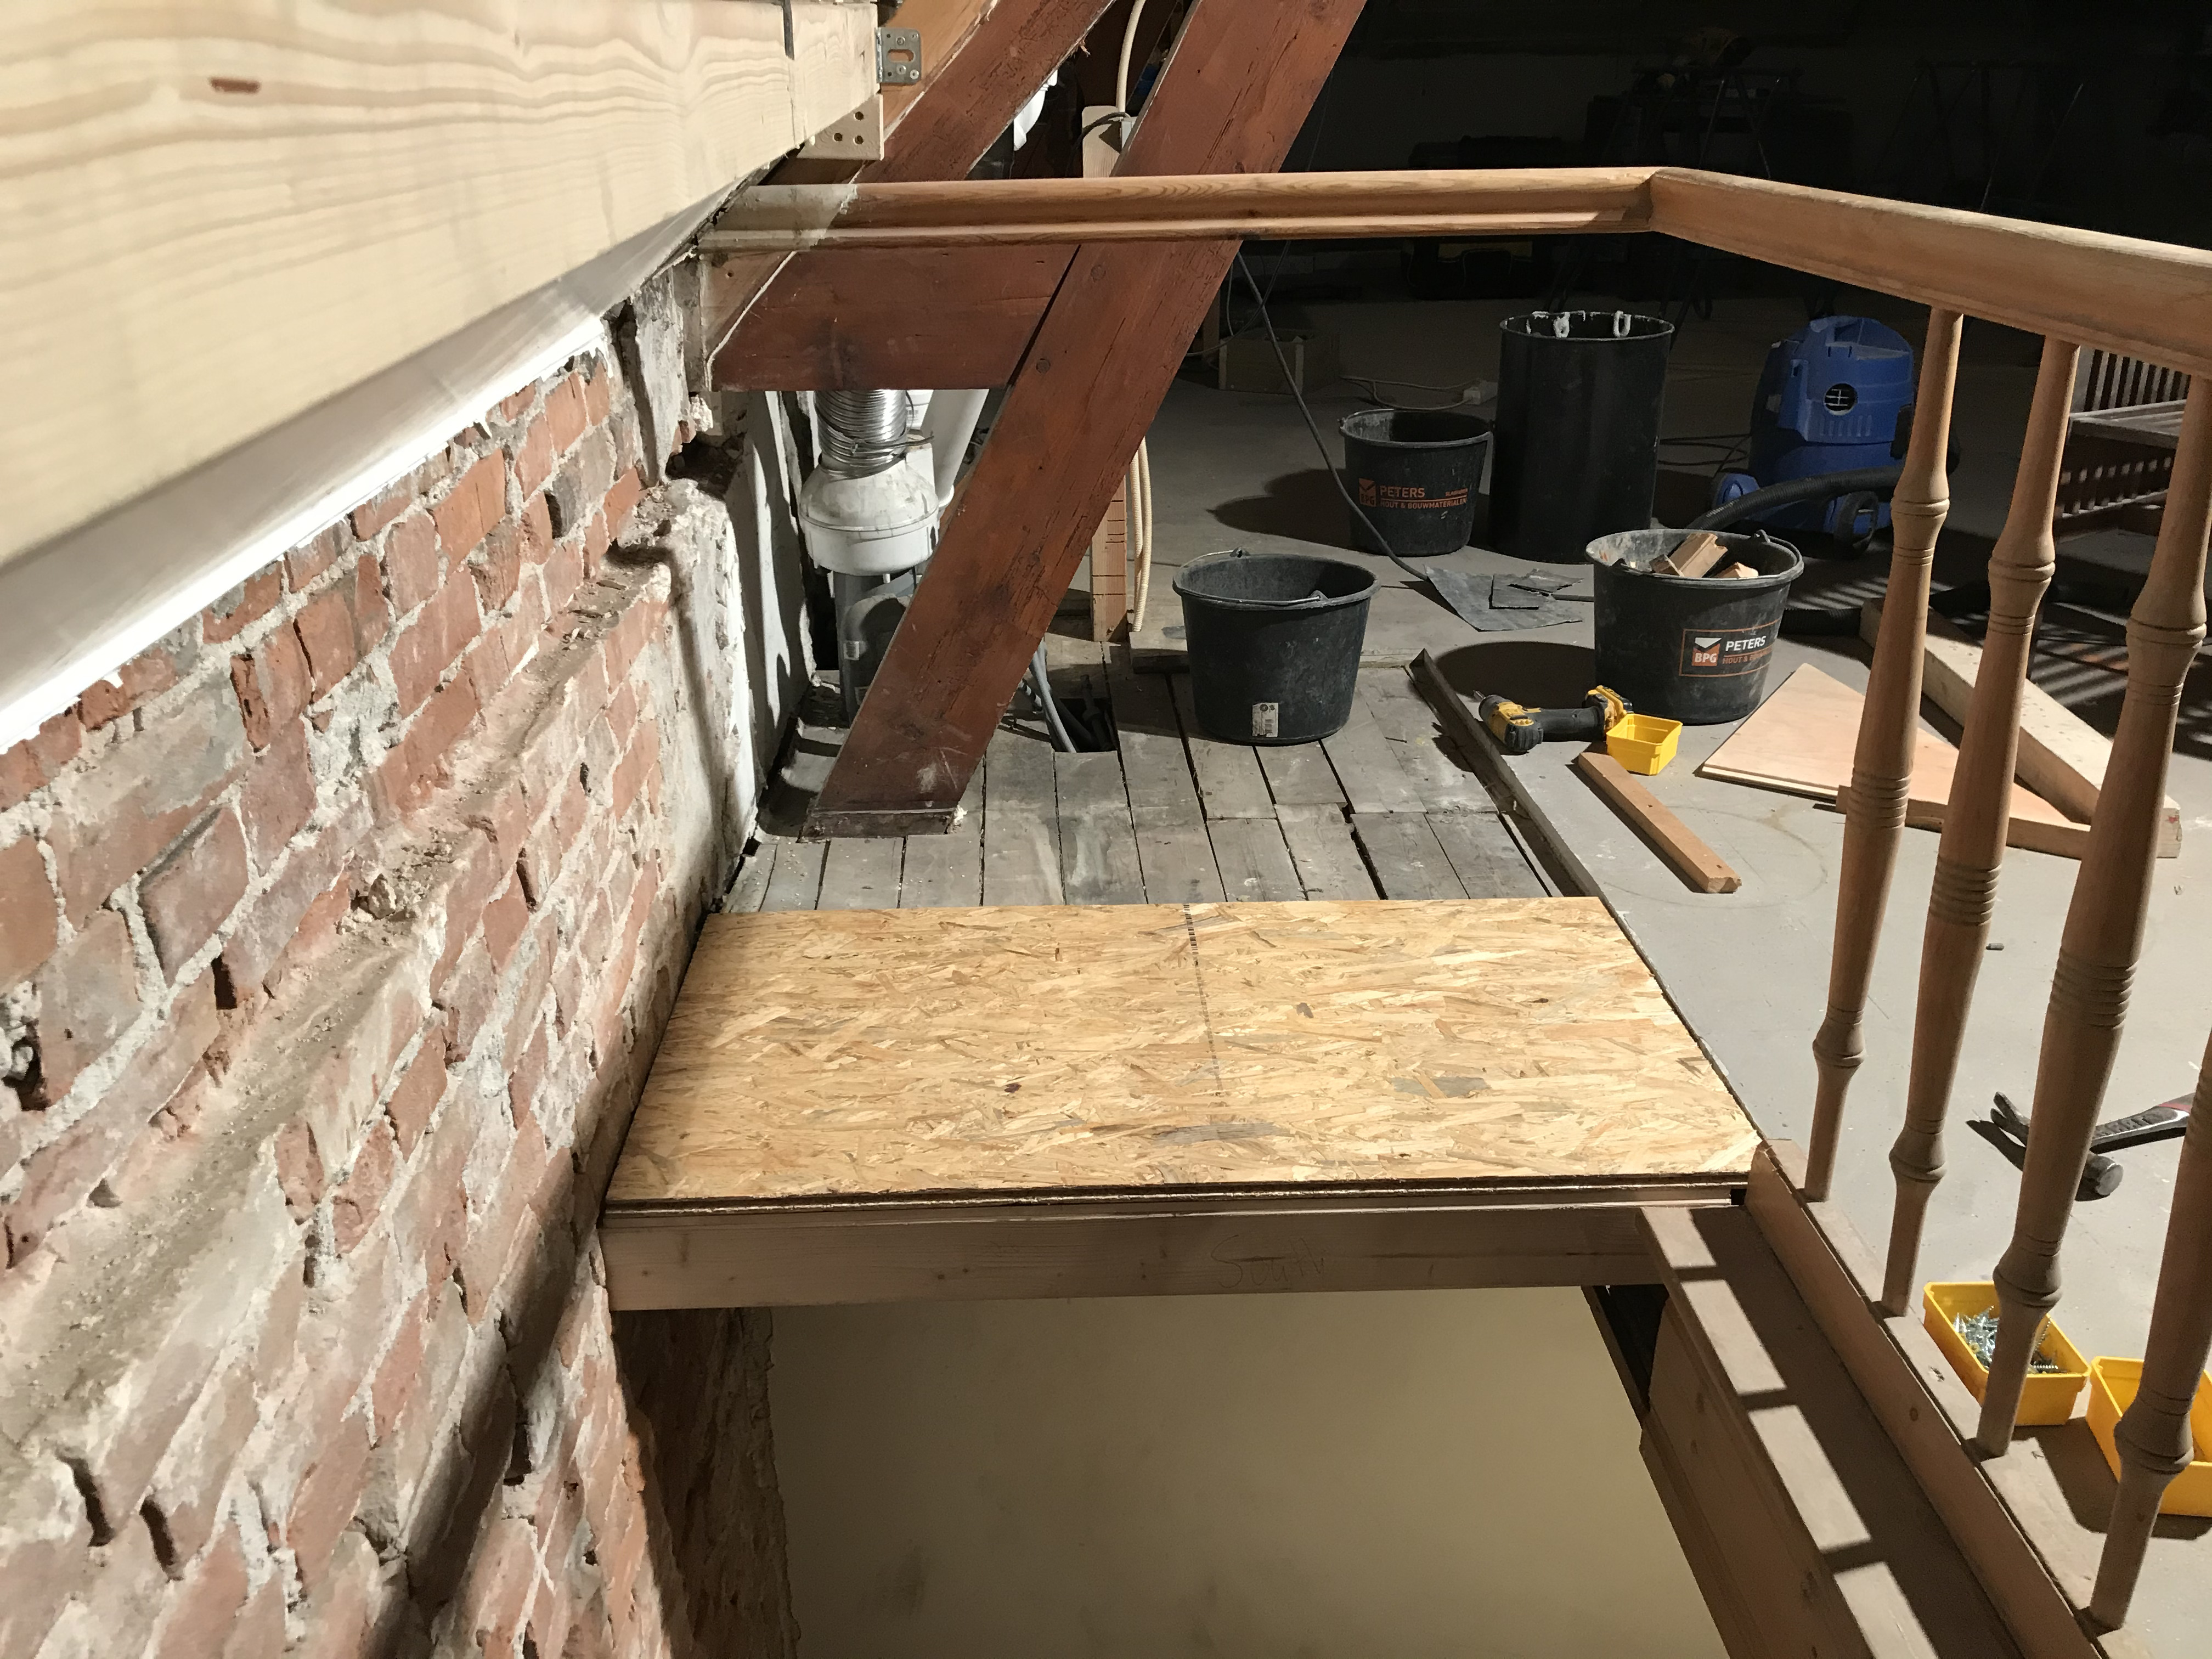
Removing the wall created a new challenge: a gap of 2-8 cm between the steel channels supporting the old mason facade and the subfloor. Since this area would become part of the exterior deck, we needed to fill the gap and ensure proper water drainage.
The steel channels were heavily rusted, and a significant amount of cleaning was required before we could proceed.
Creating a slope to ensure water will slope away from the new facade
We used a small aggregate to ensure that the 18-mm plywood that would form the subflooring of the deck was fully supported.
With the floor leveled and filled, we added plates to create a slight slope that would direct water runoff away from the new facade.
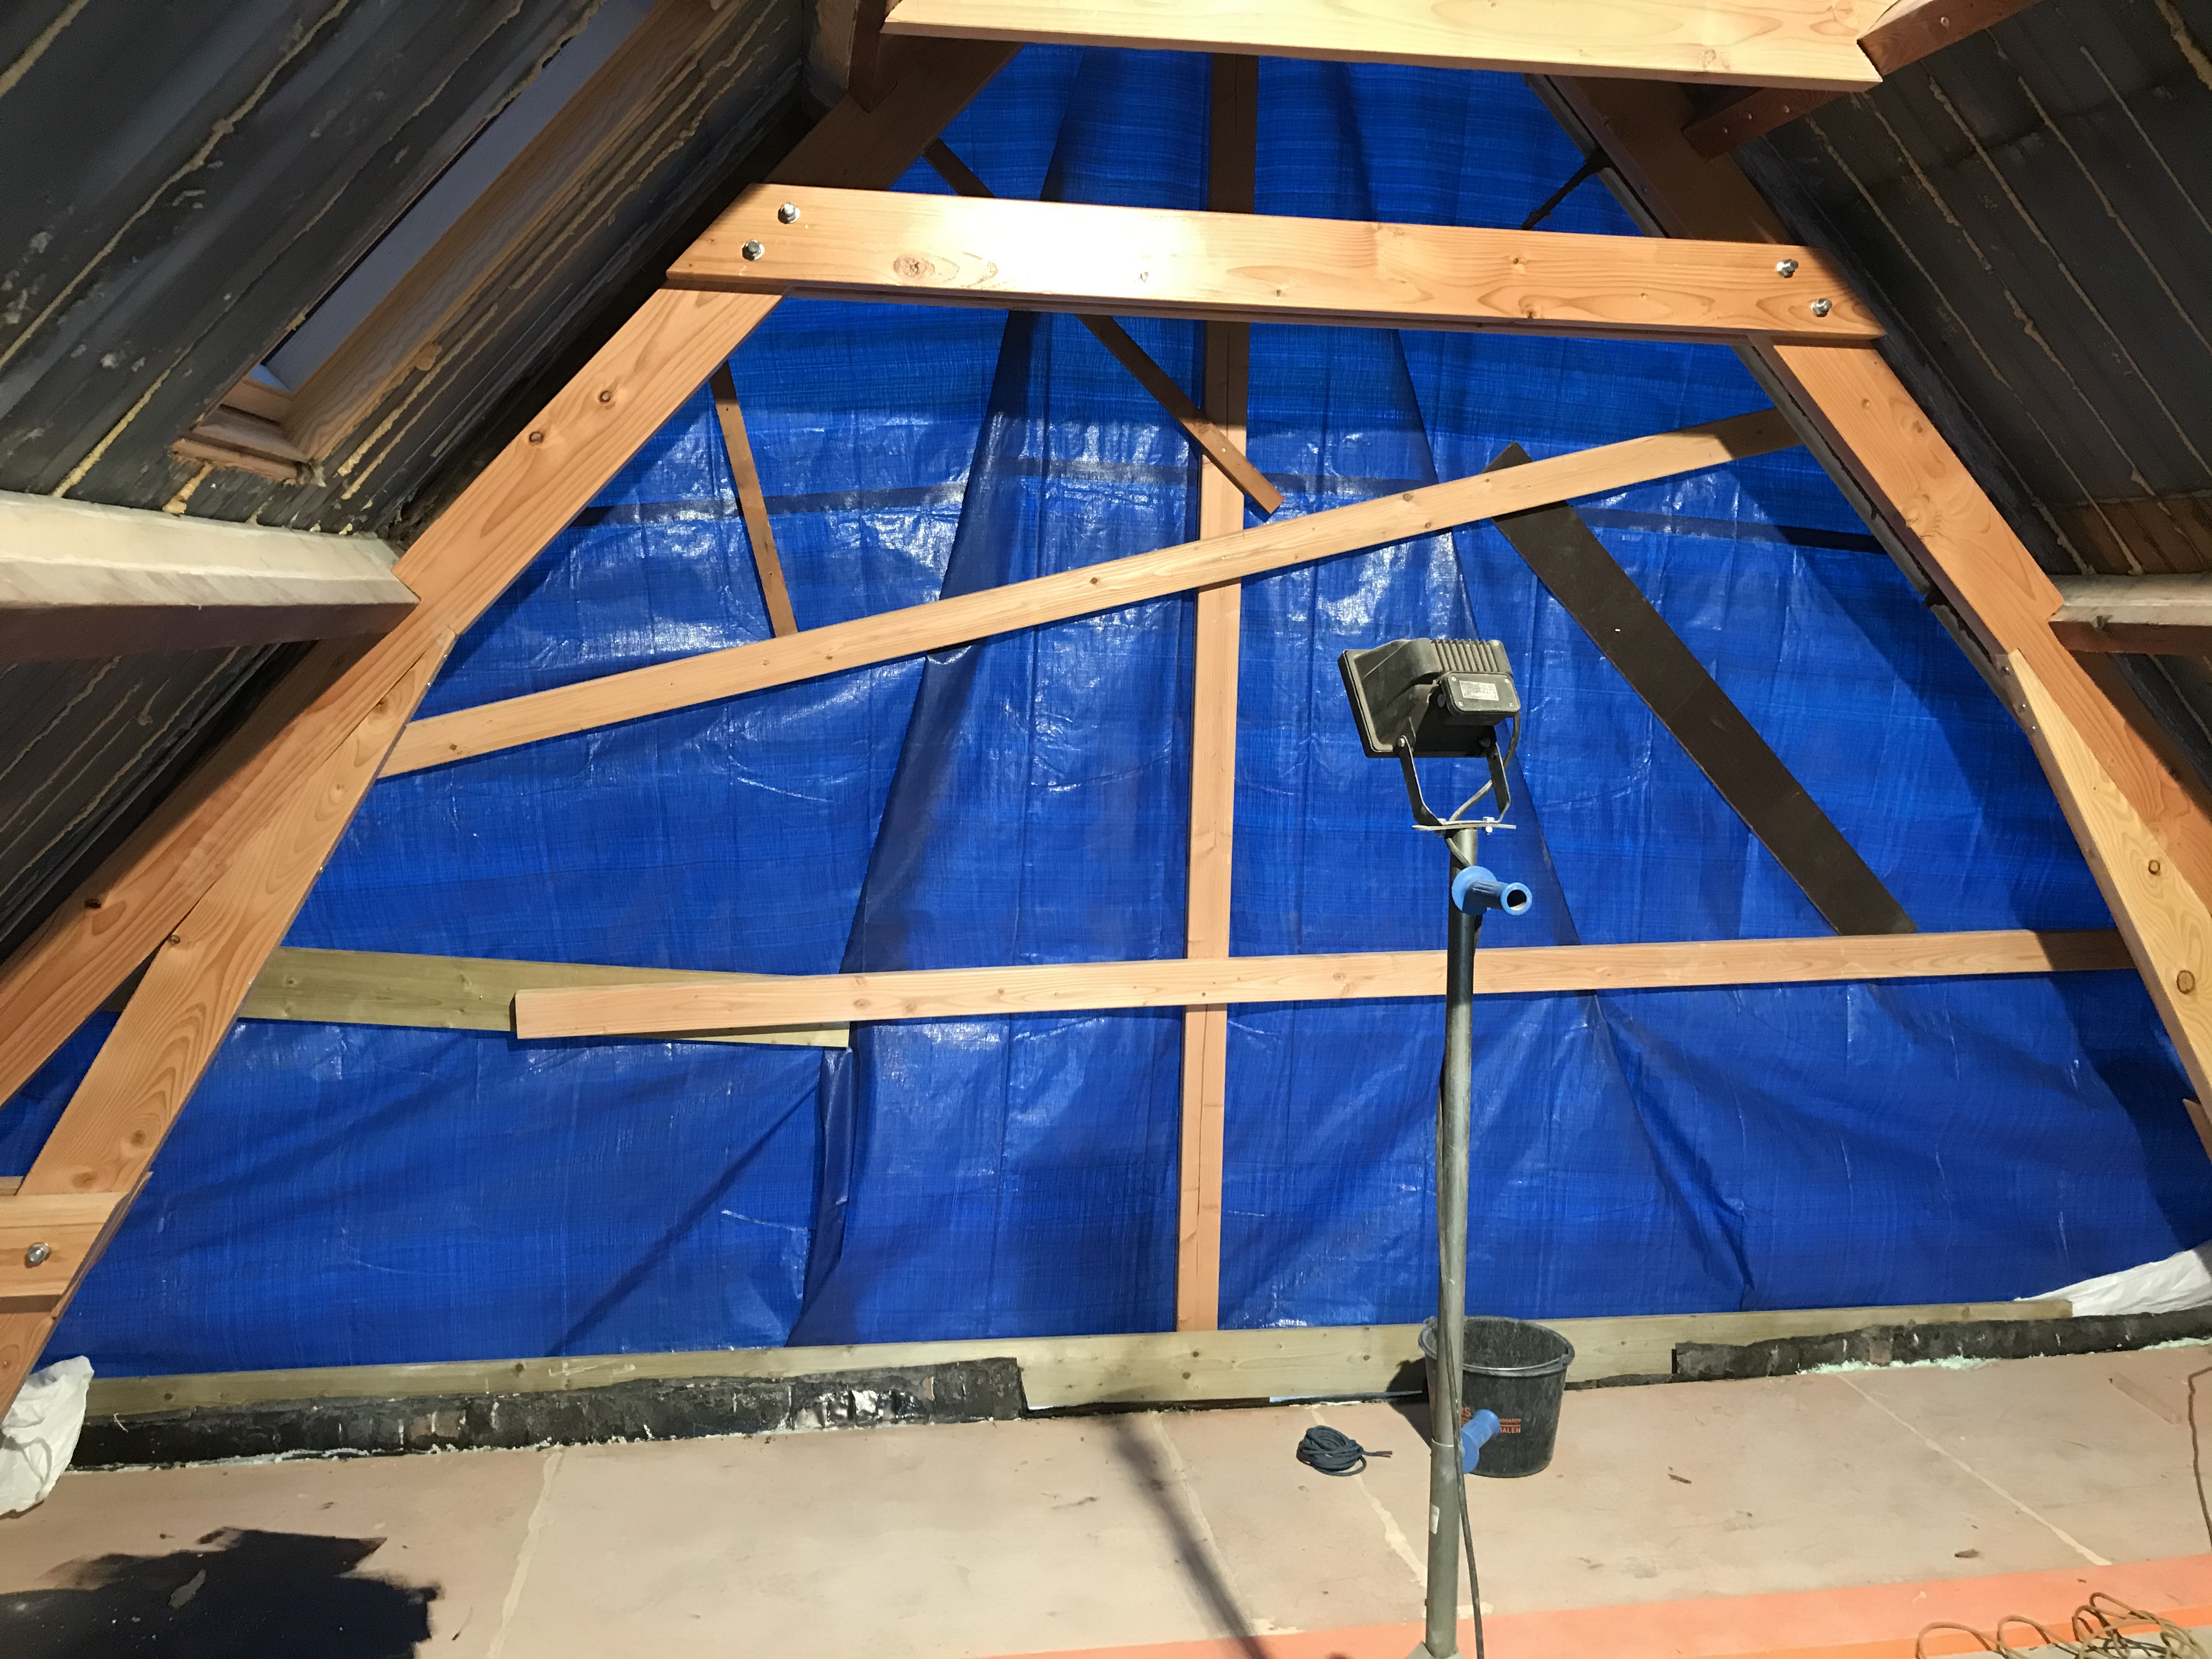
As fall approached, known for its rainy weather in the Netherlands, we constructed a temporary facade to protect the workspace from the elements.
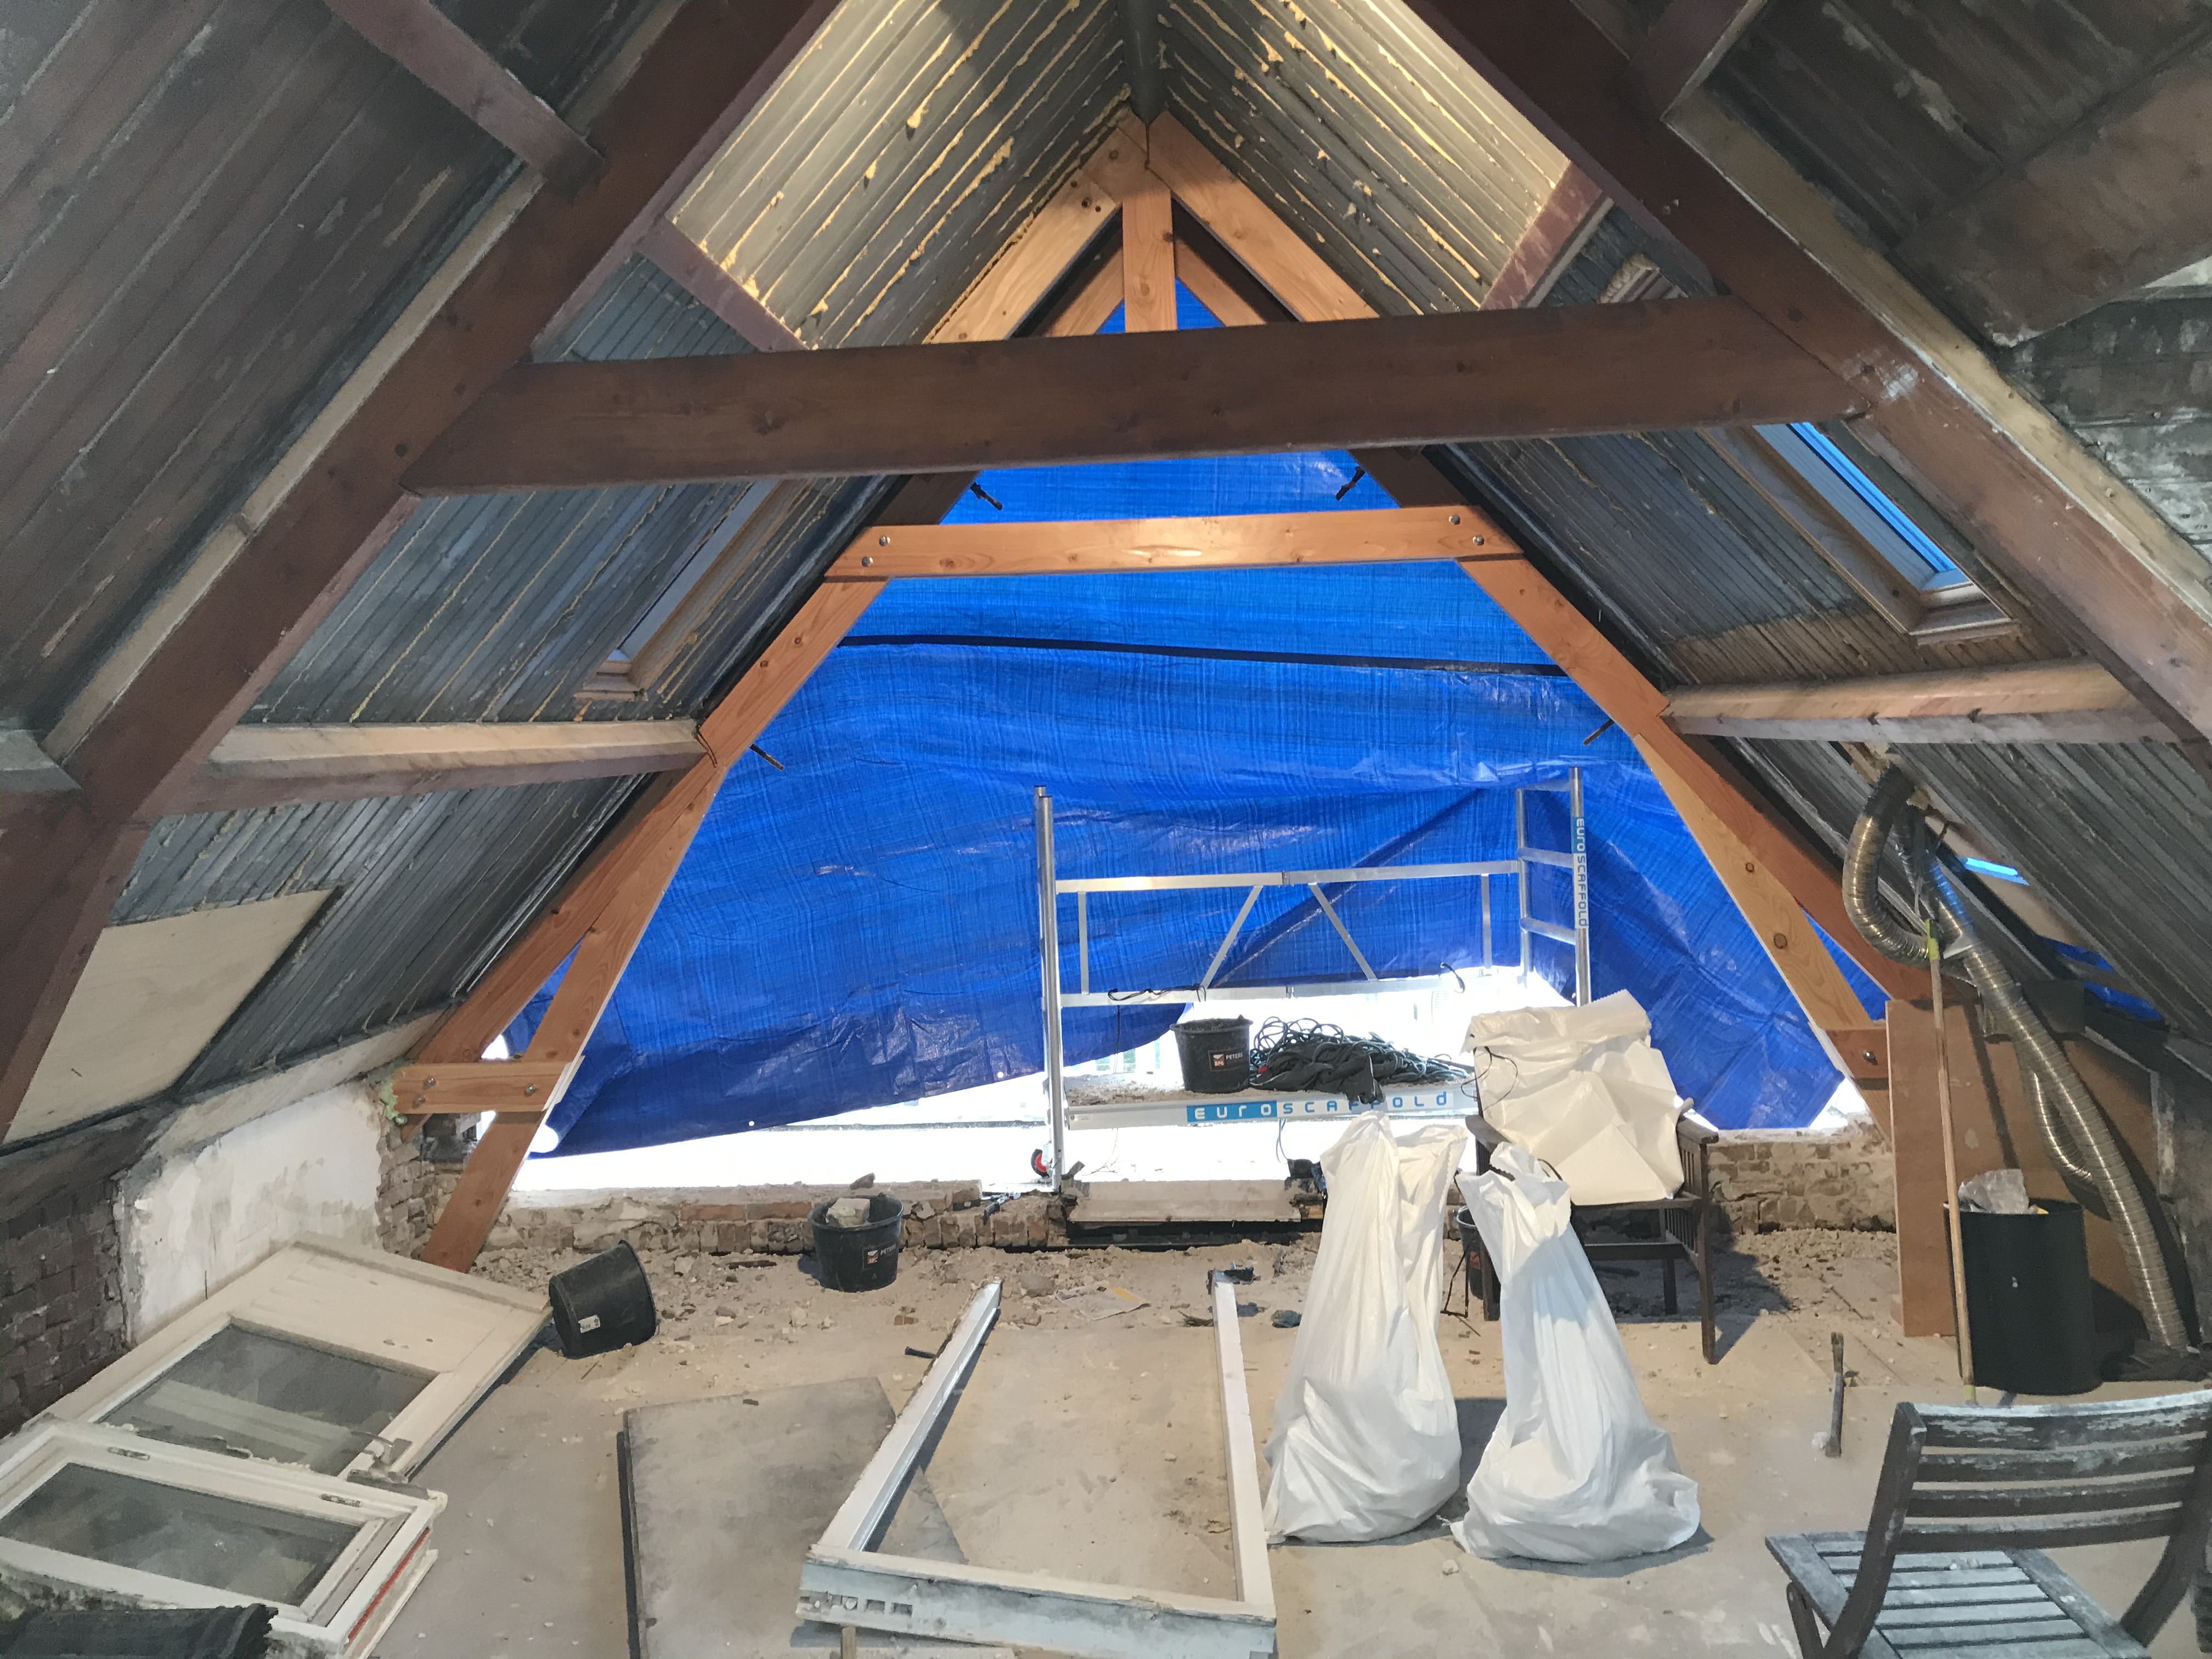
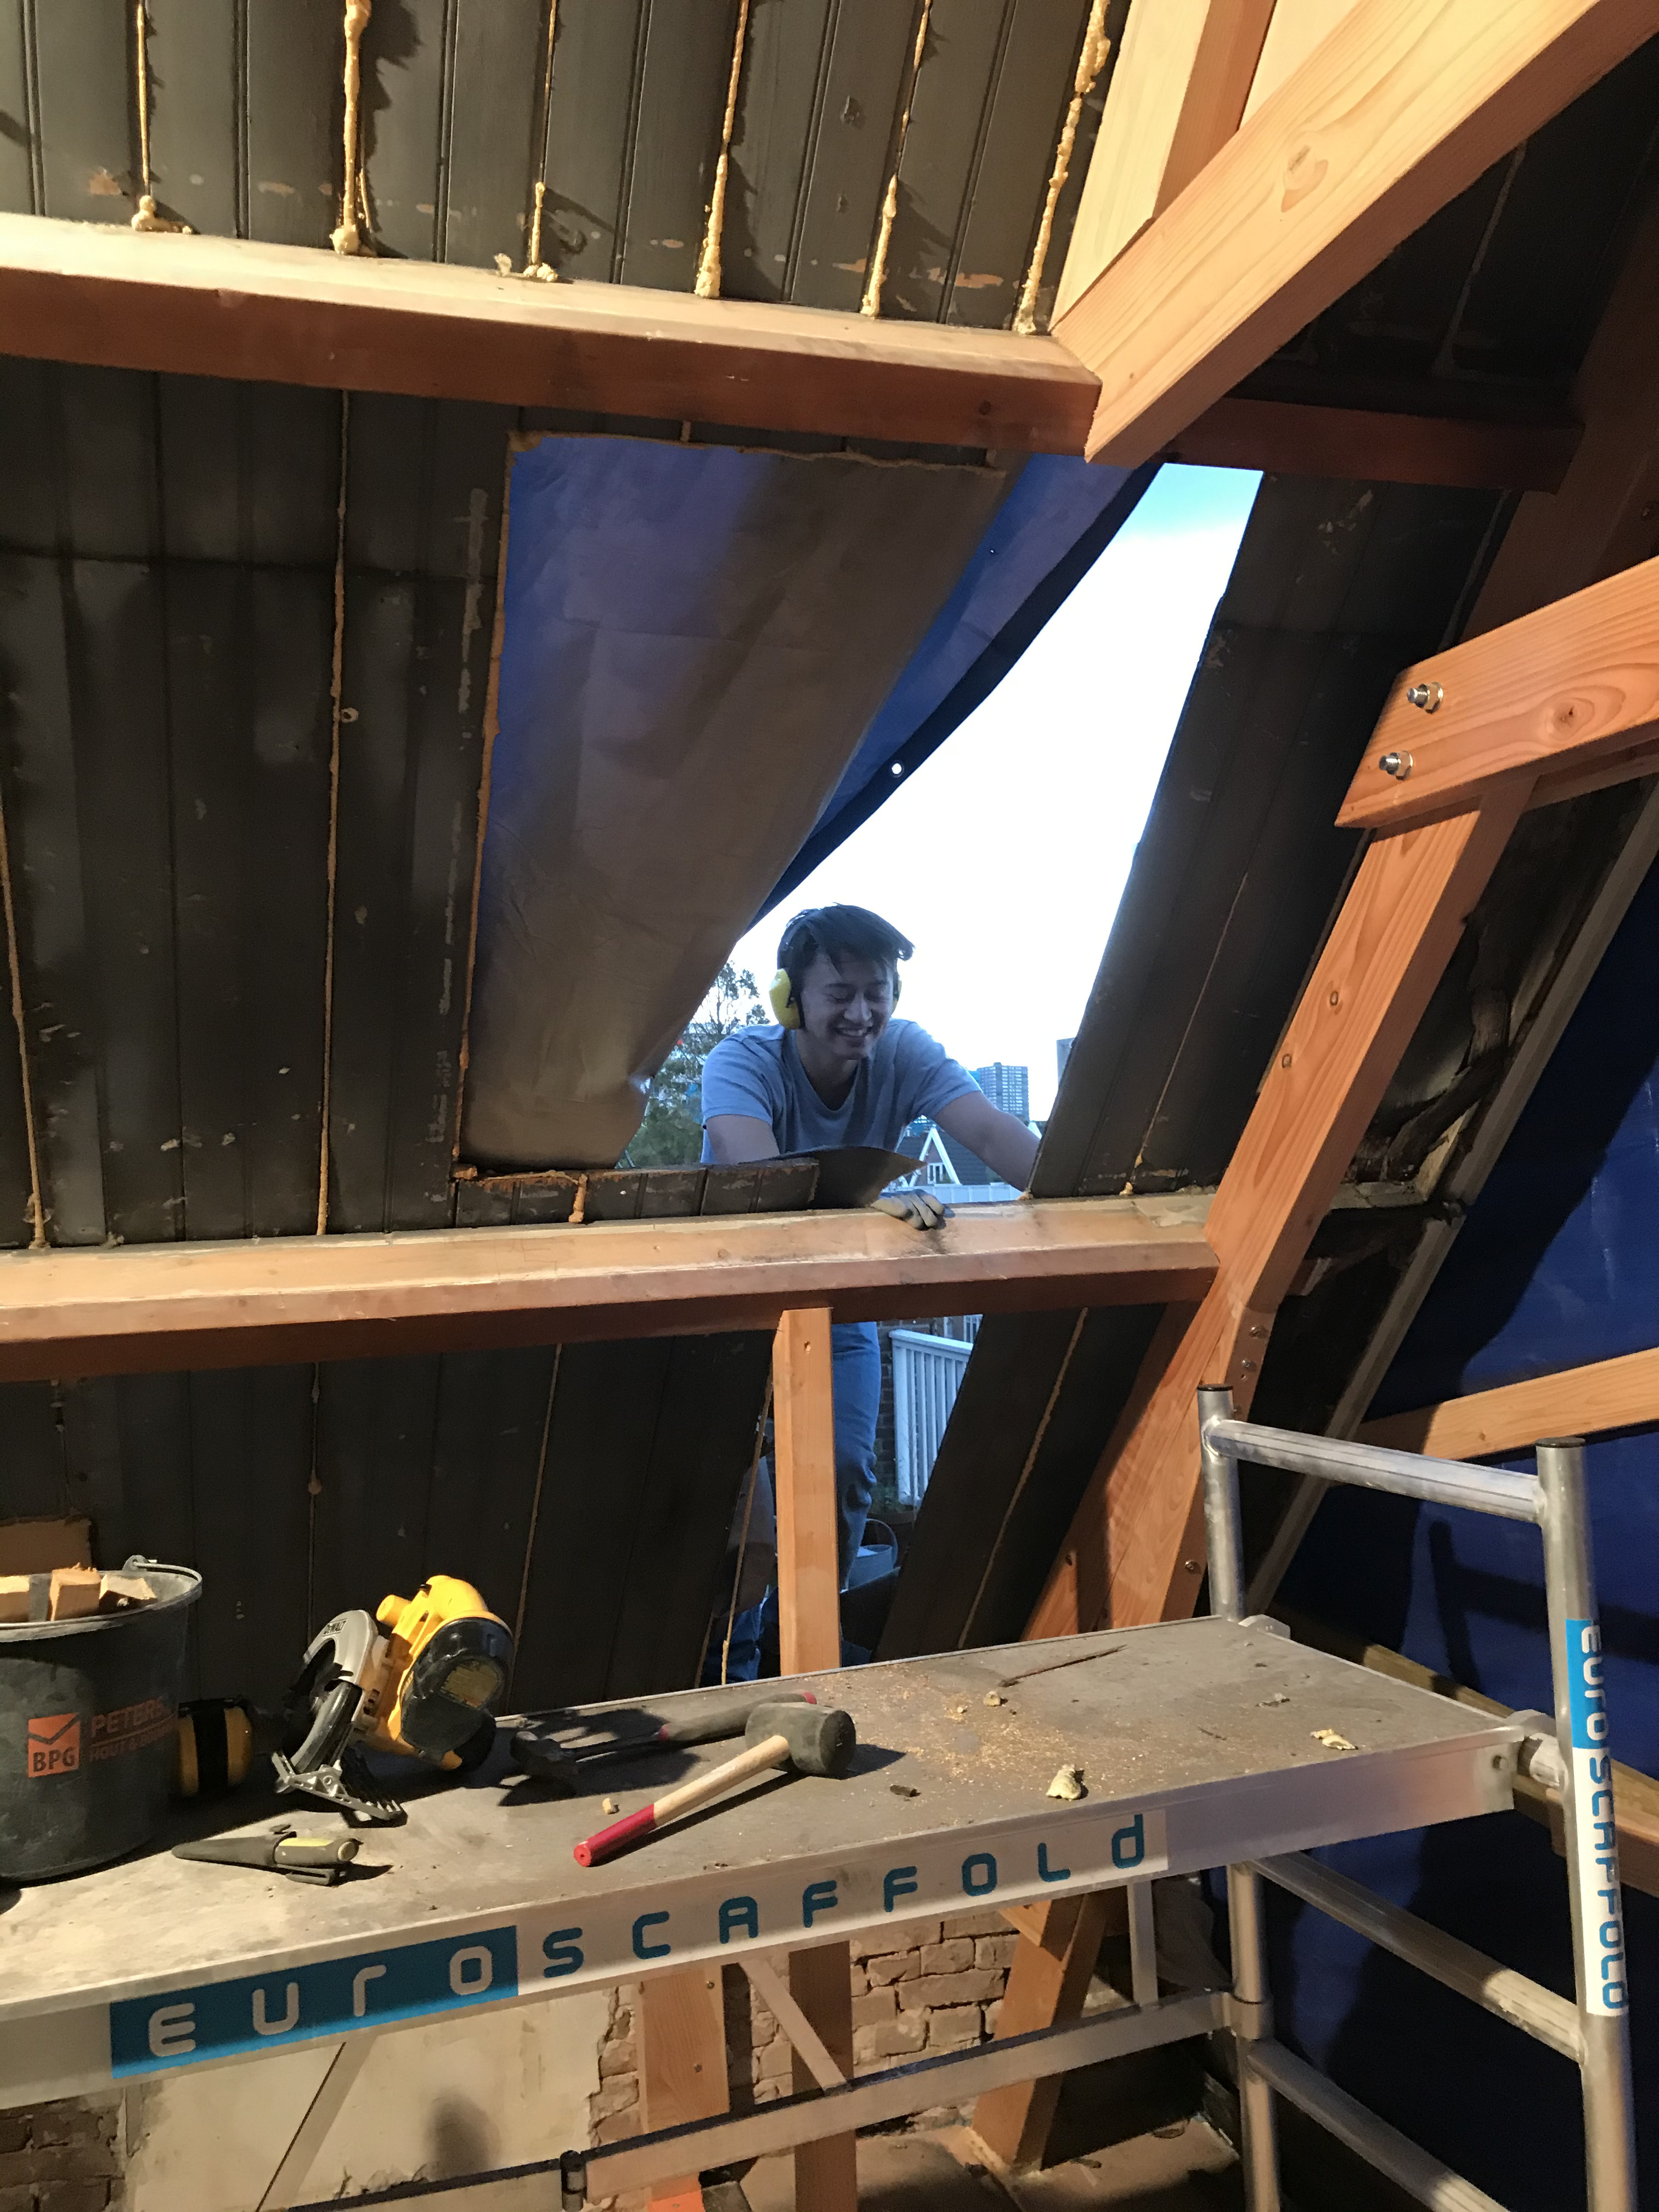
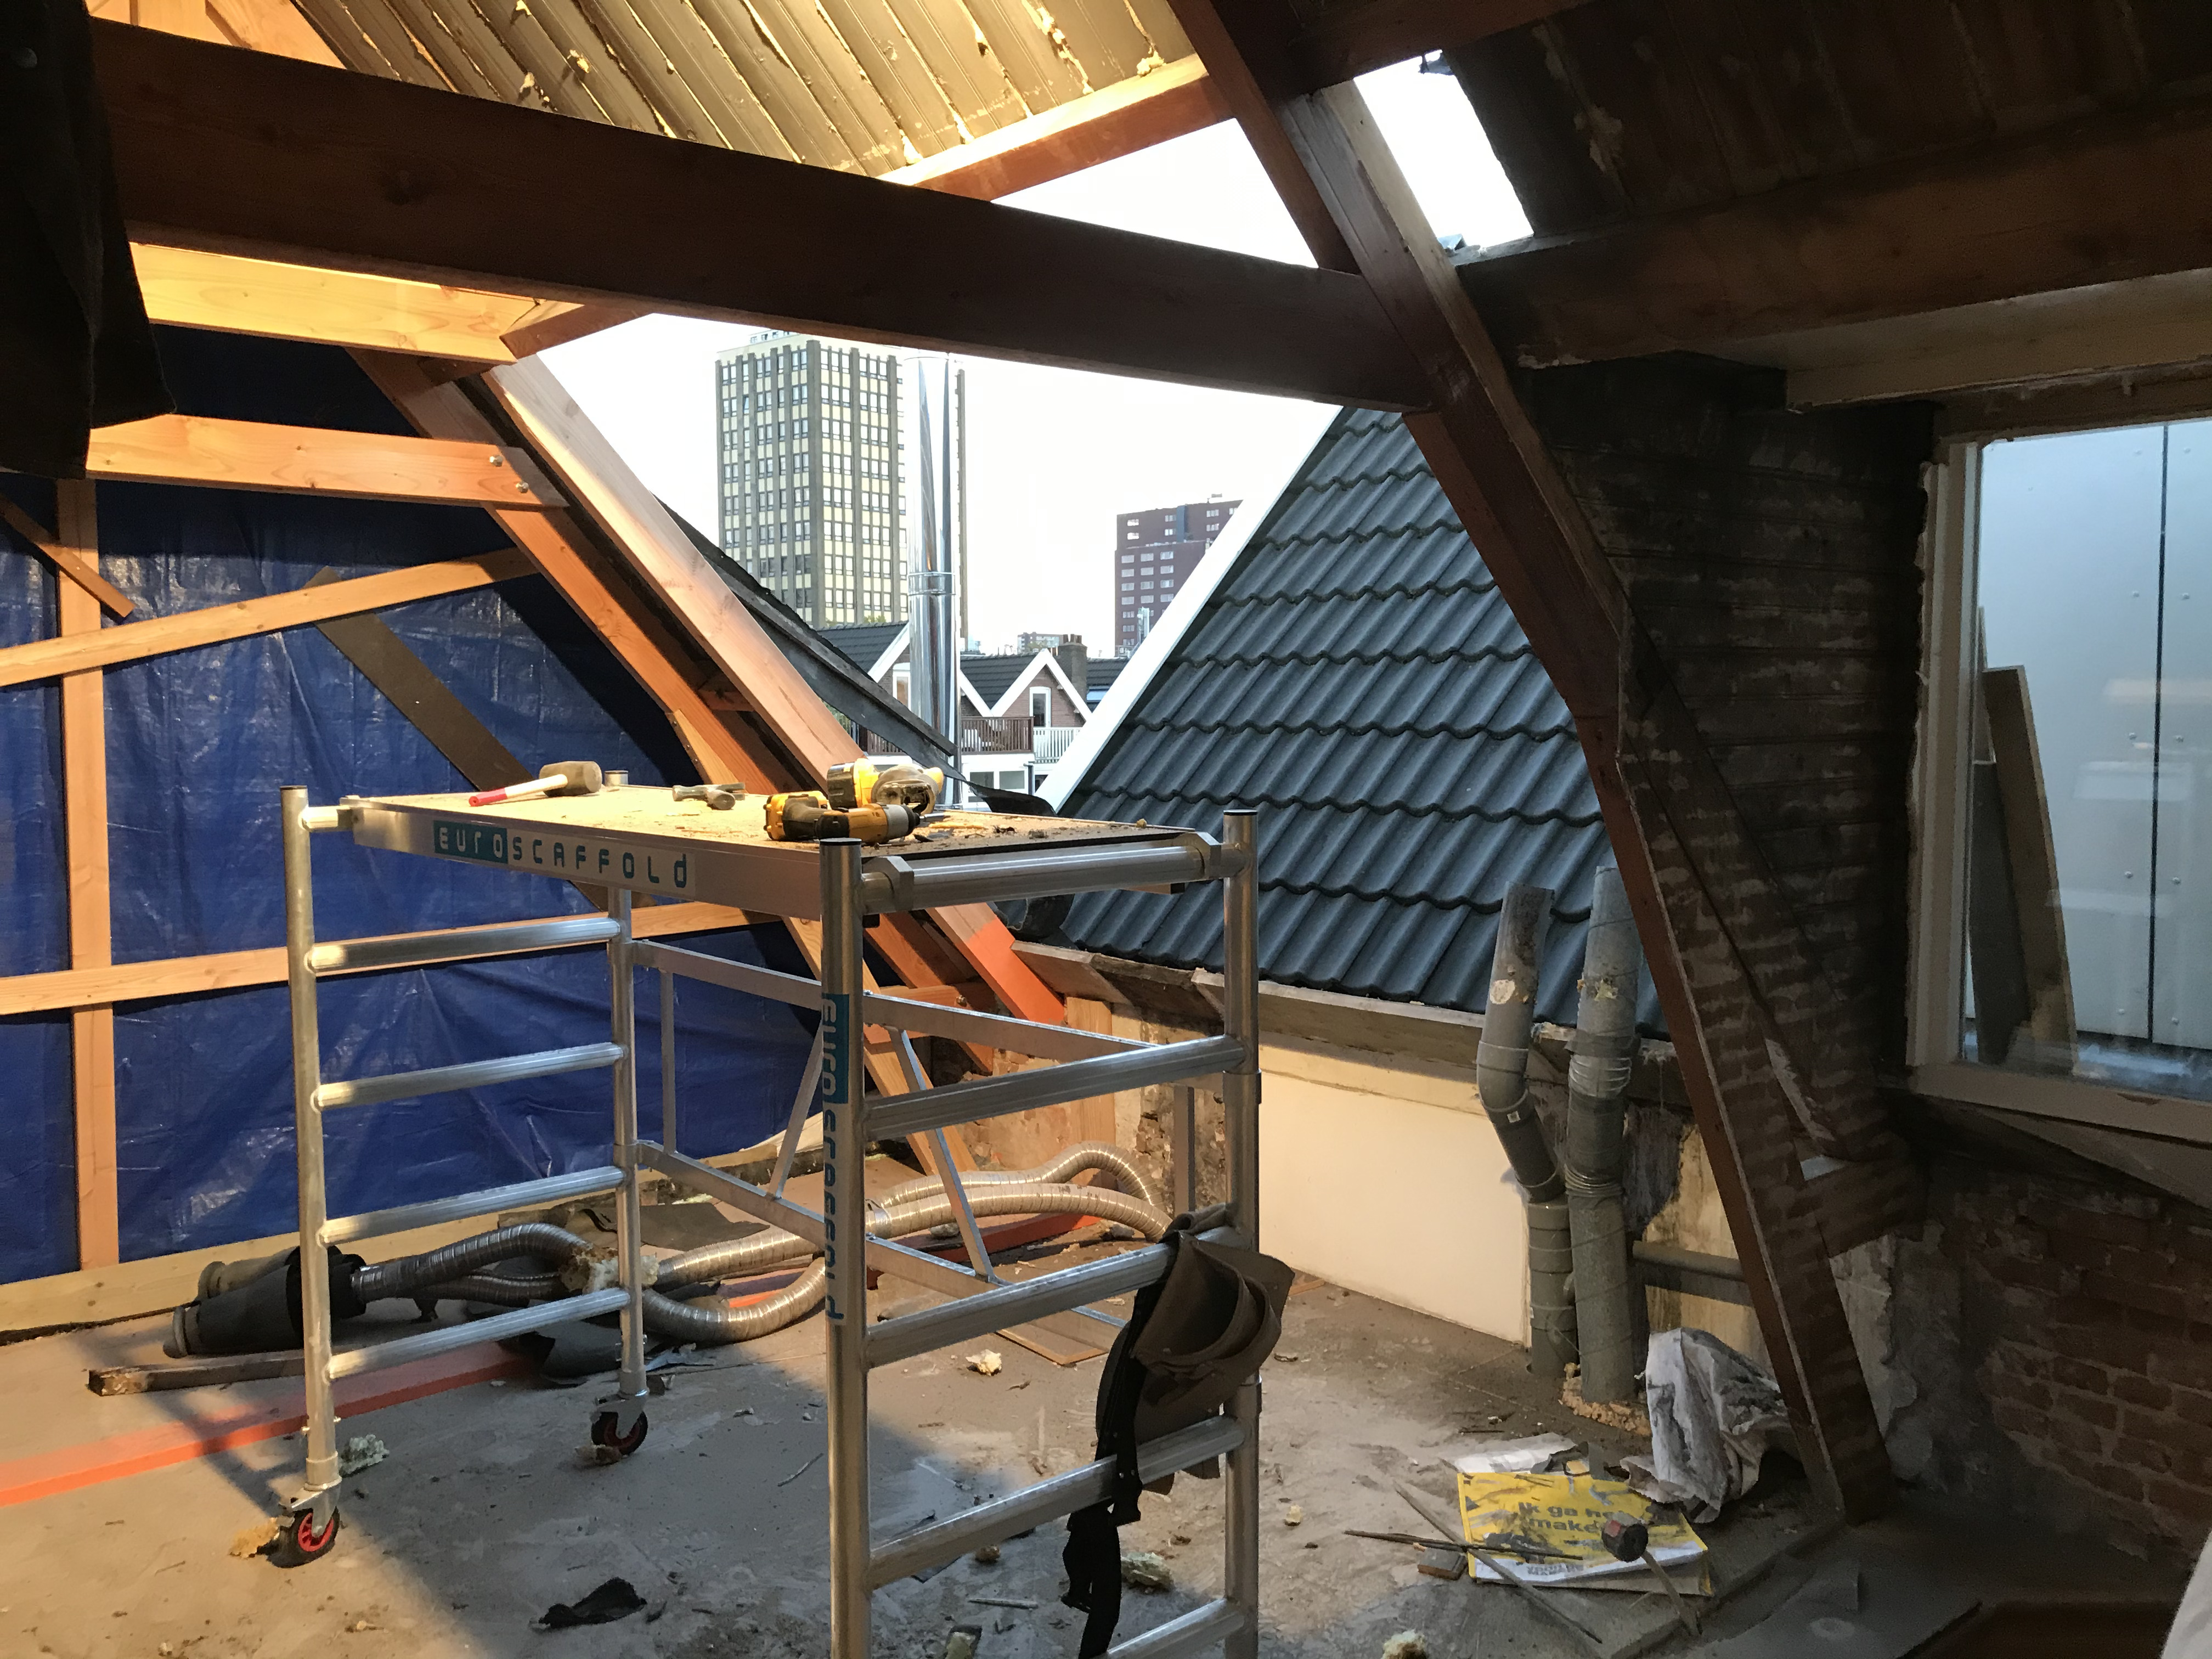
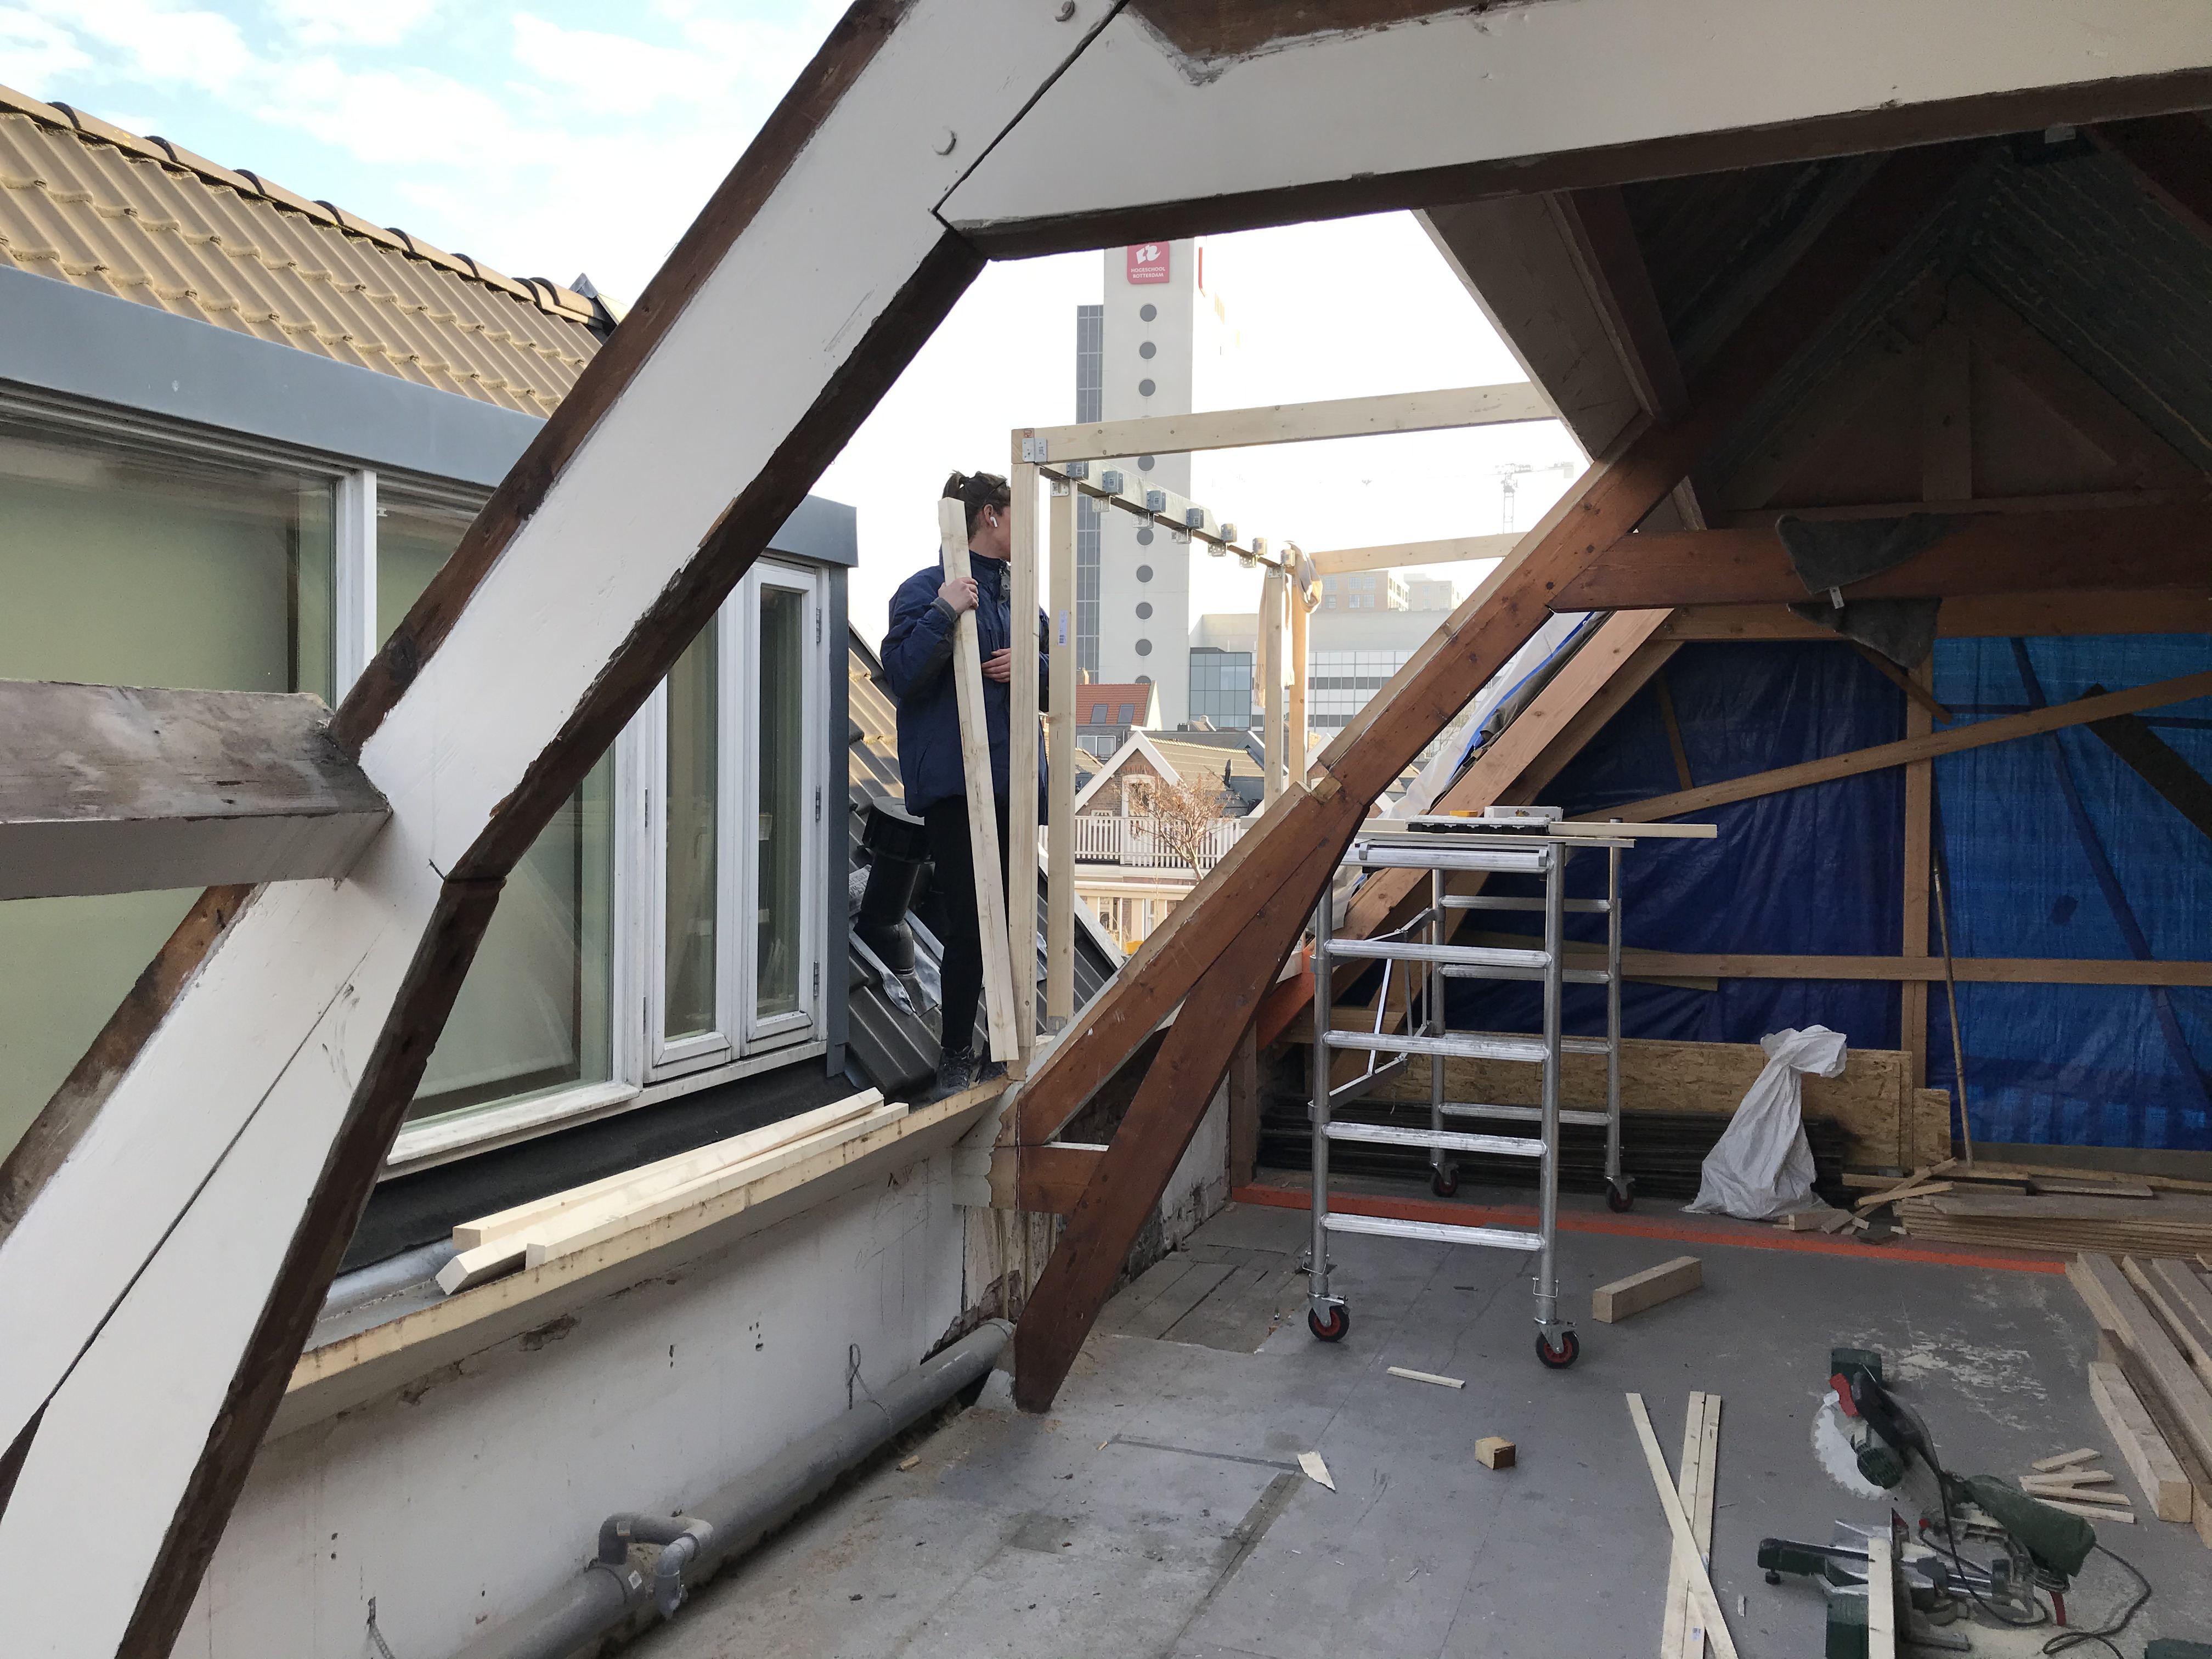
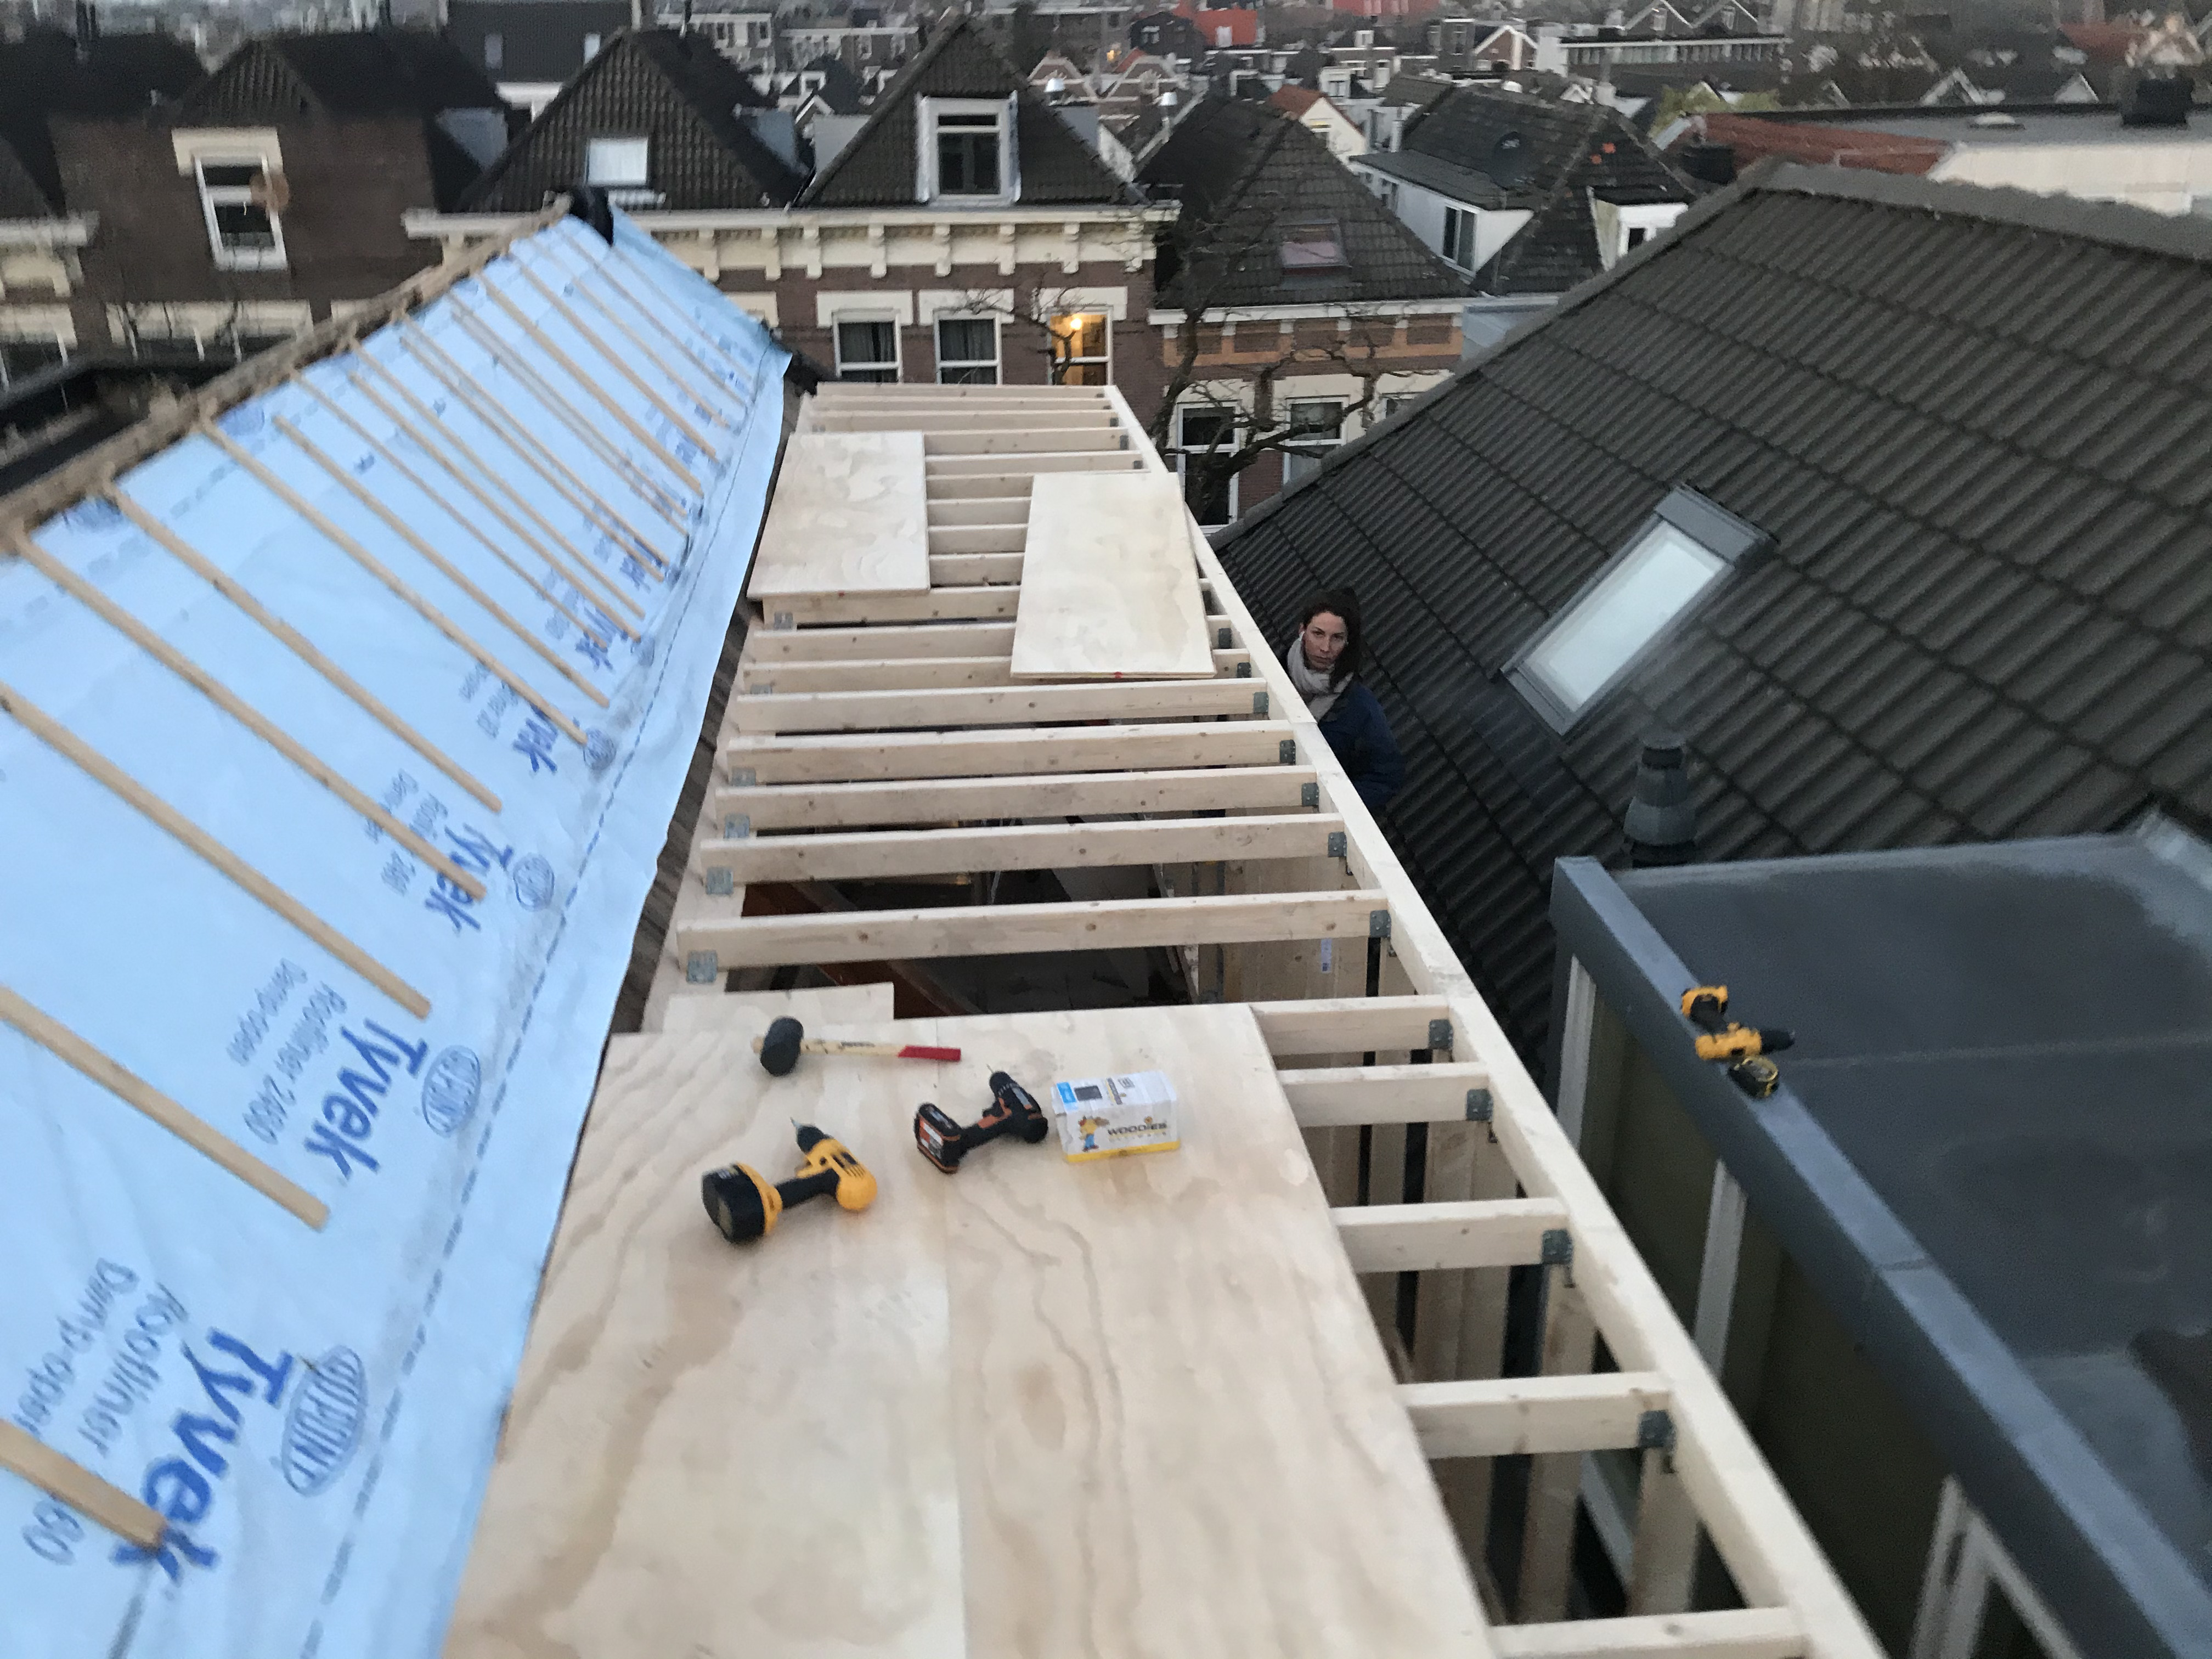
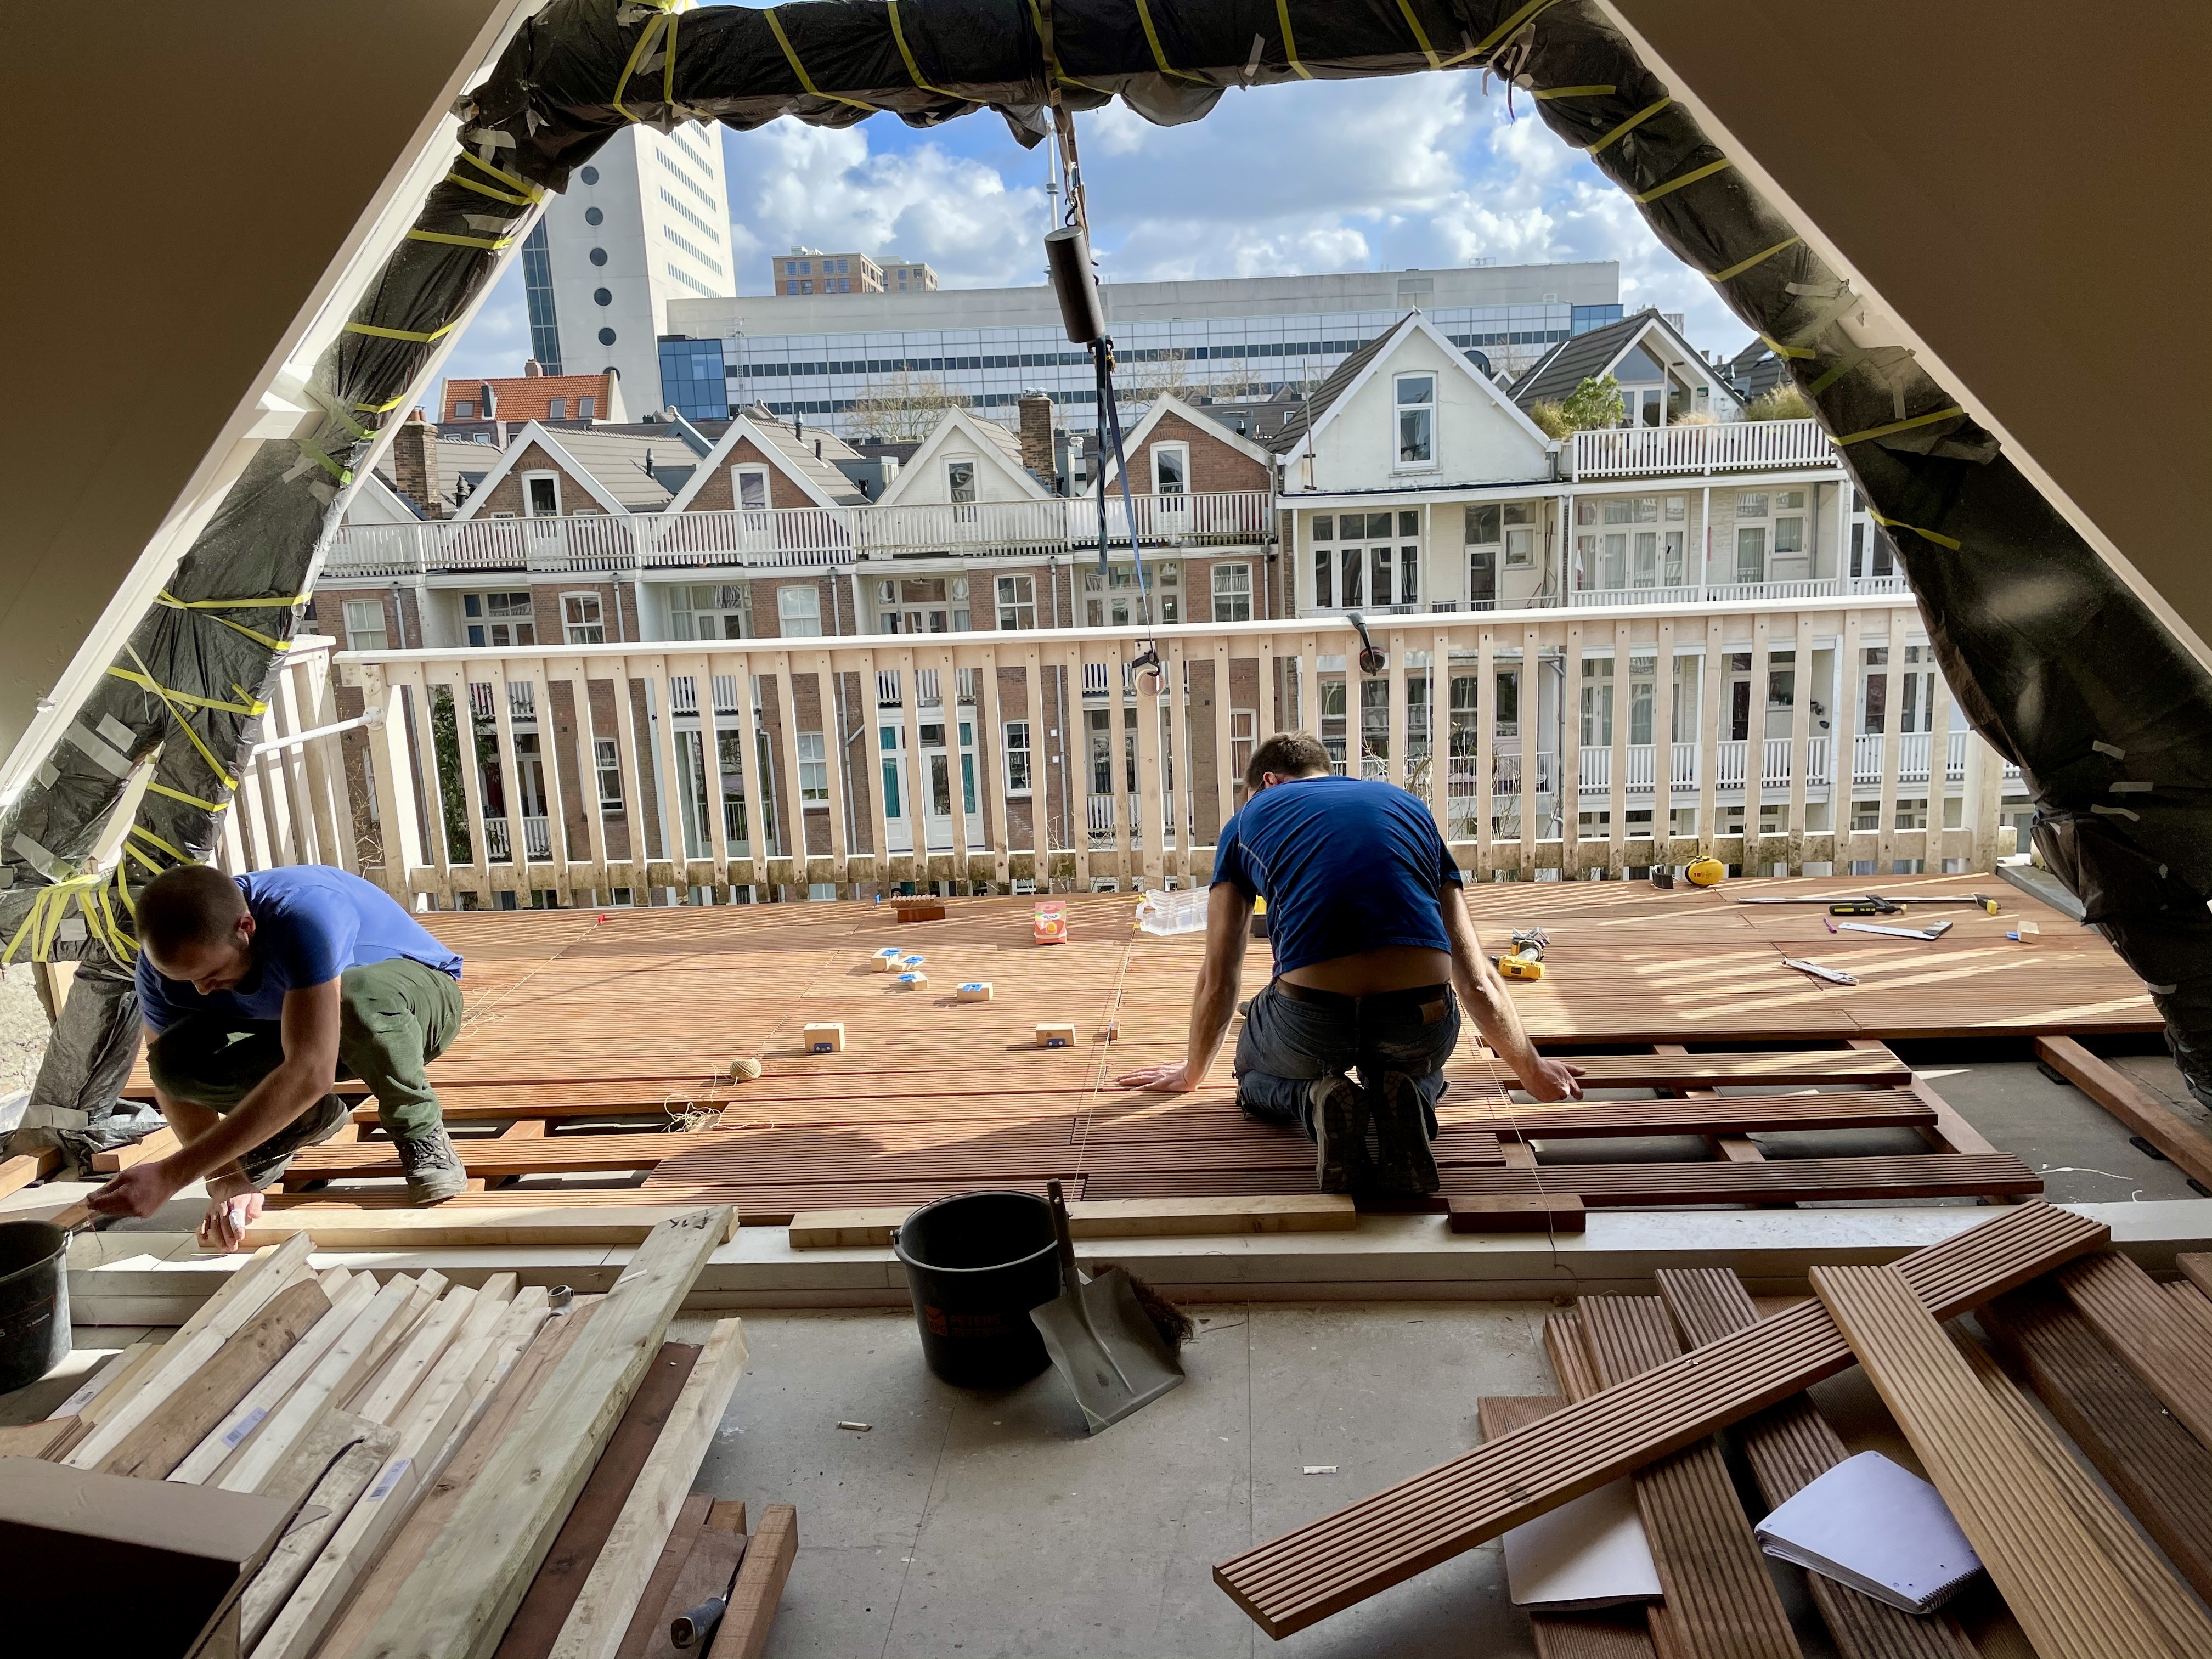
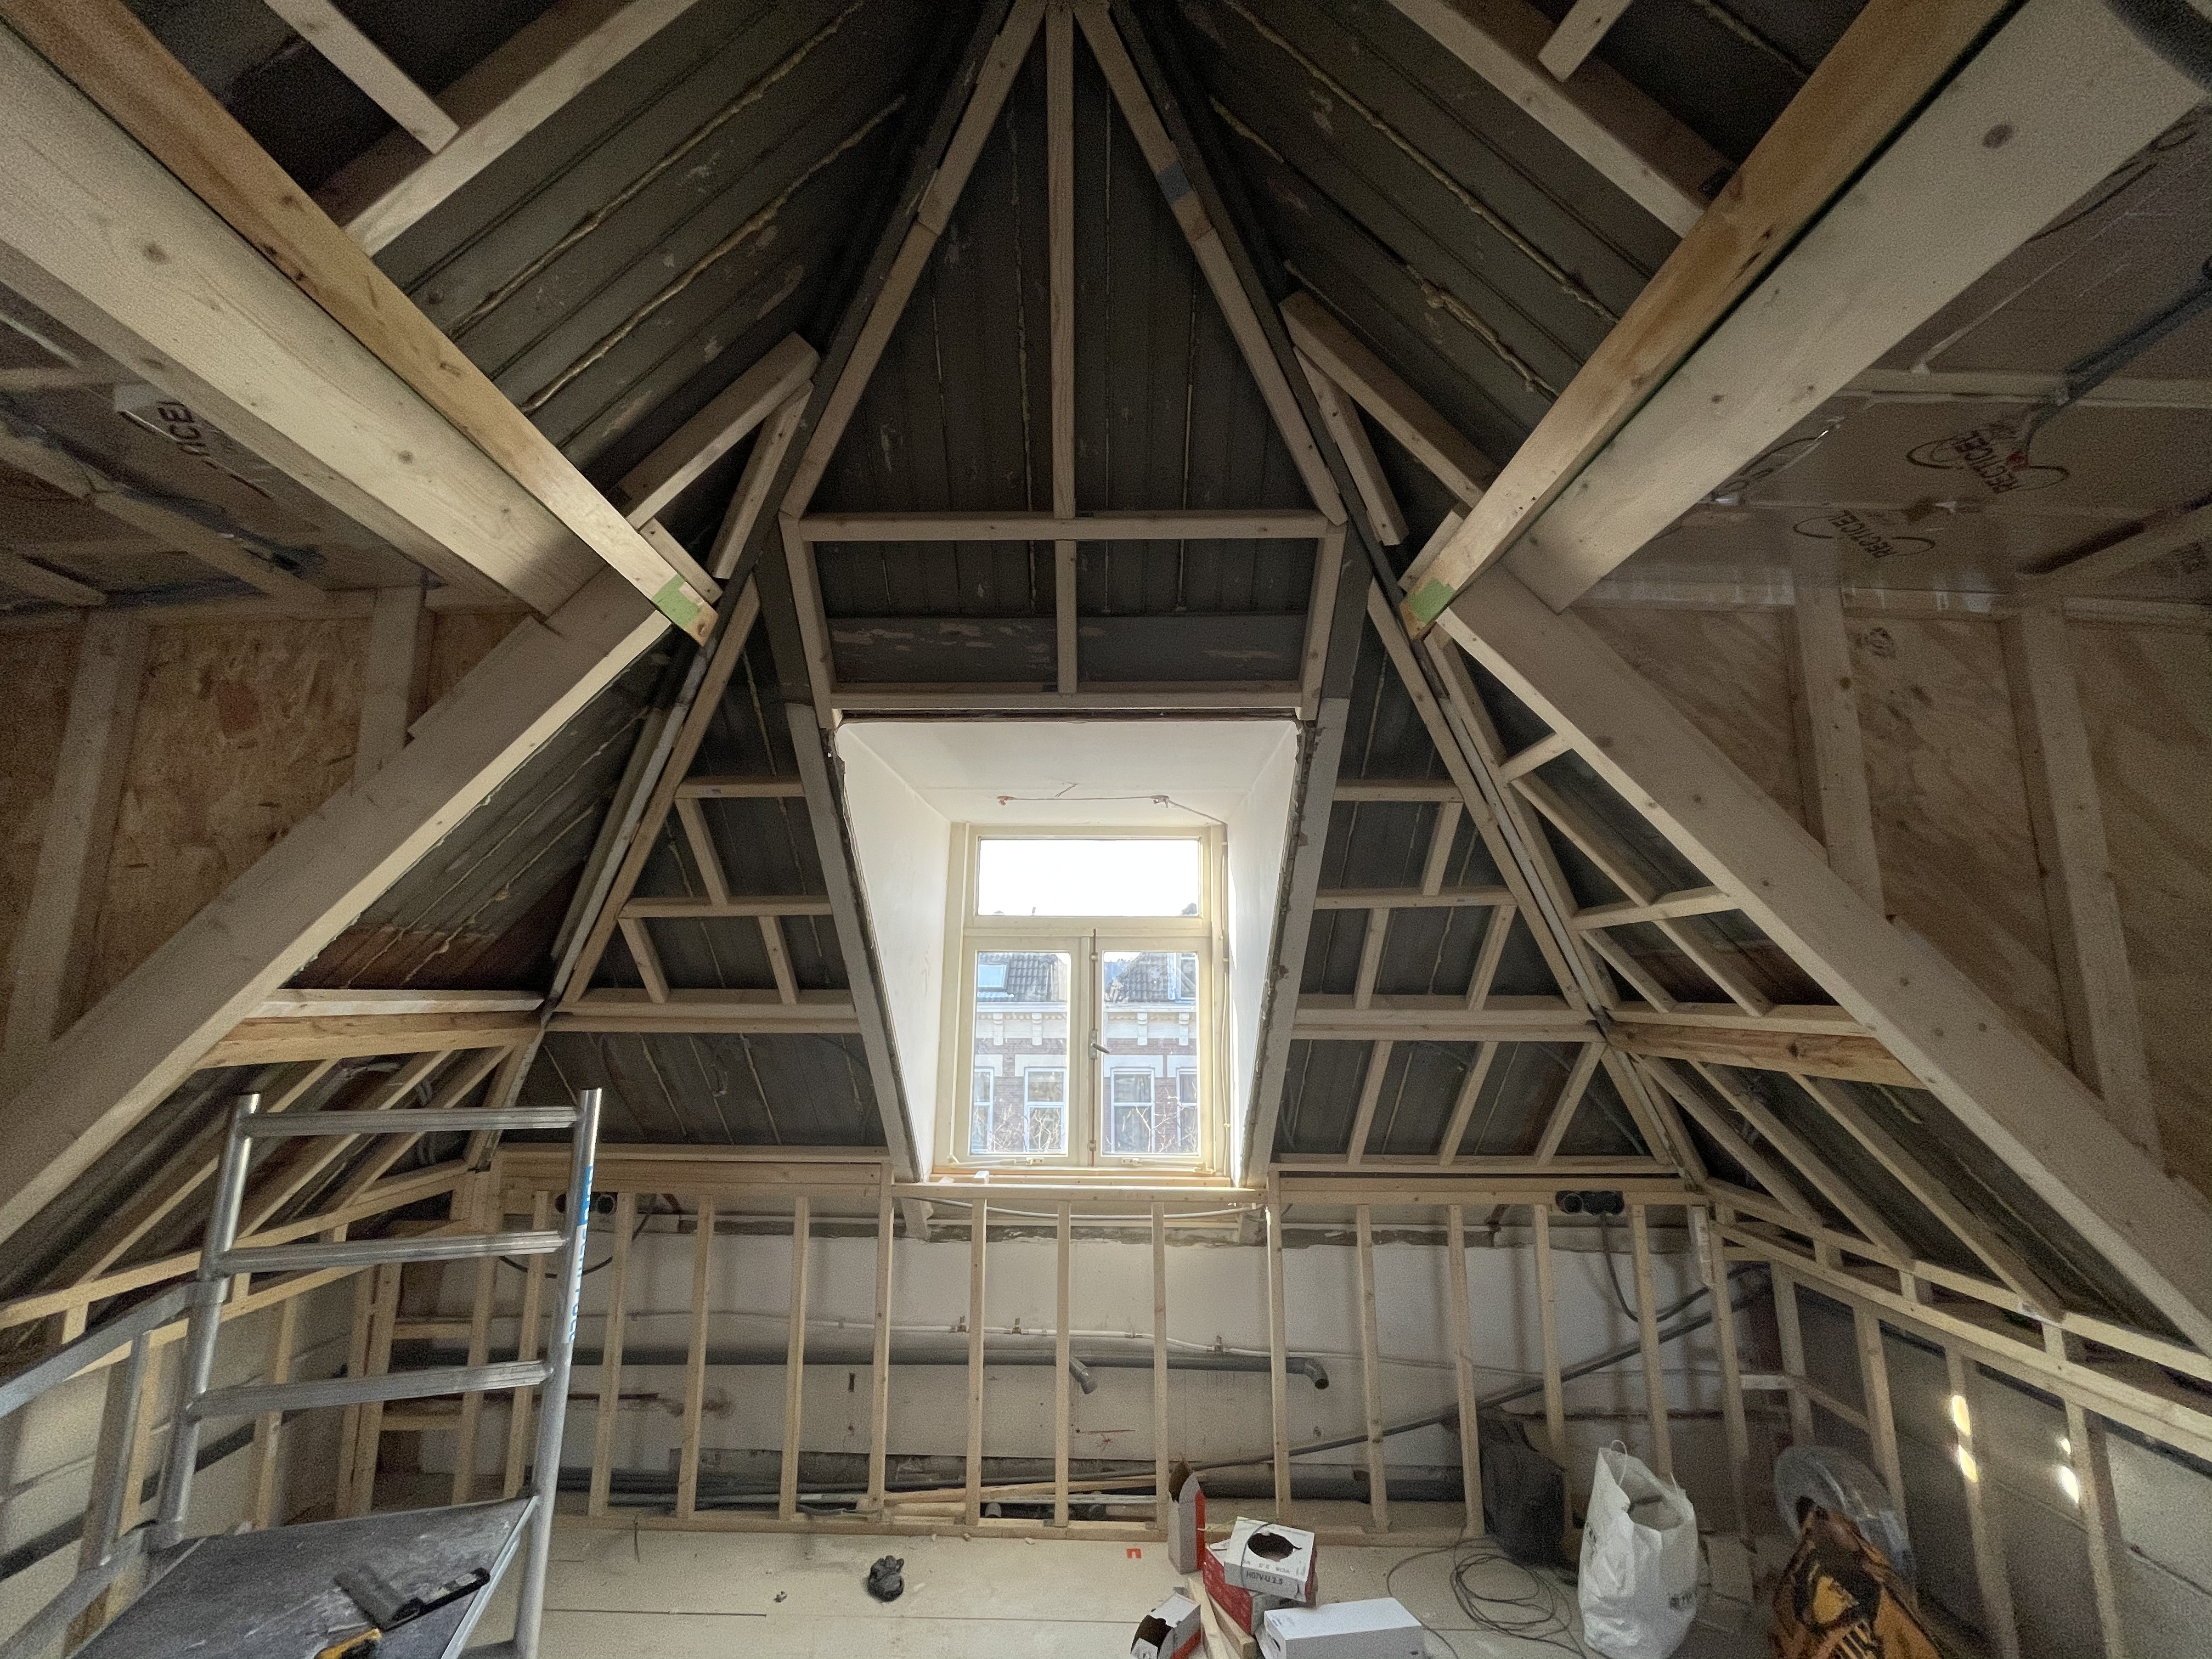
The construction of the dormers was the most time-consuming and challenging part of the renovation project. With the roof exposed, our top priority was to get the dormers built and waterproofed as quickly as possible to avoid water damage. There were a few setbacks, like the time a leaky tarp caused a pool of water to form in the workspace in the middle of the night! This phase required long days and a lot of dedication. Here’s a breakdown of the dormer construction process:
We built each dormer in stages, finished one dormer then started on the other:
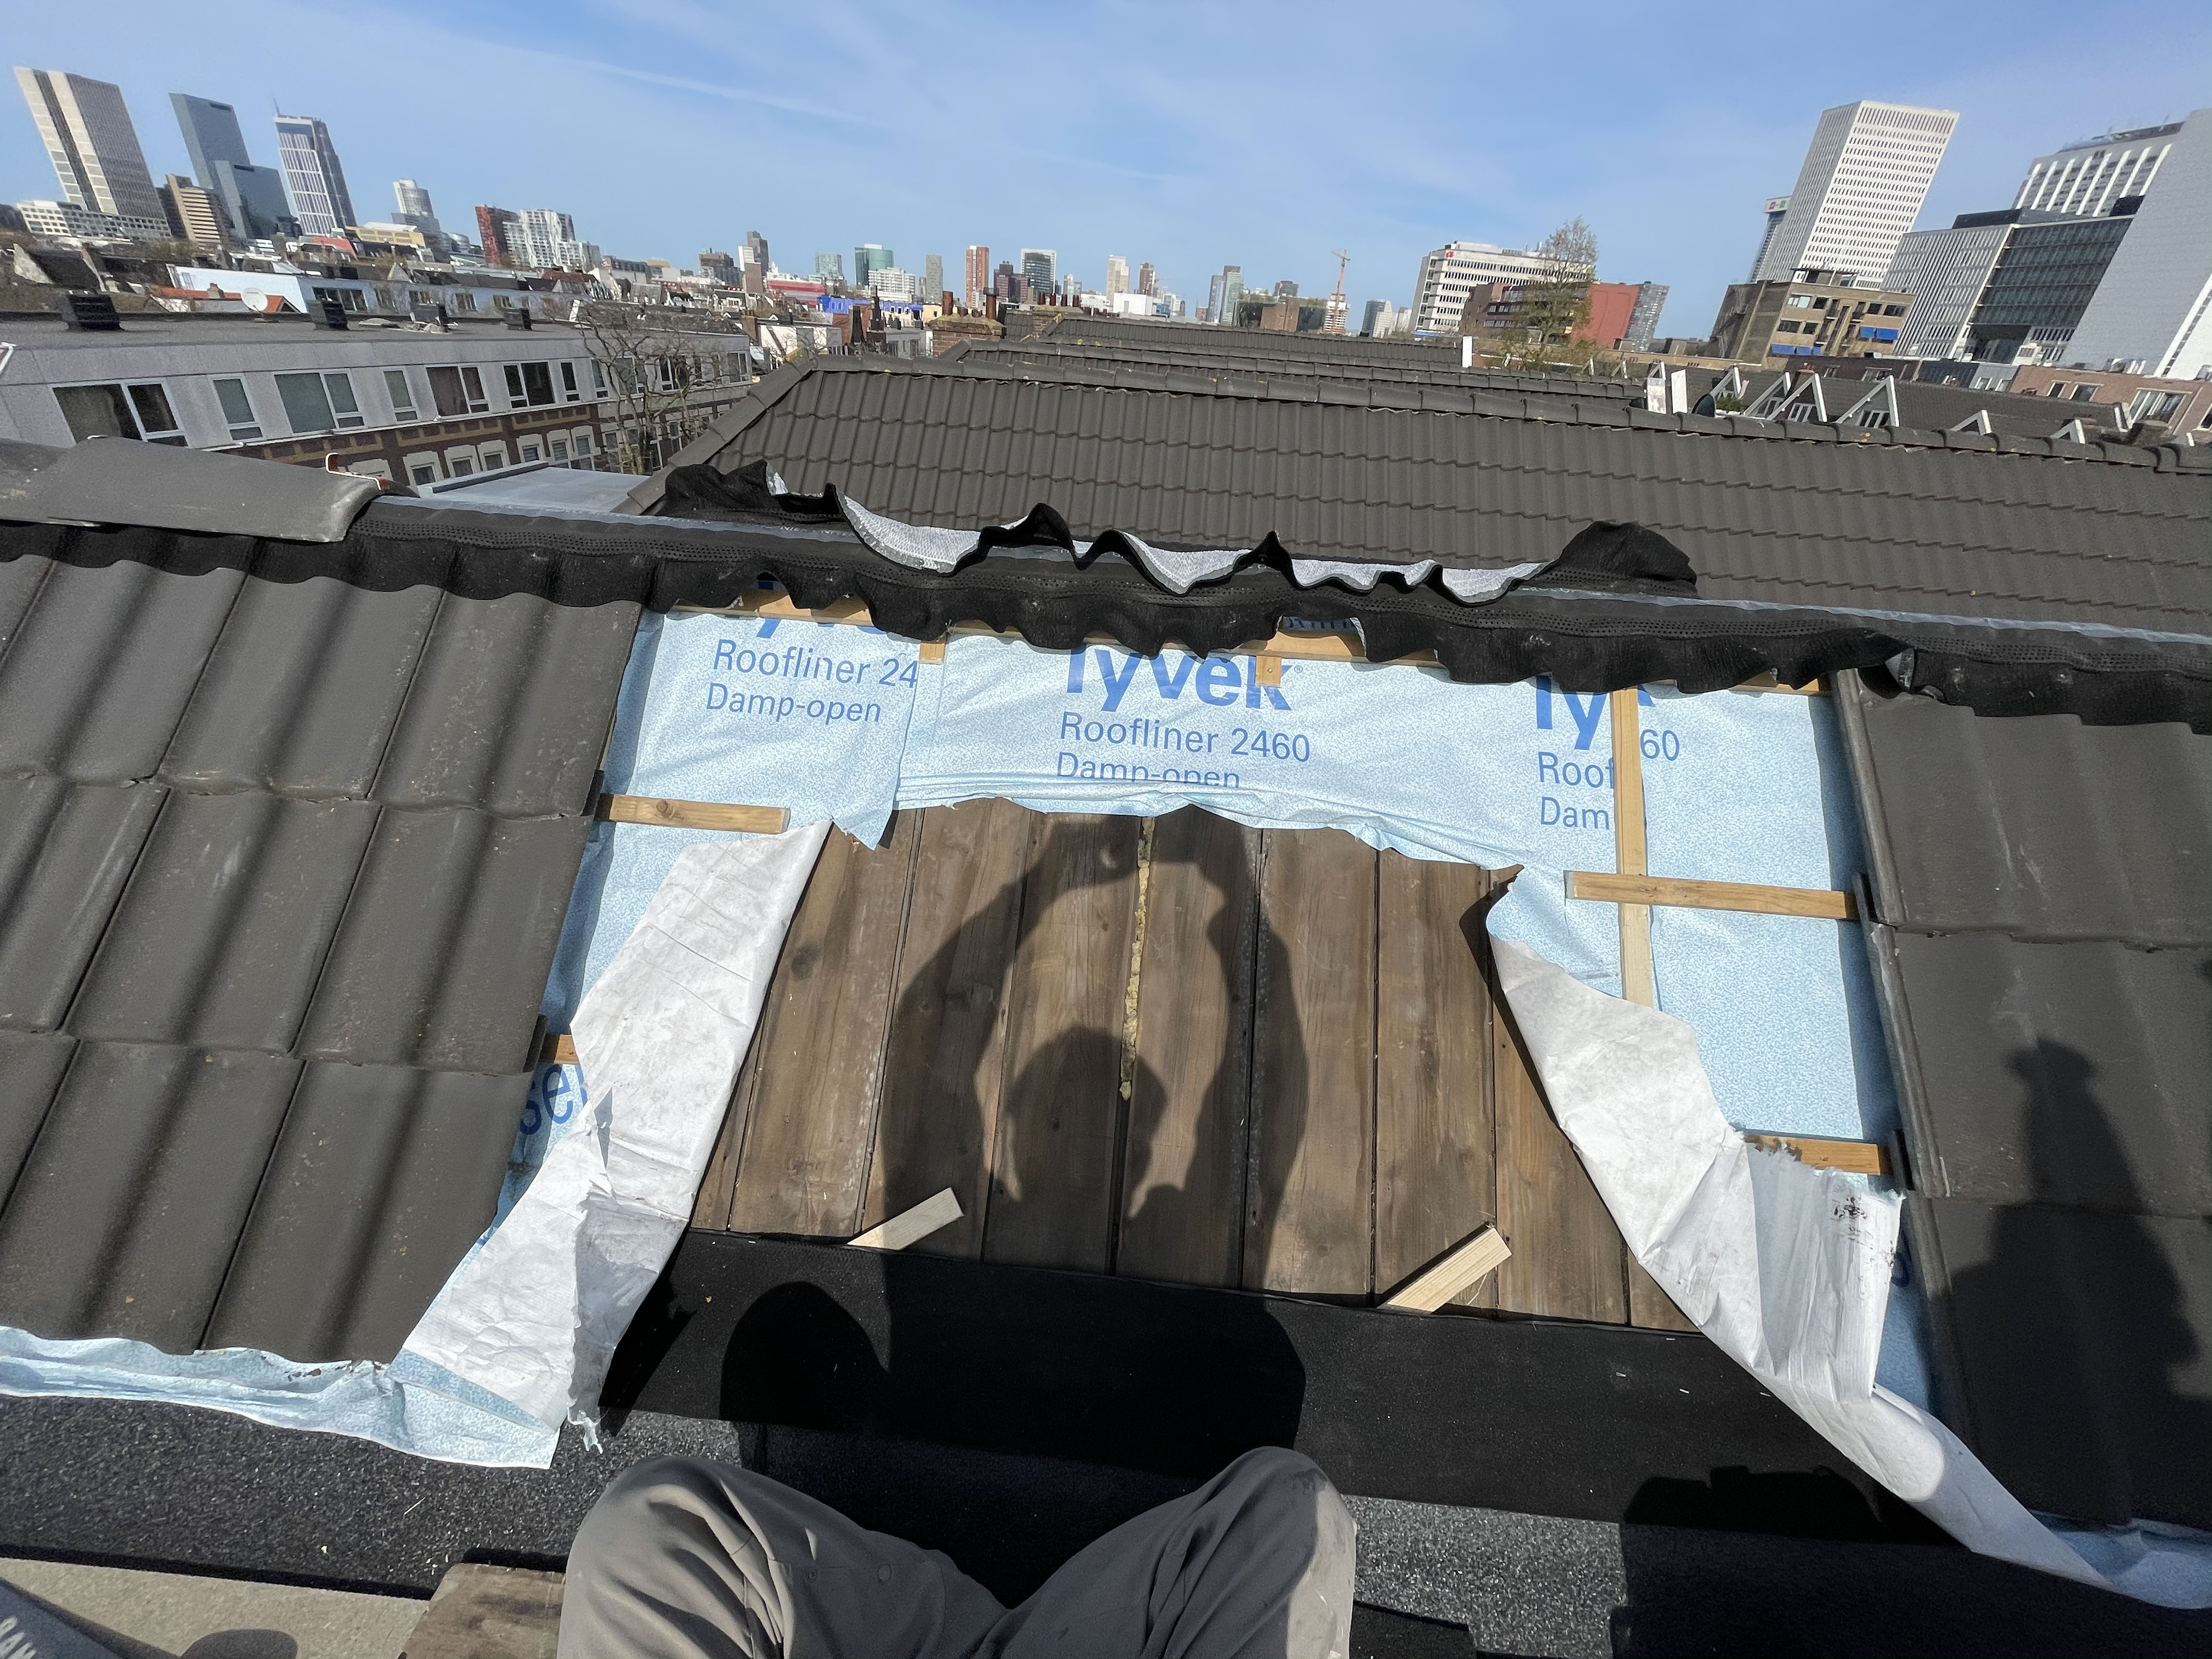
Removed all roof tiles from the dormer installation areas on both sides of the A-frame roof.
Removed sections of the roof where the fill beams would be installed (two beams per dormer, front and back).
Fabricated and installed the fill beams on the front and back sides of each dormer.
Demolished the remaining roof sections to make way for the dormer structures.
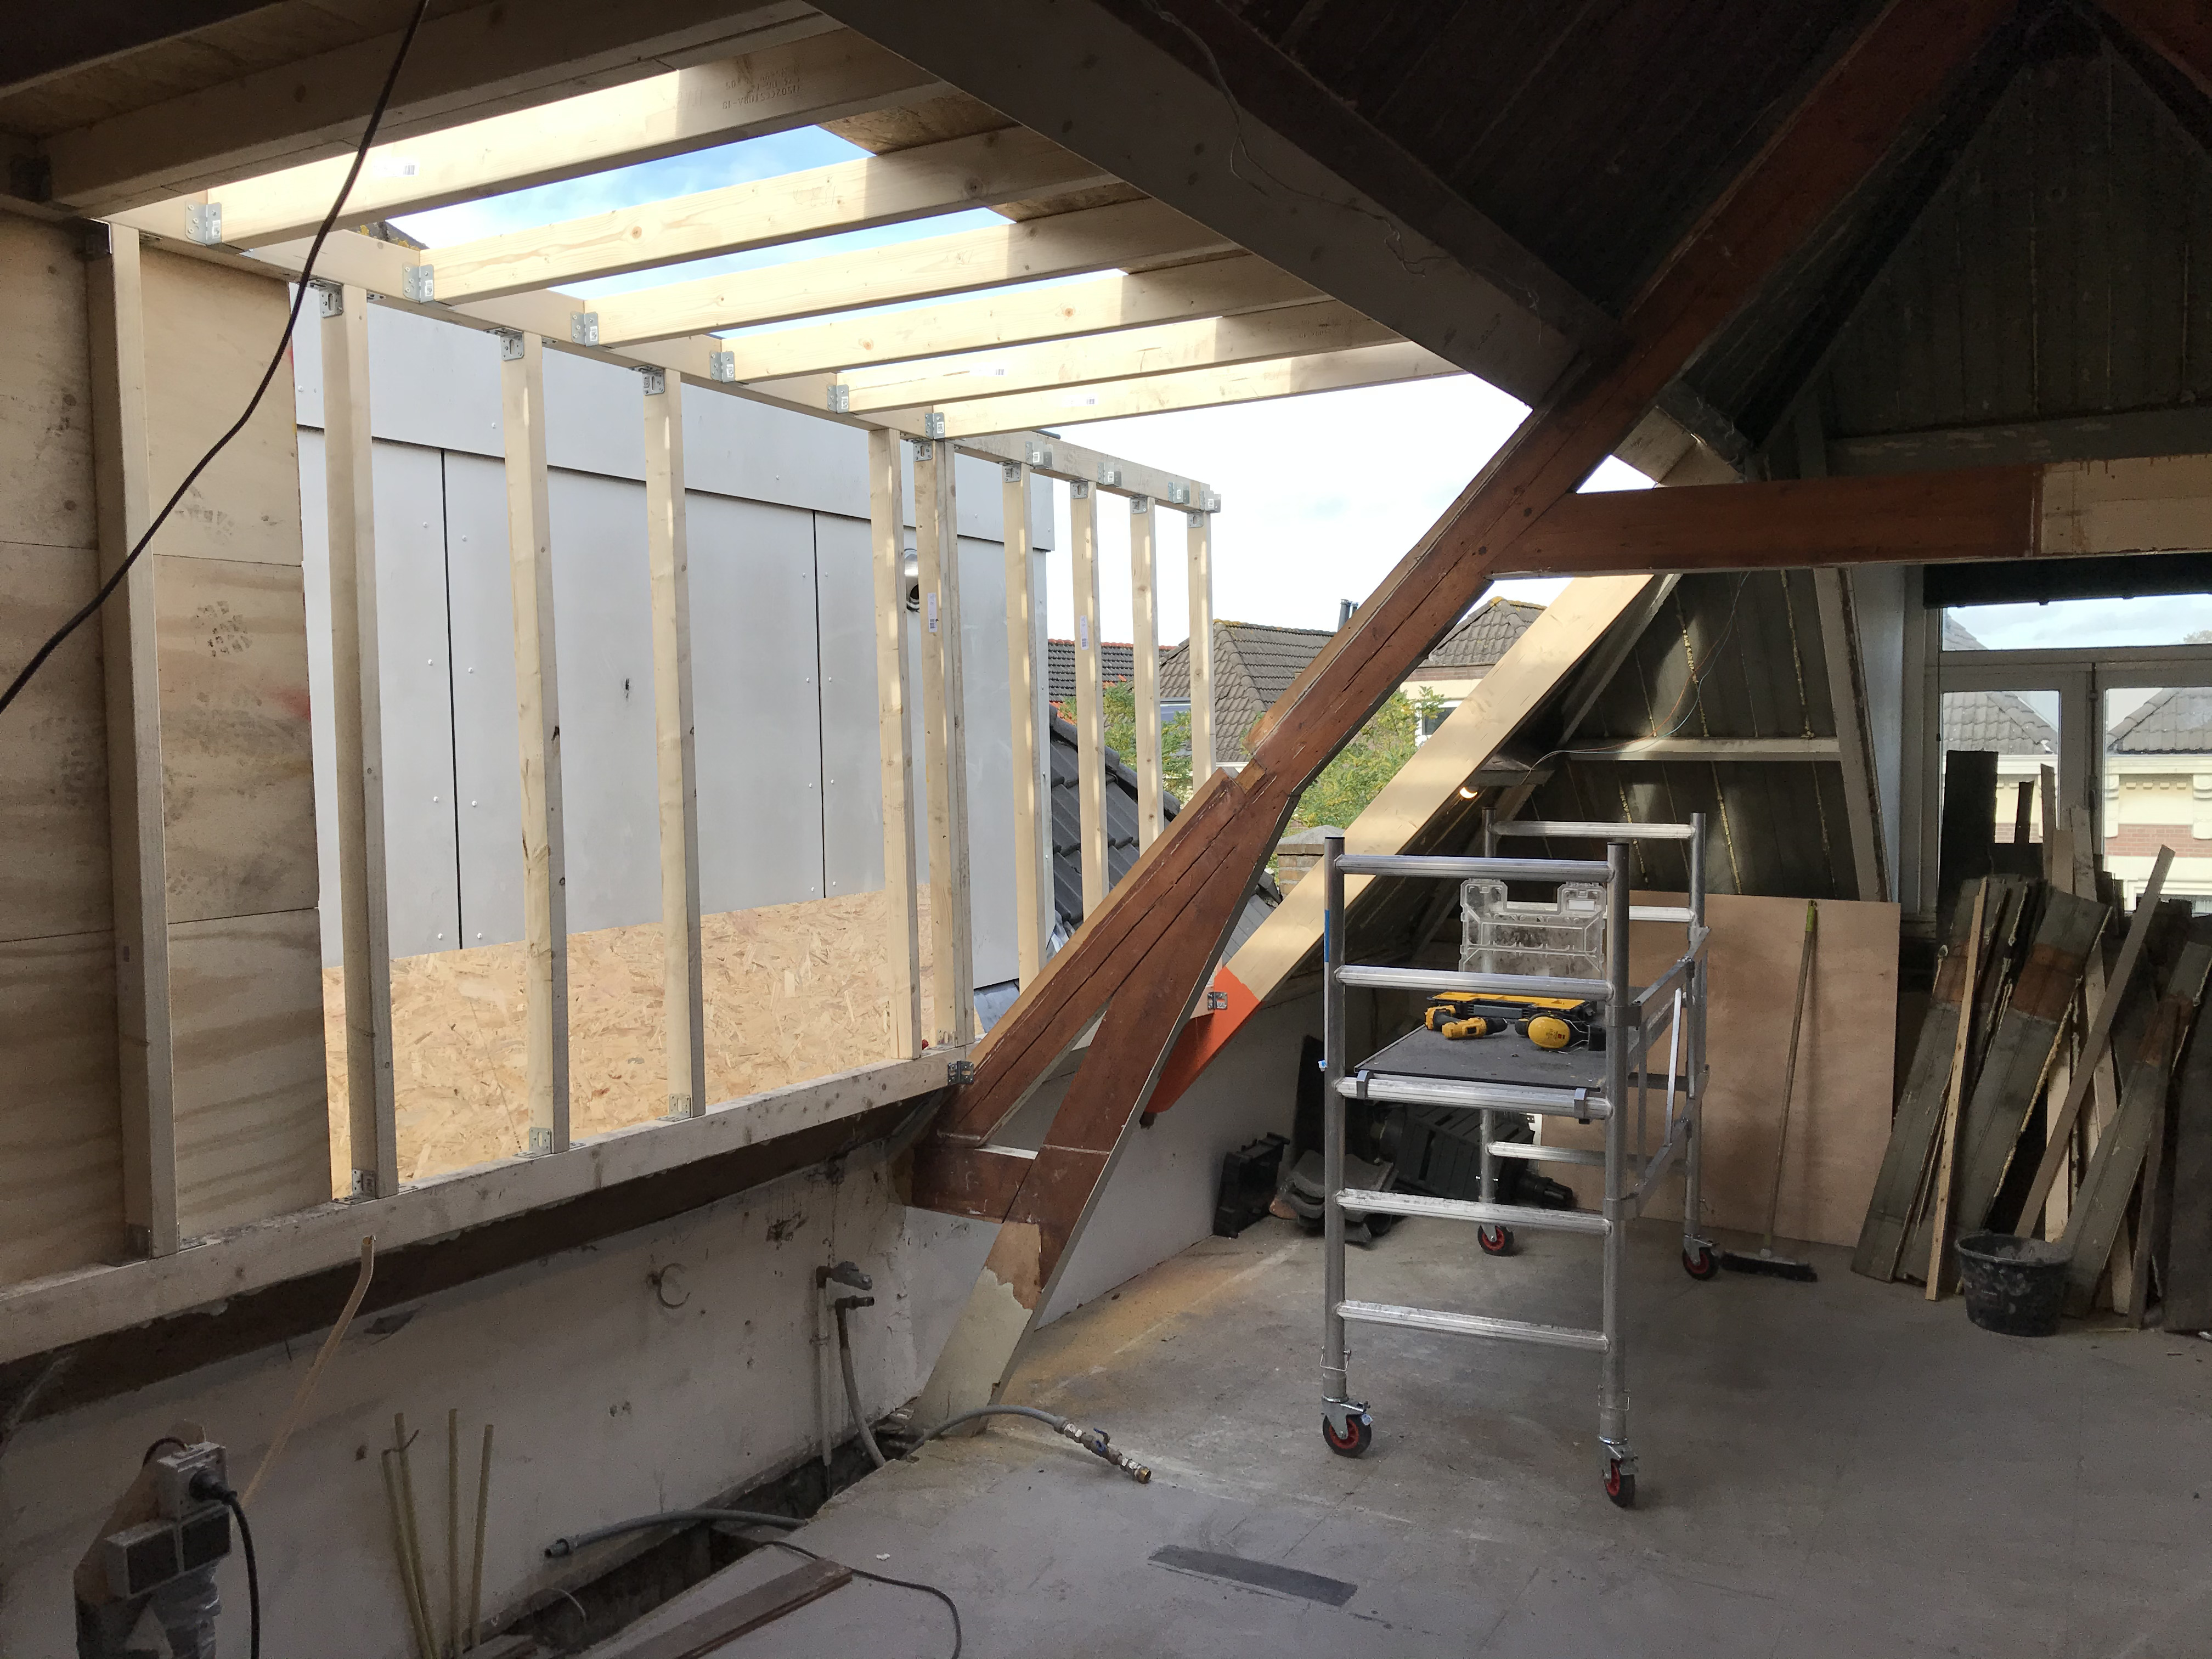
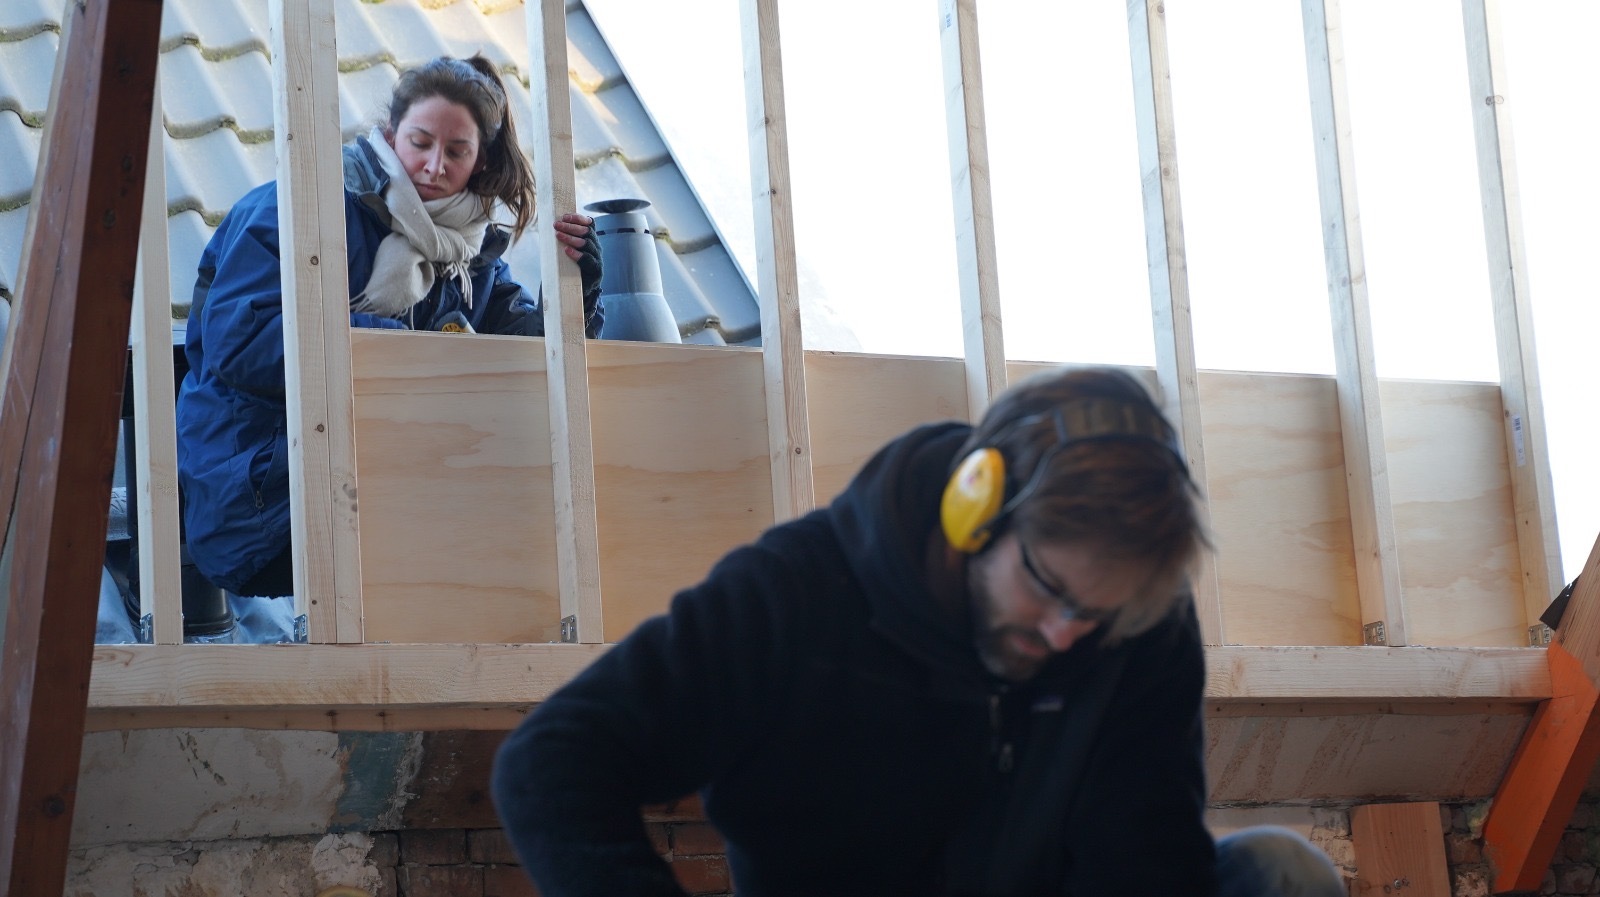
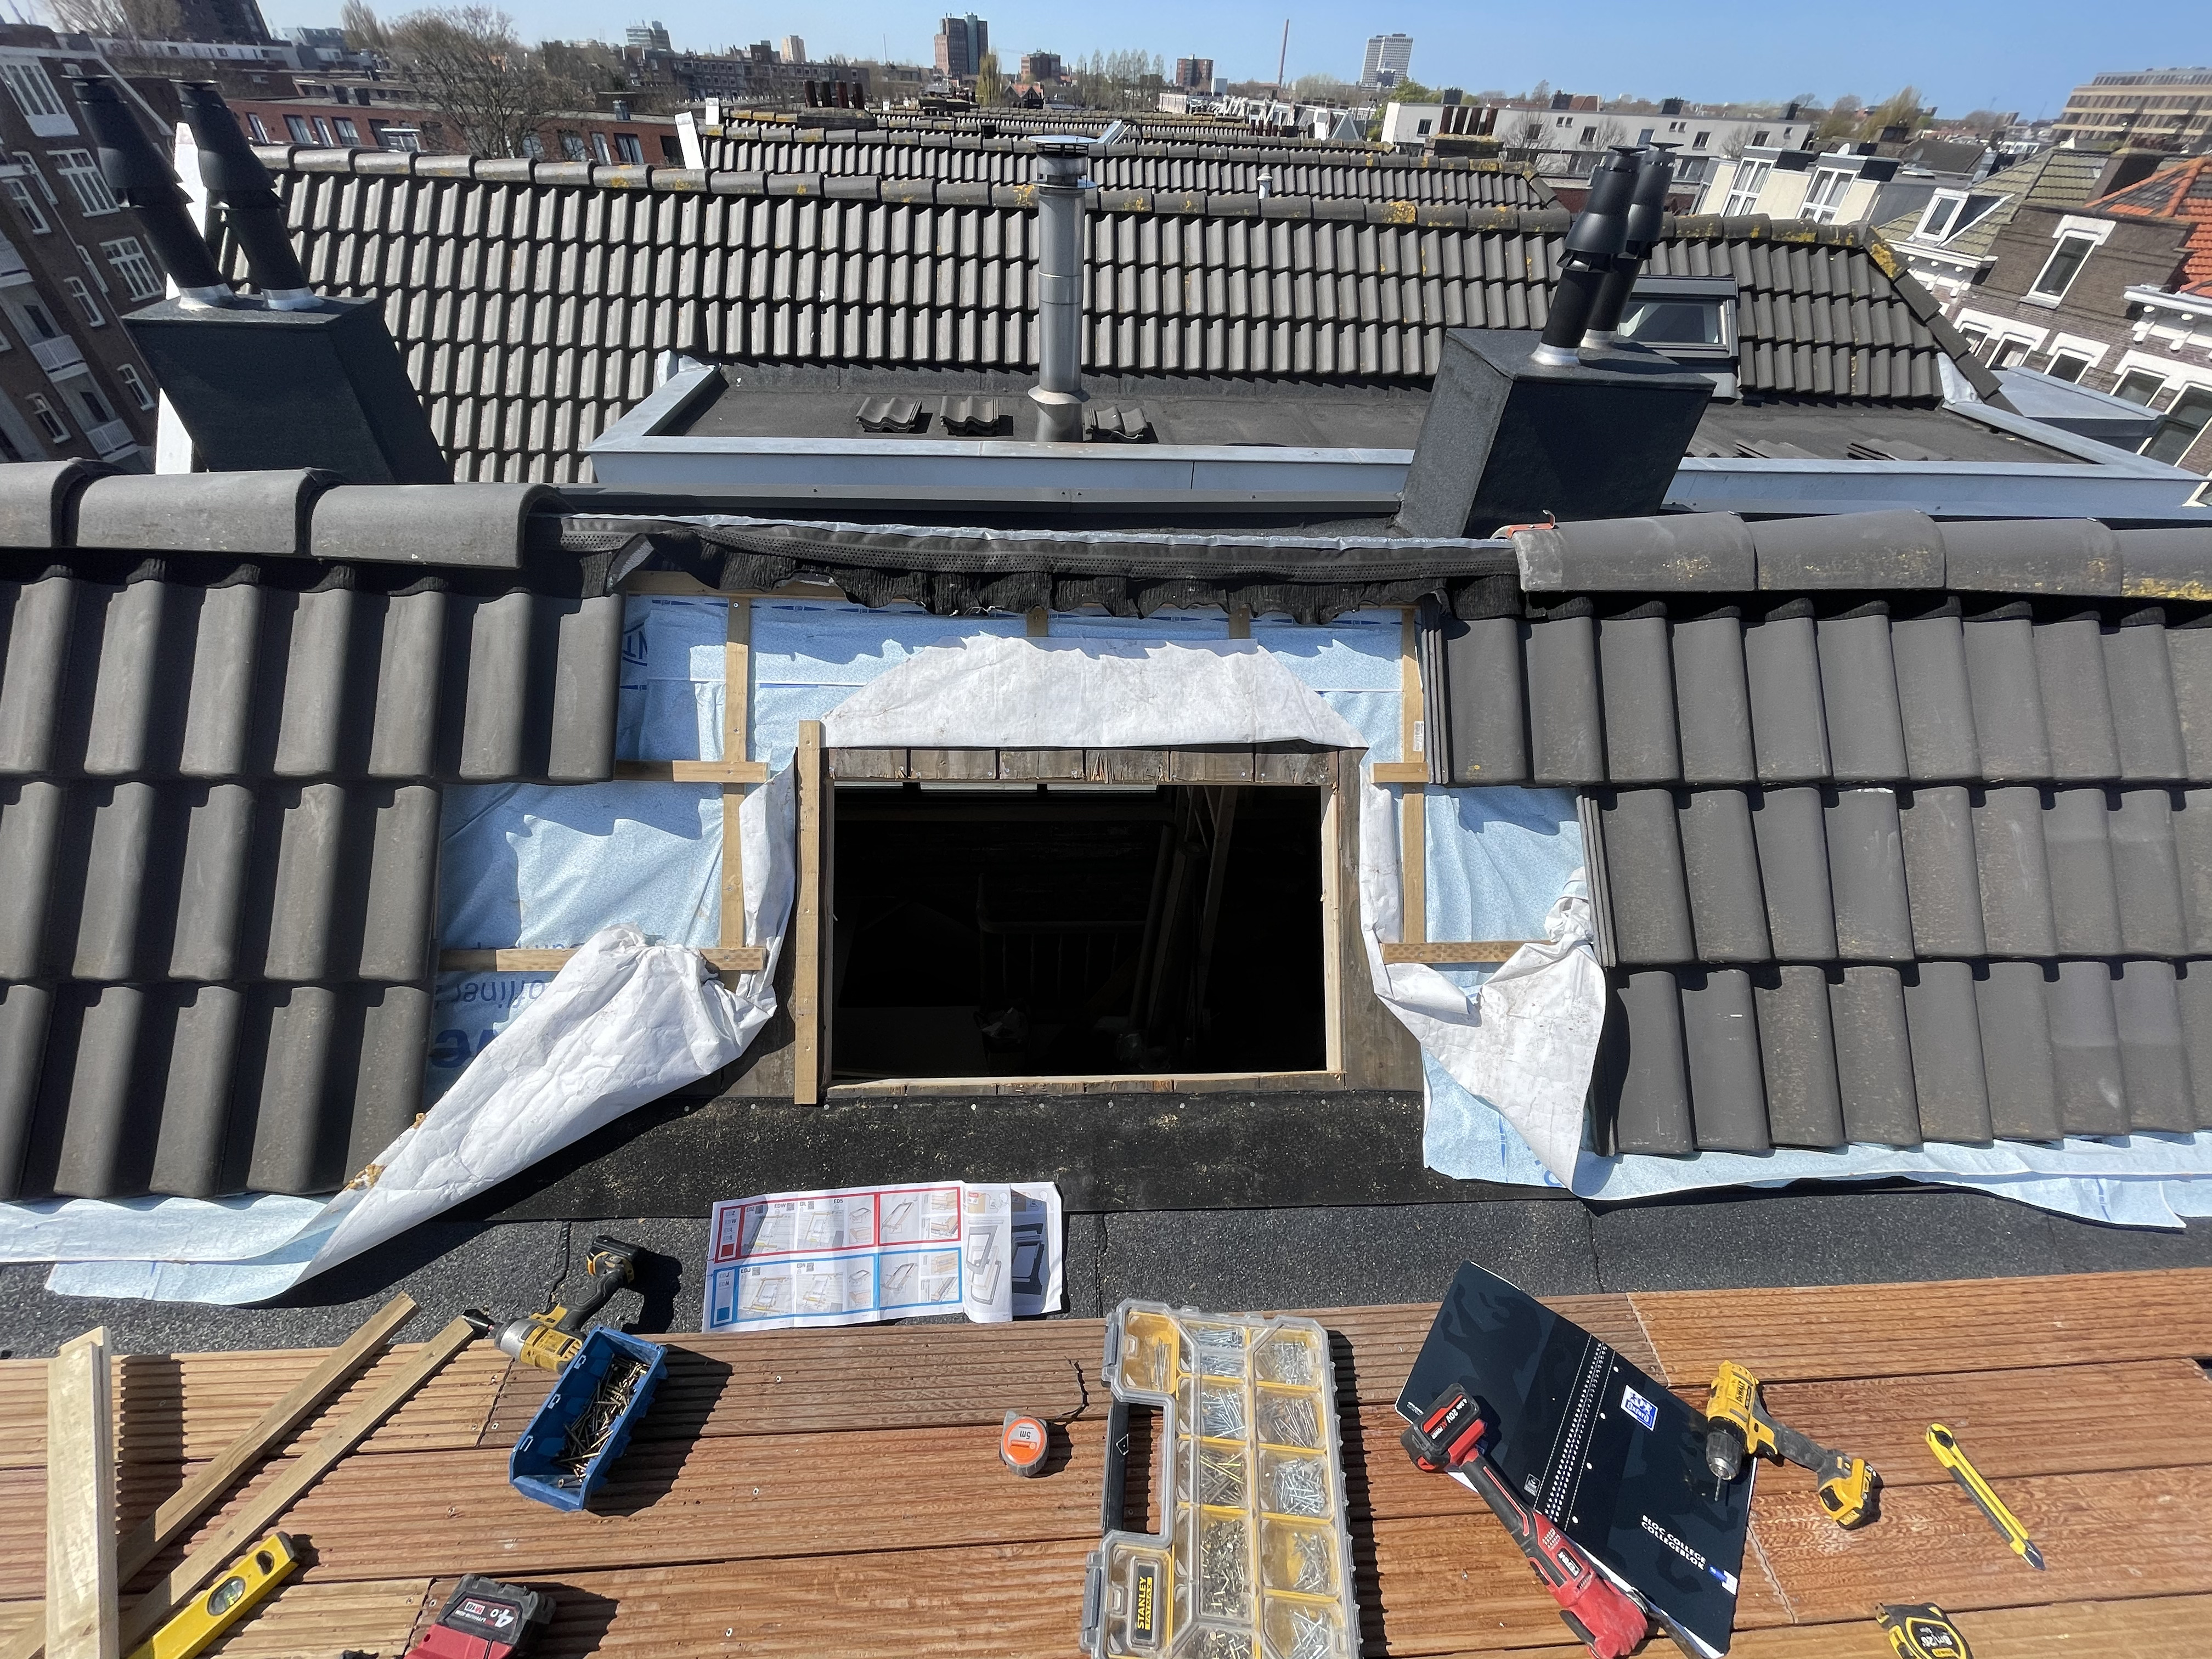
Installed the framing for the dormer walls and ceiling.
Used 18-mm multiplex for the dormer walls, chosen for its ability to withstand lateral wind loads.
Constructed parquet: according to our permit, this needed to be the same height as our neighbor’s dormer. Because our house was not level, but our neighbors were, the parquet on our roof did not have a uniform height.
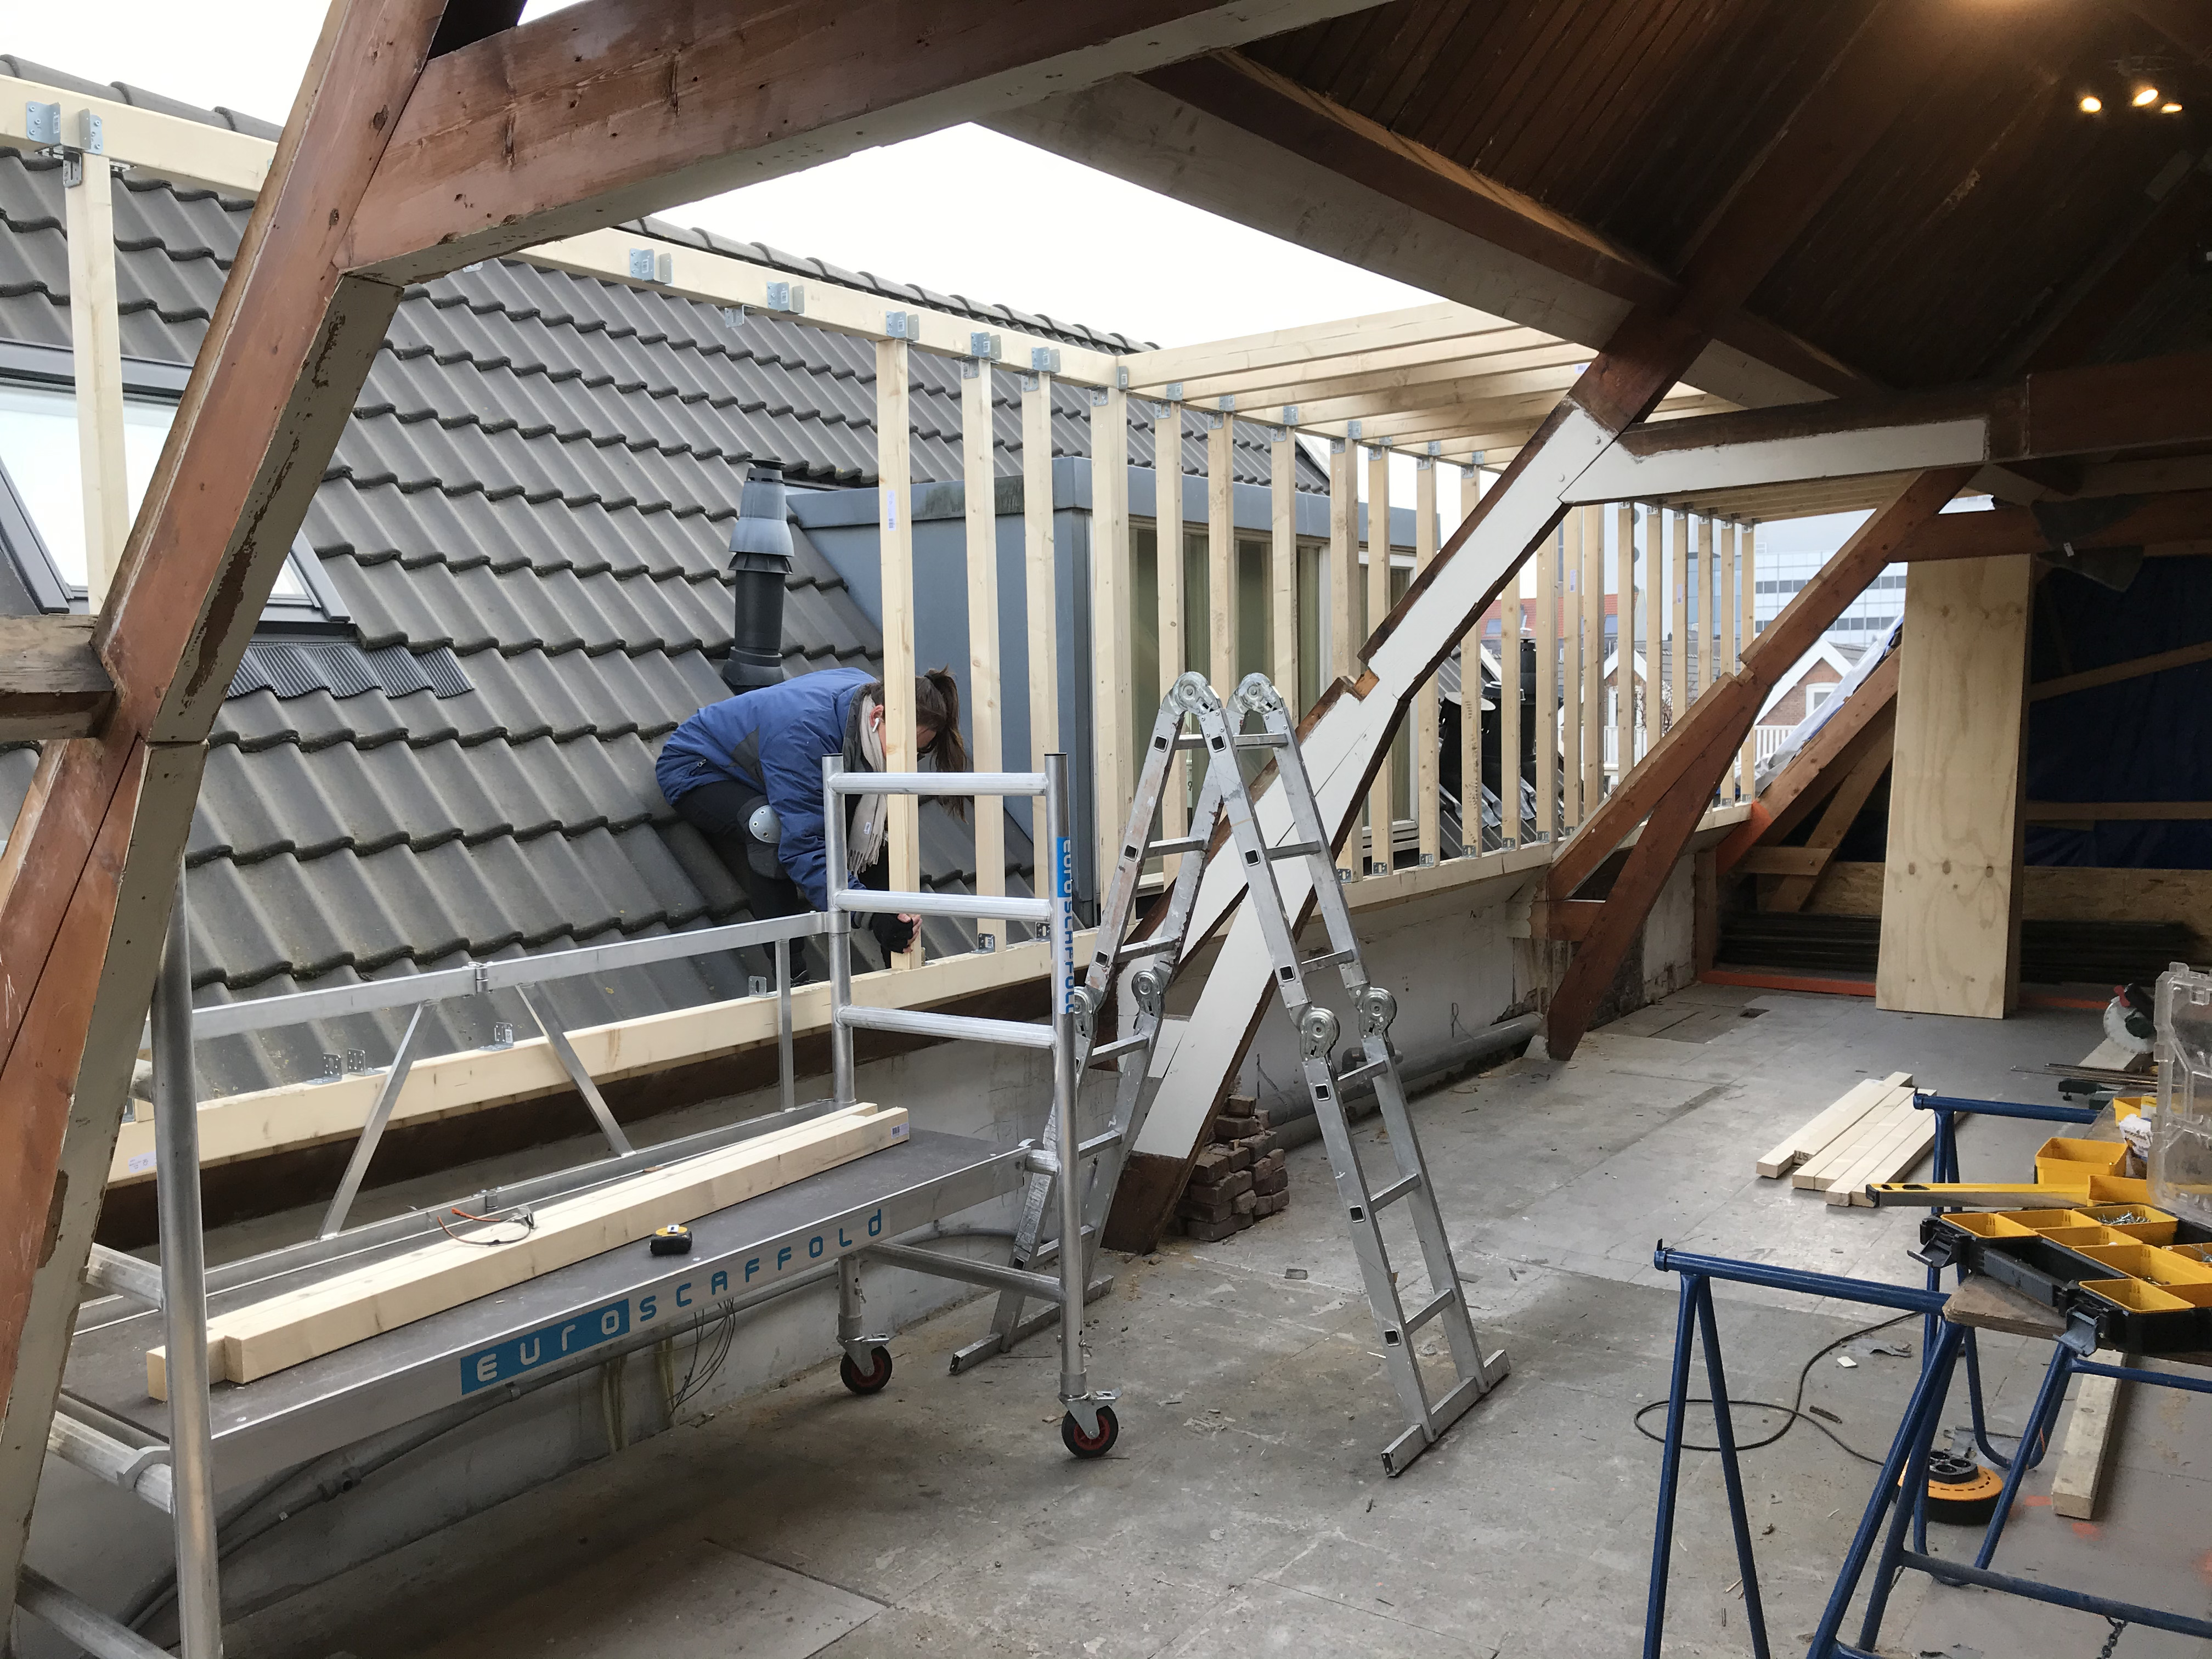
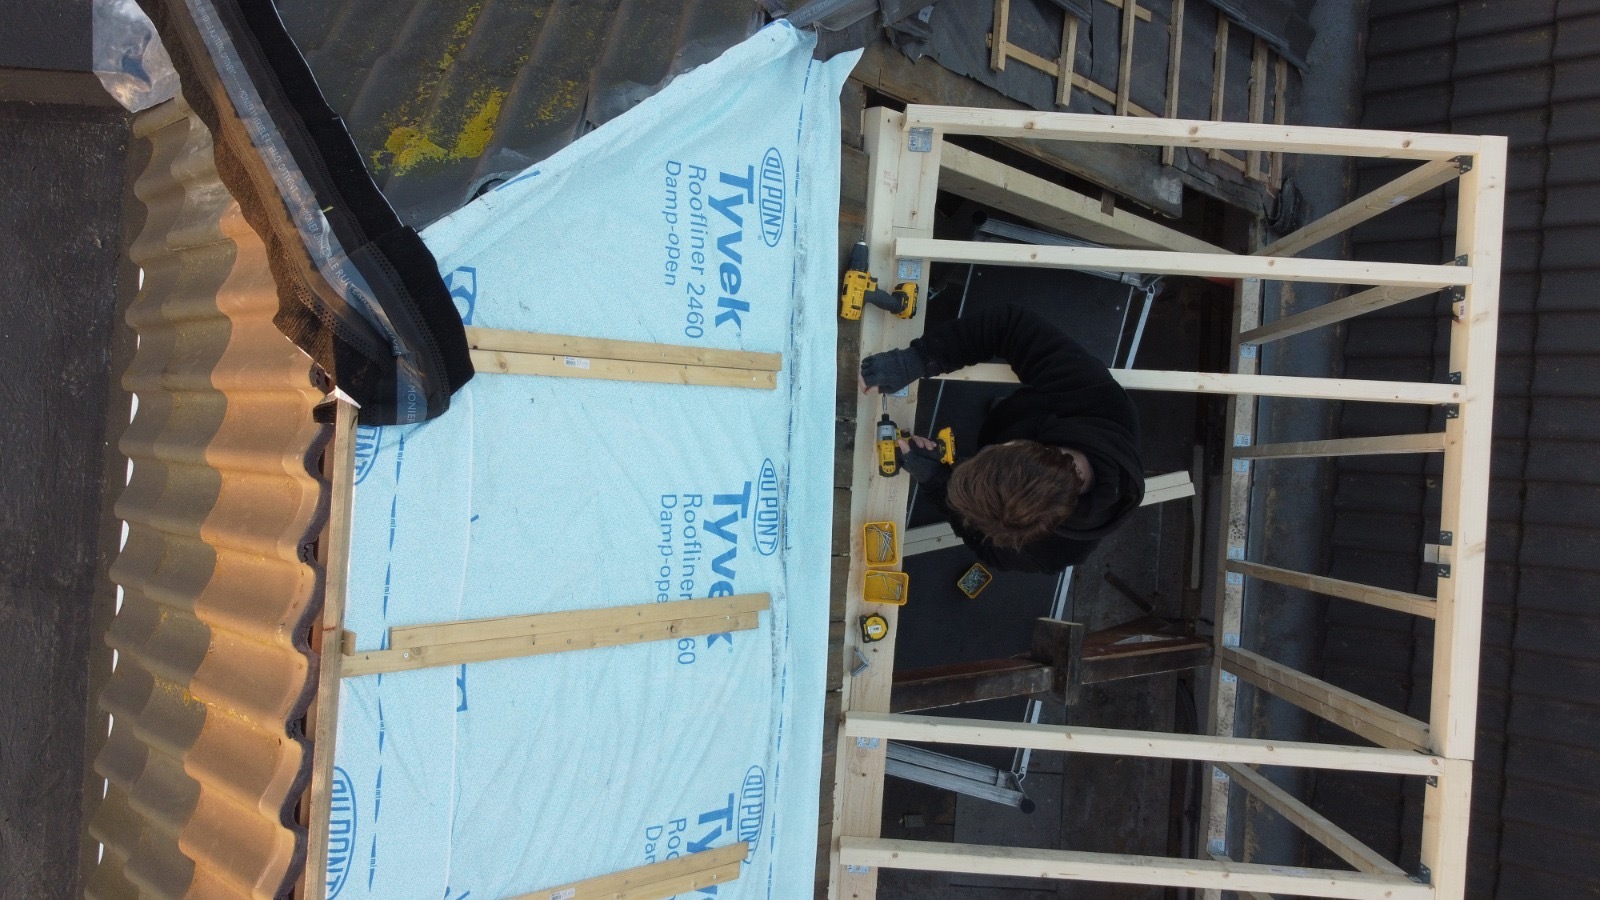
Install battens, water barrier, and exterior cladding.
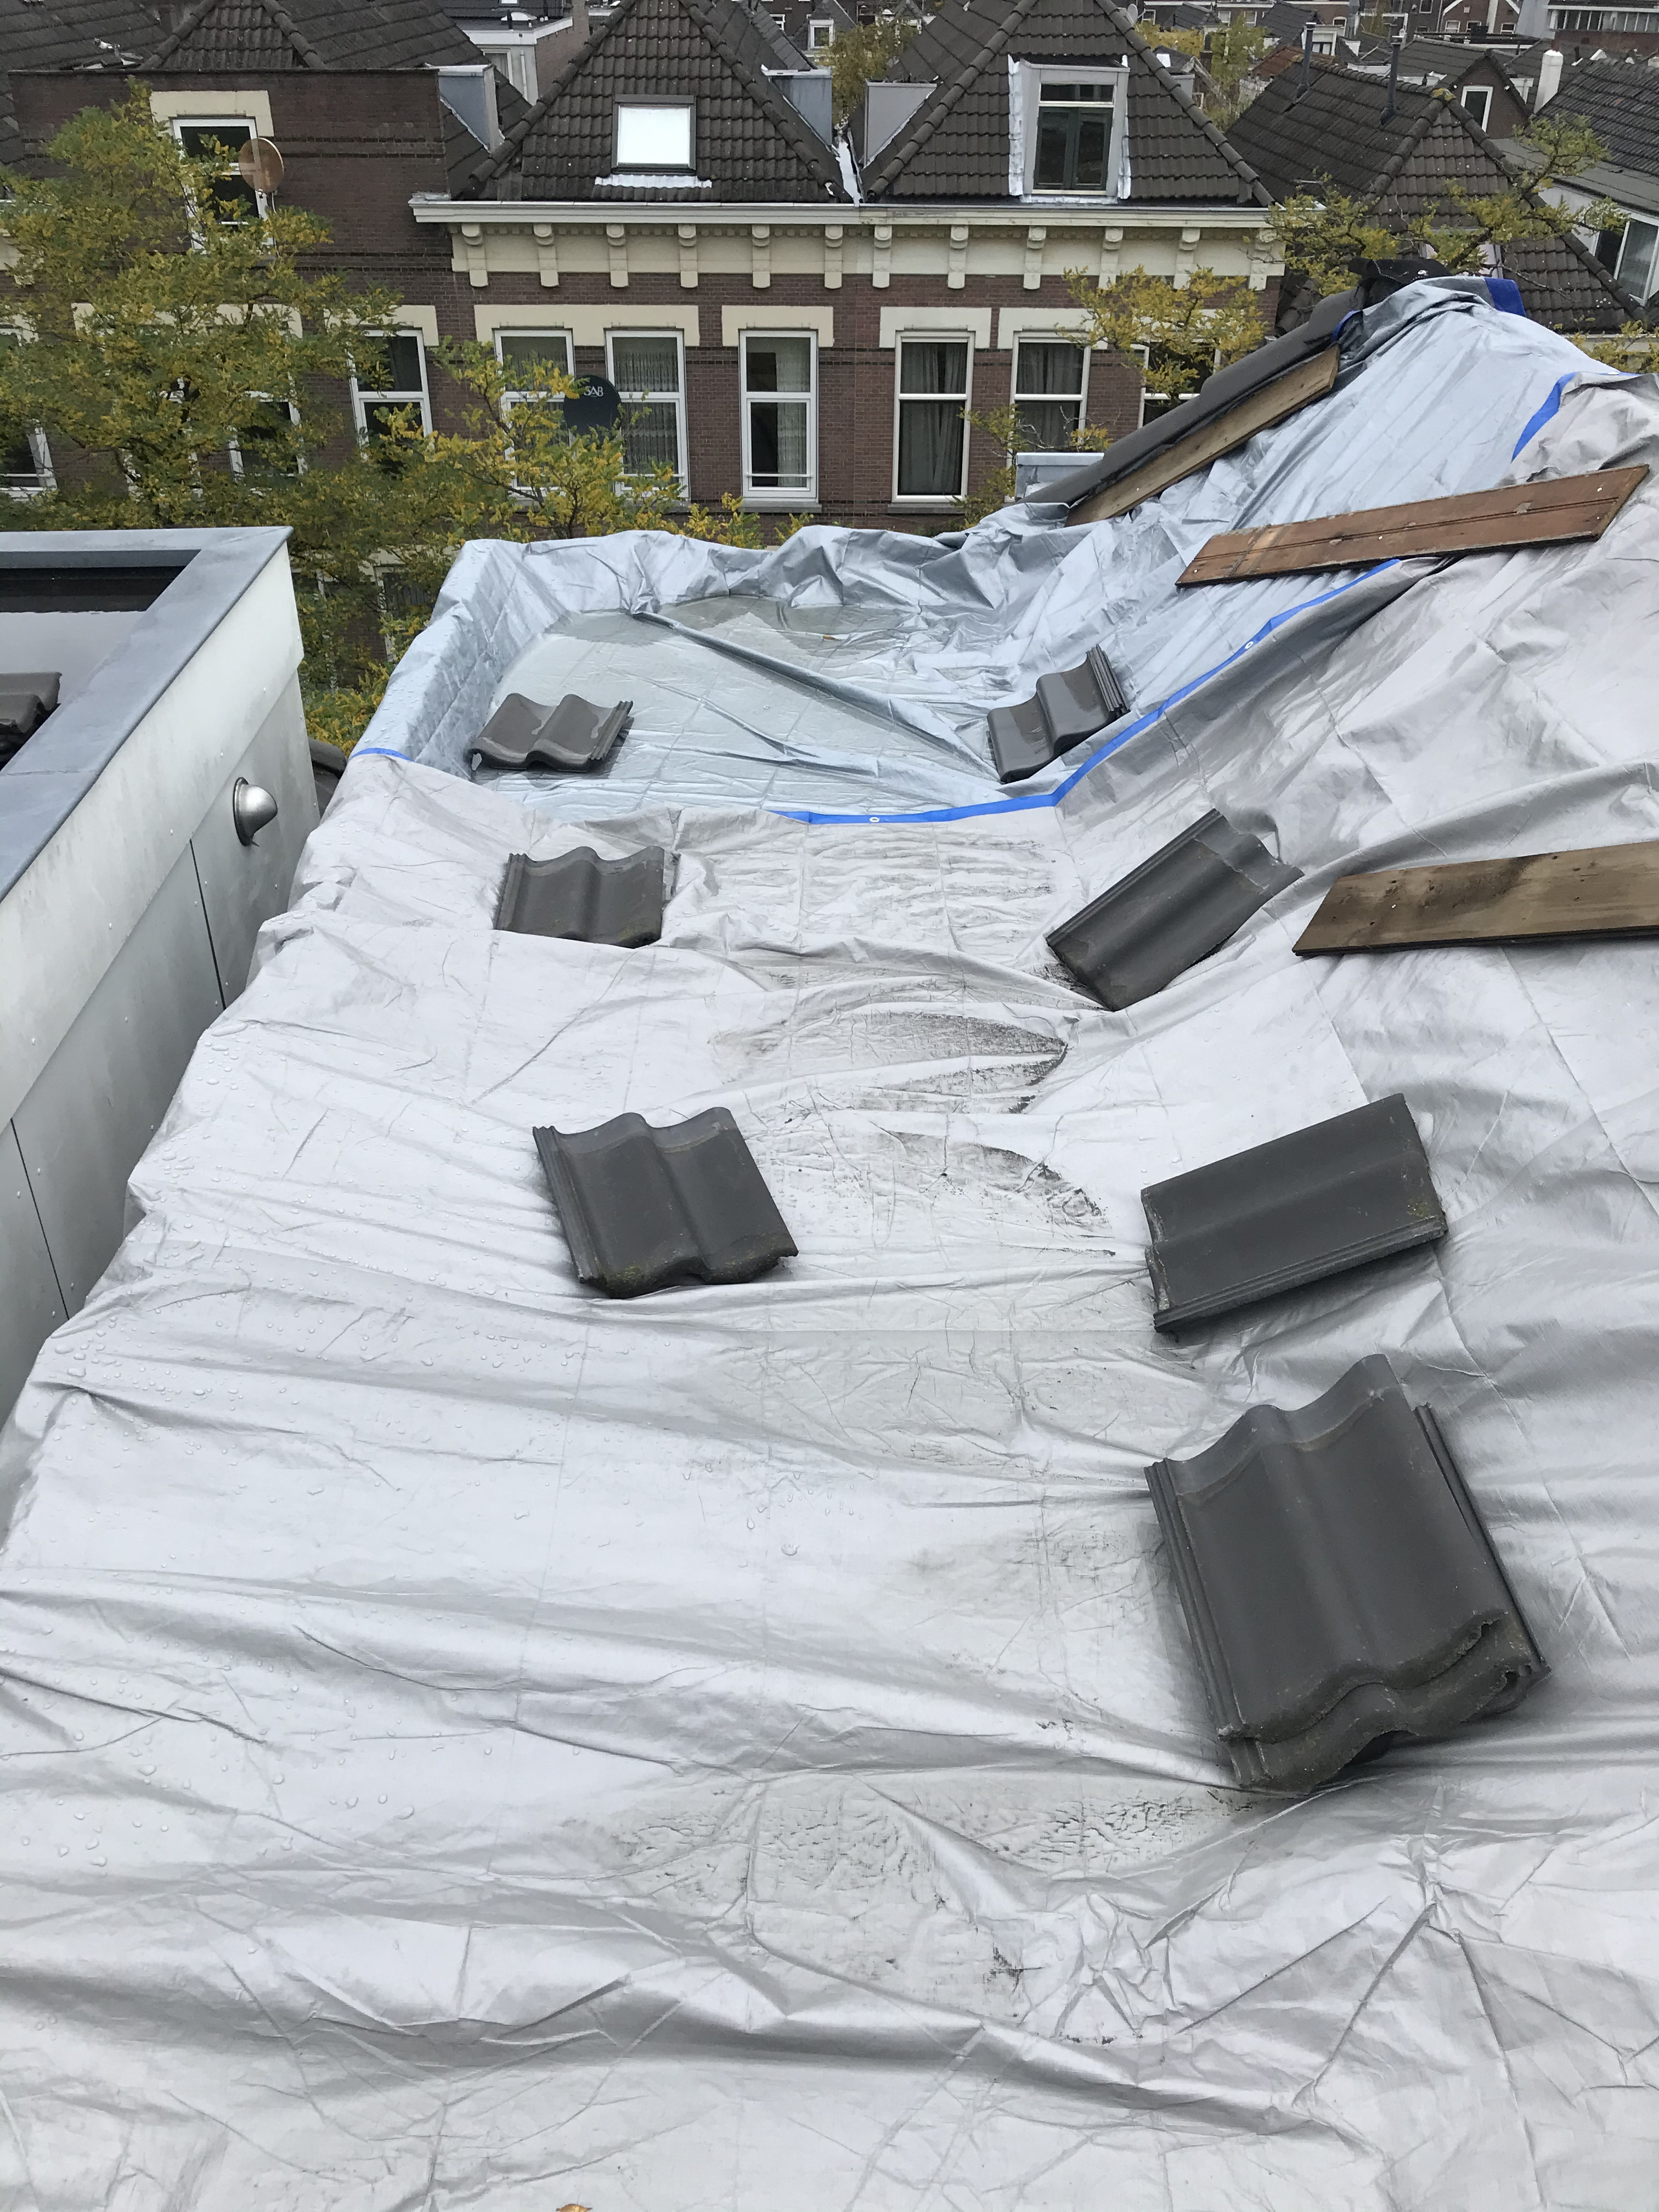
Waterproofed the roof and parapets using bitumen and flashing materials.
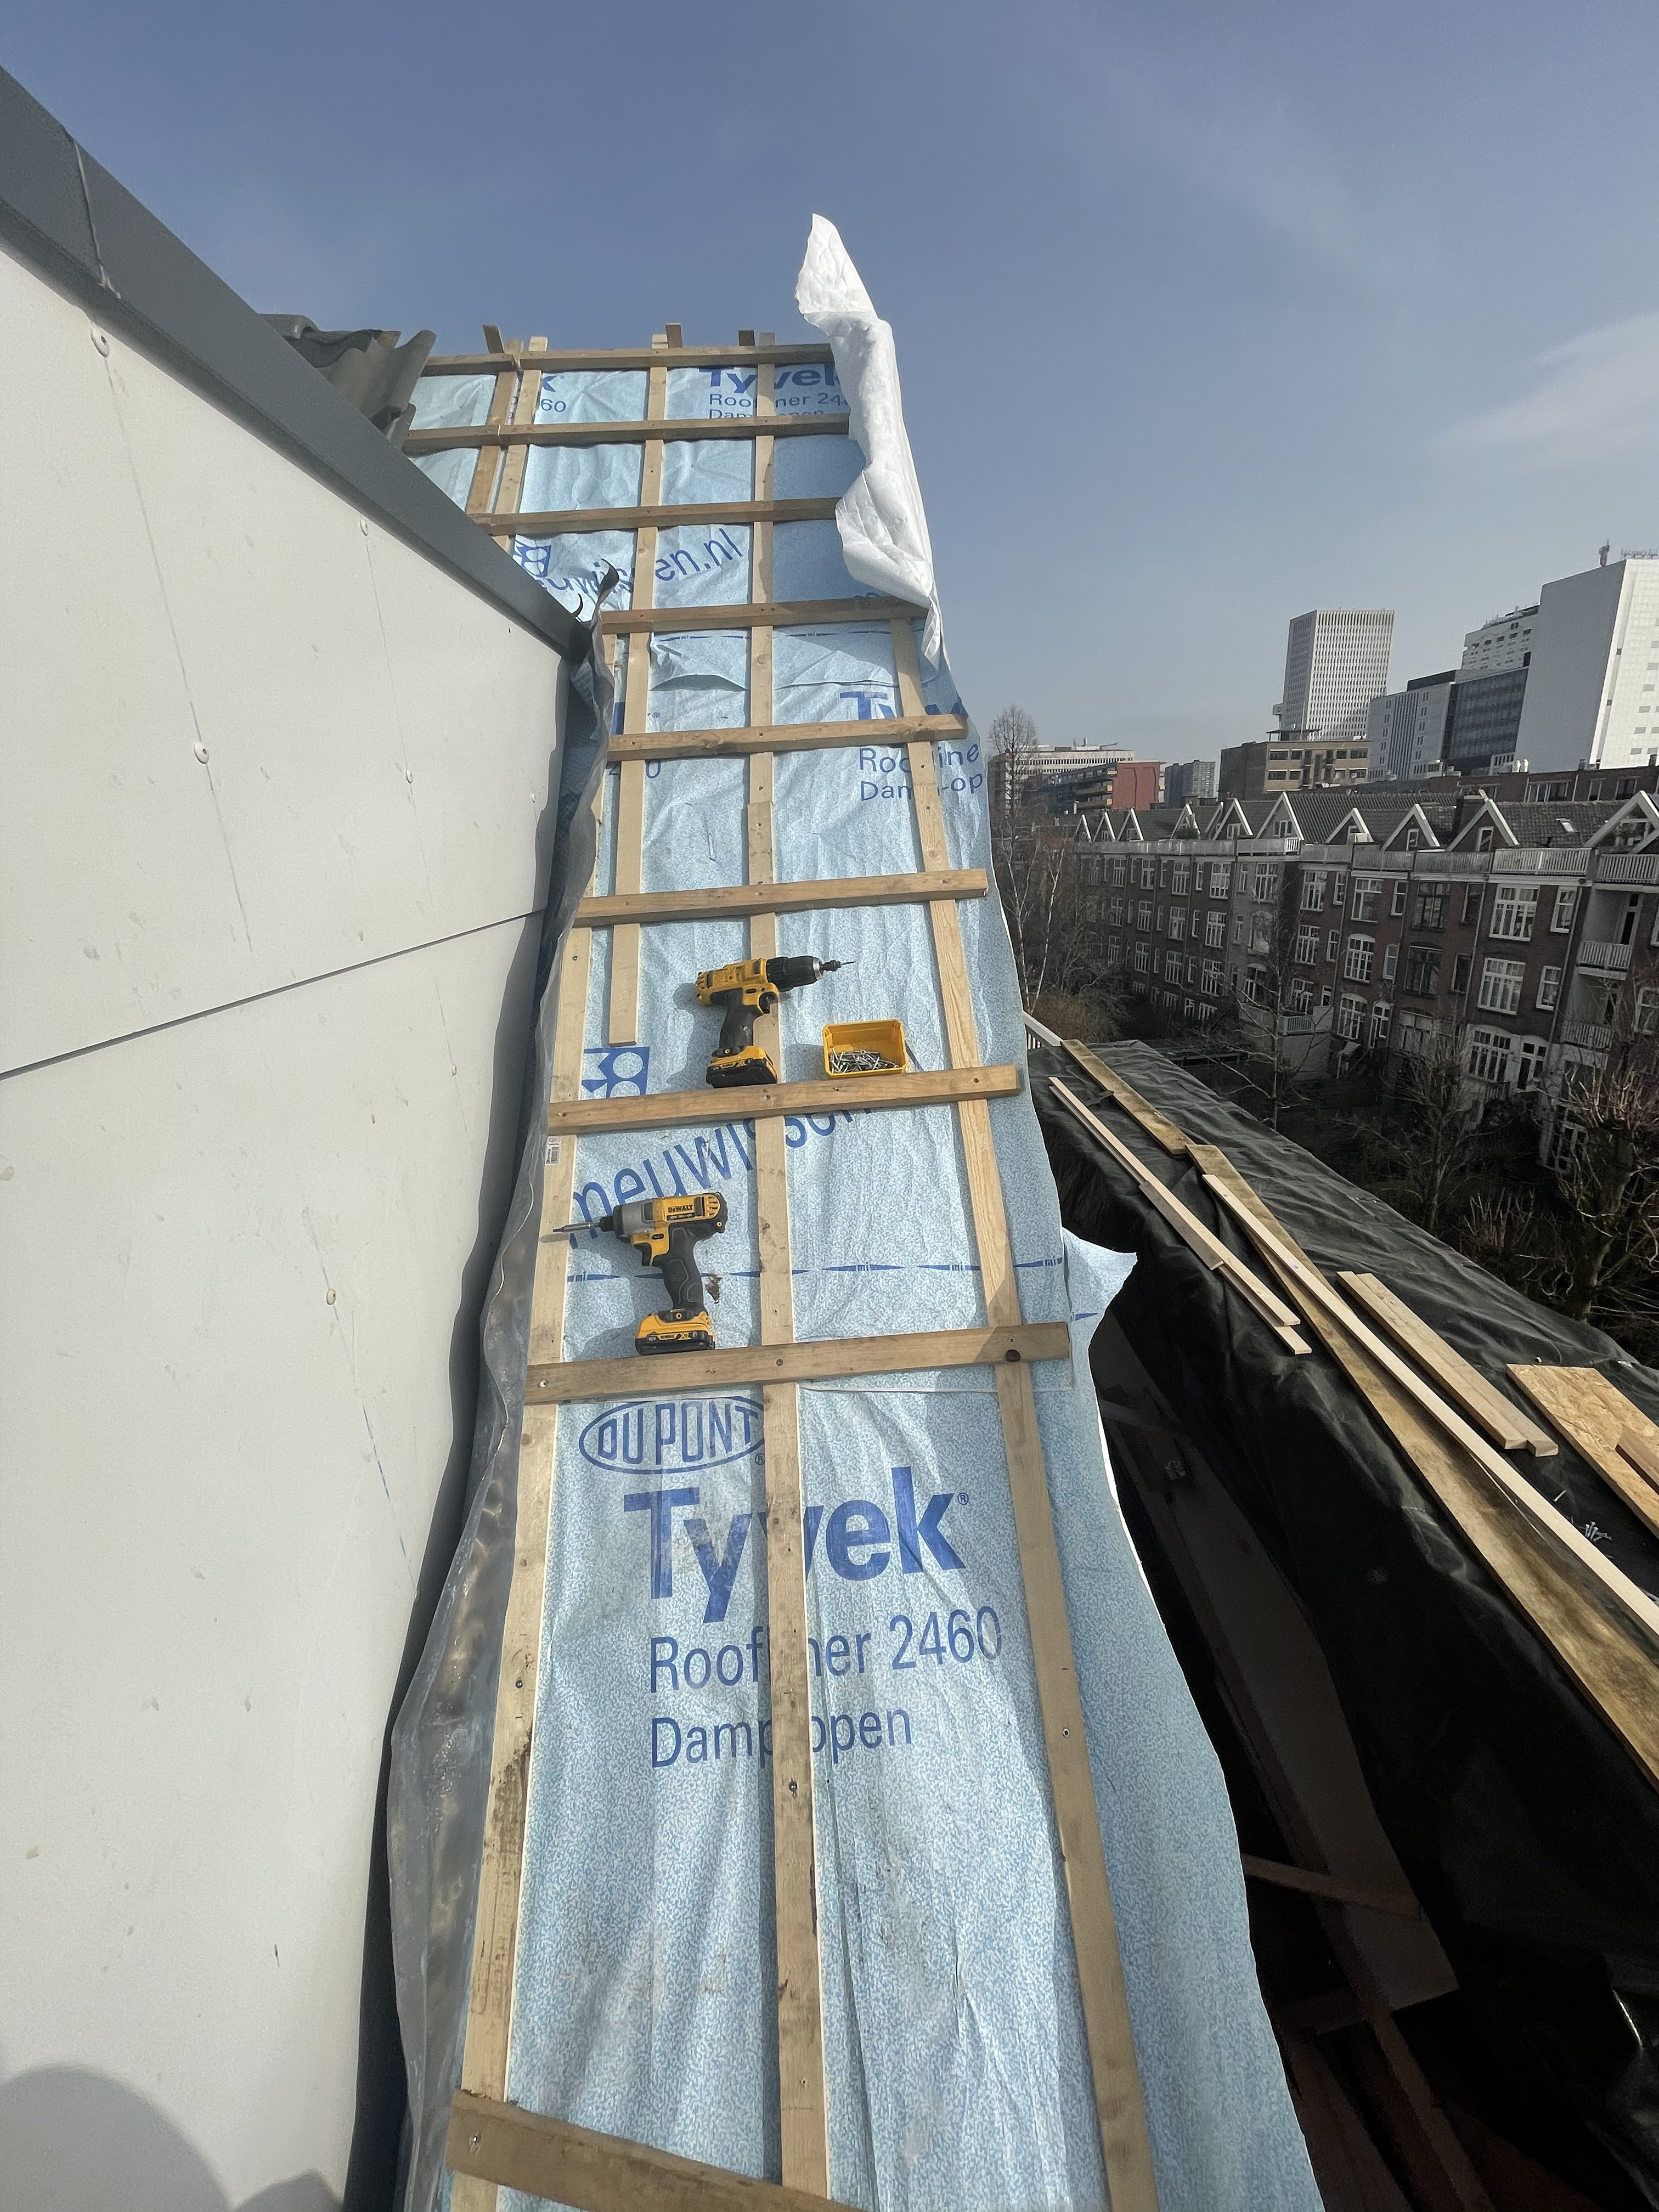
Install Tyvek on the roof ridge.
Reinstall roof tiles: This required extensive cutting of tiles to fit around the dormers.
A big thanks to our friend Ivan for his help during almost all stages of the project! (This image shows the exposed roof joists where the fill beams will be installed.)
Installing a temporary column to support the joist before the fill beam was installed.
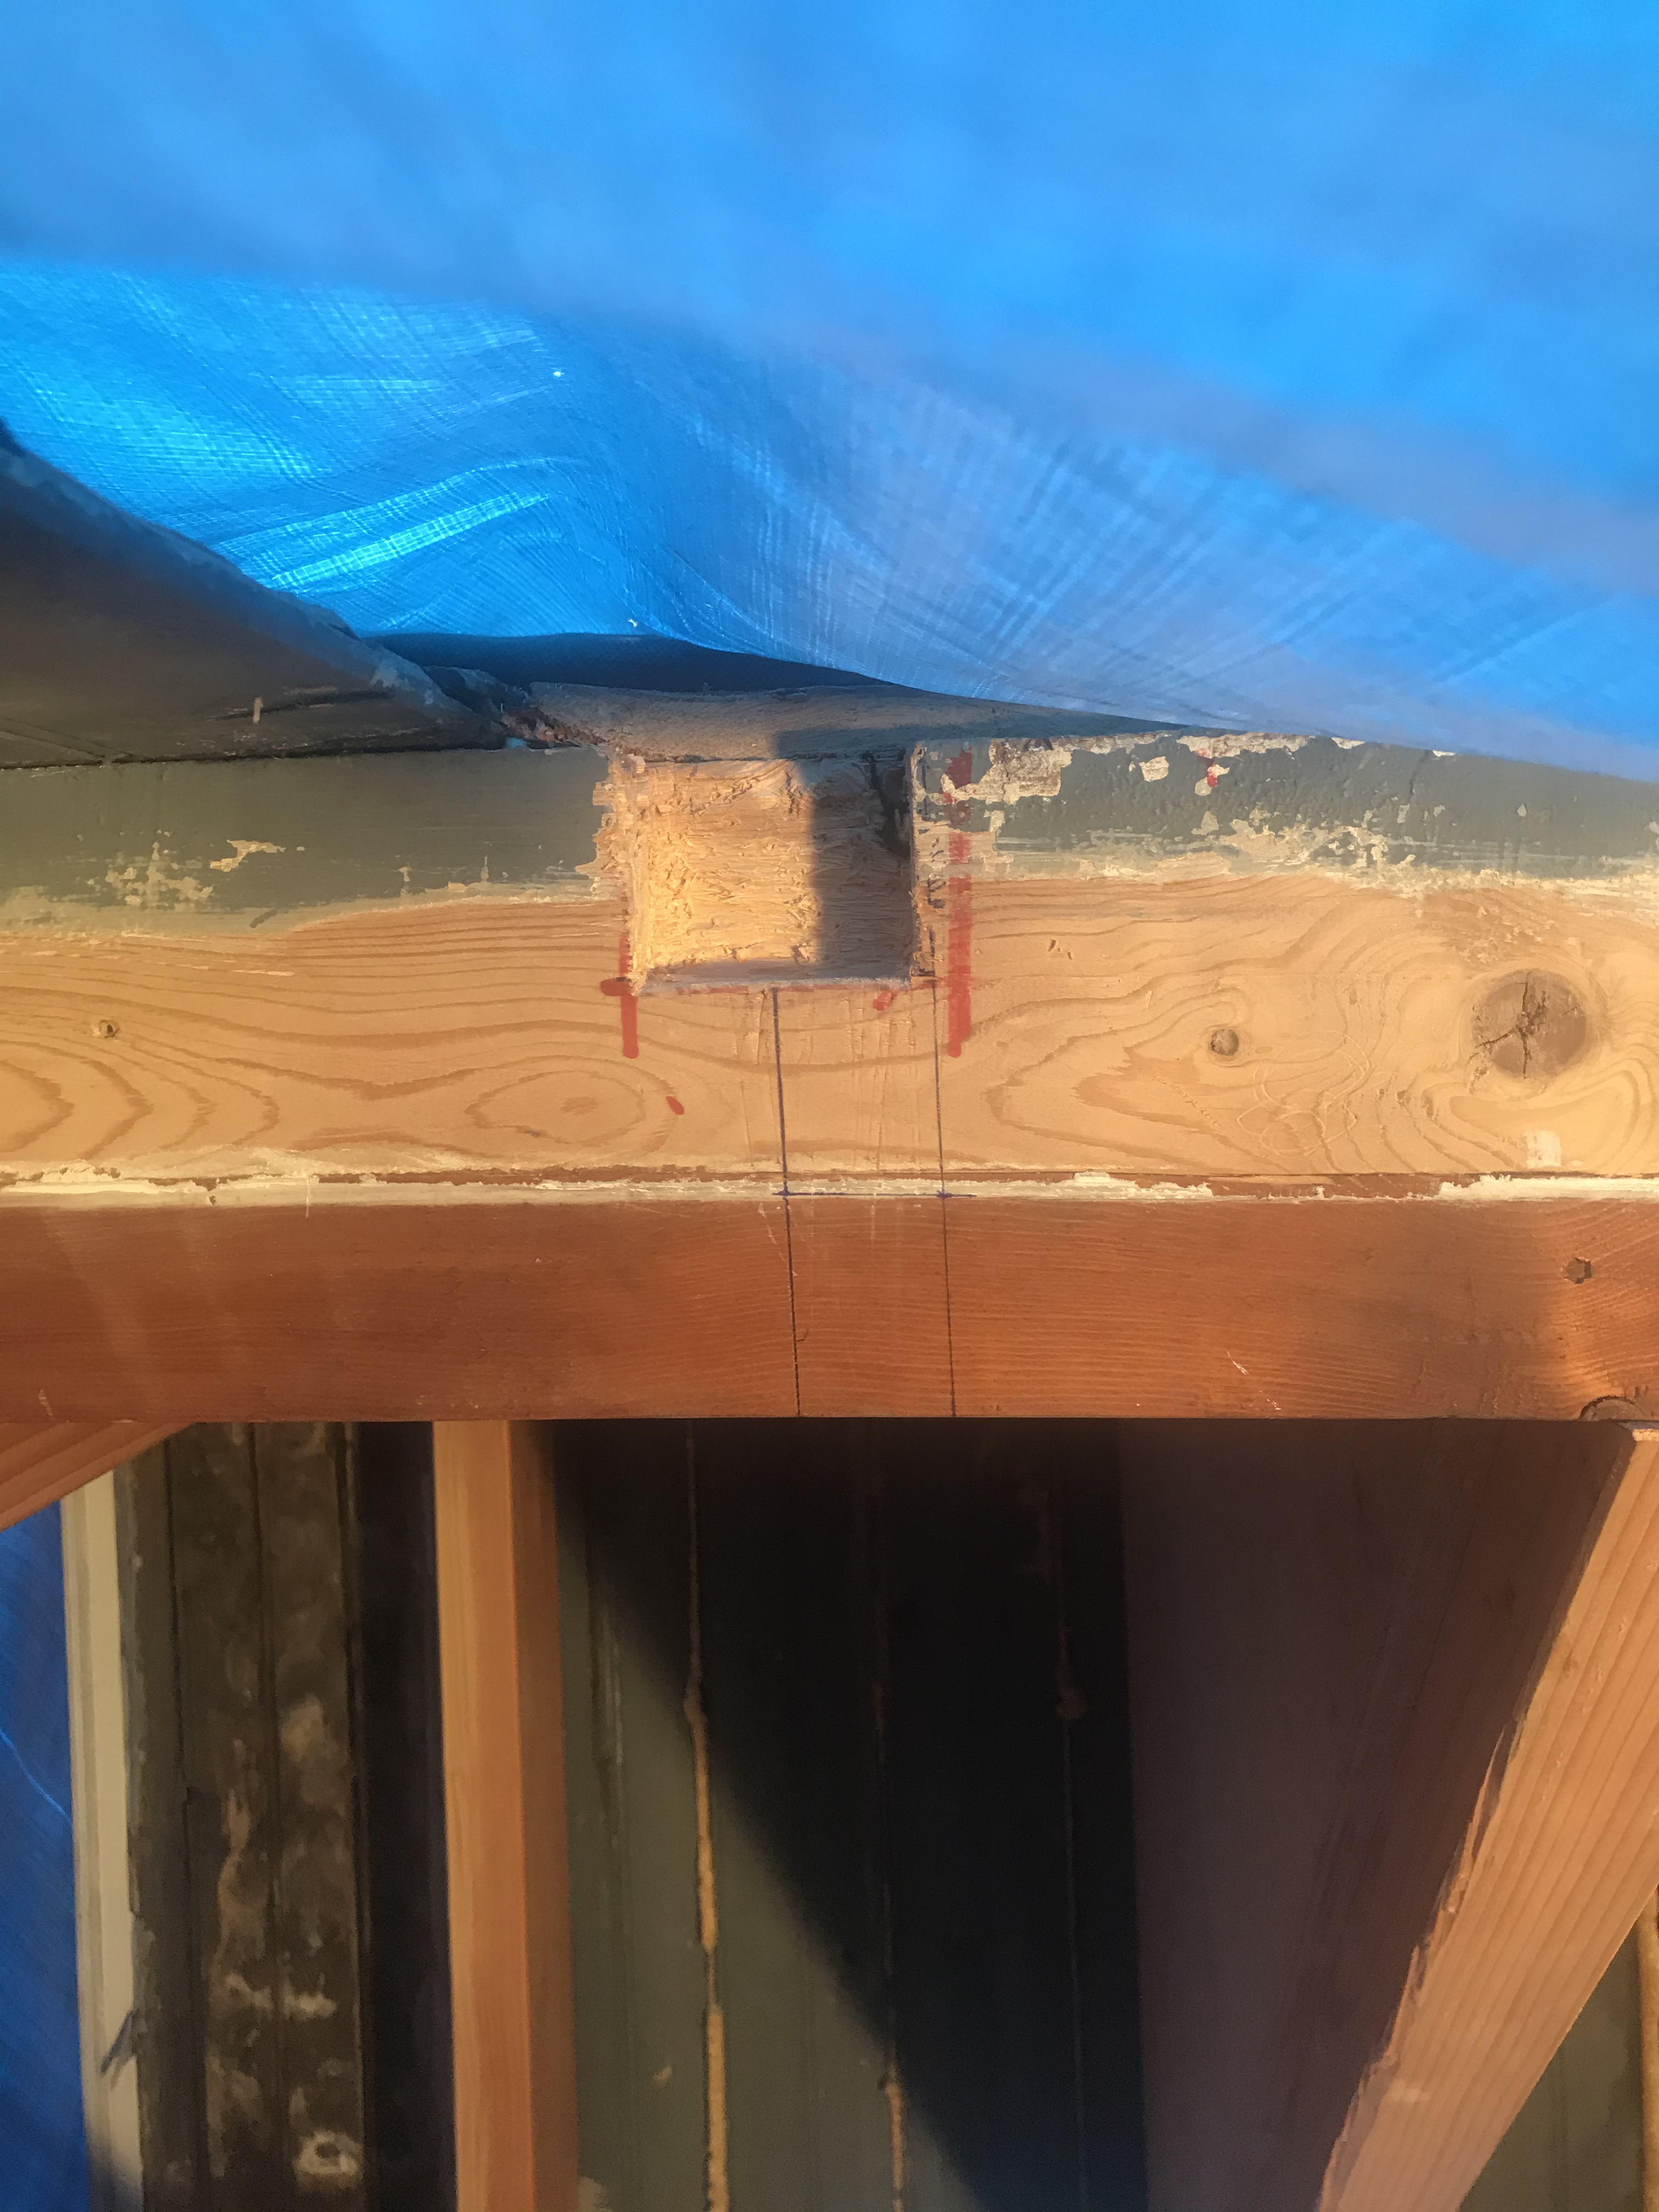
We used a lap joint (not sure of the official name) to fabricate the joist. My friend Arpad, who’s also a structural engineer came over to help design and install the first fill beam.
This image shows the underside of the existing roof joist where the fill beams will rest.
Here’s the process of fabricating the fill beam.
The first of four fill beams successfully installed!
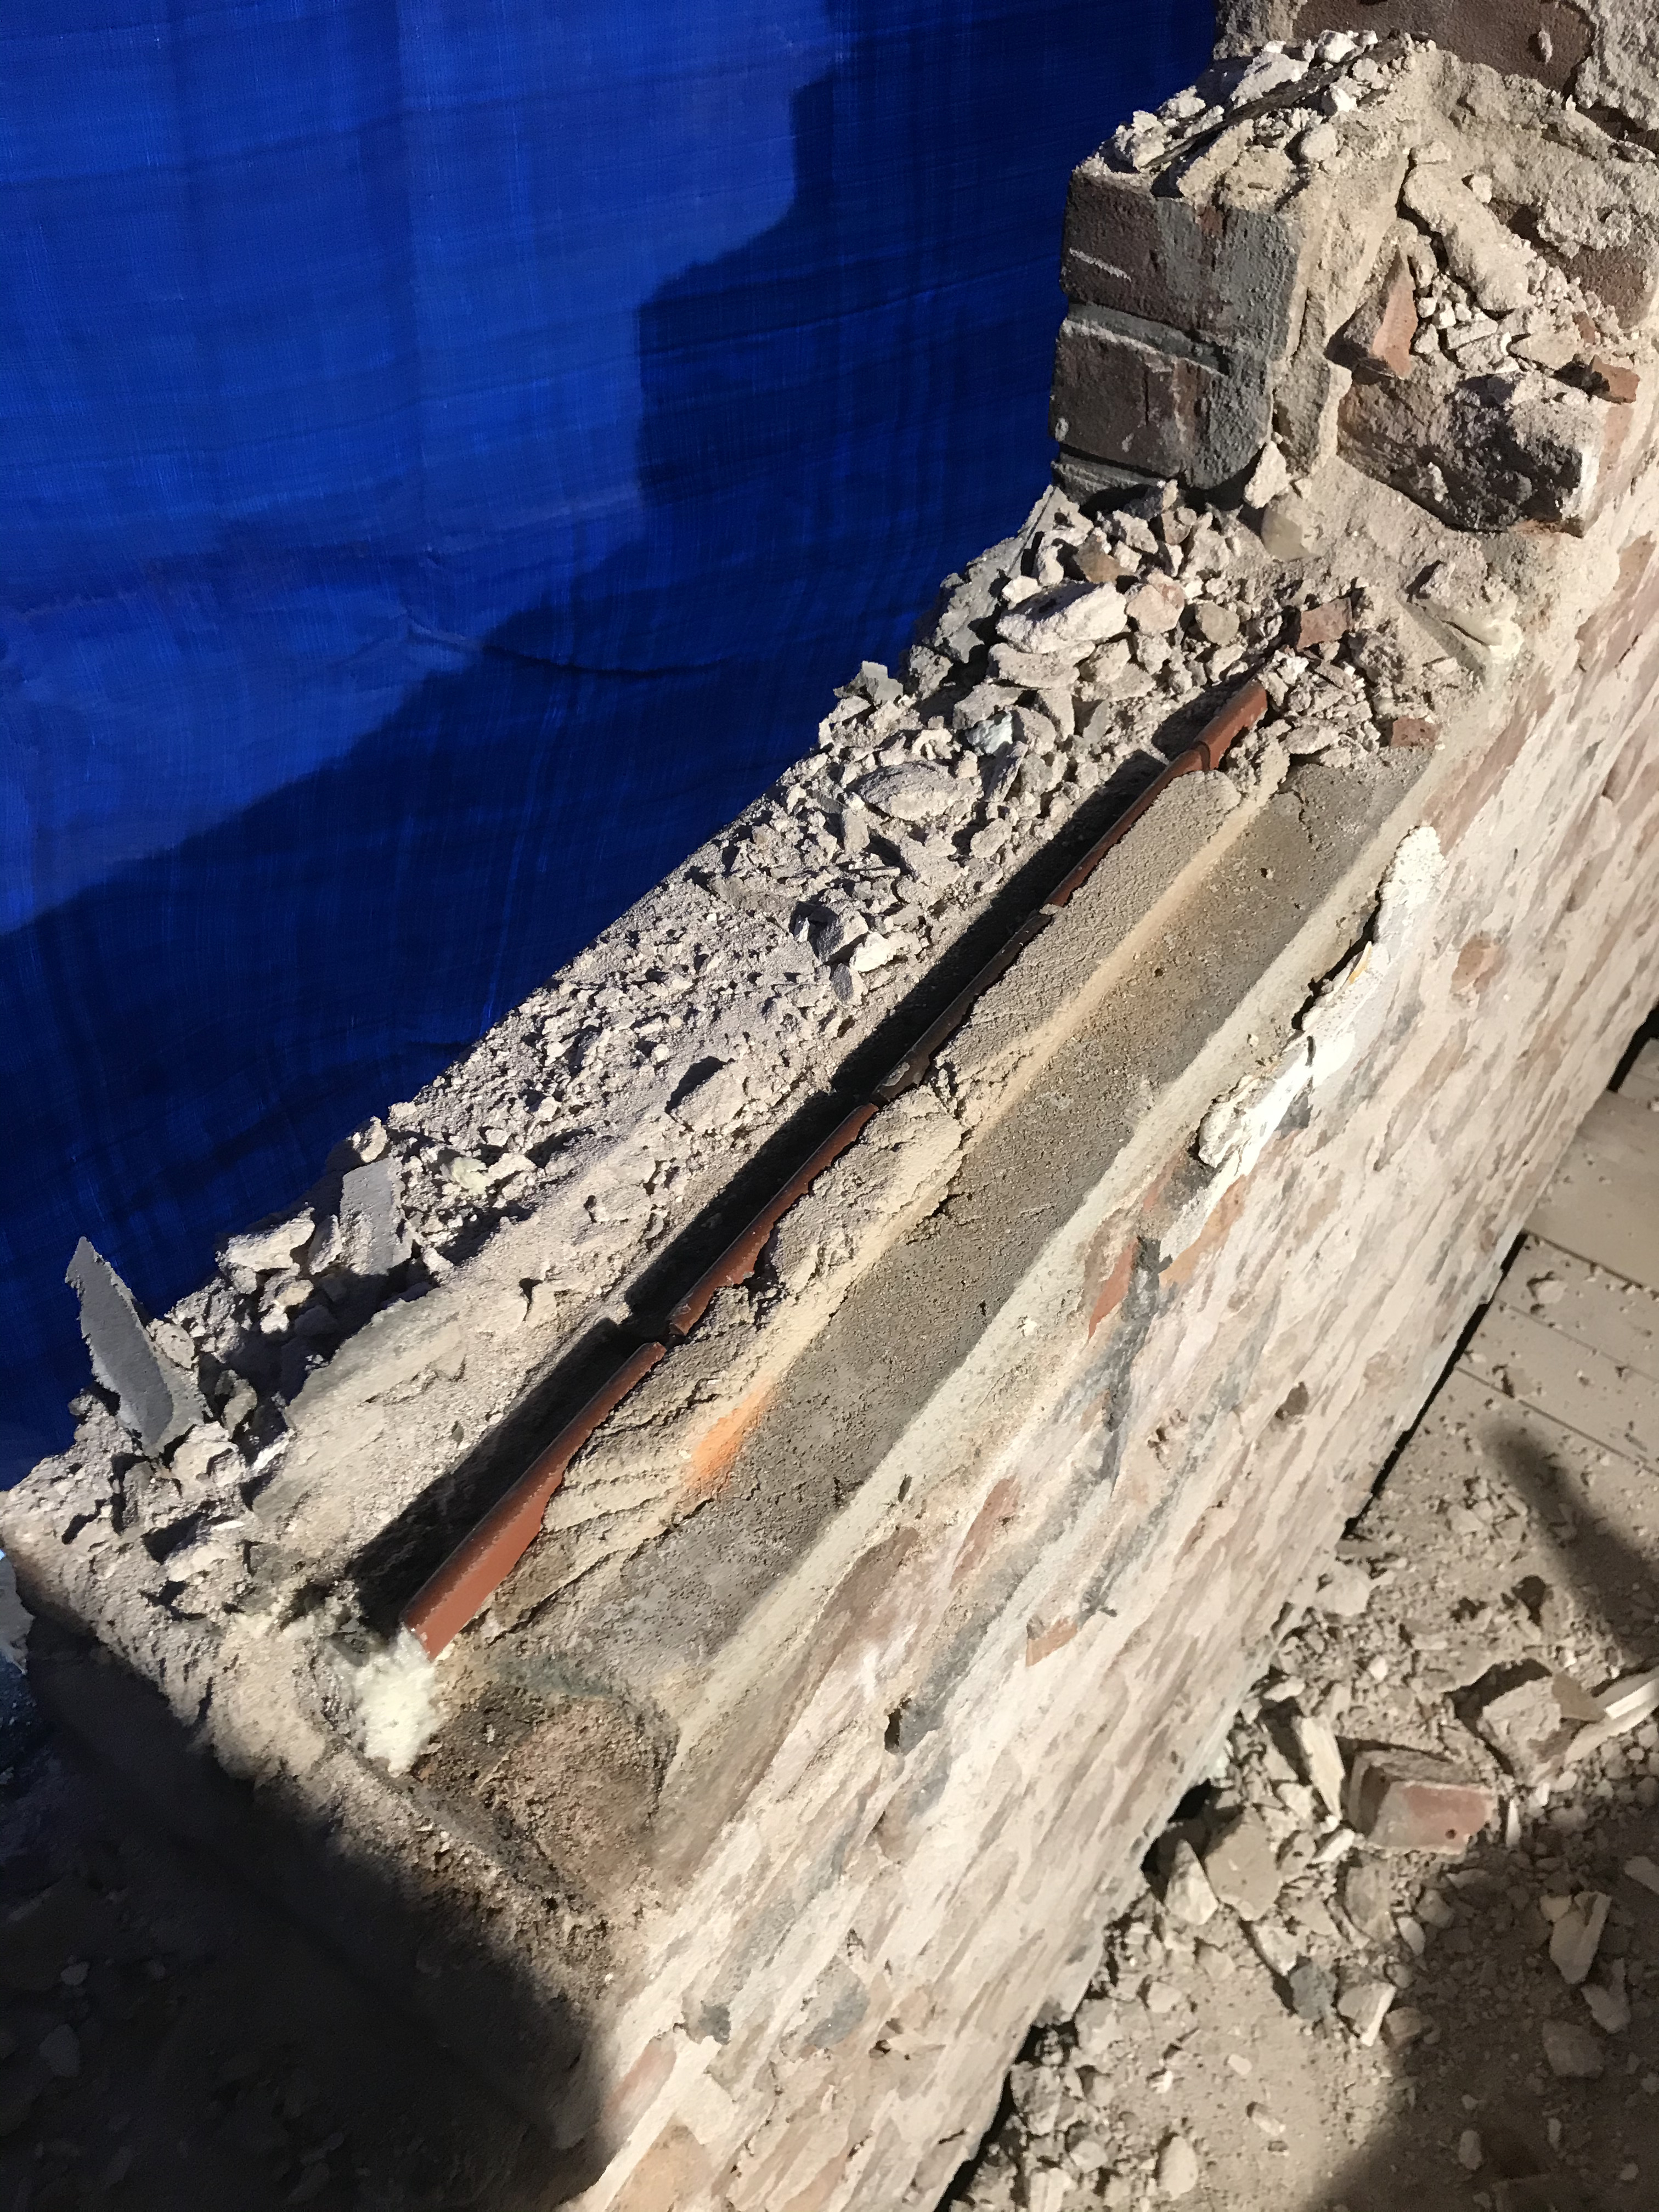
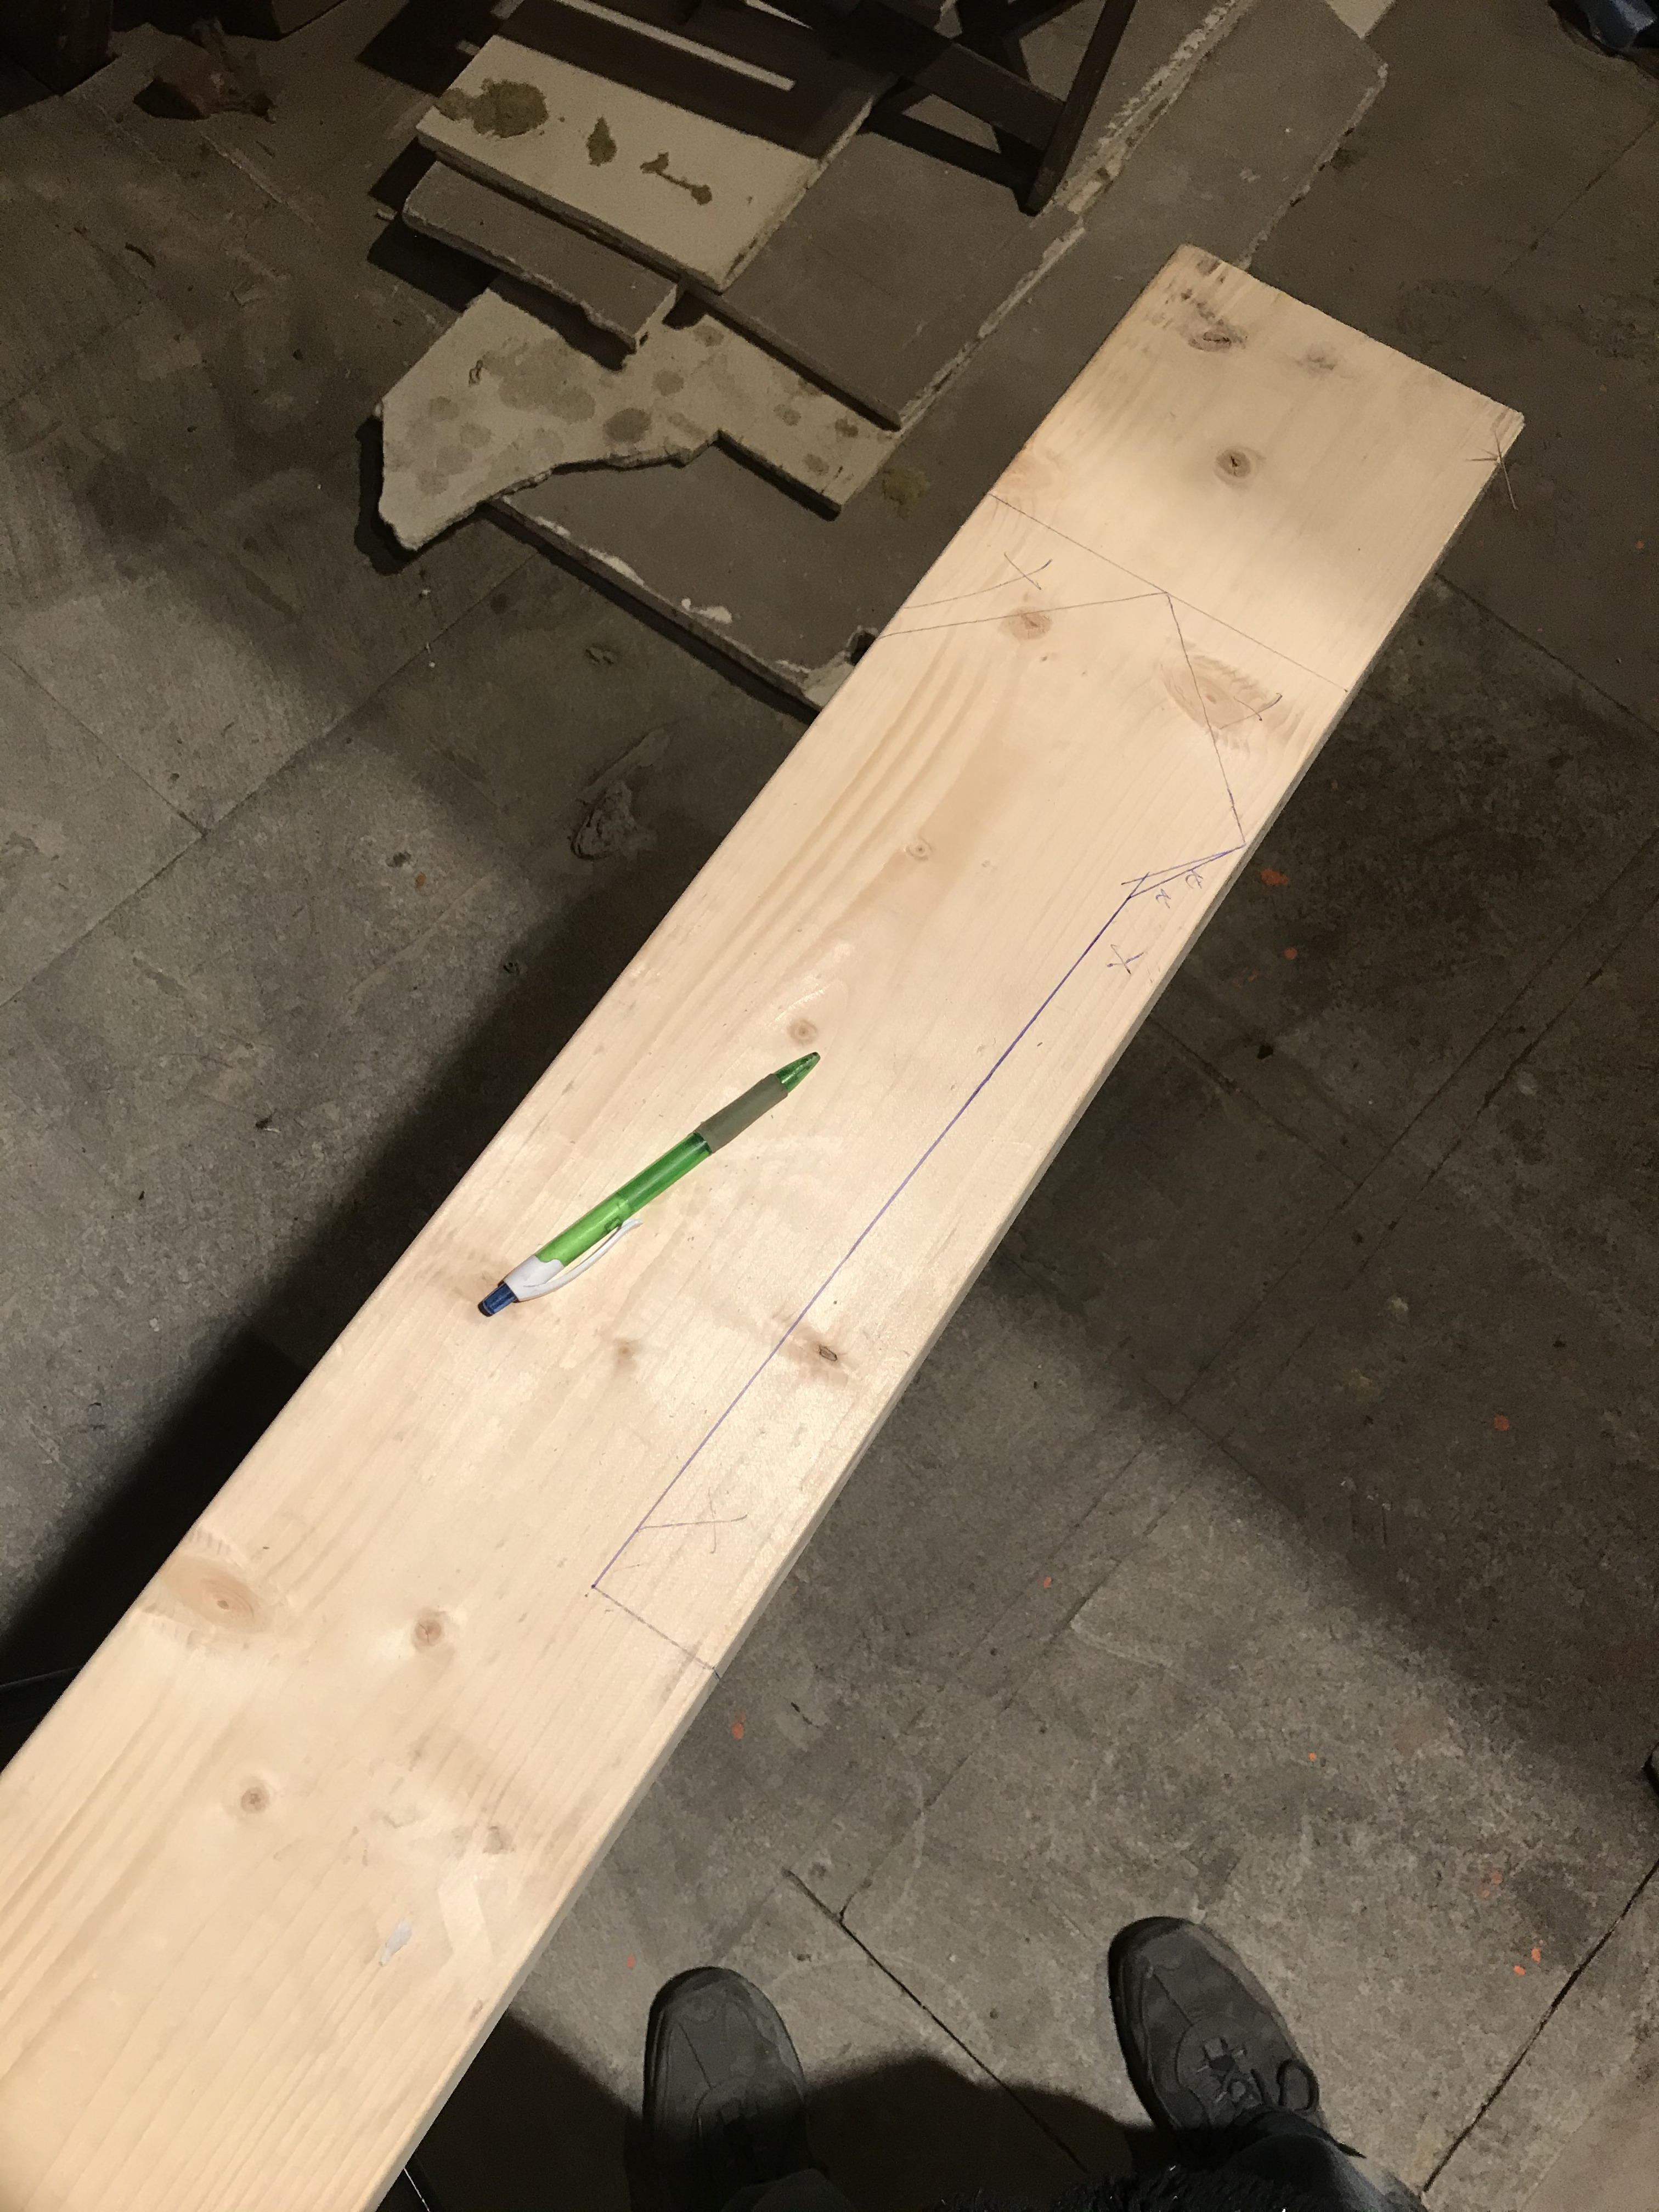
Sketching out the part of the fill beam that would be embedded in the masonry wall. Looking back on this, all I can think is ‘could I really not find a carpenter’s pencil?’
The bottom part of the fill beam embedded in the masonry wall
The first step was removing a section of the roof to expose the old dormer frame. This wasn’t ideal weather-wise, but we wanted to keep the project moving.
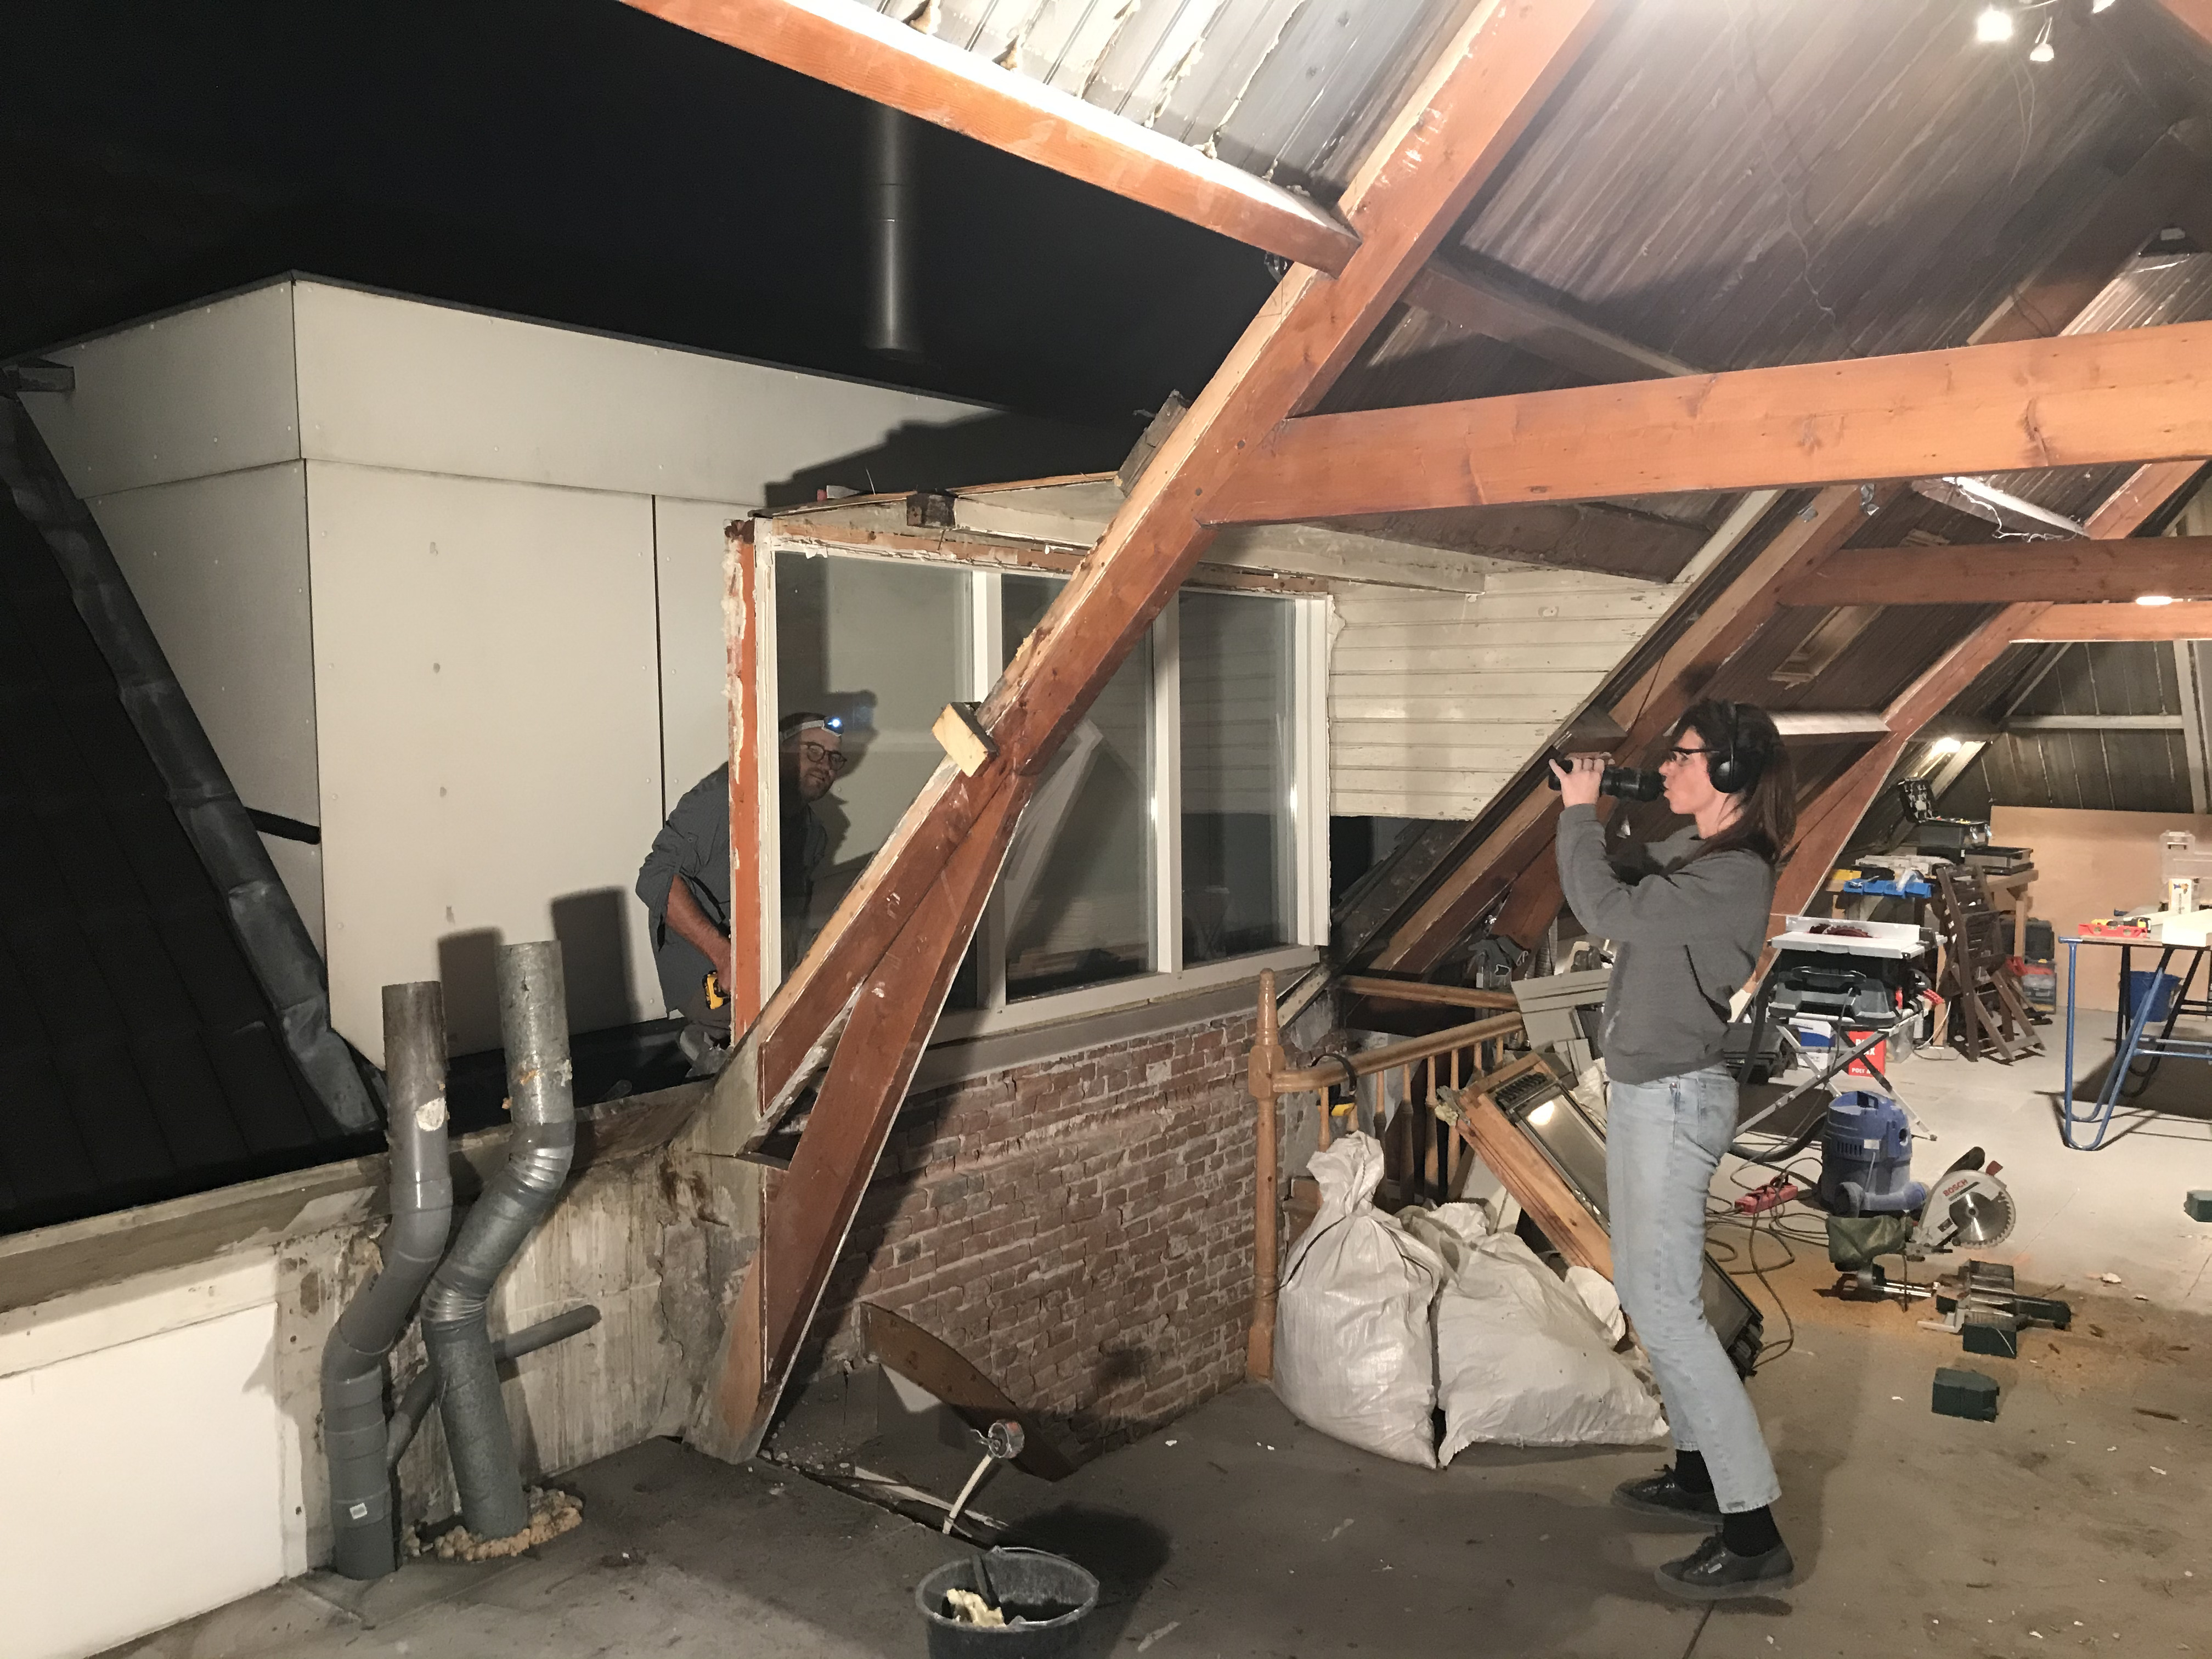
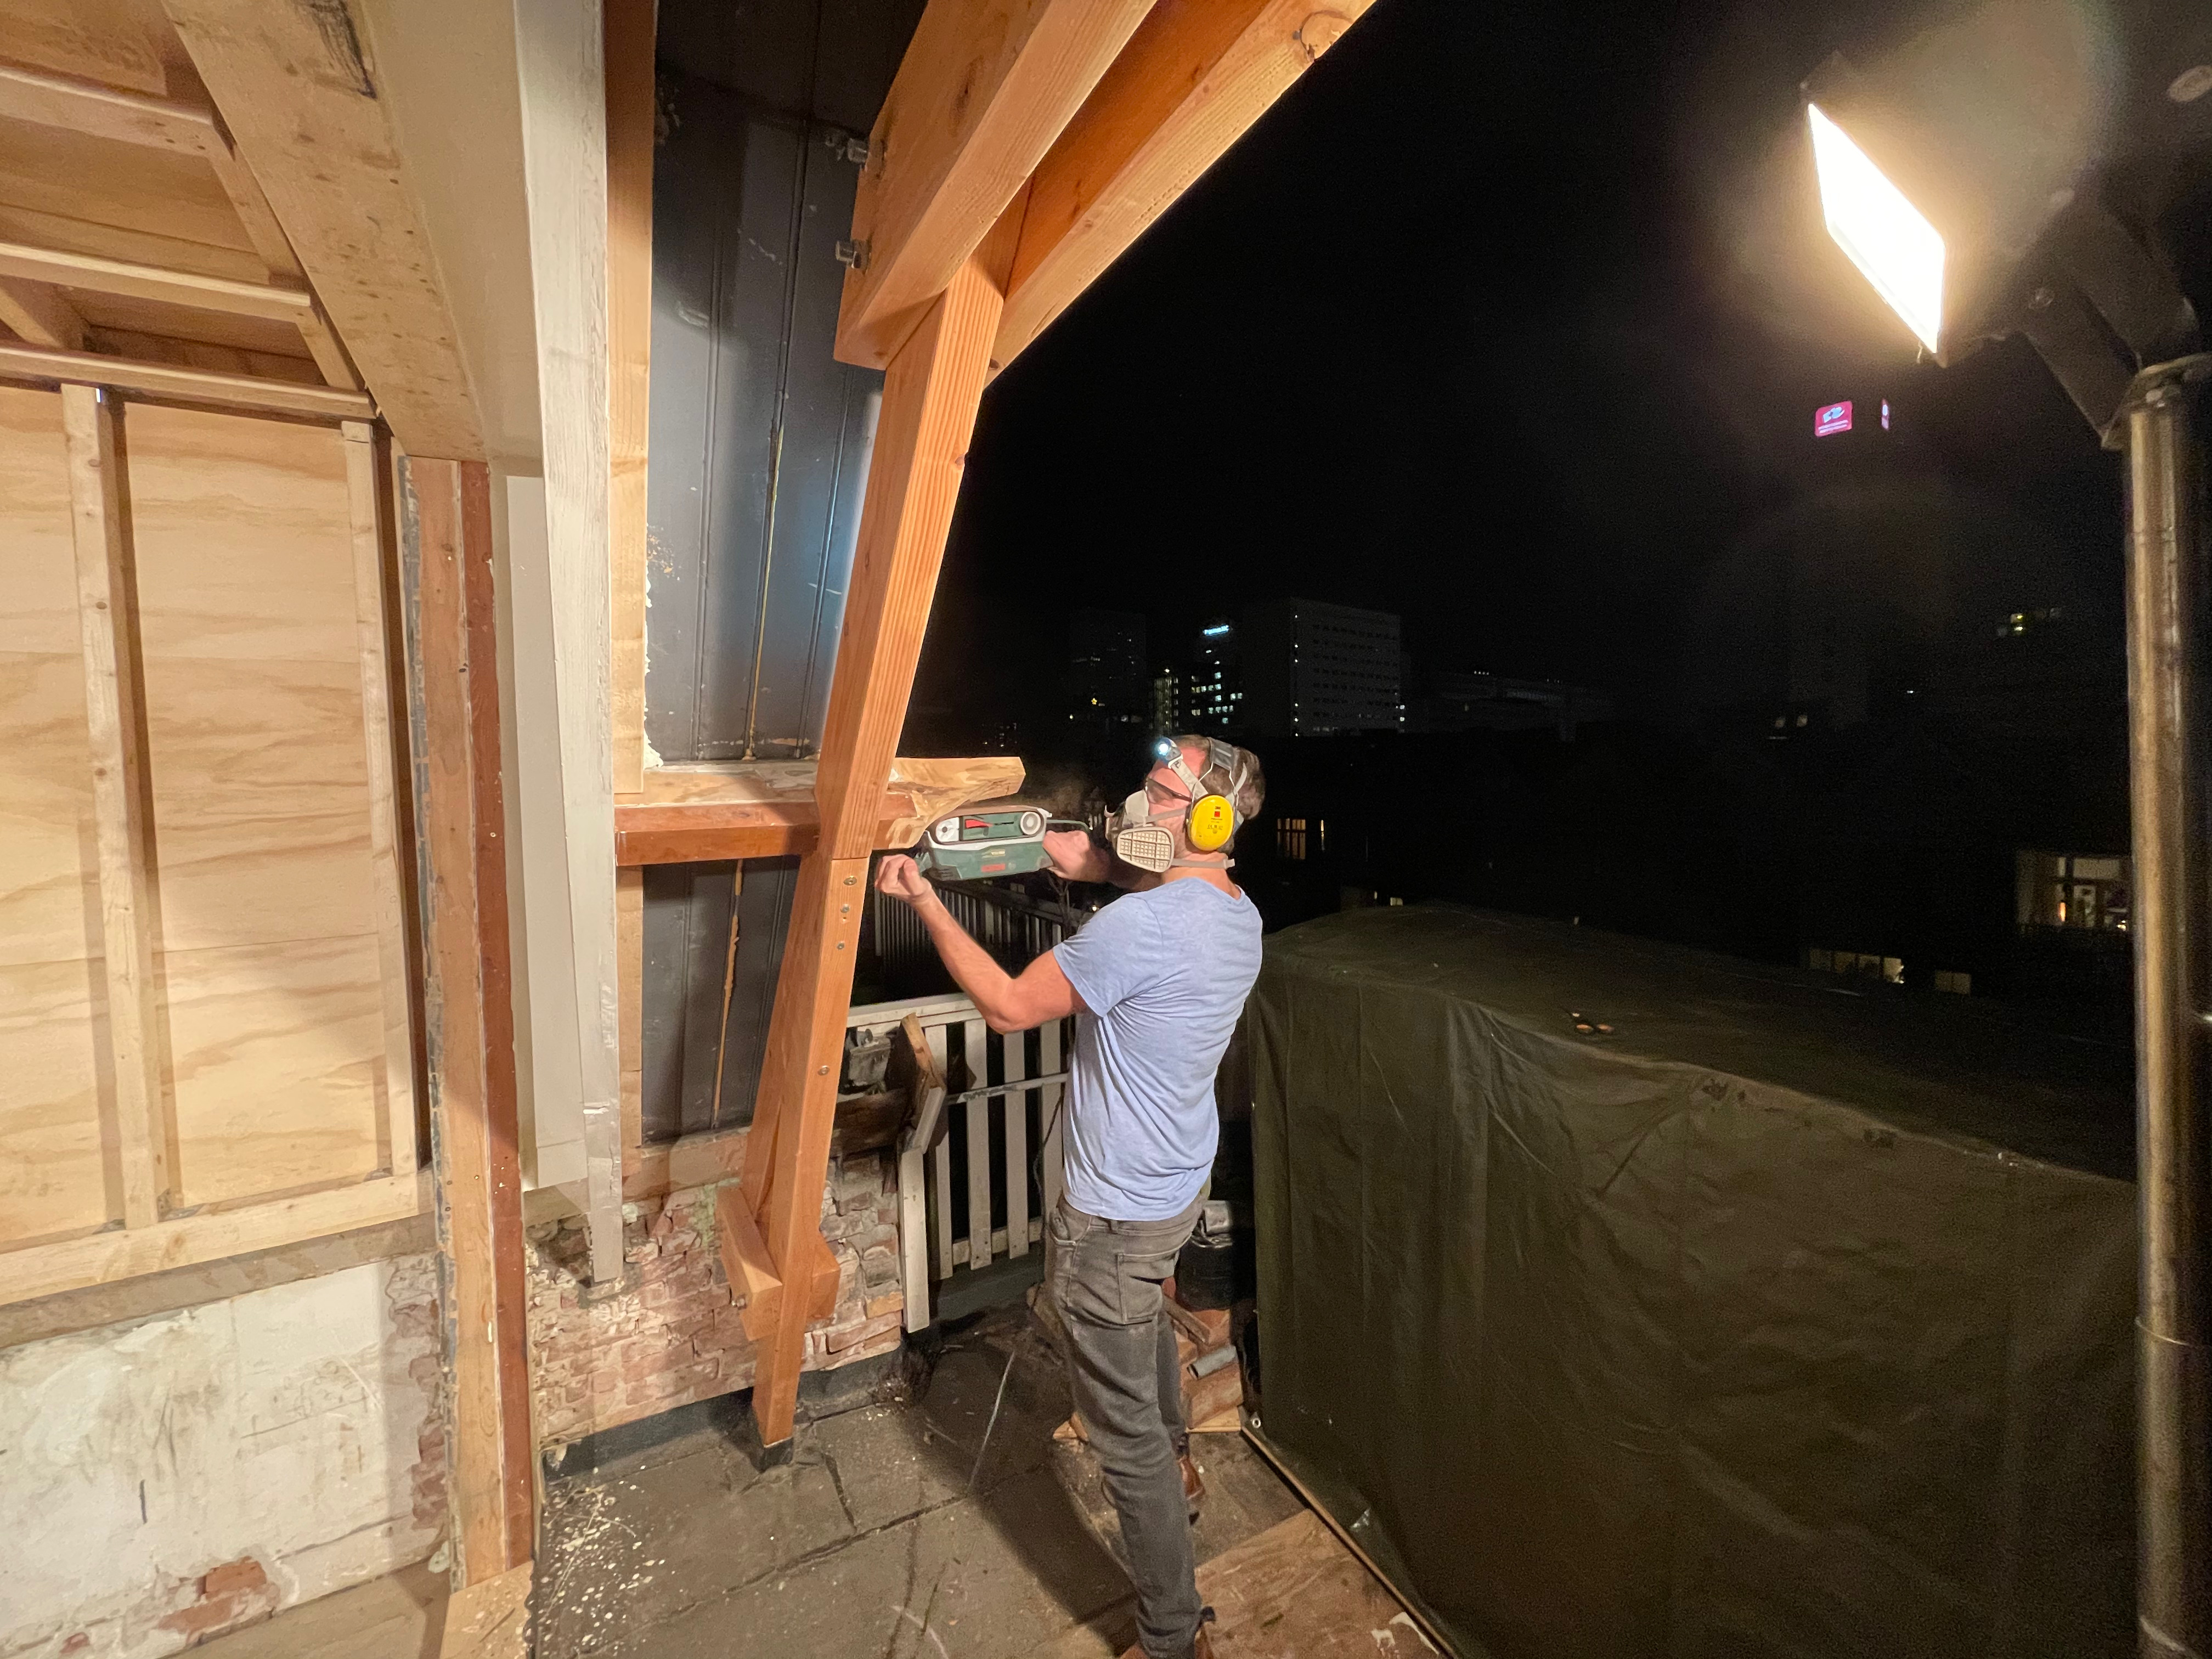
Due to time constraints, we sometimes worked late into the night, here we are removing the old dormer at night.
To minimize weather exposure, we framed the first dormer in stages. Our friend Nils was a big help during this process.
Here we’re fabricating everything in place, by the time we got to the second side we did a lot more pre-fabrication.
Framing the 1st dormer took about five days.
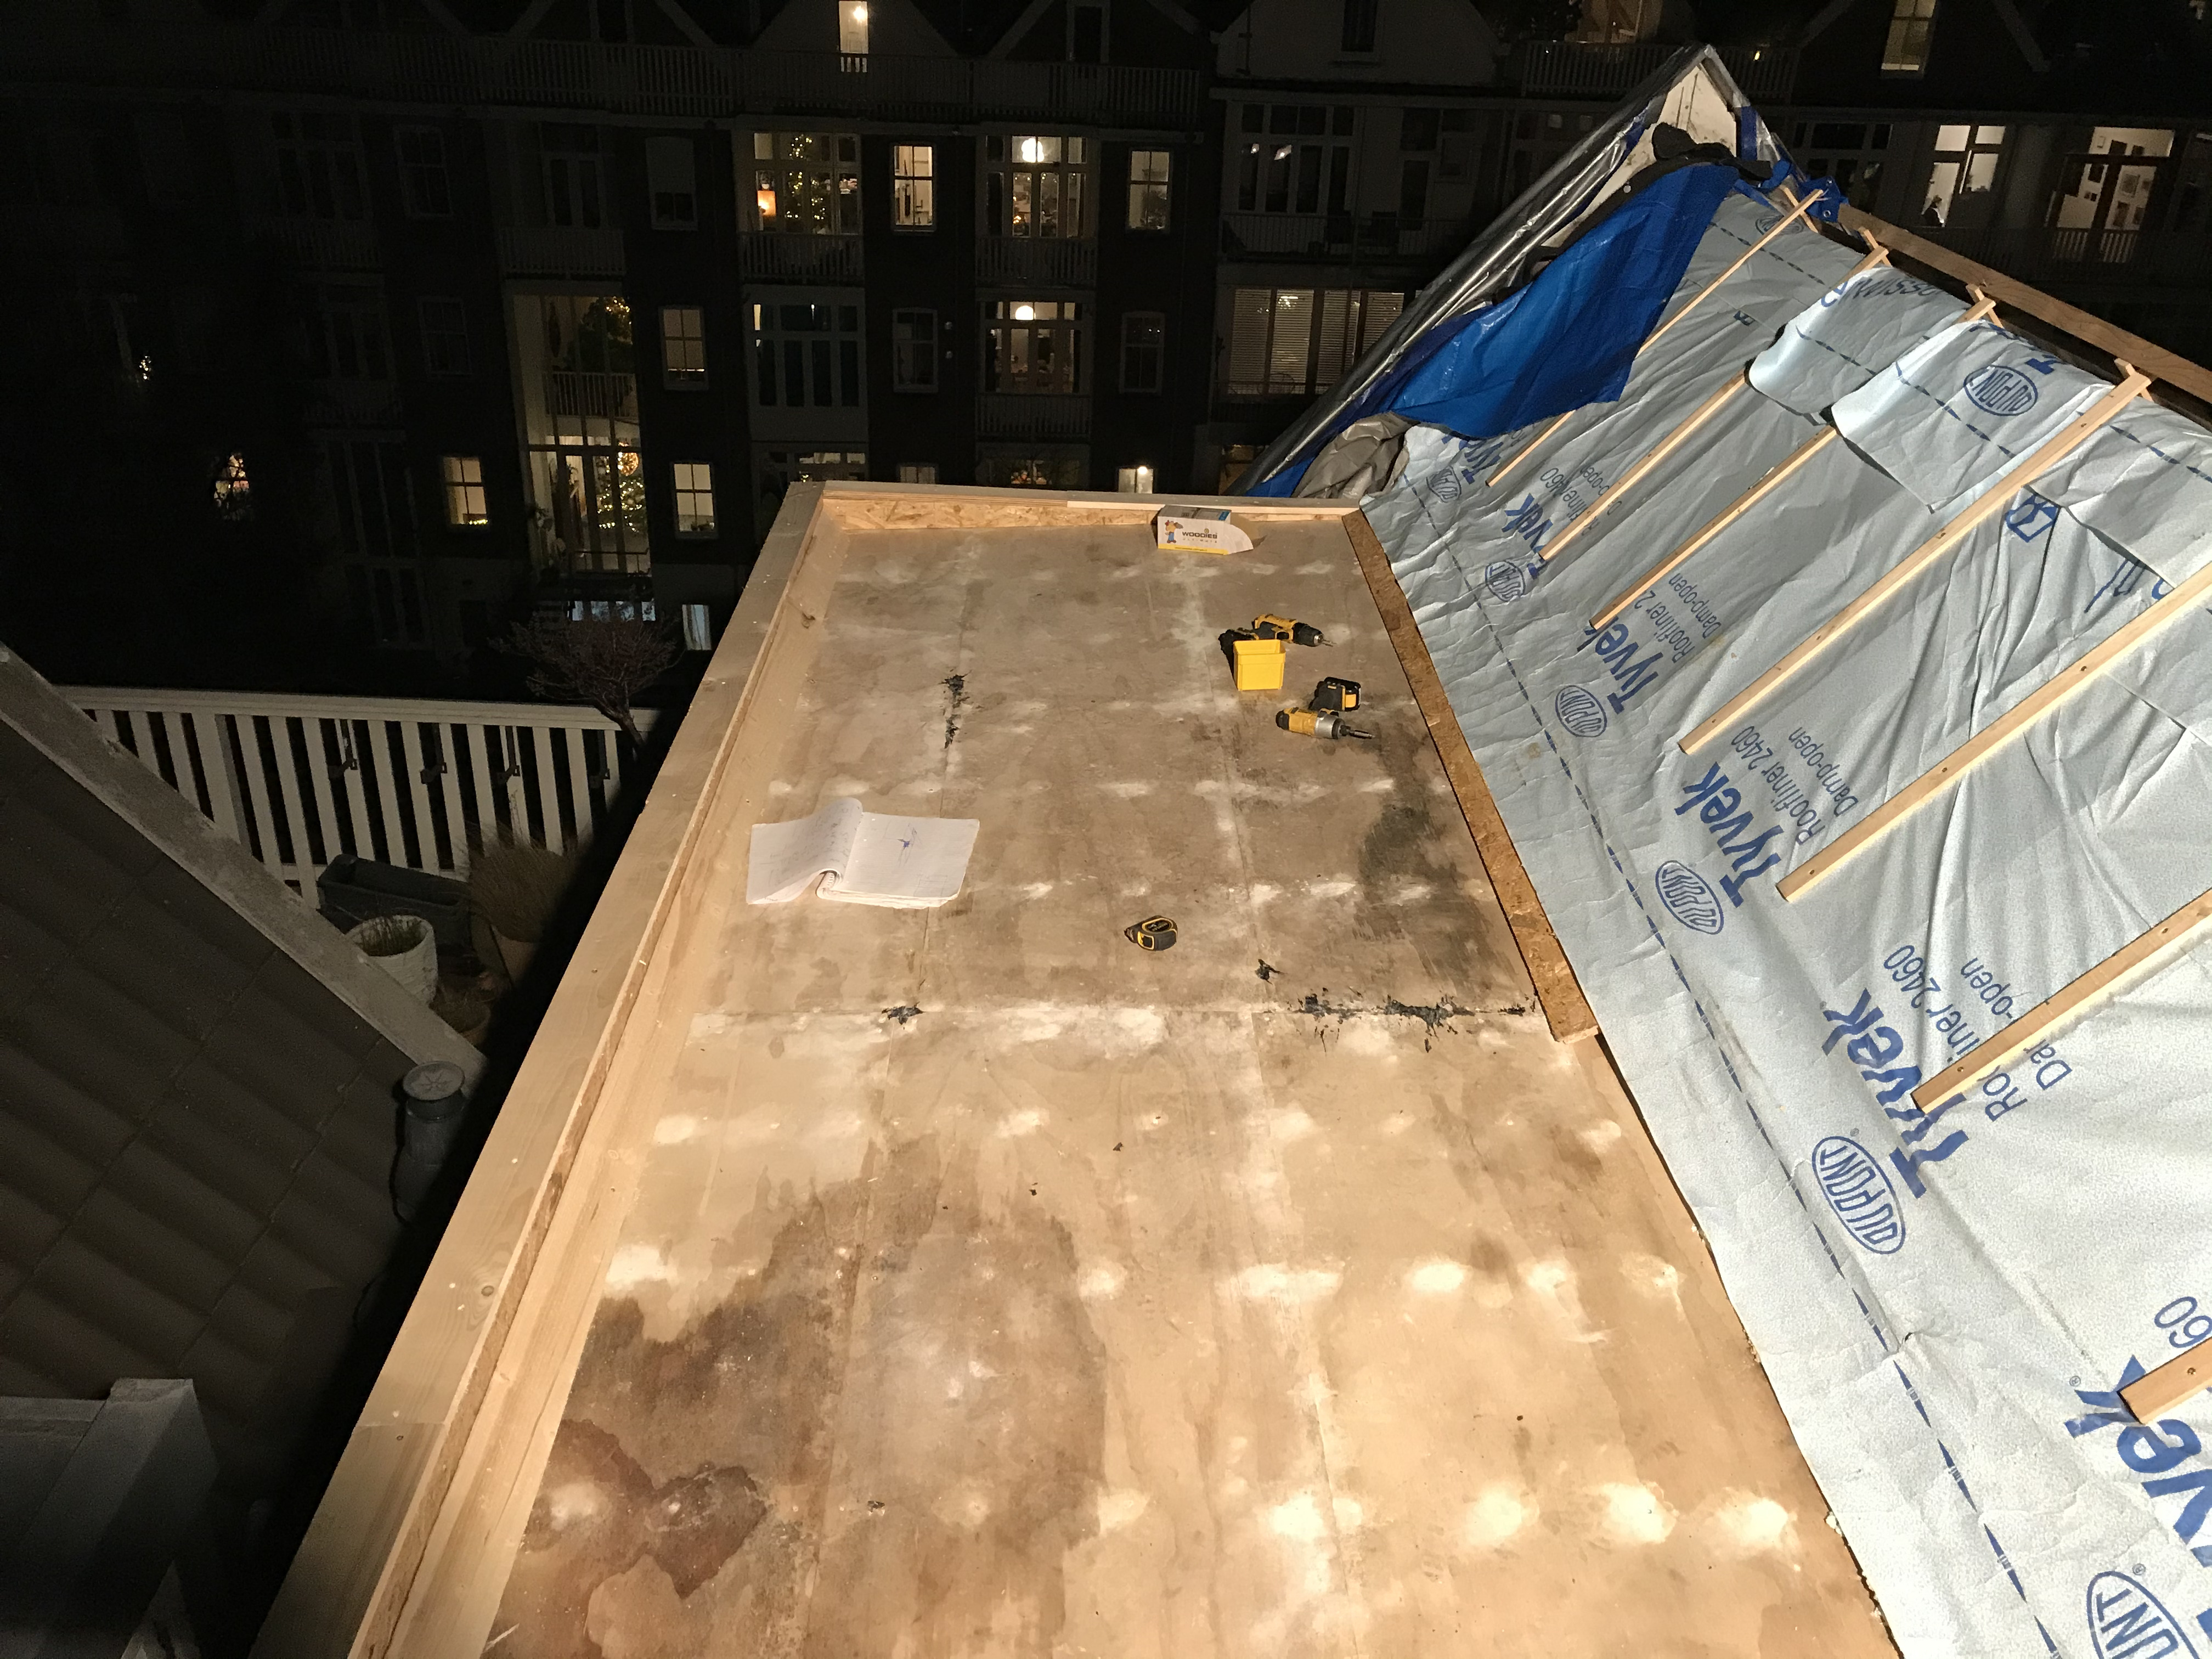
We initially used OSB for the first dormer’s roof, but the tongue and groove wasn’t ideal and caused installation problems.
The roof was like this for a week and it created a lot of headache because as best I tried I couldn’t keep all the water out.
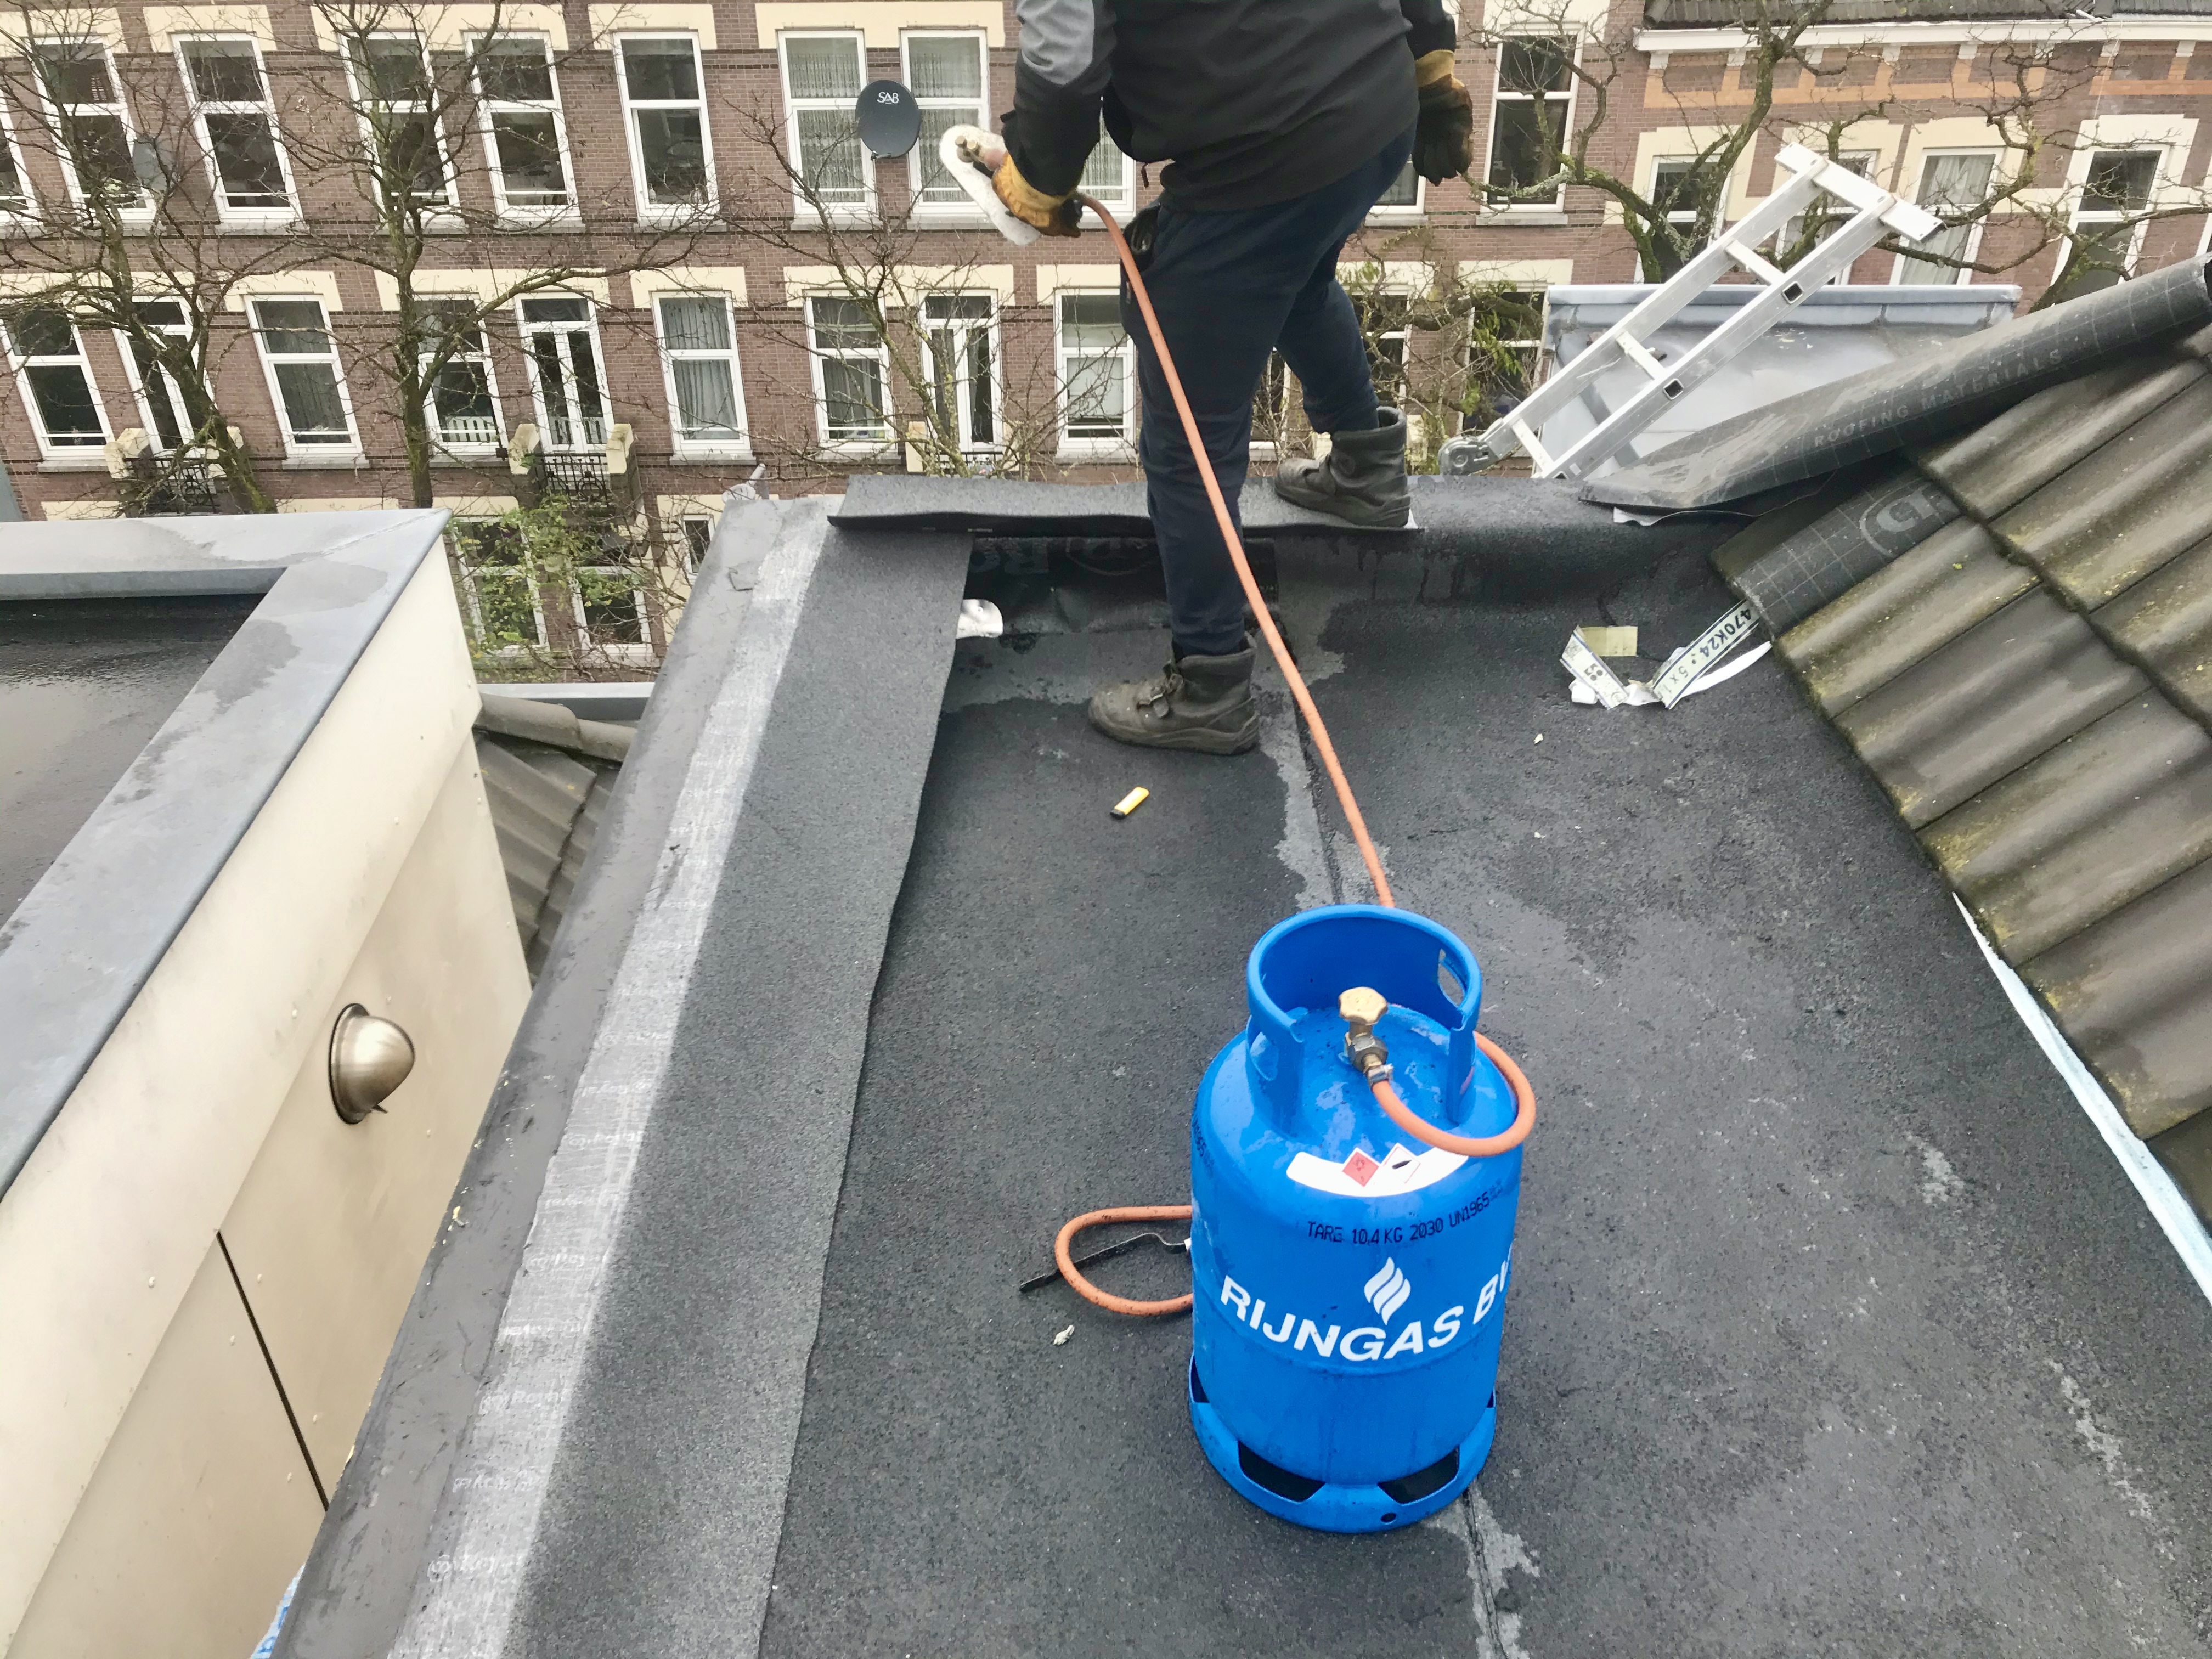
We hired a contractor to install the bitumen.
Here all the tiles, batons, and waterproofing were removed. Having learned our lesson from the other side we pre-installed the new Tyvek across the roof ridge.
While the roof was clean the inside of the space was a mess.
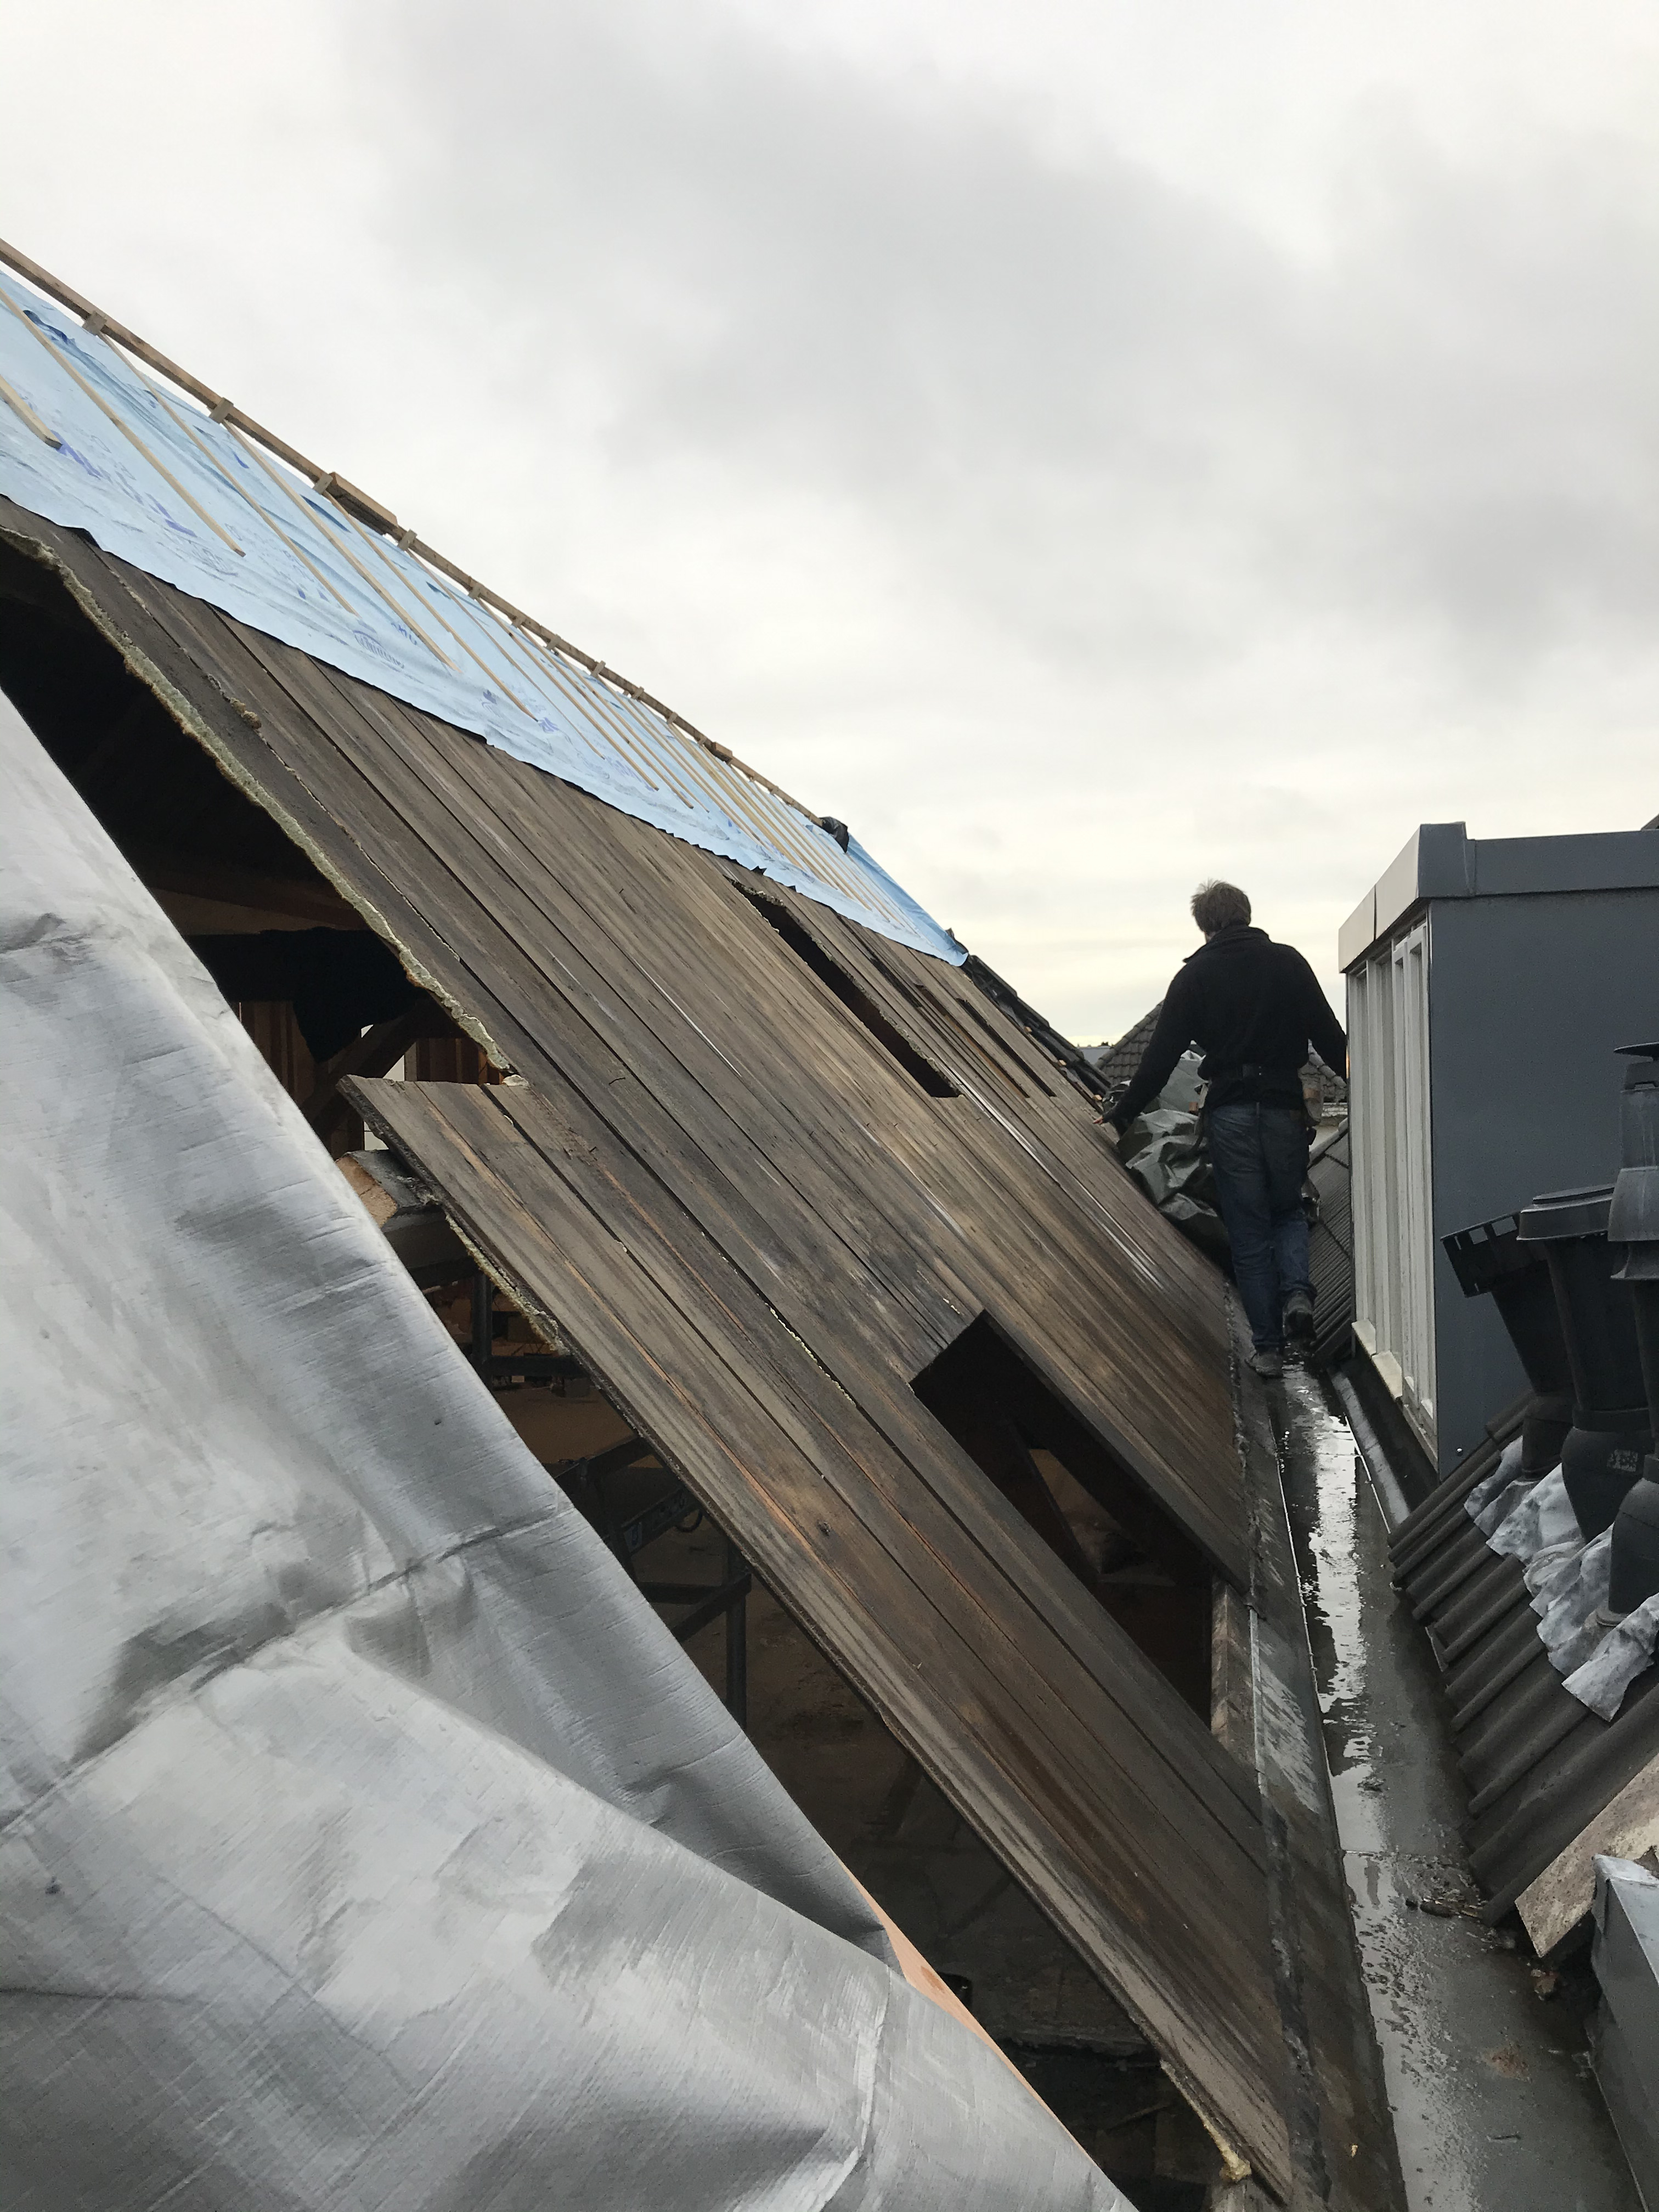
To remove the roof we would just make a cut along the top joist and then hit each plank with a mallet until they would rip out from the nails. Some planks were in a really bad shape. In hindsight, we should probably have removed the planks from the ridge as well and replaced them with multiplex…but the project already seemed really big.
This time we took the whole roof off at once.
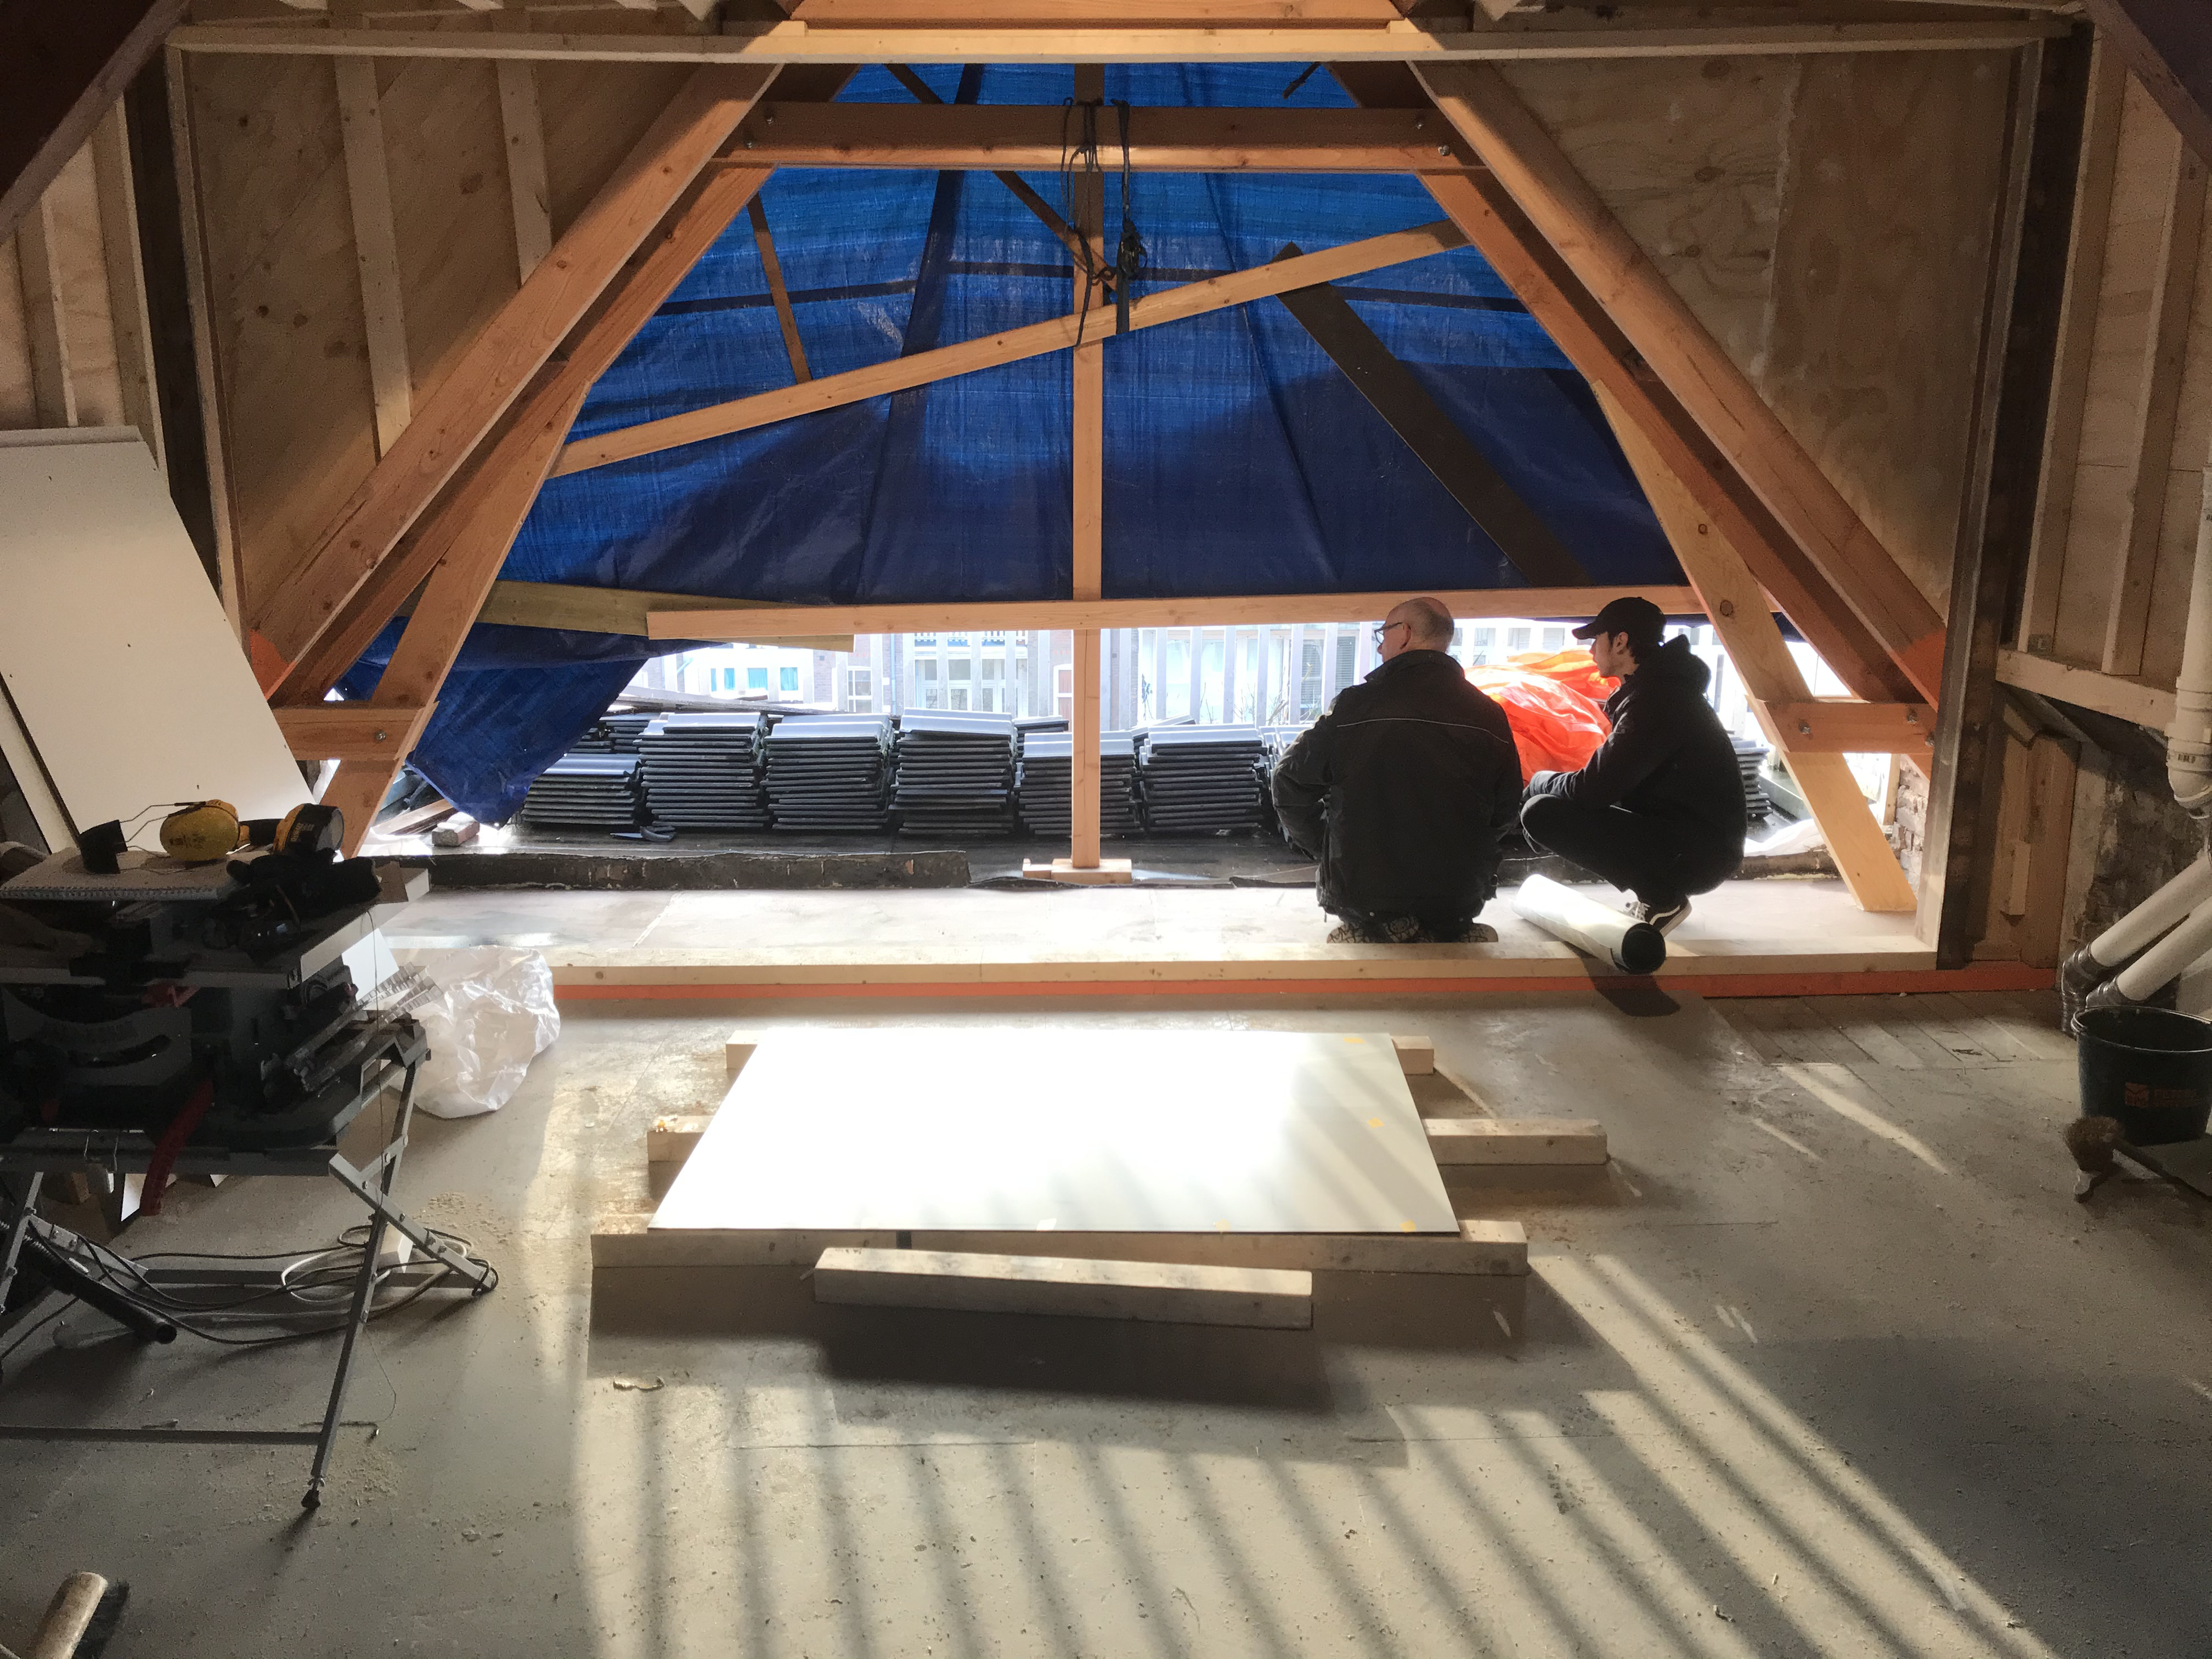
With the whole roof removed it was really easy to bring in material from the lift.
We had sun while doing the second dormer but I remember it being very cold
It was cold
Our neighbor had a drone and was kind enough to send us some photos while we were building this dormer.
I was happy to be almost done with framing this dormer.
Putting on the multiplex roof and walls.
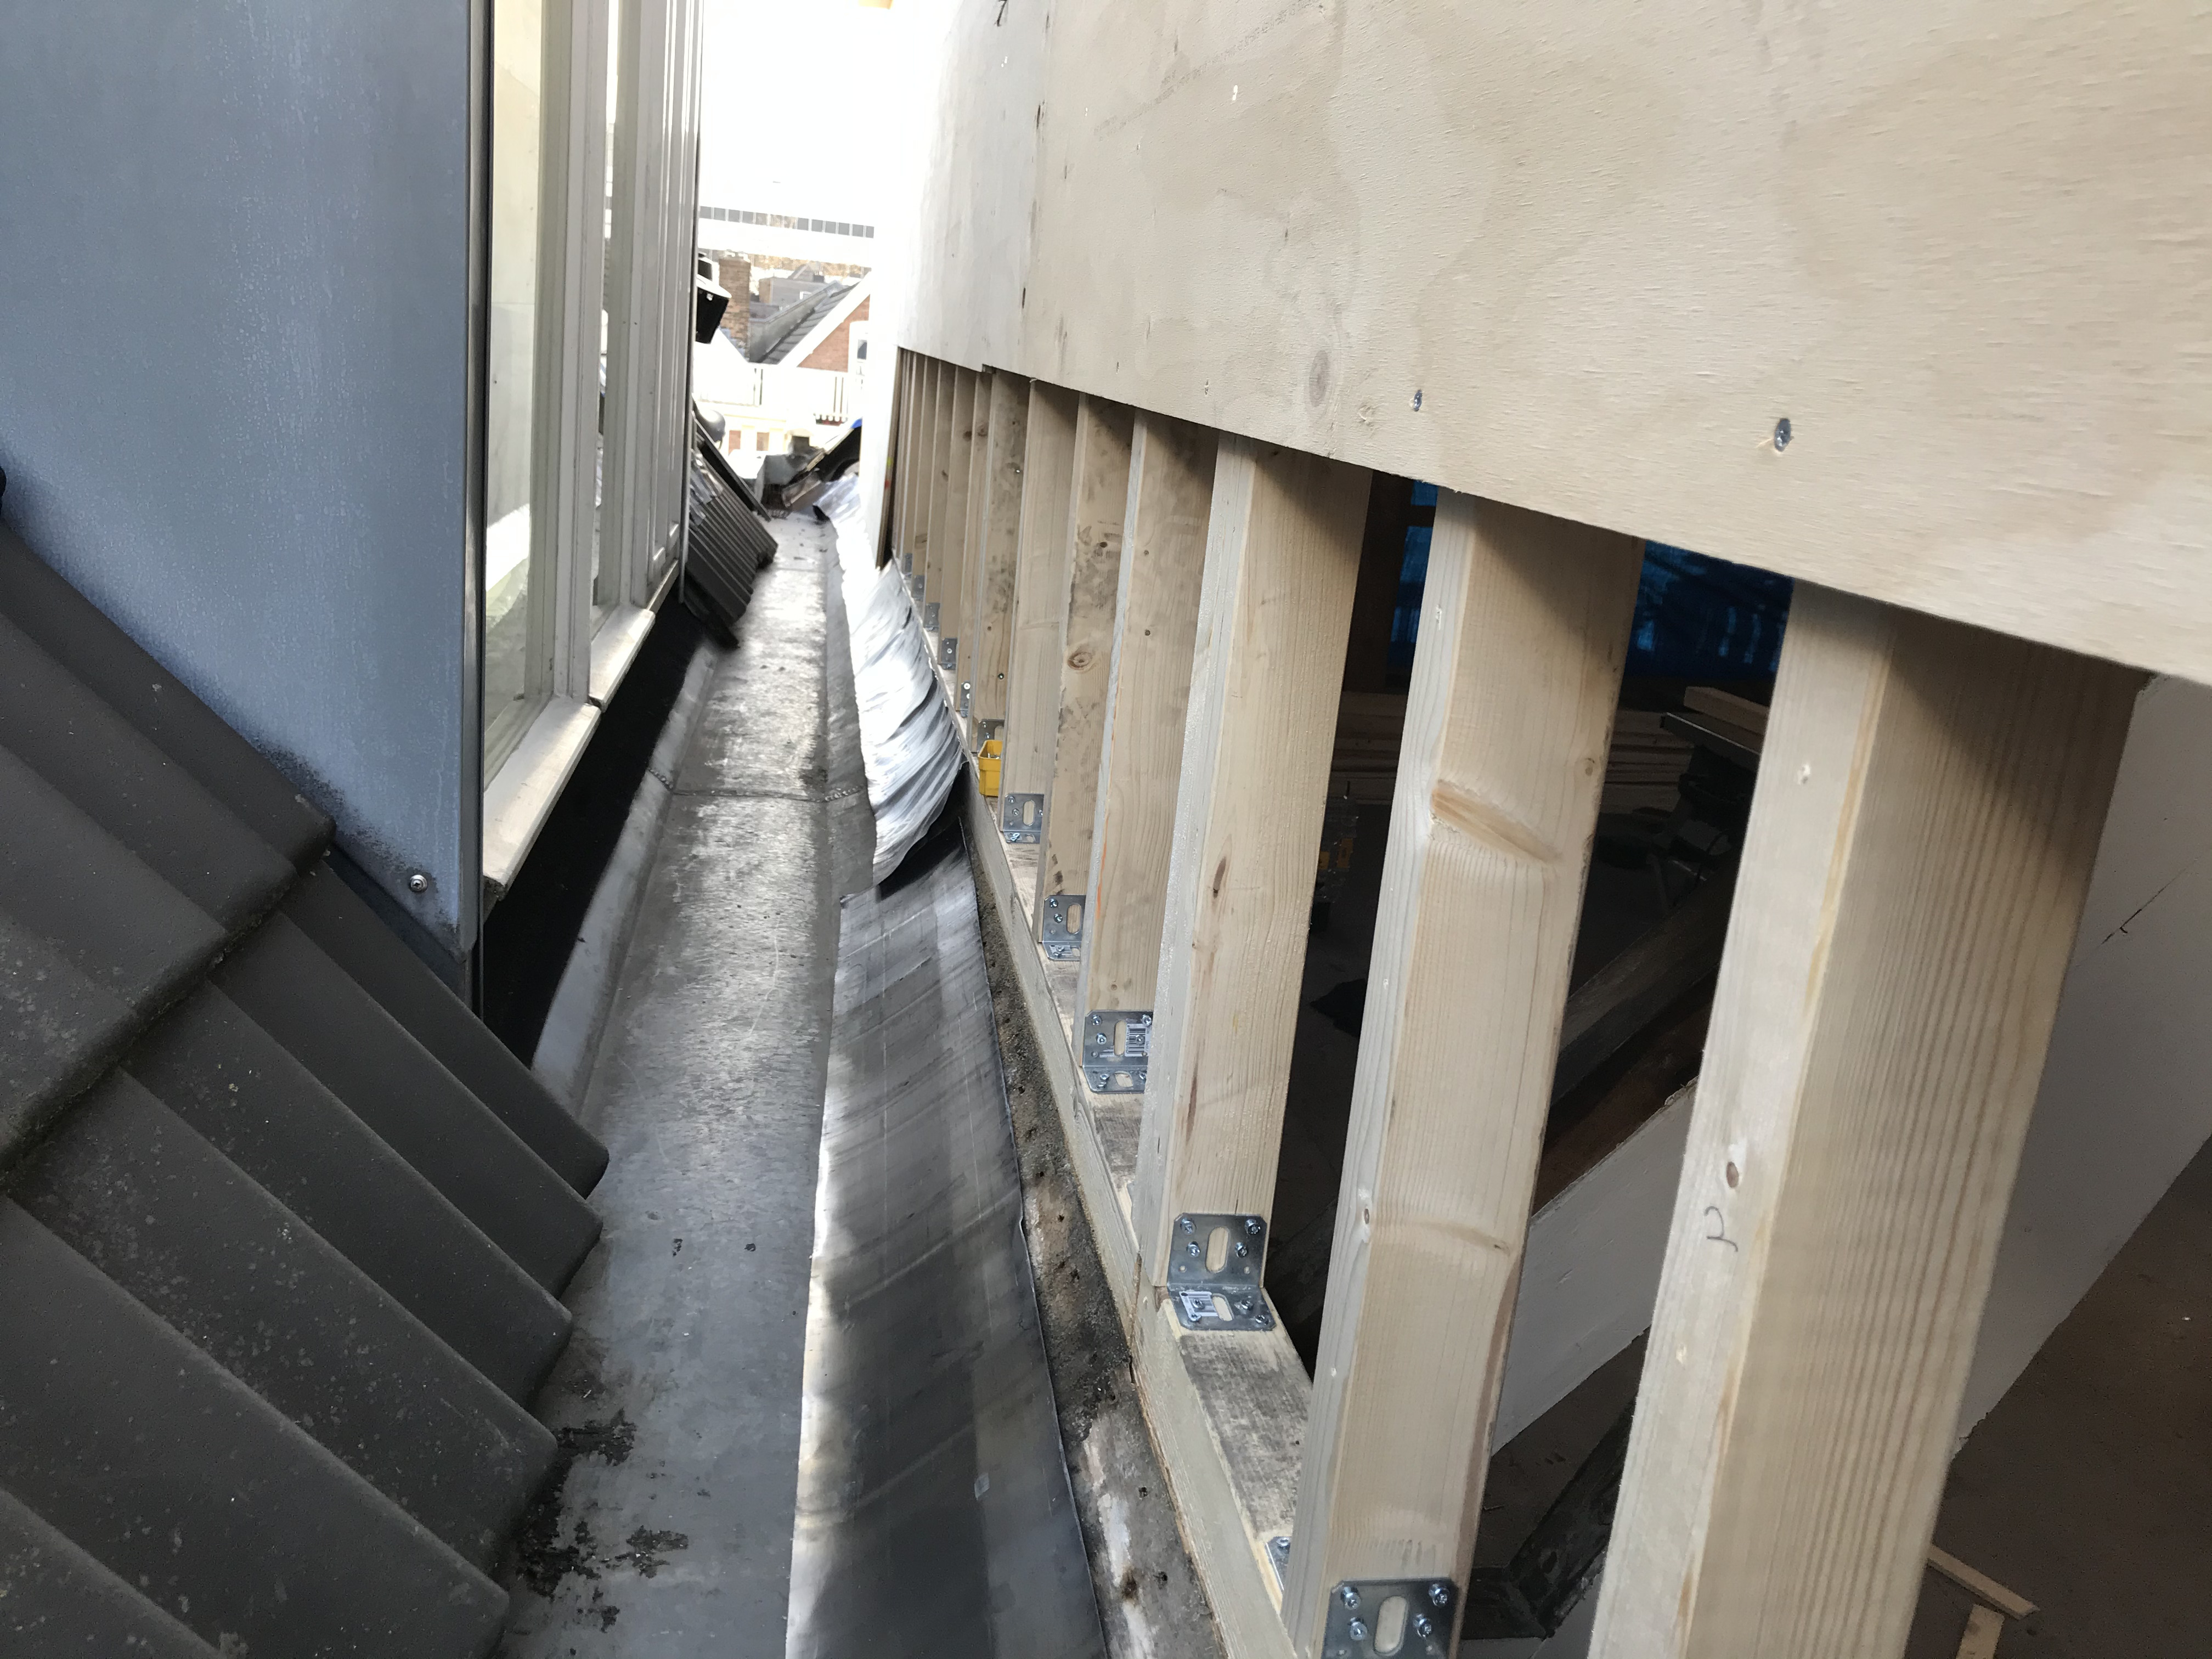
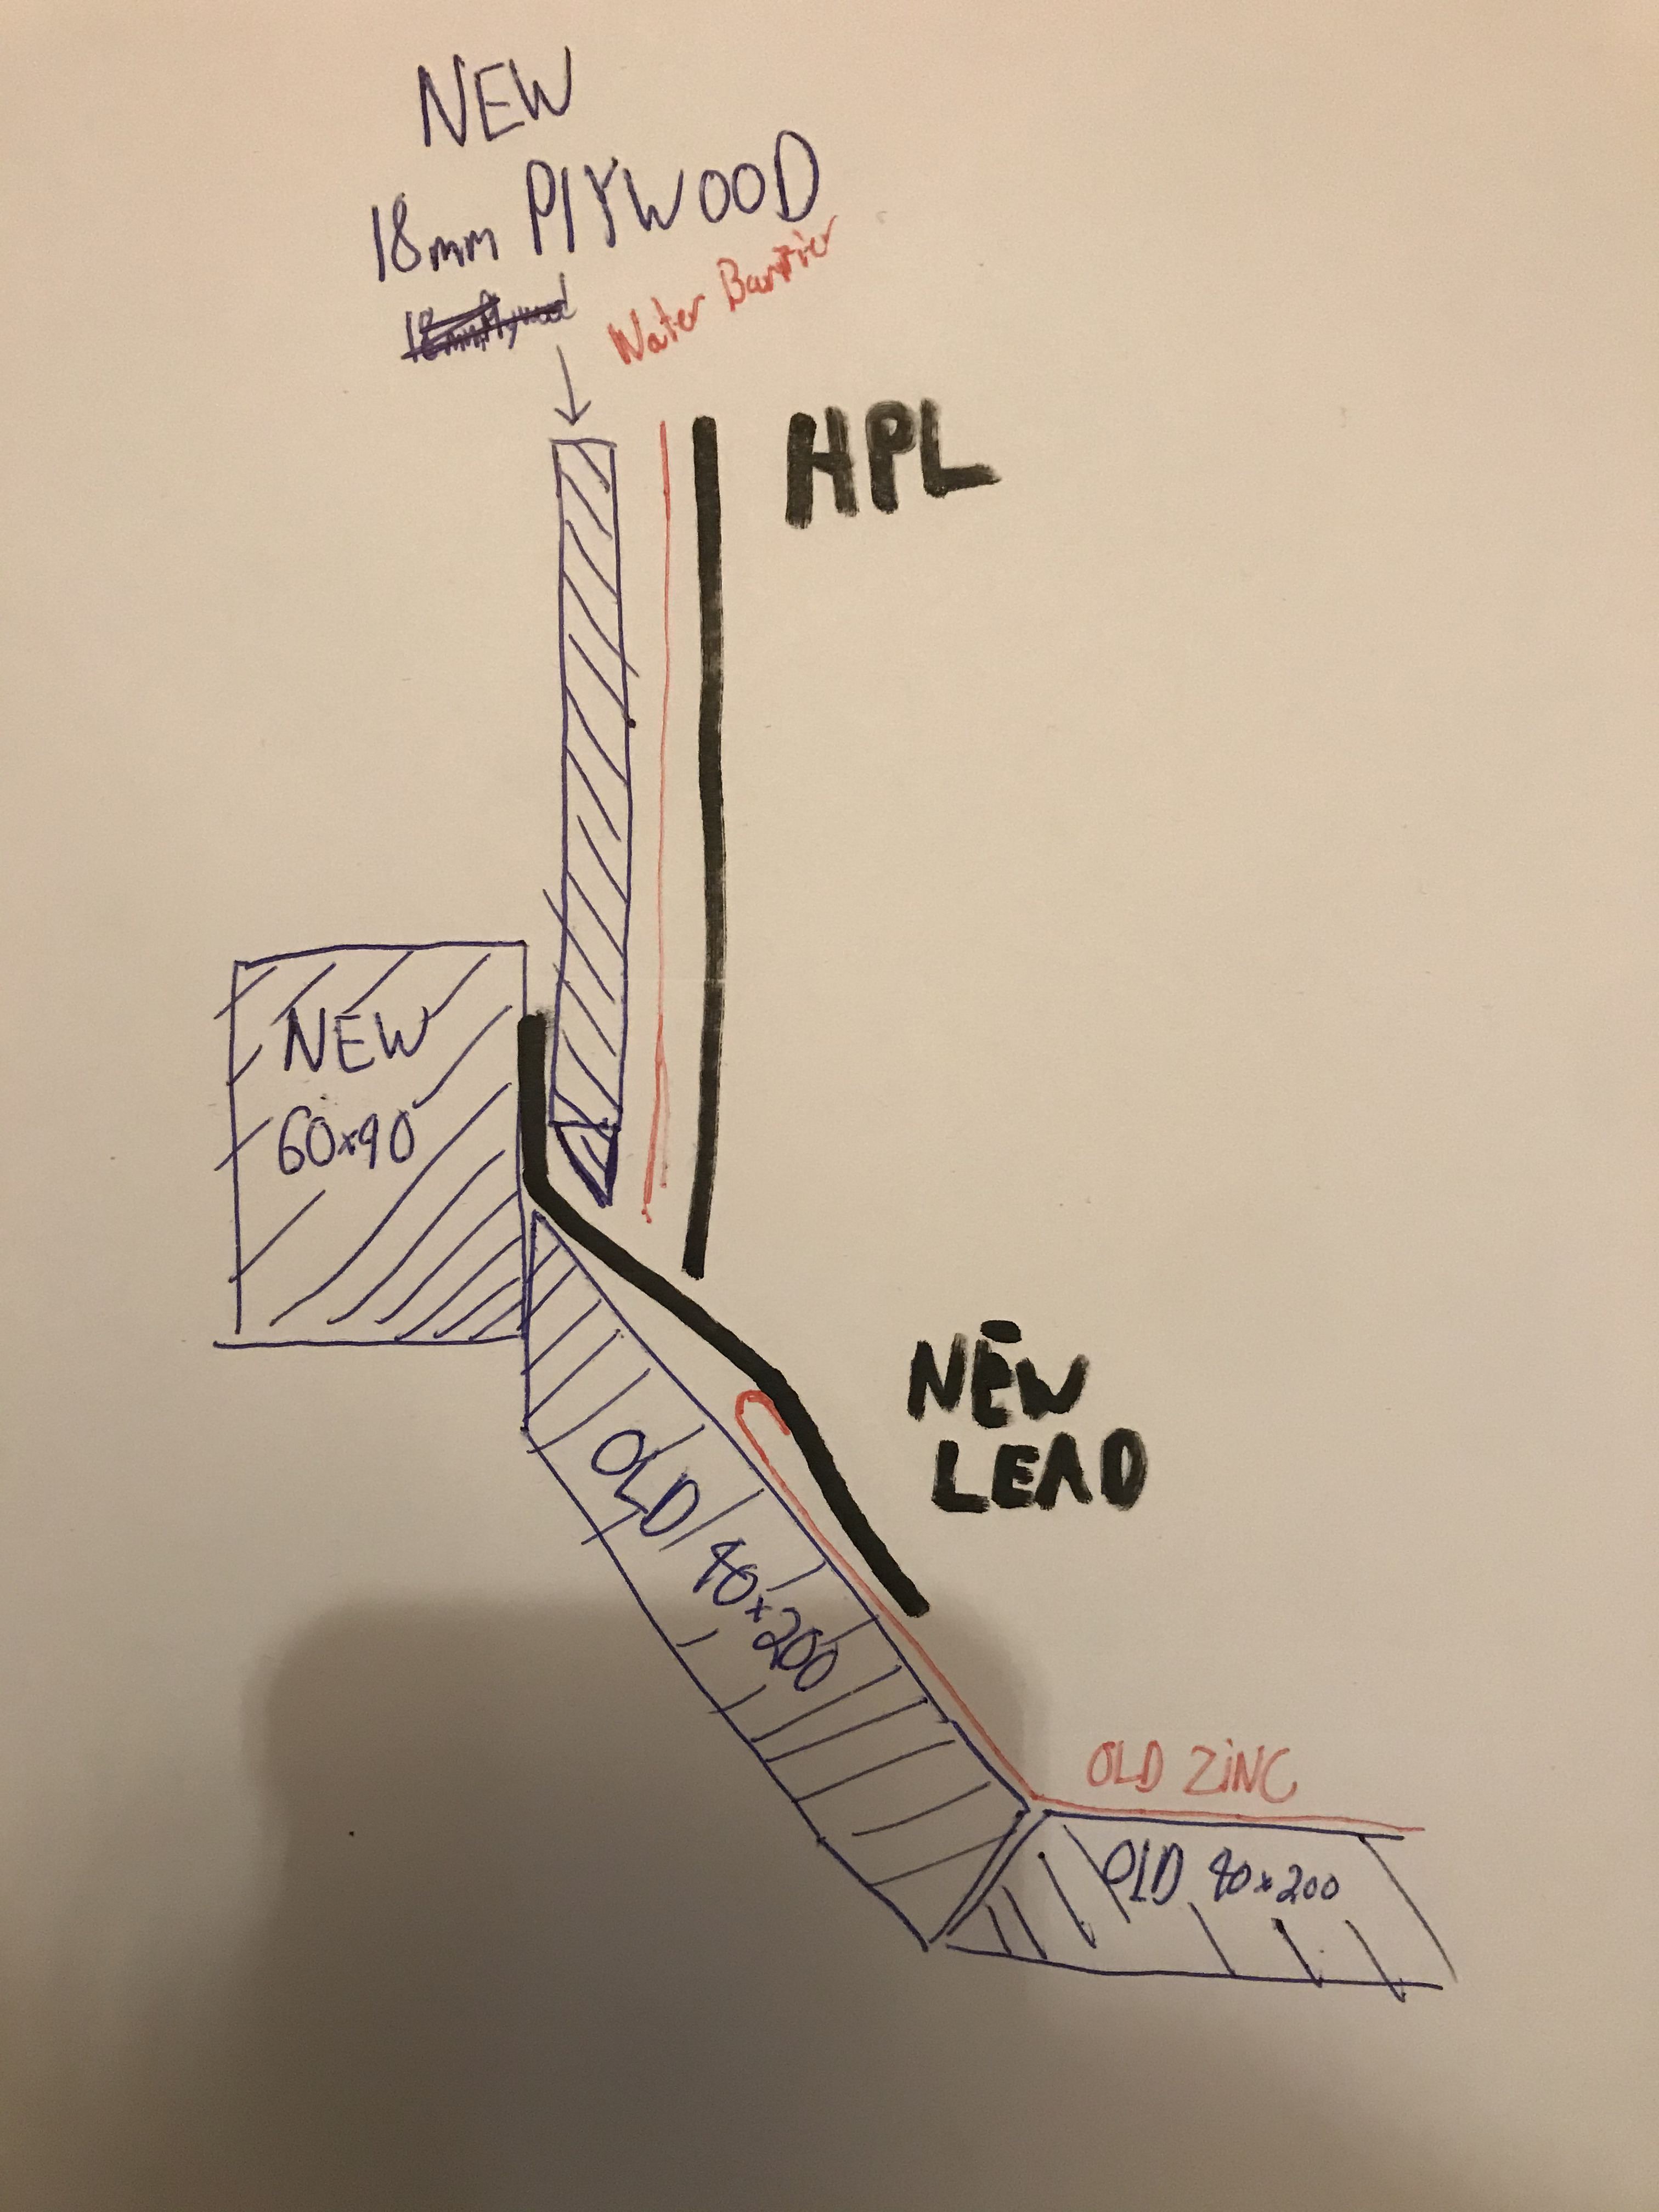
after we had both dormers framed and walls installed when I was trying to sleep I started thinking ‘what if water penetrates the facade…it will drip down the wood and get under the zinc gutter?’. So, to prevent this, I removed all the multiplex from the lower part of the dormer walls and installed a led under it.
This was the detail for weather proofing the walls
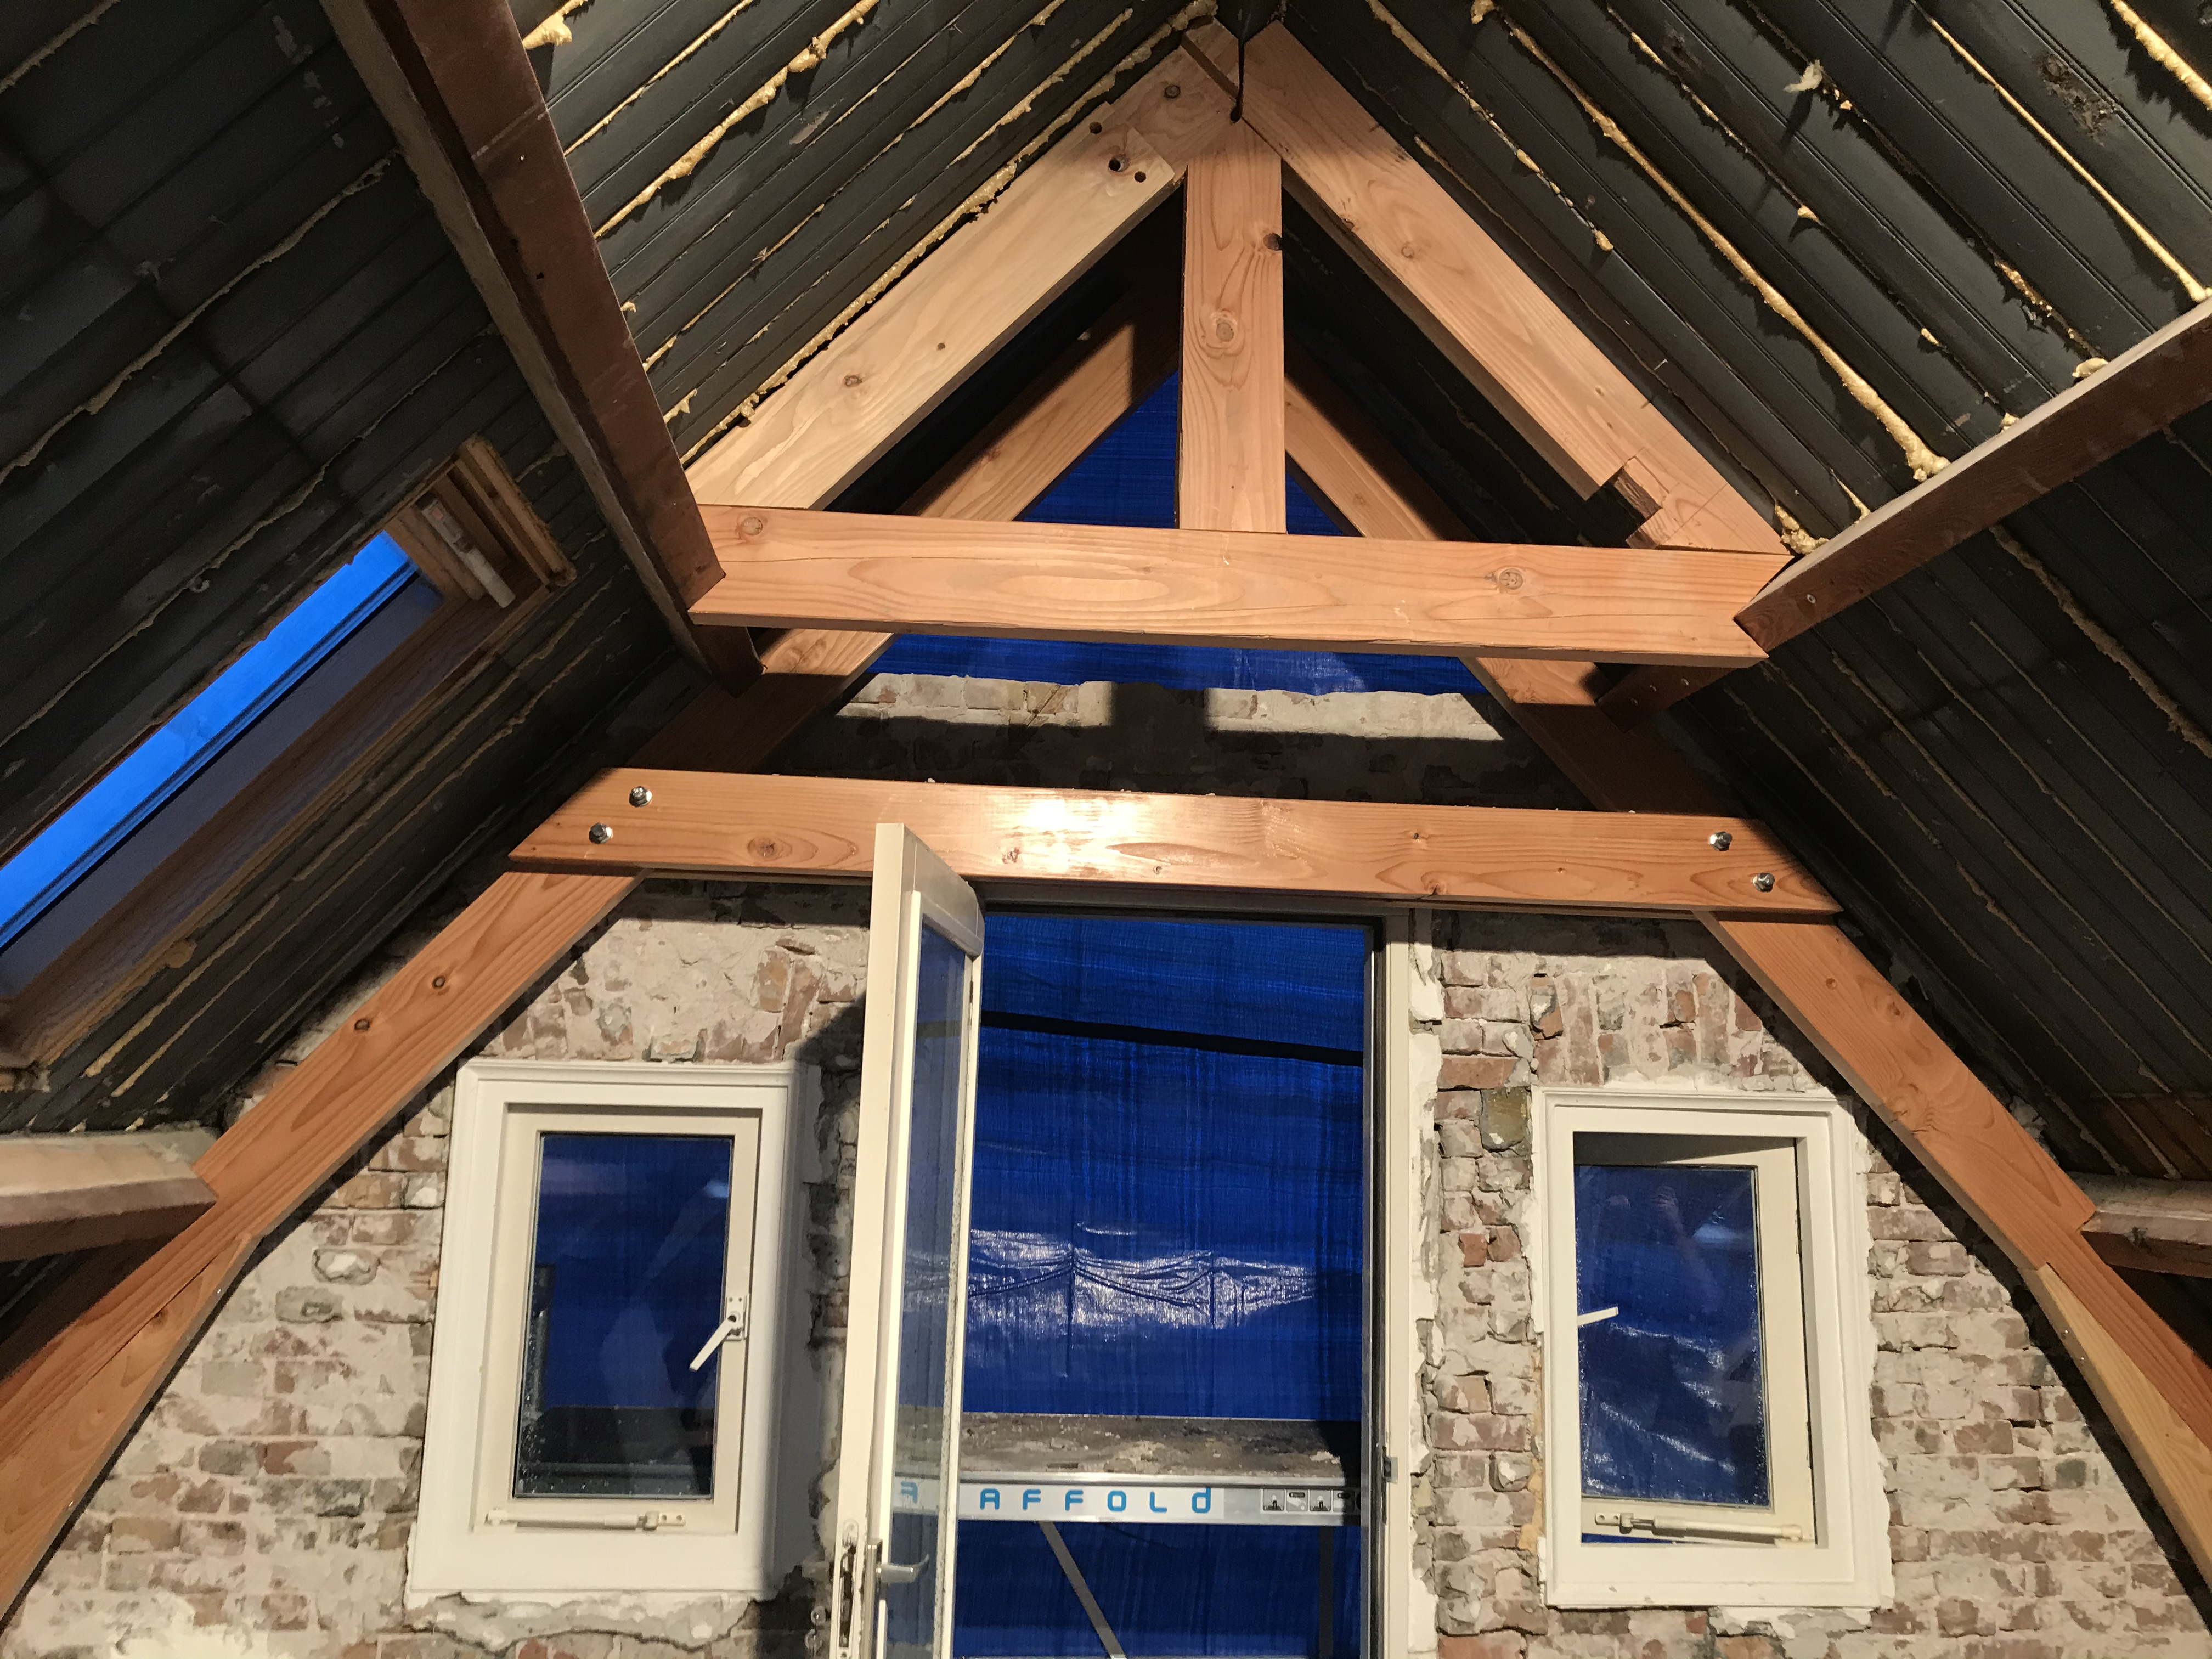
The dormer parapets were installed, with the back side intentionally lower than the front facade to meet permit requirements.
It got so cold the canals froze and you could go skating, snow also got inside our workspace.
Here’s a fish-eye view of the second dormer nearing completion.
Covering the walls with waterproof breathable layer.
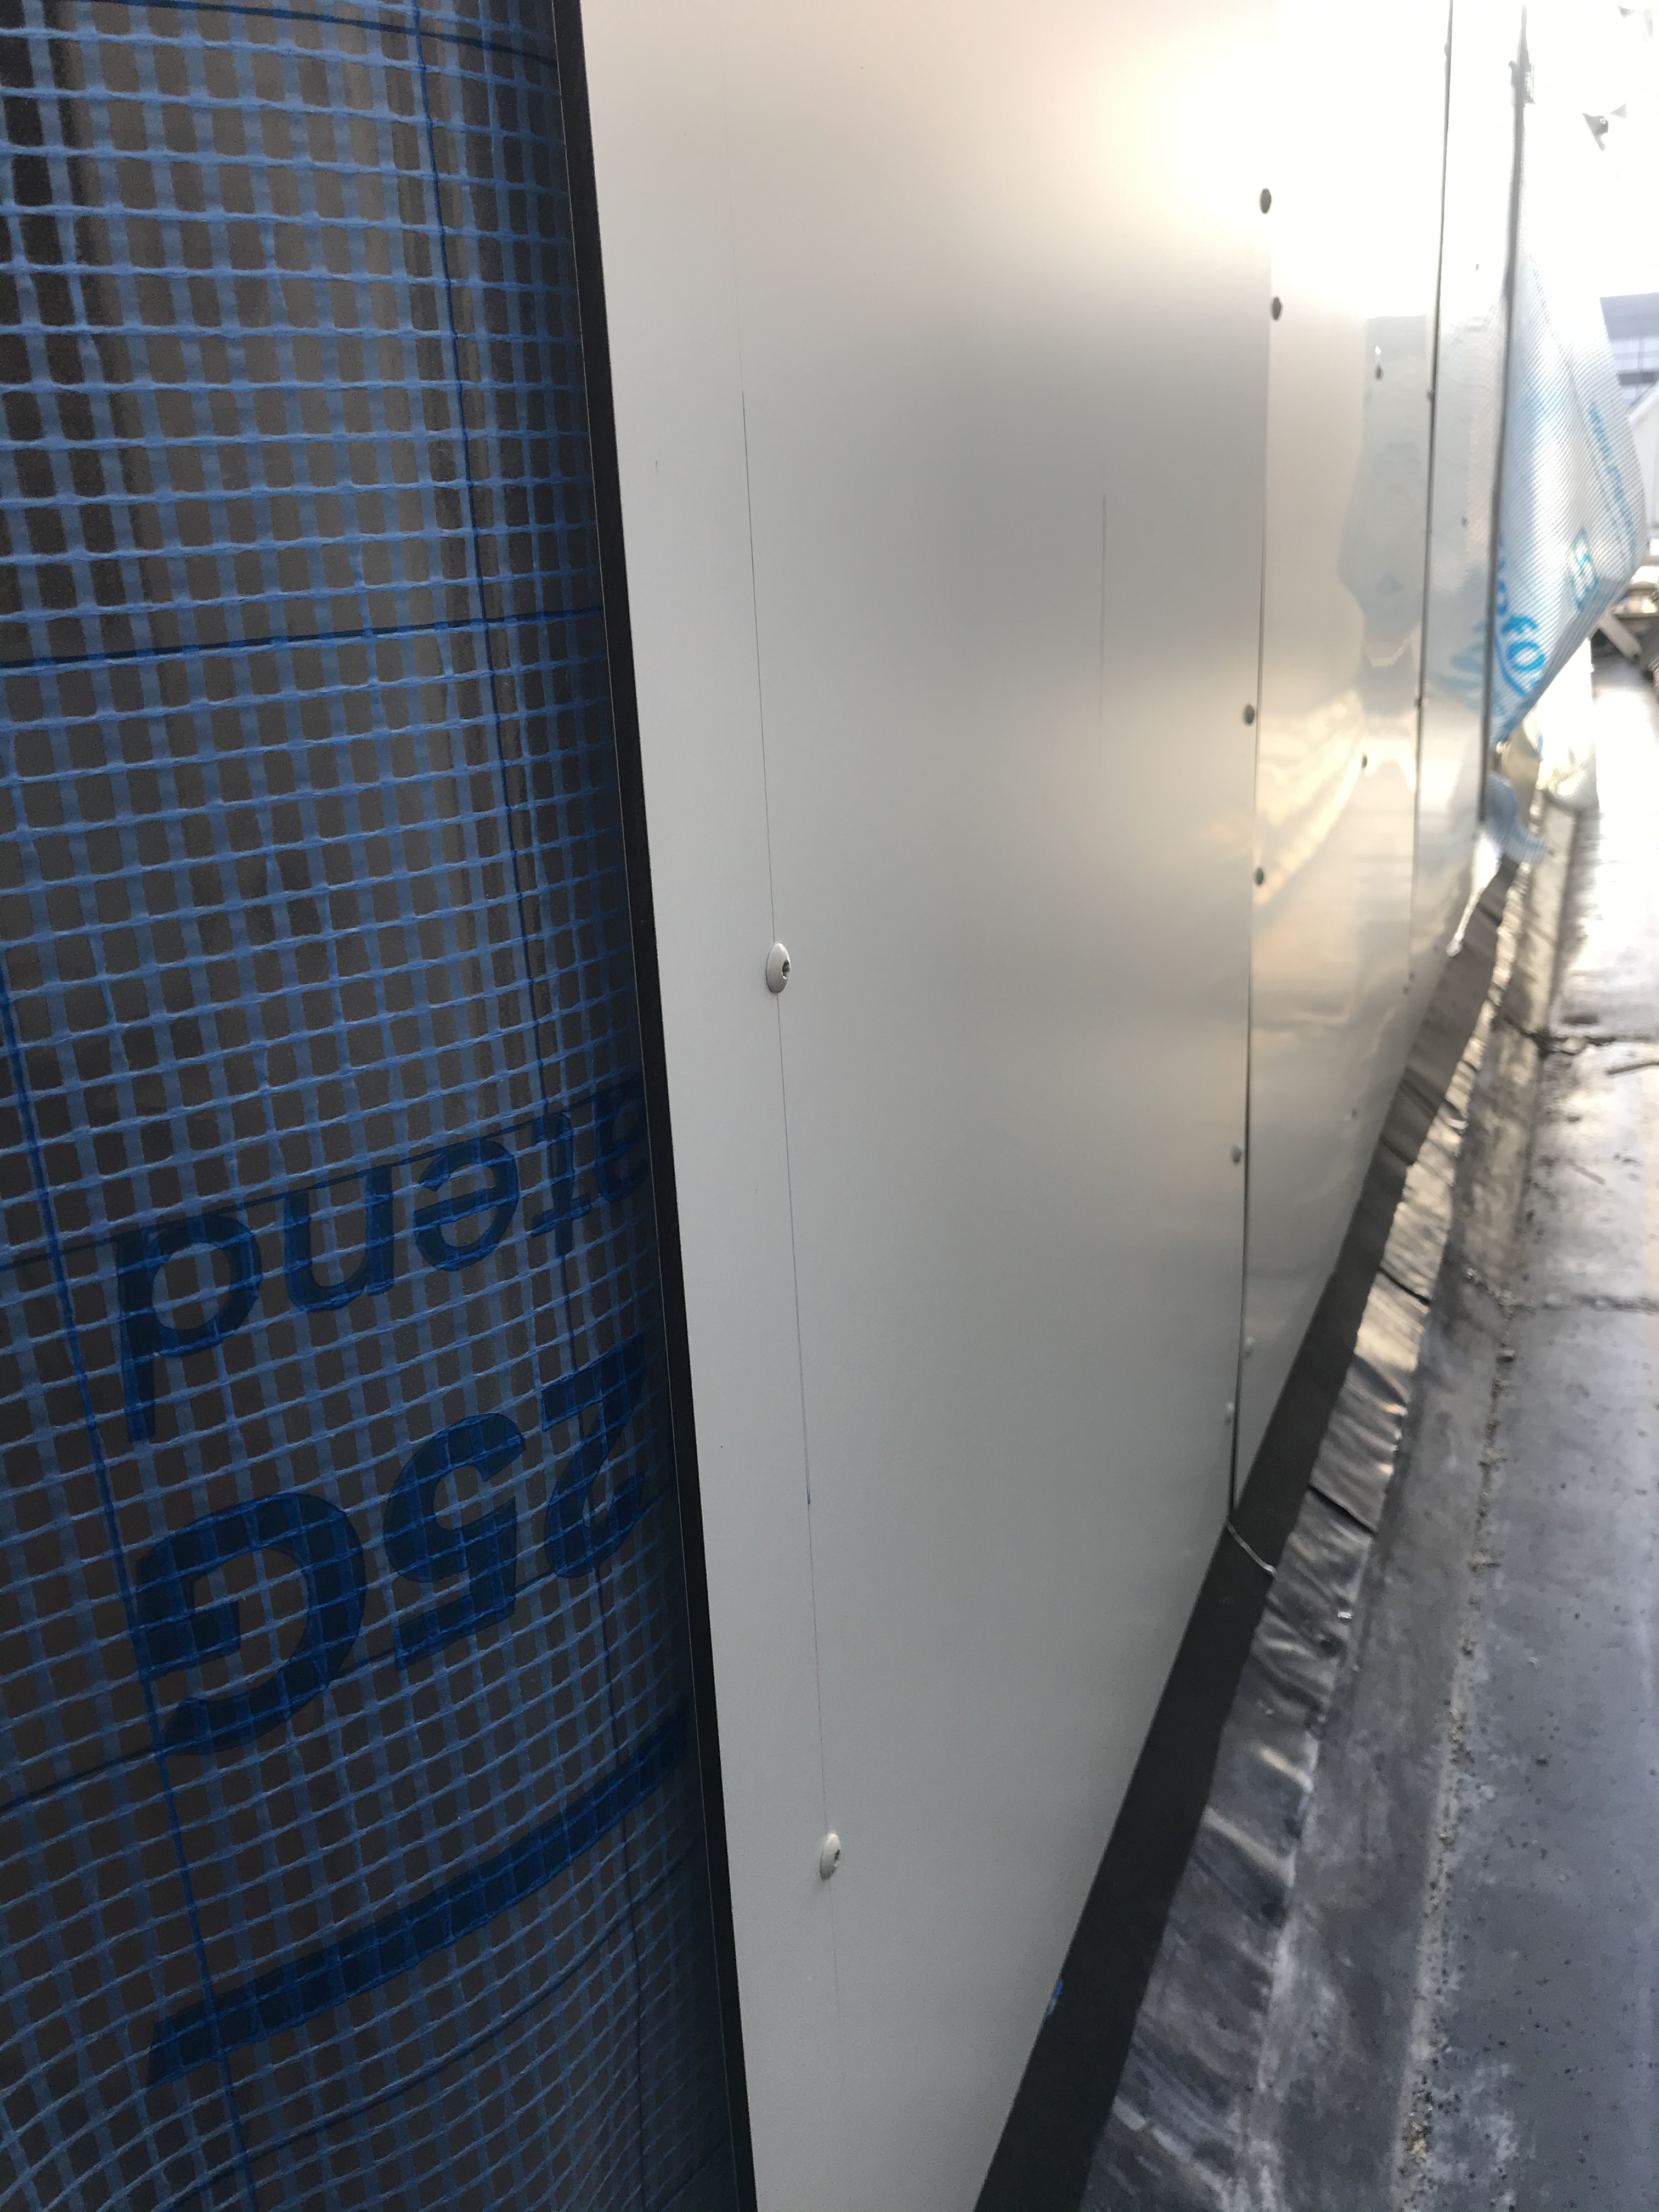
We used high pressure laminate (HPL) for the exterior cladding, its ugly but should be maintenance free (besides cleaning) for 50 years.
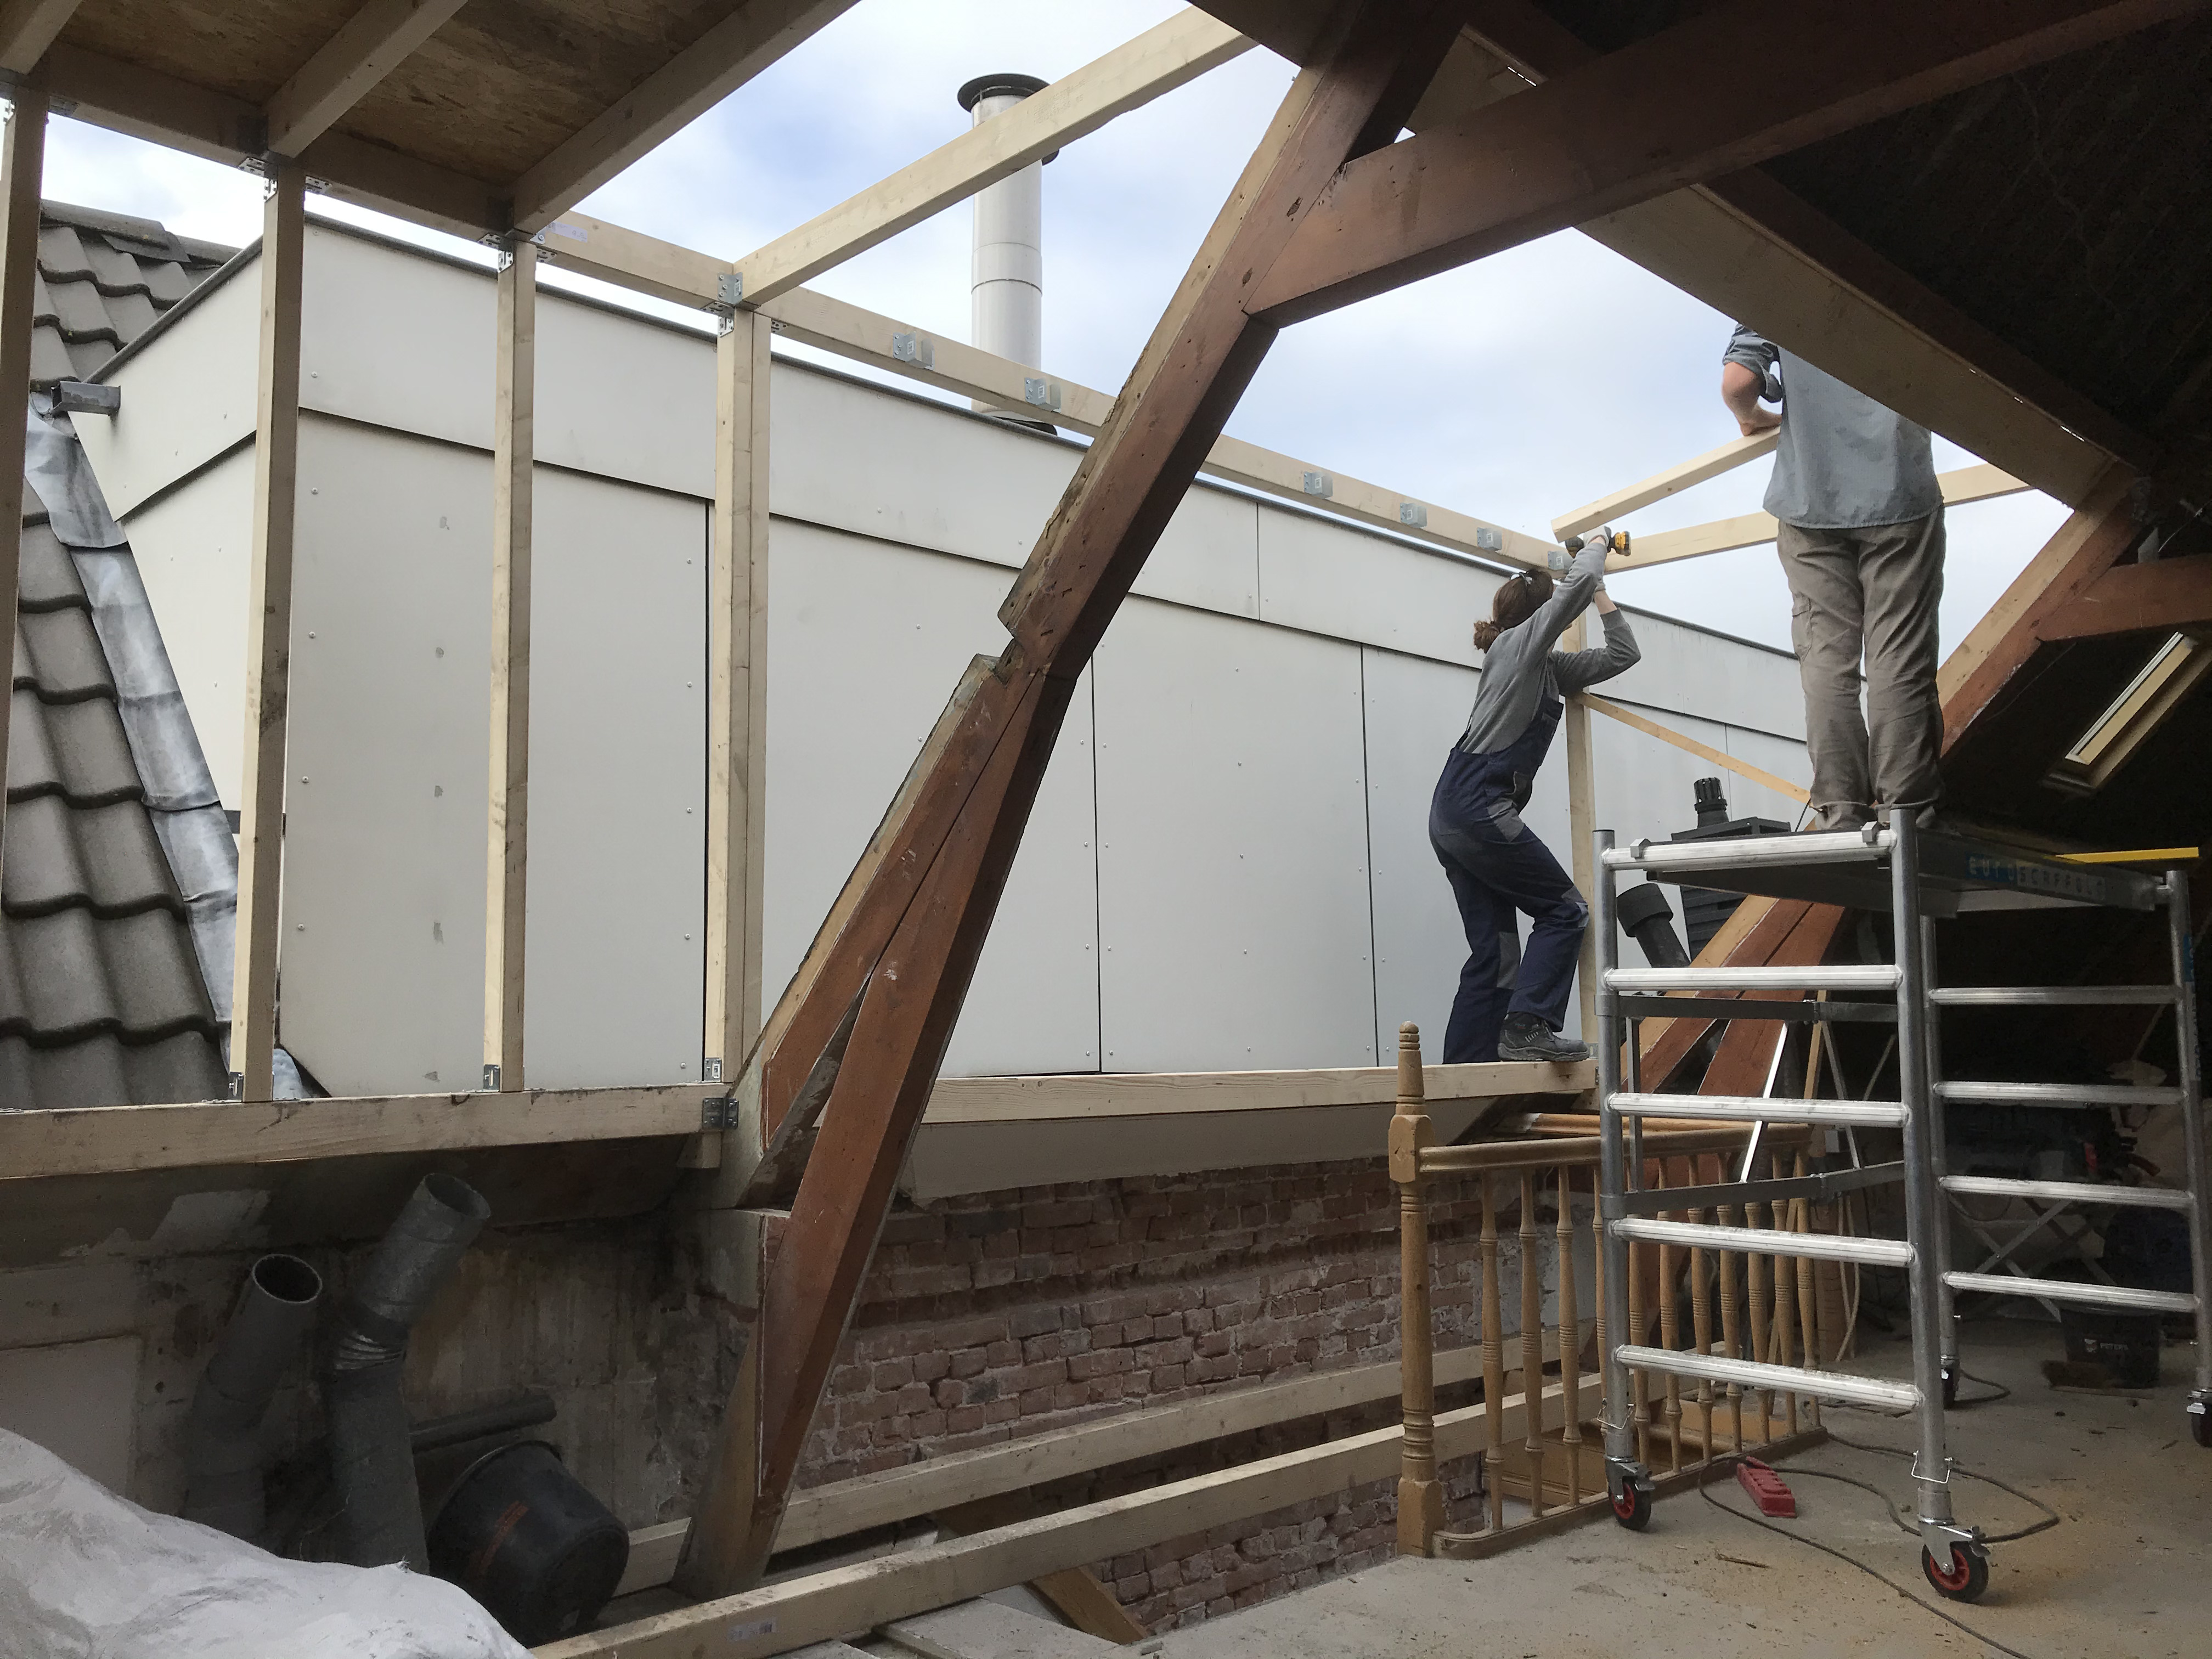
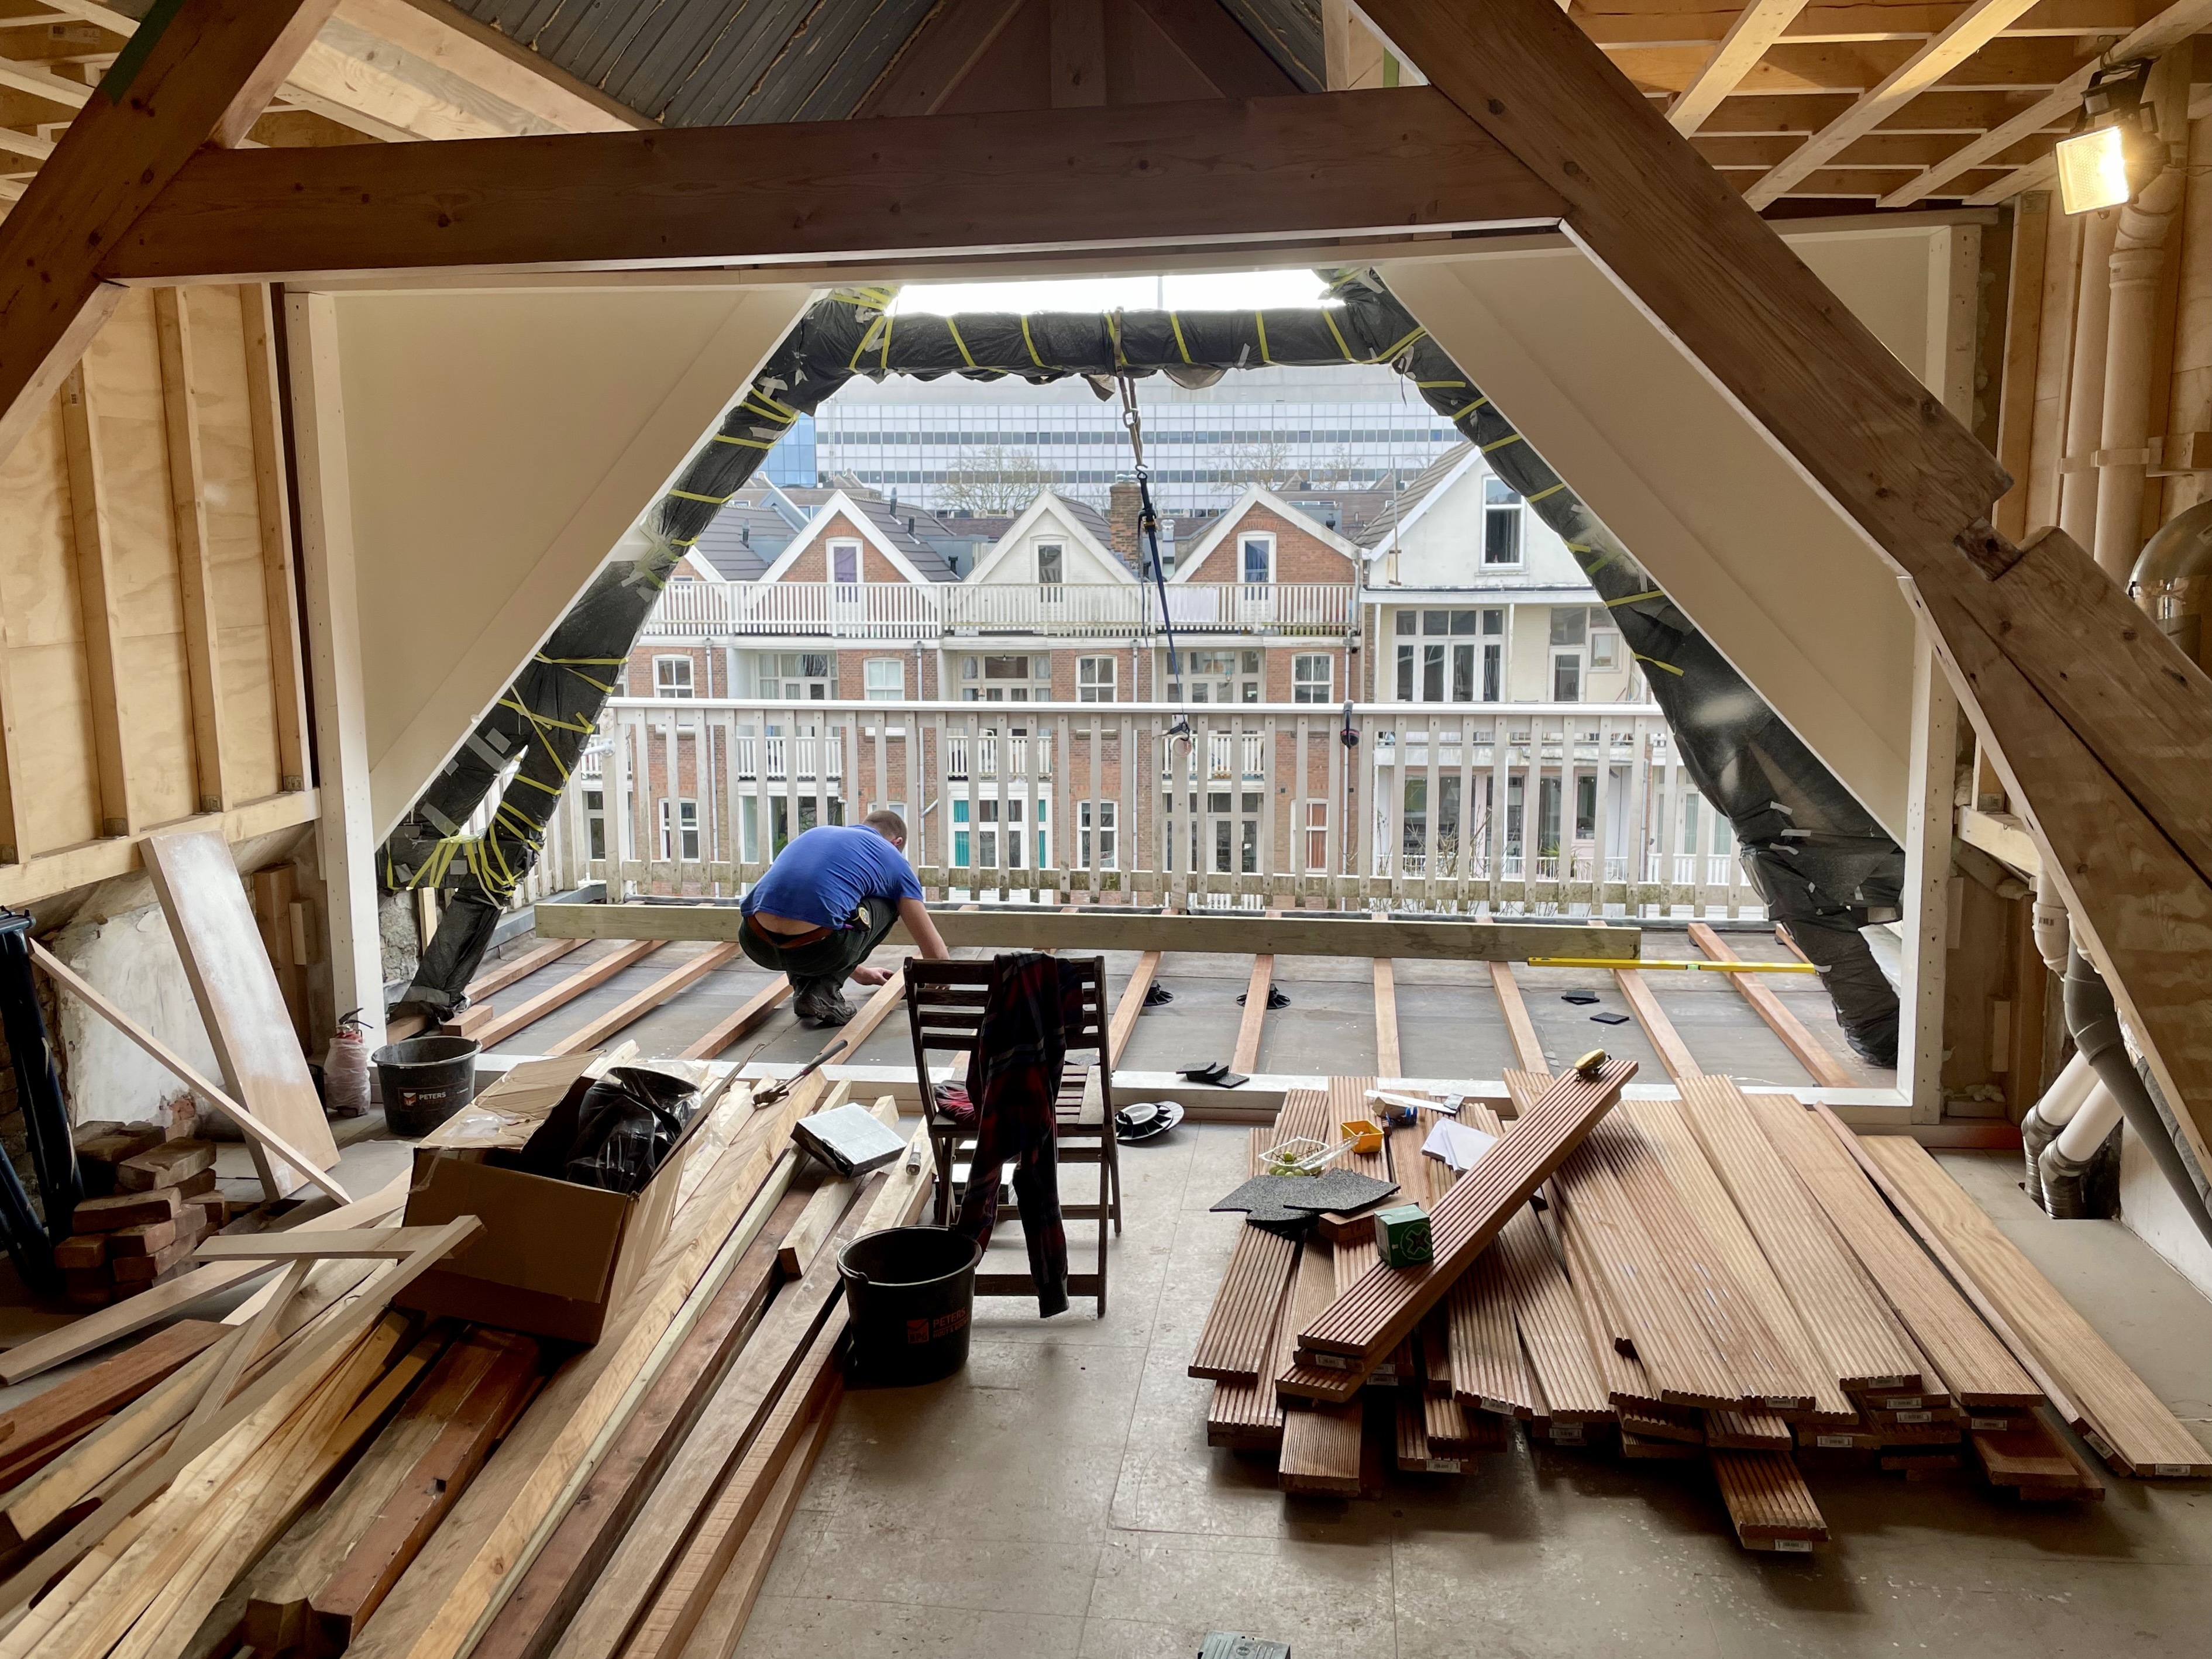
With the dormers installed we could now continue work on the back facade.
Constructed the frame for the sliding glass doors
Installed bitumen on the new balcony floor
Replaced all rotten wood
Constructed a new wooden deck for the balcony
Installed sliding glass doors
We used a laser level to ensure accurate placement for the top of the sliding door frame.
Repurposed wood from the roof was used to create the sides for the sliding door frame.
Here the wooden door frame is installed and our bitumen contractor and his son were taking a break before fixing the bitumen on the balcony
Almost finished installing the bitumen.
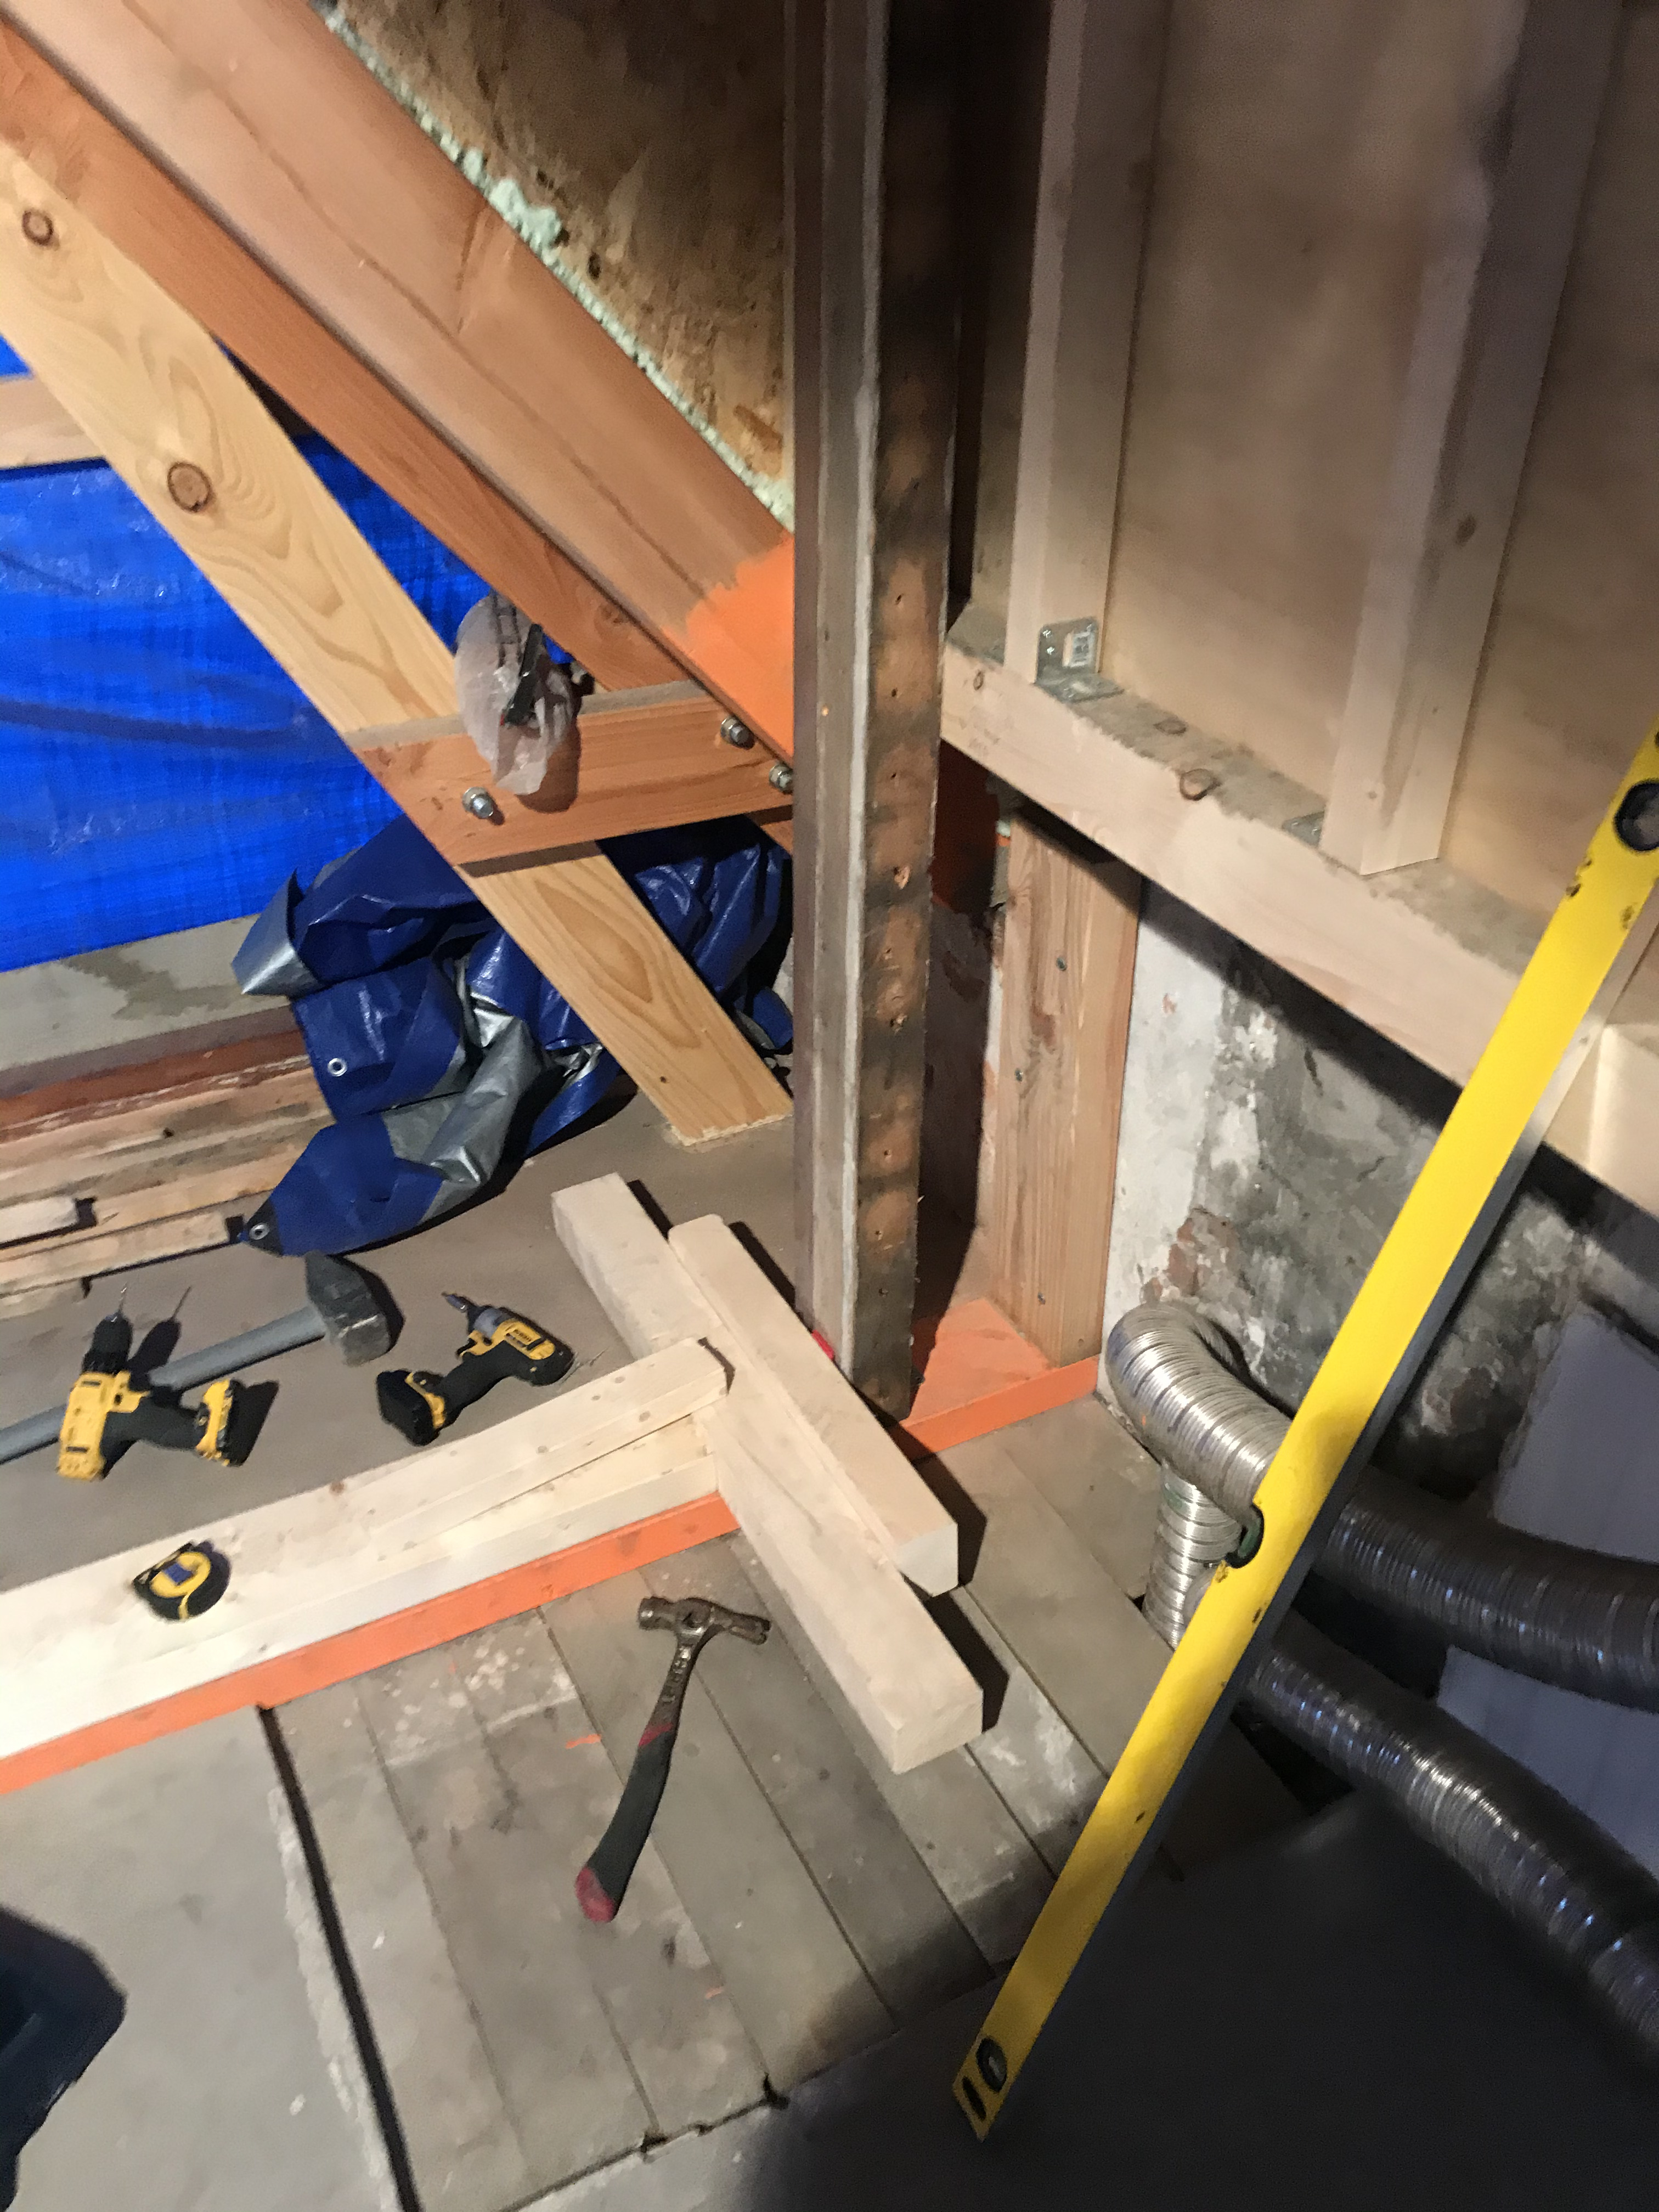
The wood where the mason wall once stood was very rotten so we removed all the rotten wood.
We really didn’t want to replace the joists so one we removed all the rot we sanded them into a OK looking profile.
we replaced the rotten roof boards, installed new Tyvek, batons and roofing tiles.
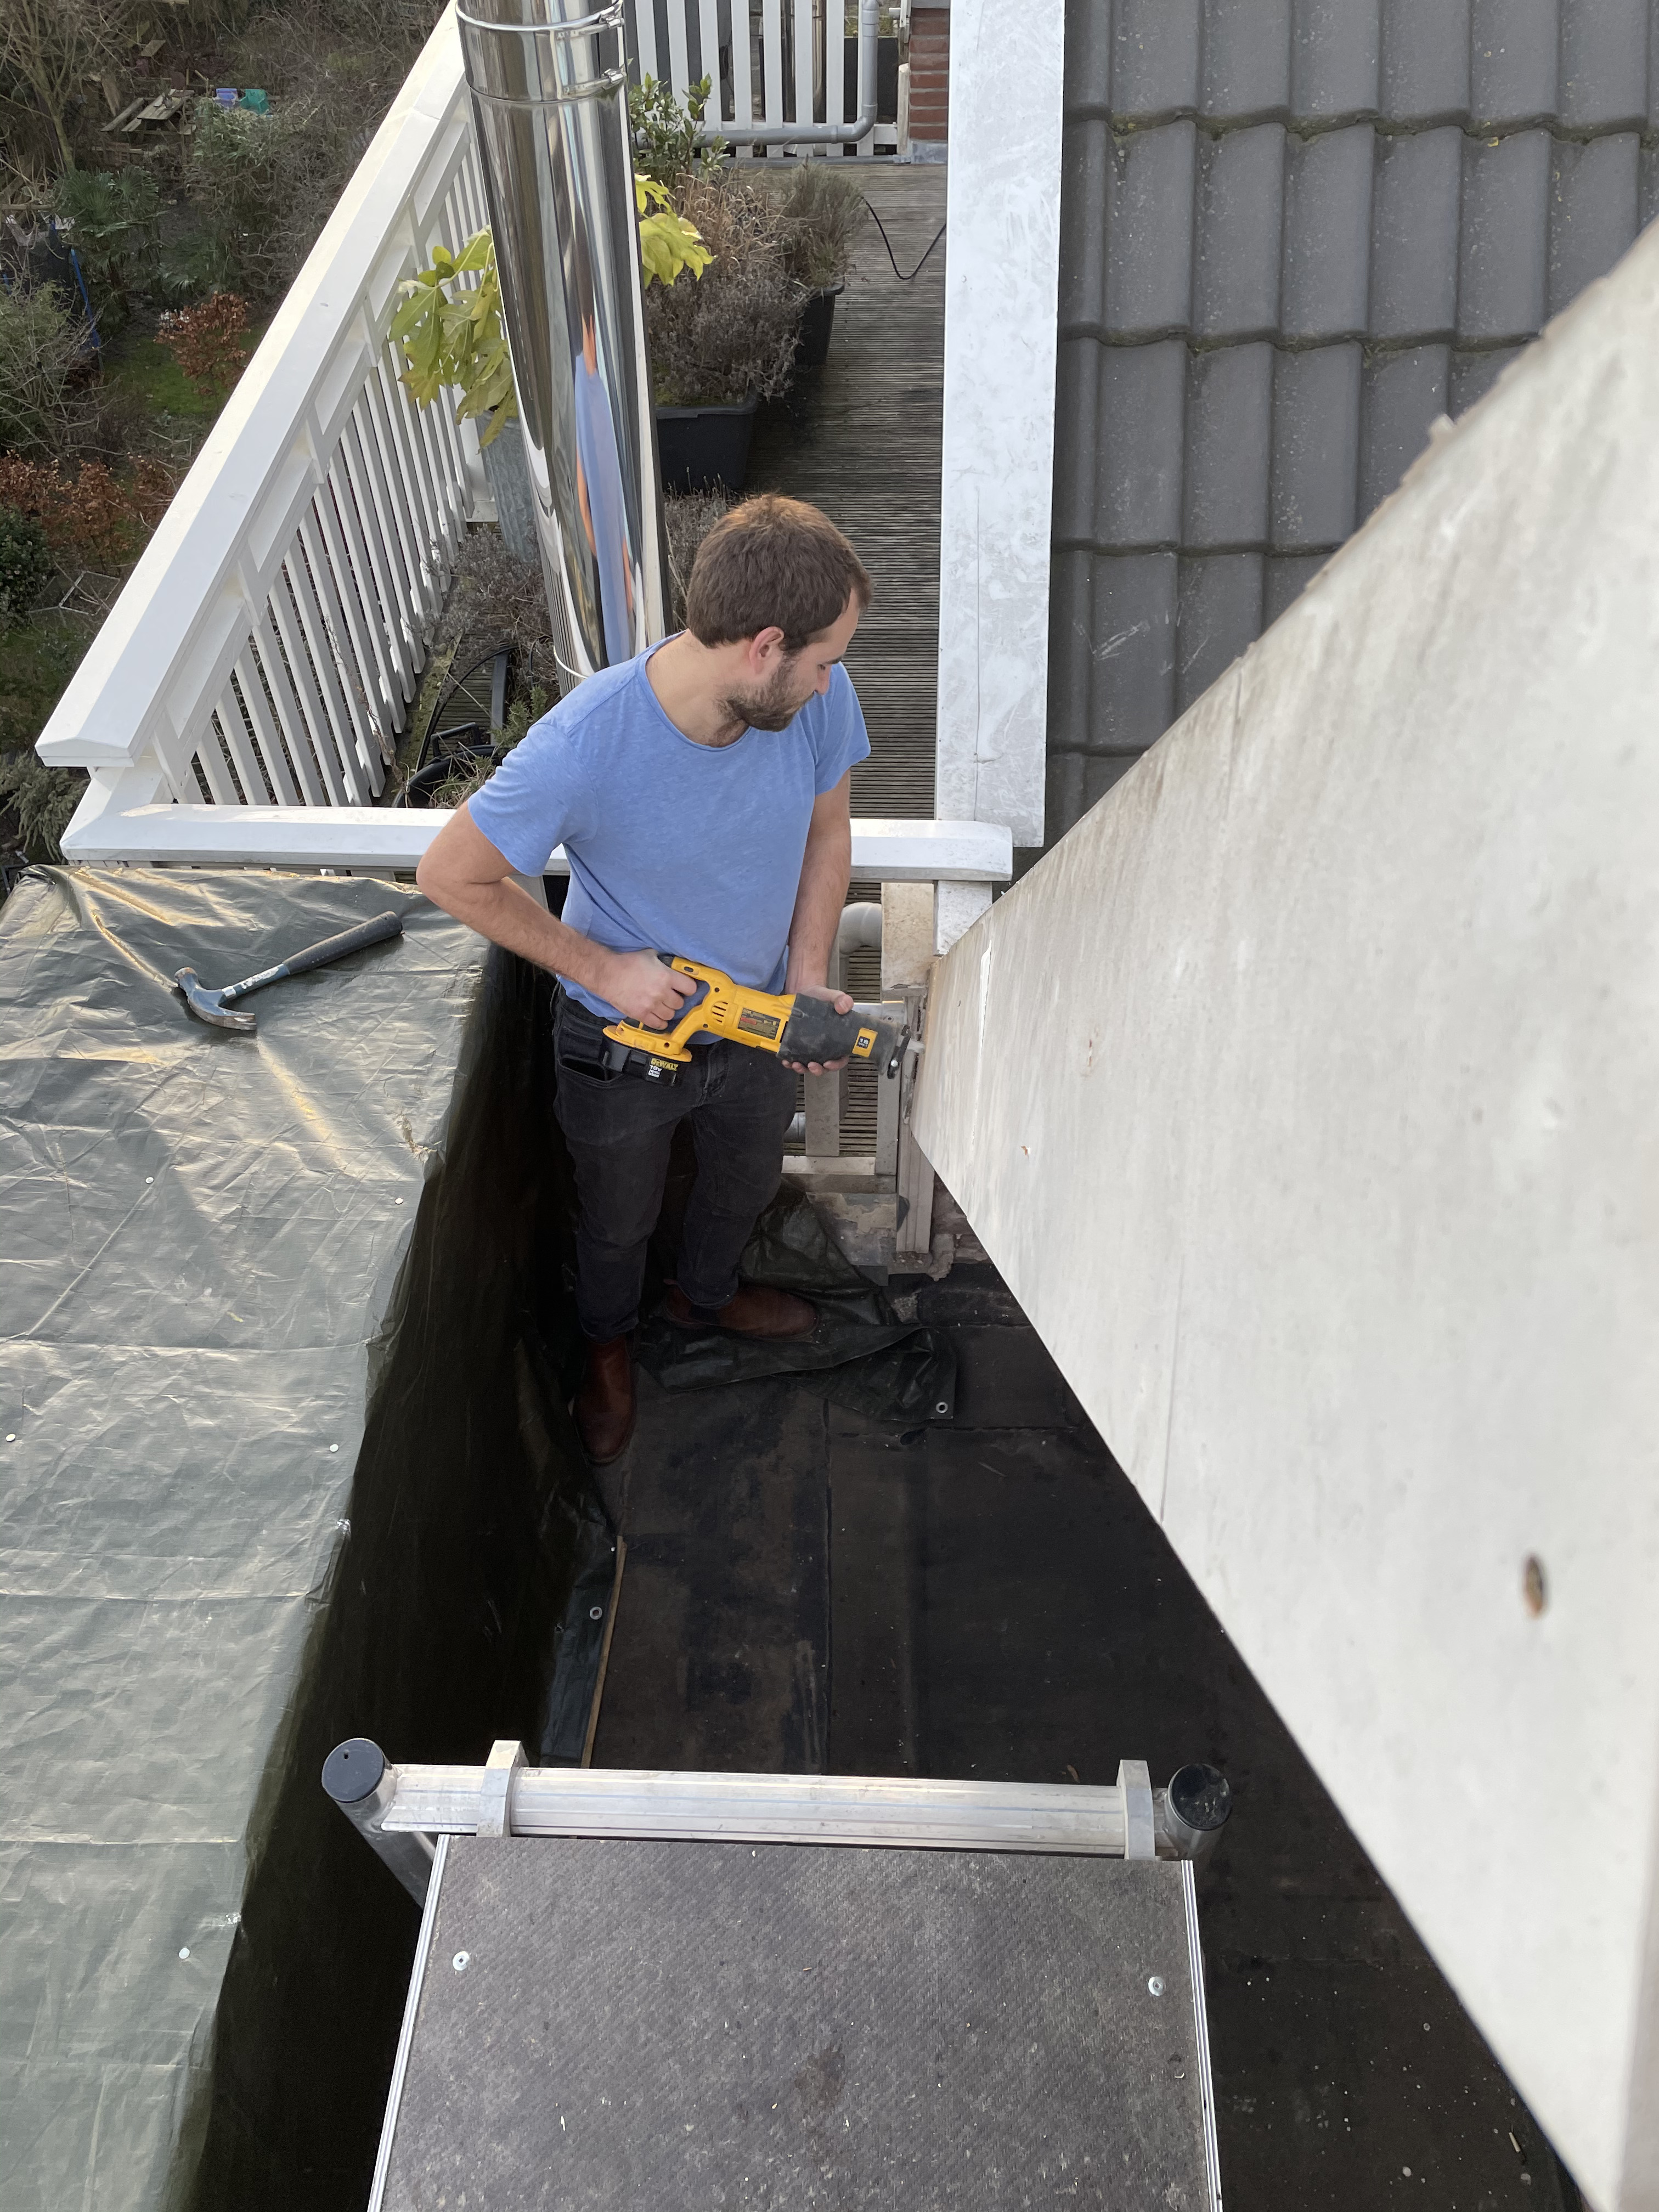
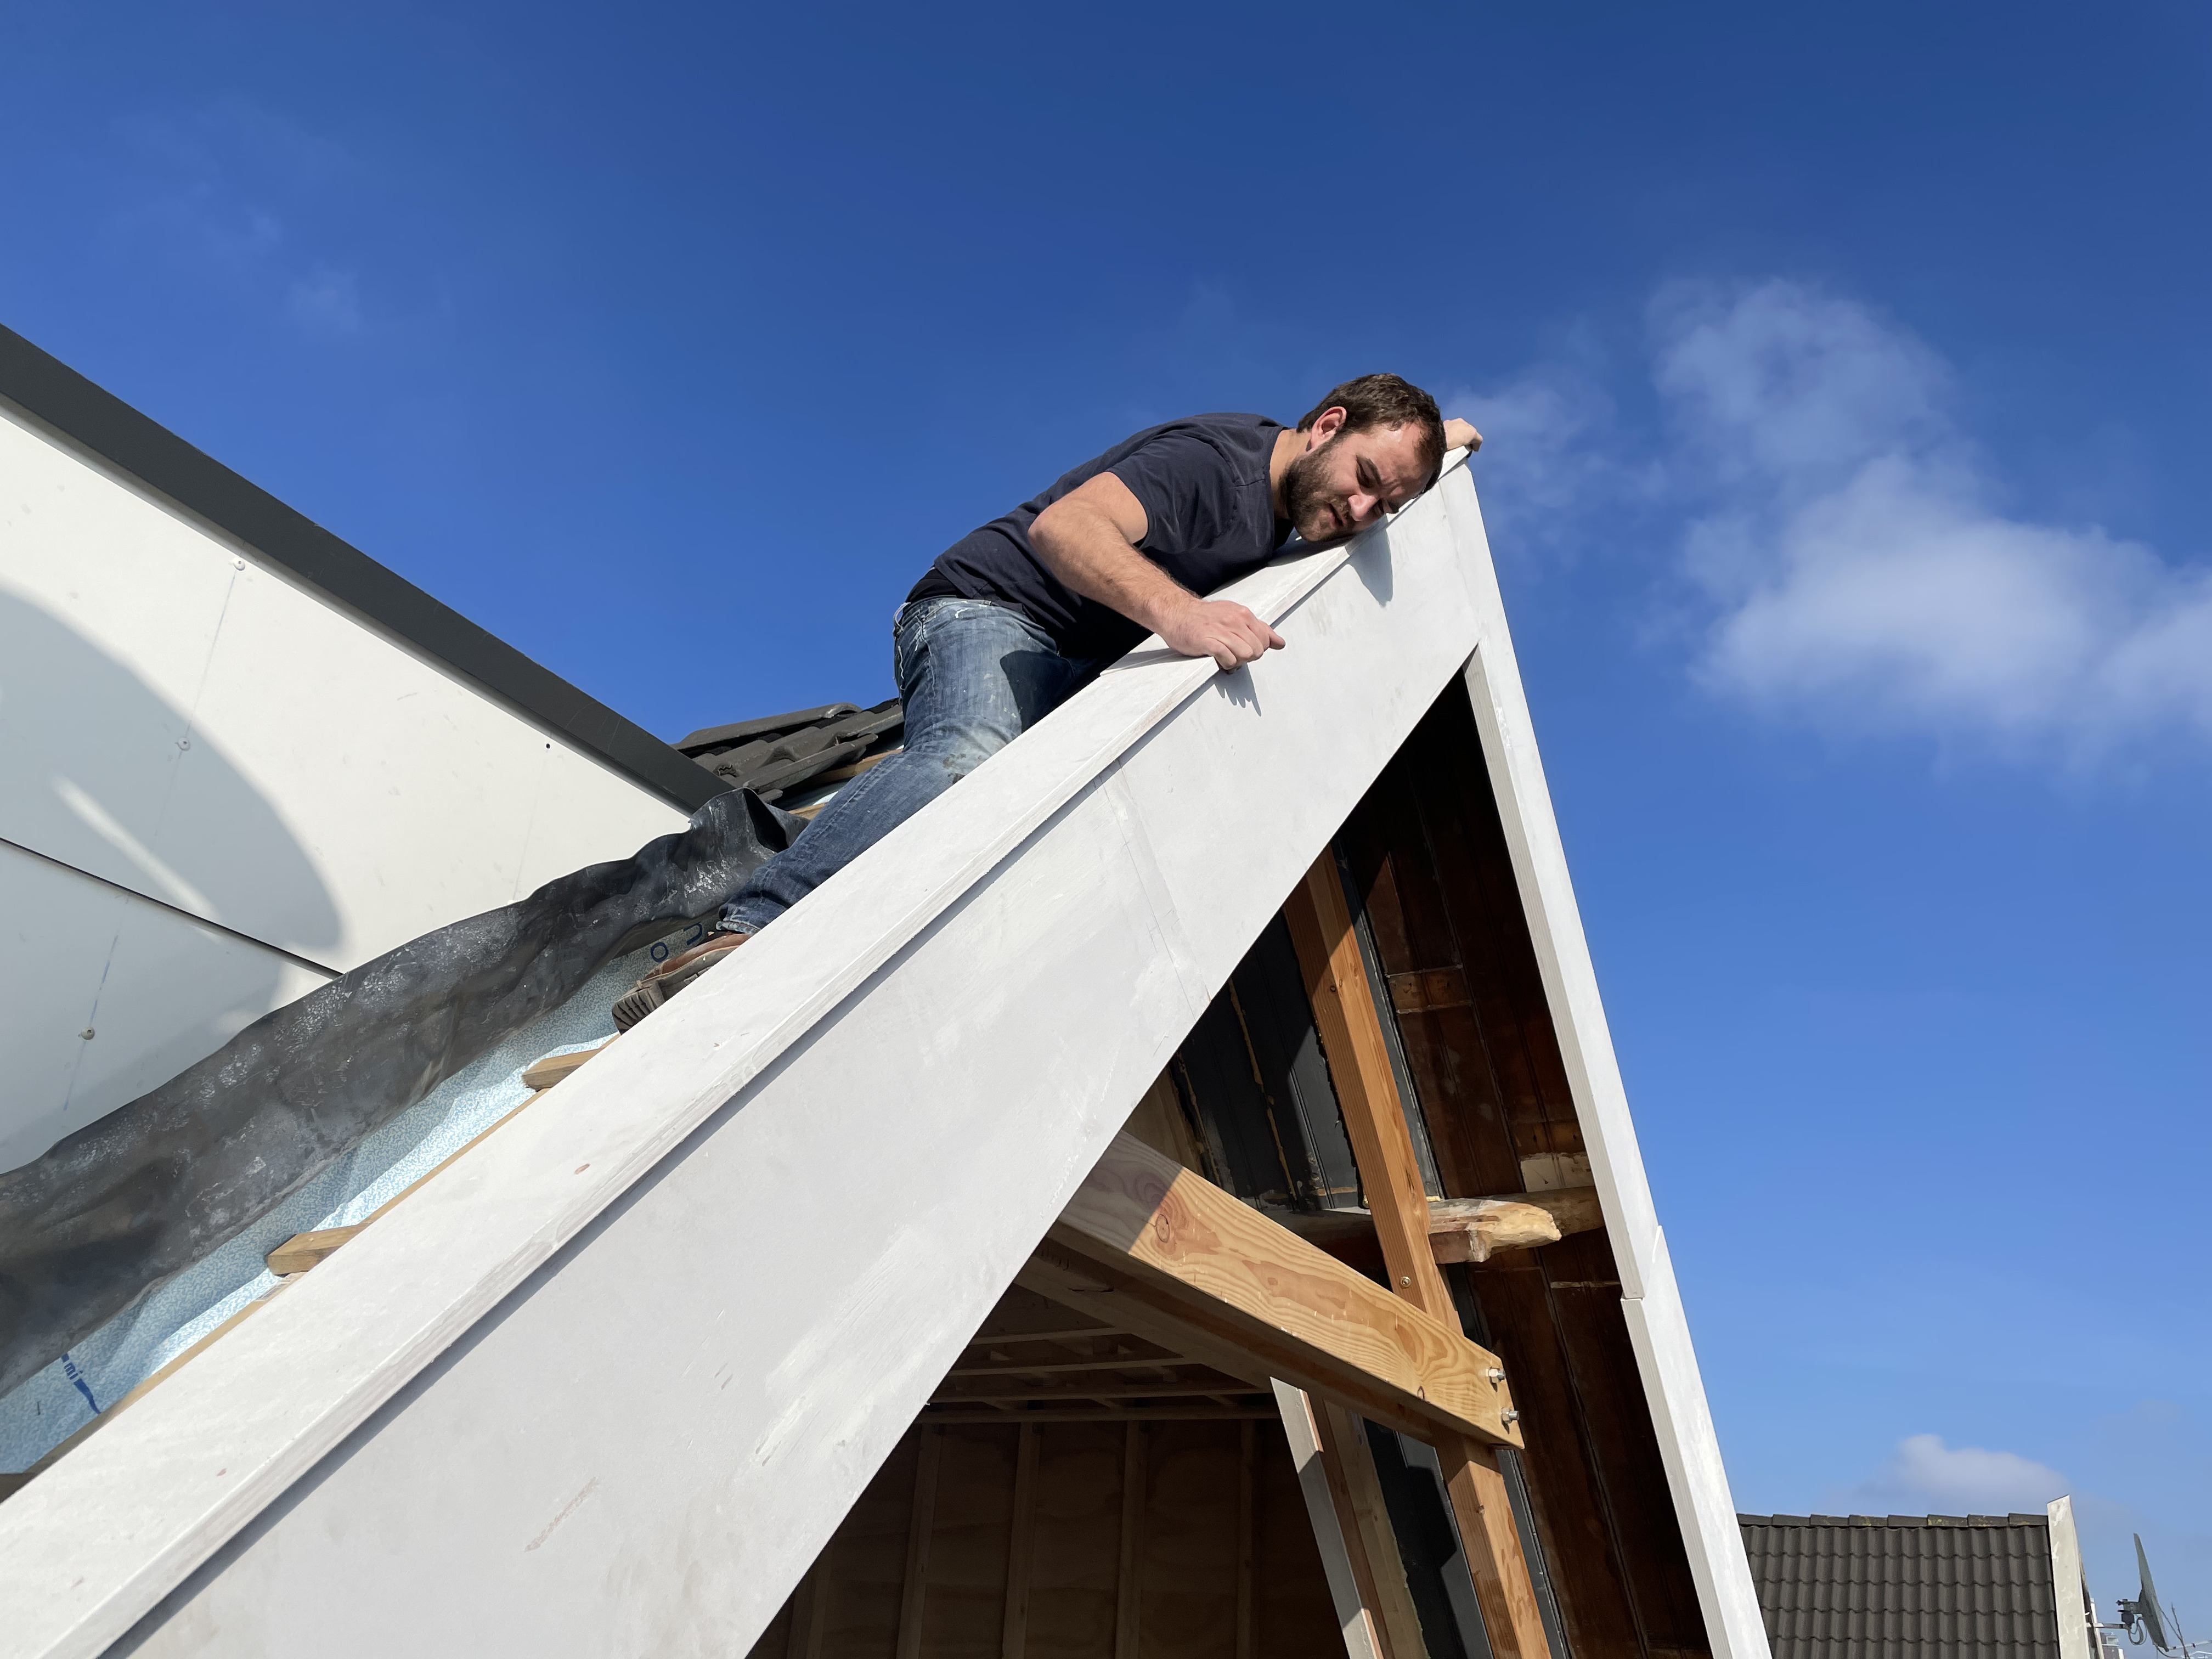
First we cut all the fascia boards to size made sure they fit then painted them all. We had to build the 4.5 meter long fascia board in 2 pieces. It was 120 euros to rent the house lift. We could only fit 3 meter boards up the steep and narrow Dutch staircase. So for small projects like this we’d get material that we could carry ourselves and save the costs of the lift.
The ridge of the fascia was wrapped in lead for additional protection
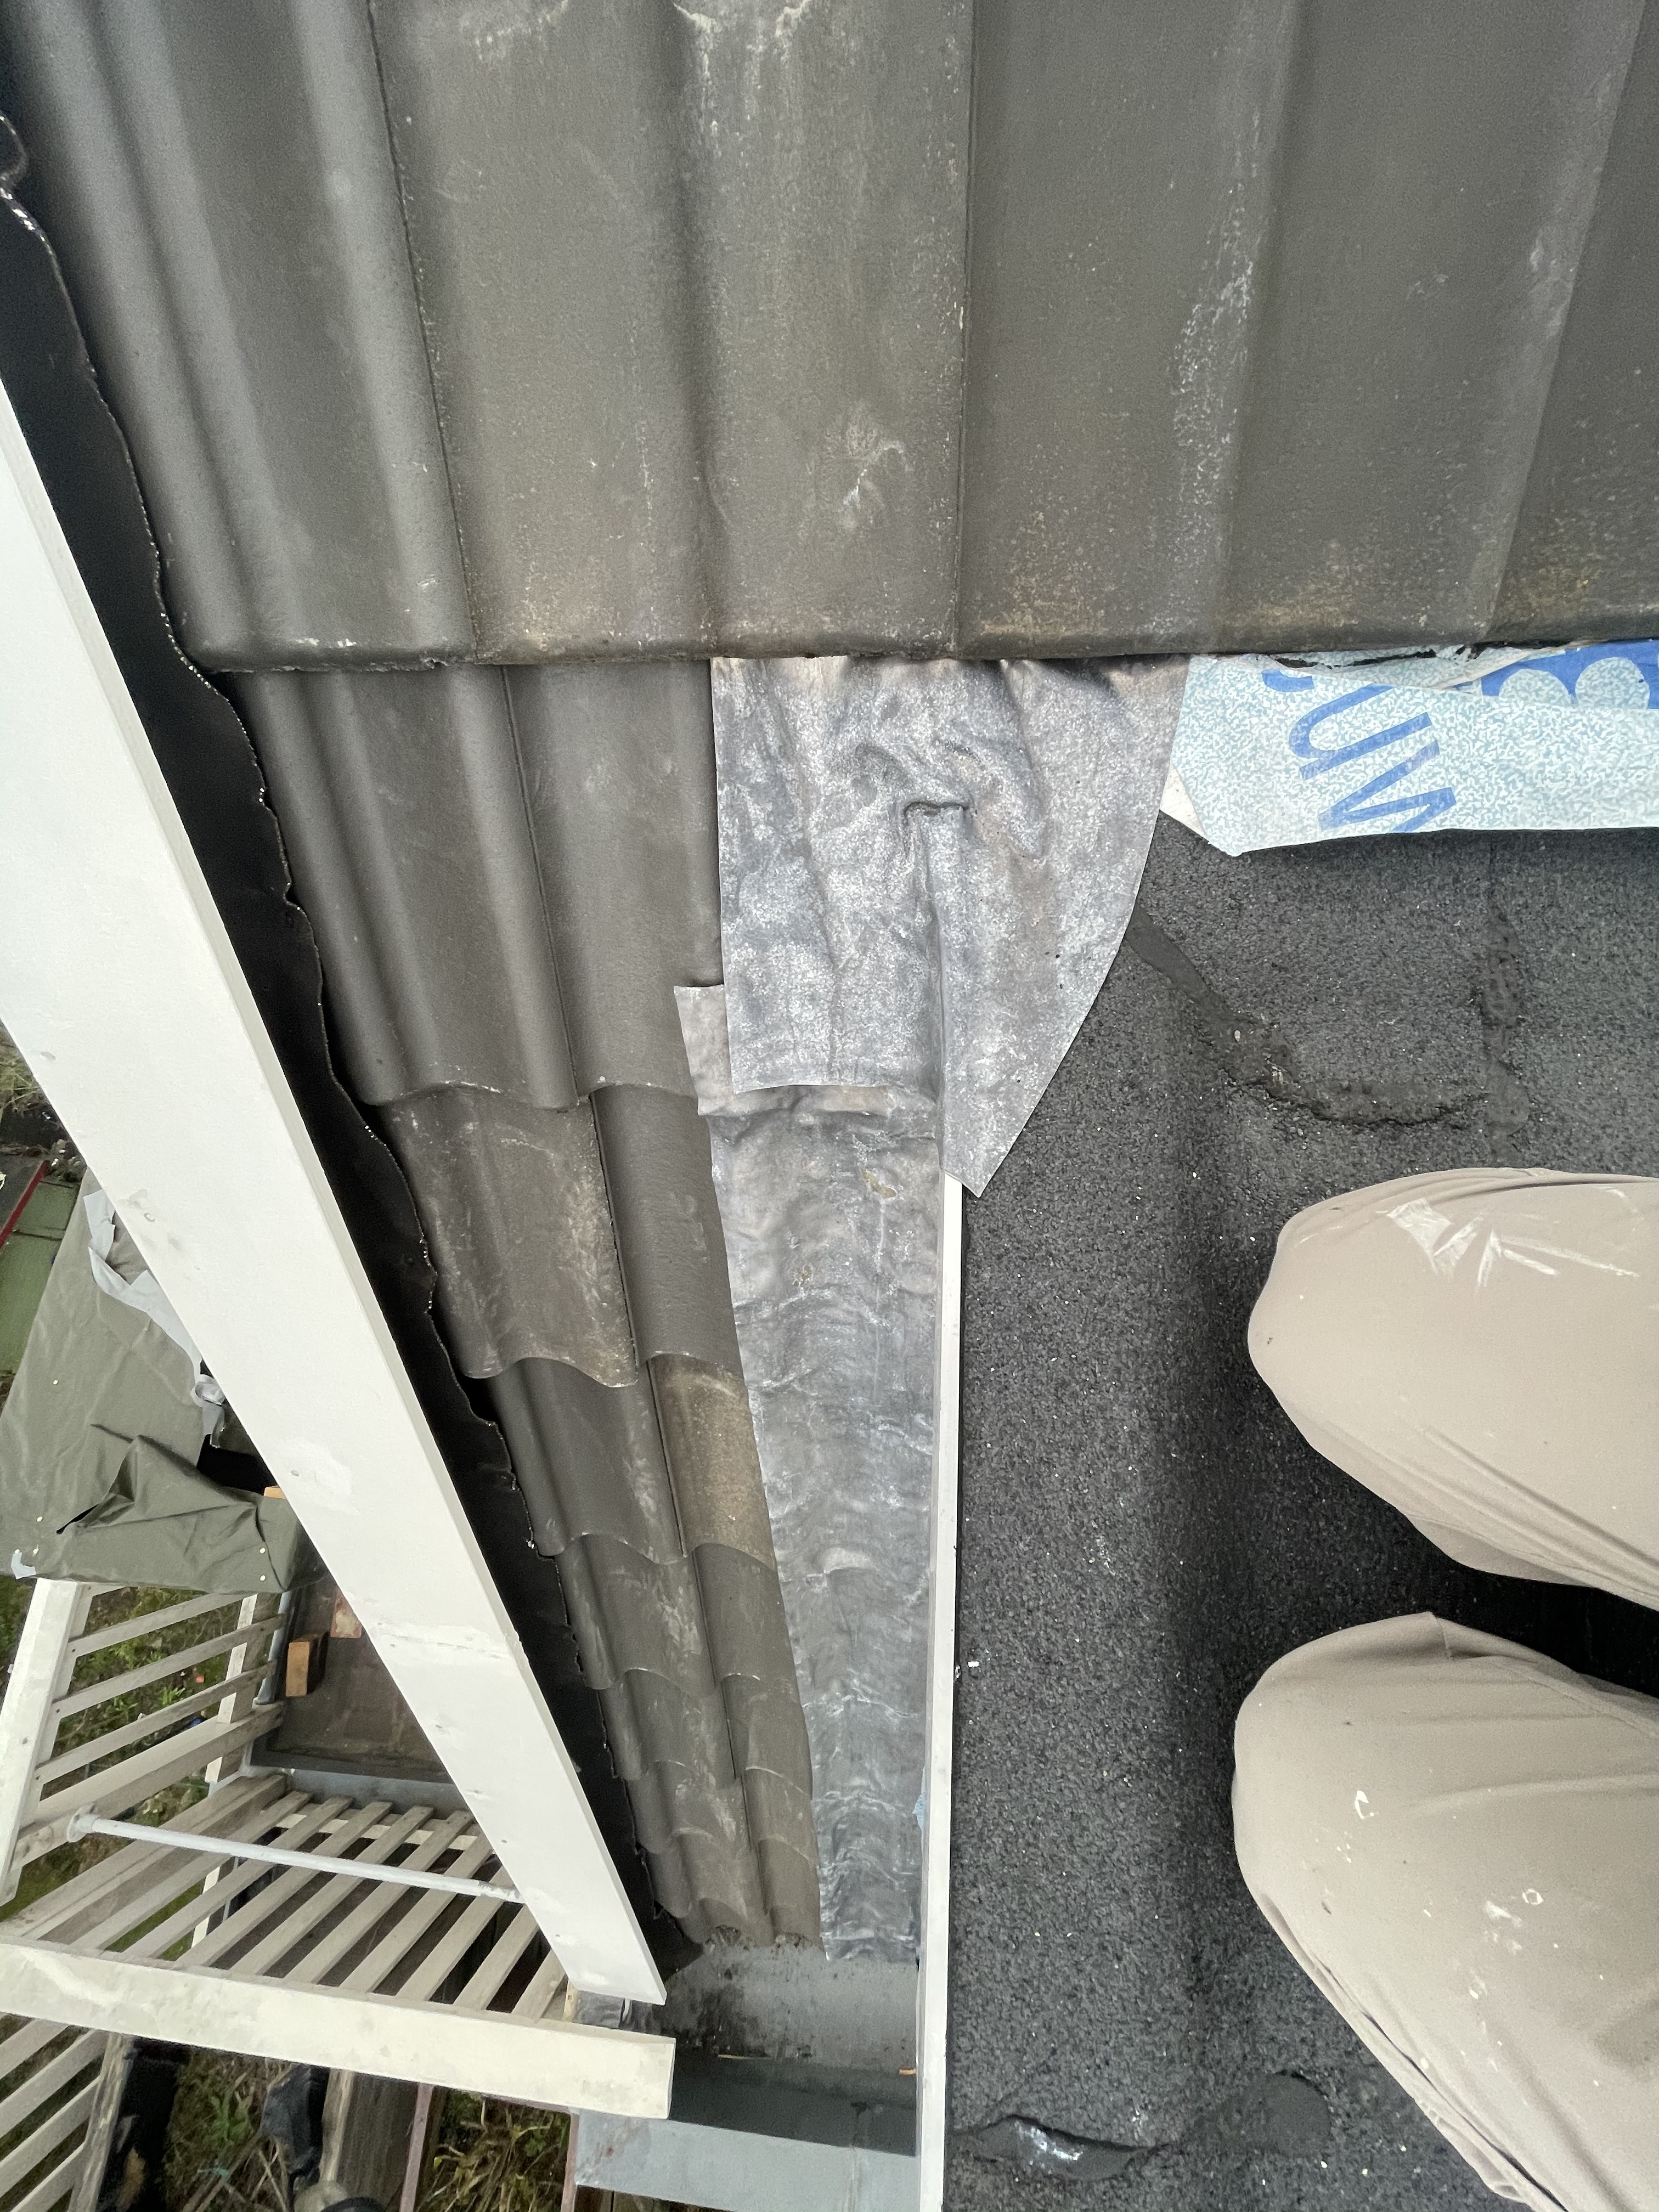
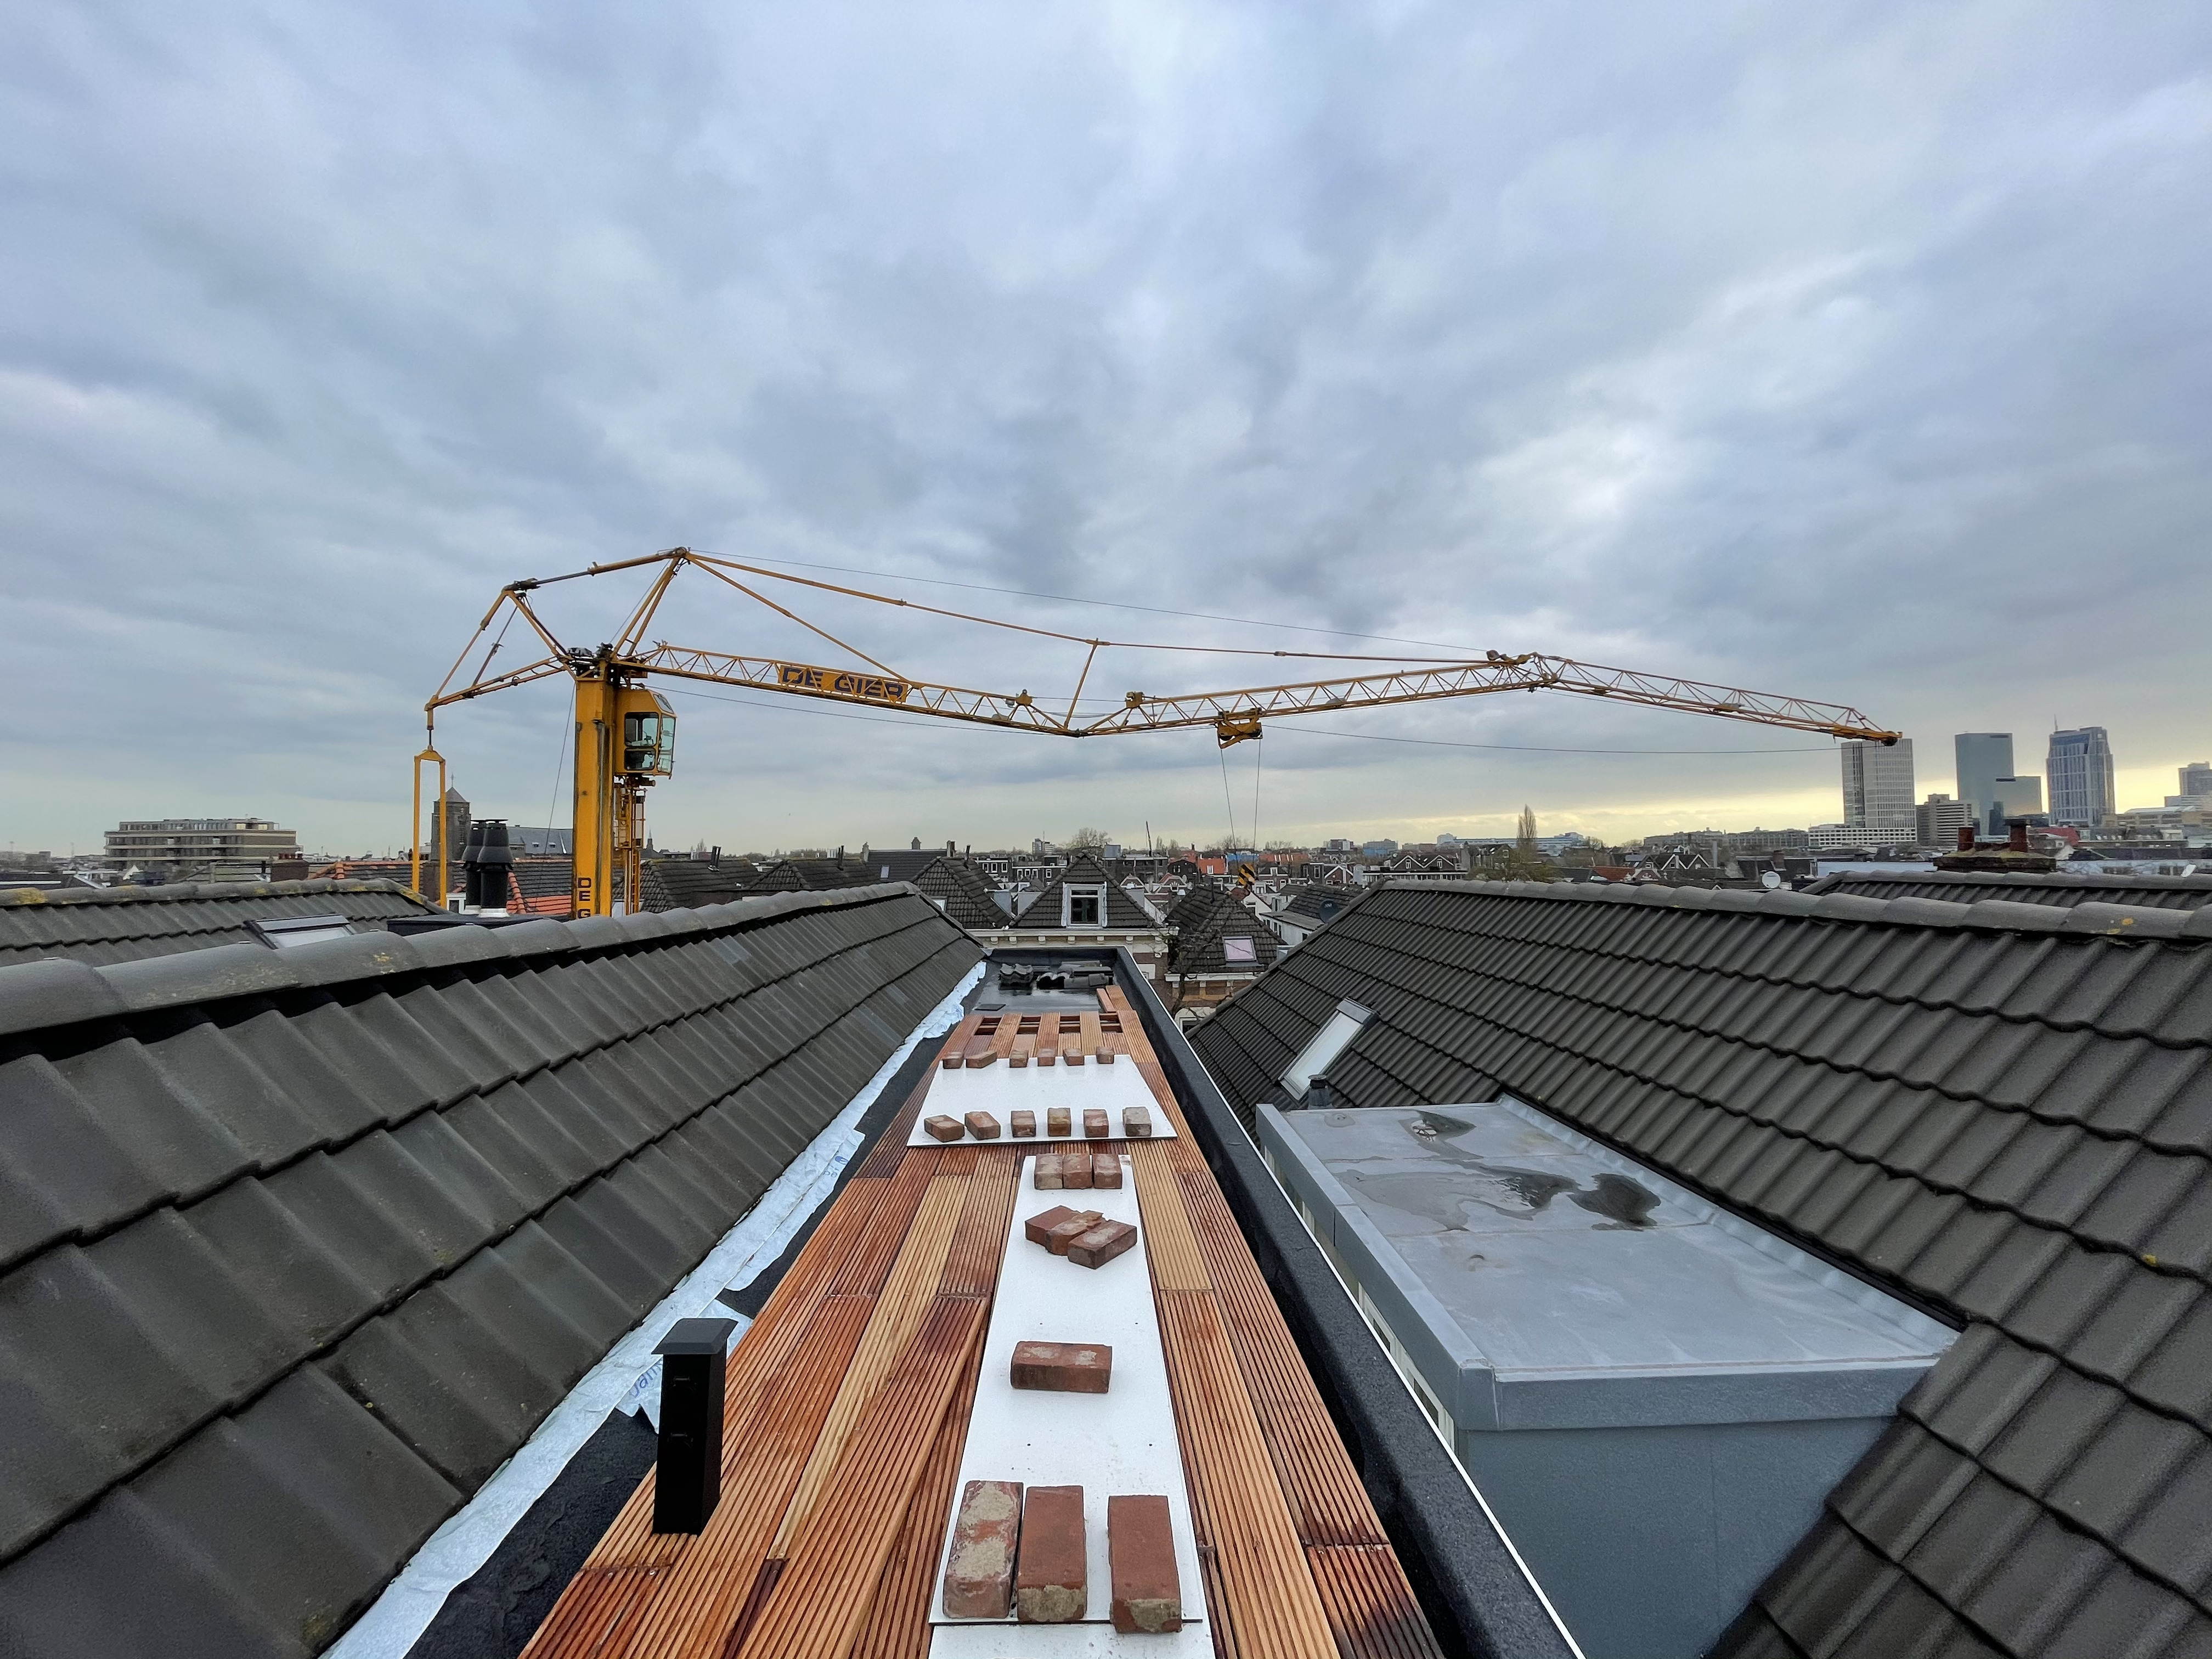
View from the top of the dormer looking at the back facade. The roof tiles all had to be cut to fit and were covered in lead, a similar detail as the gutter detail shown above.
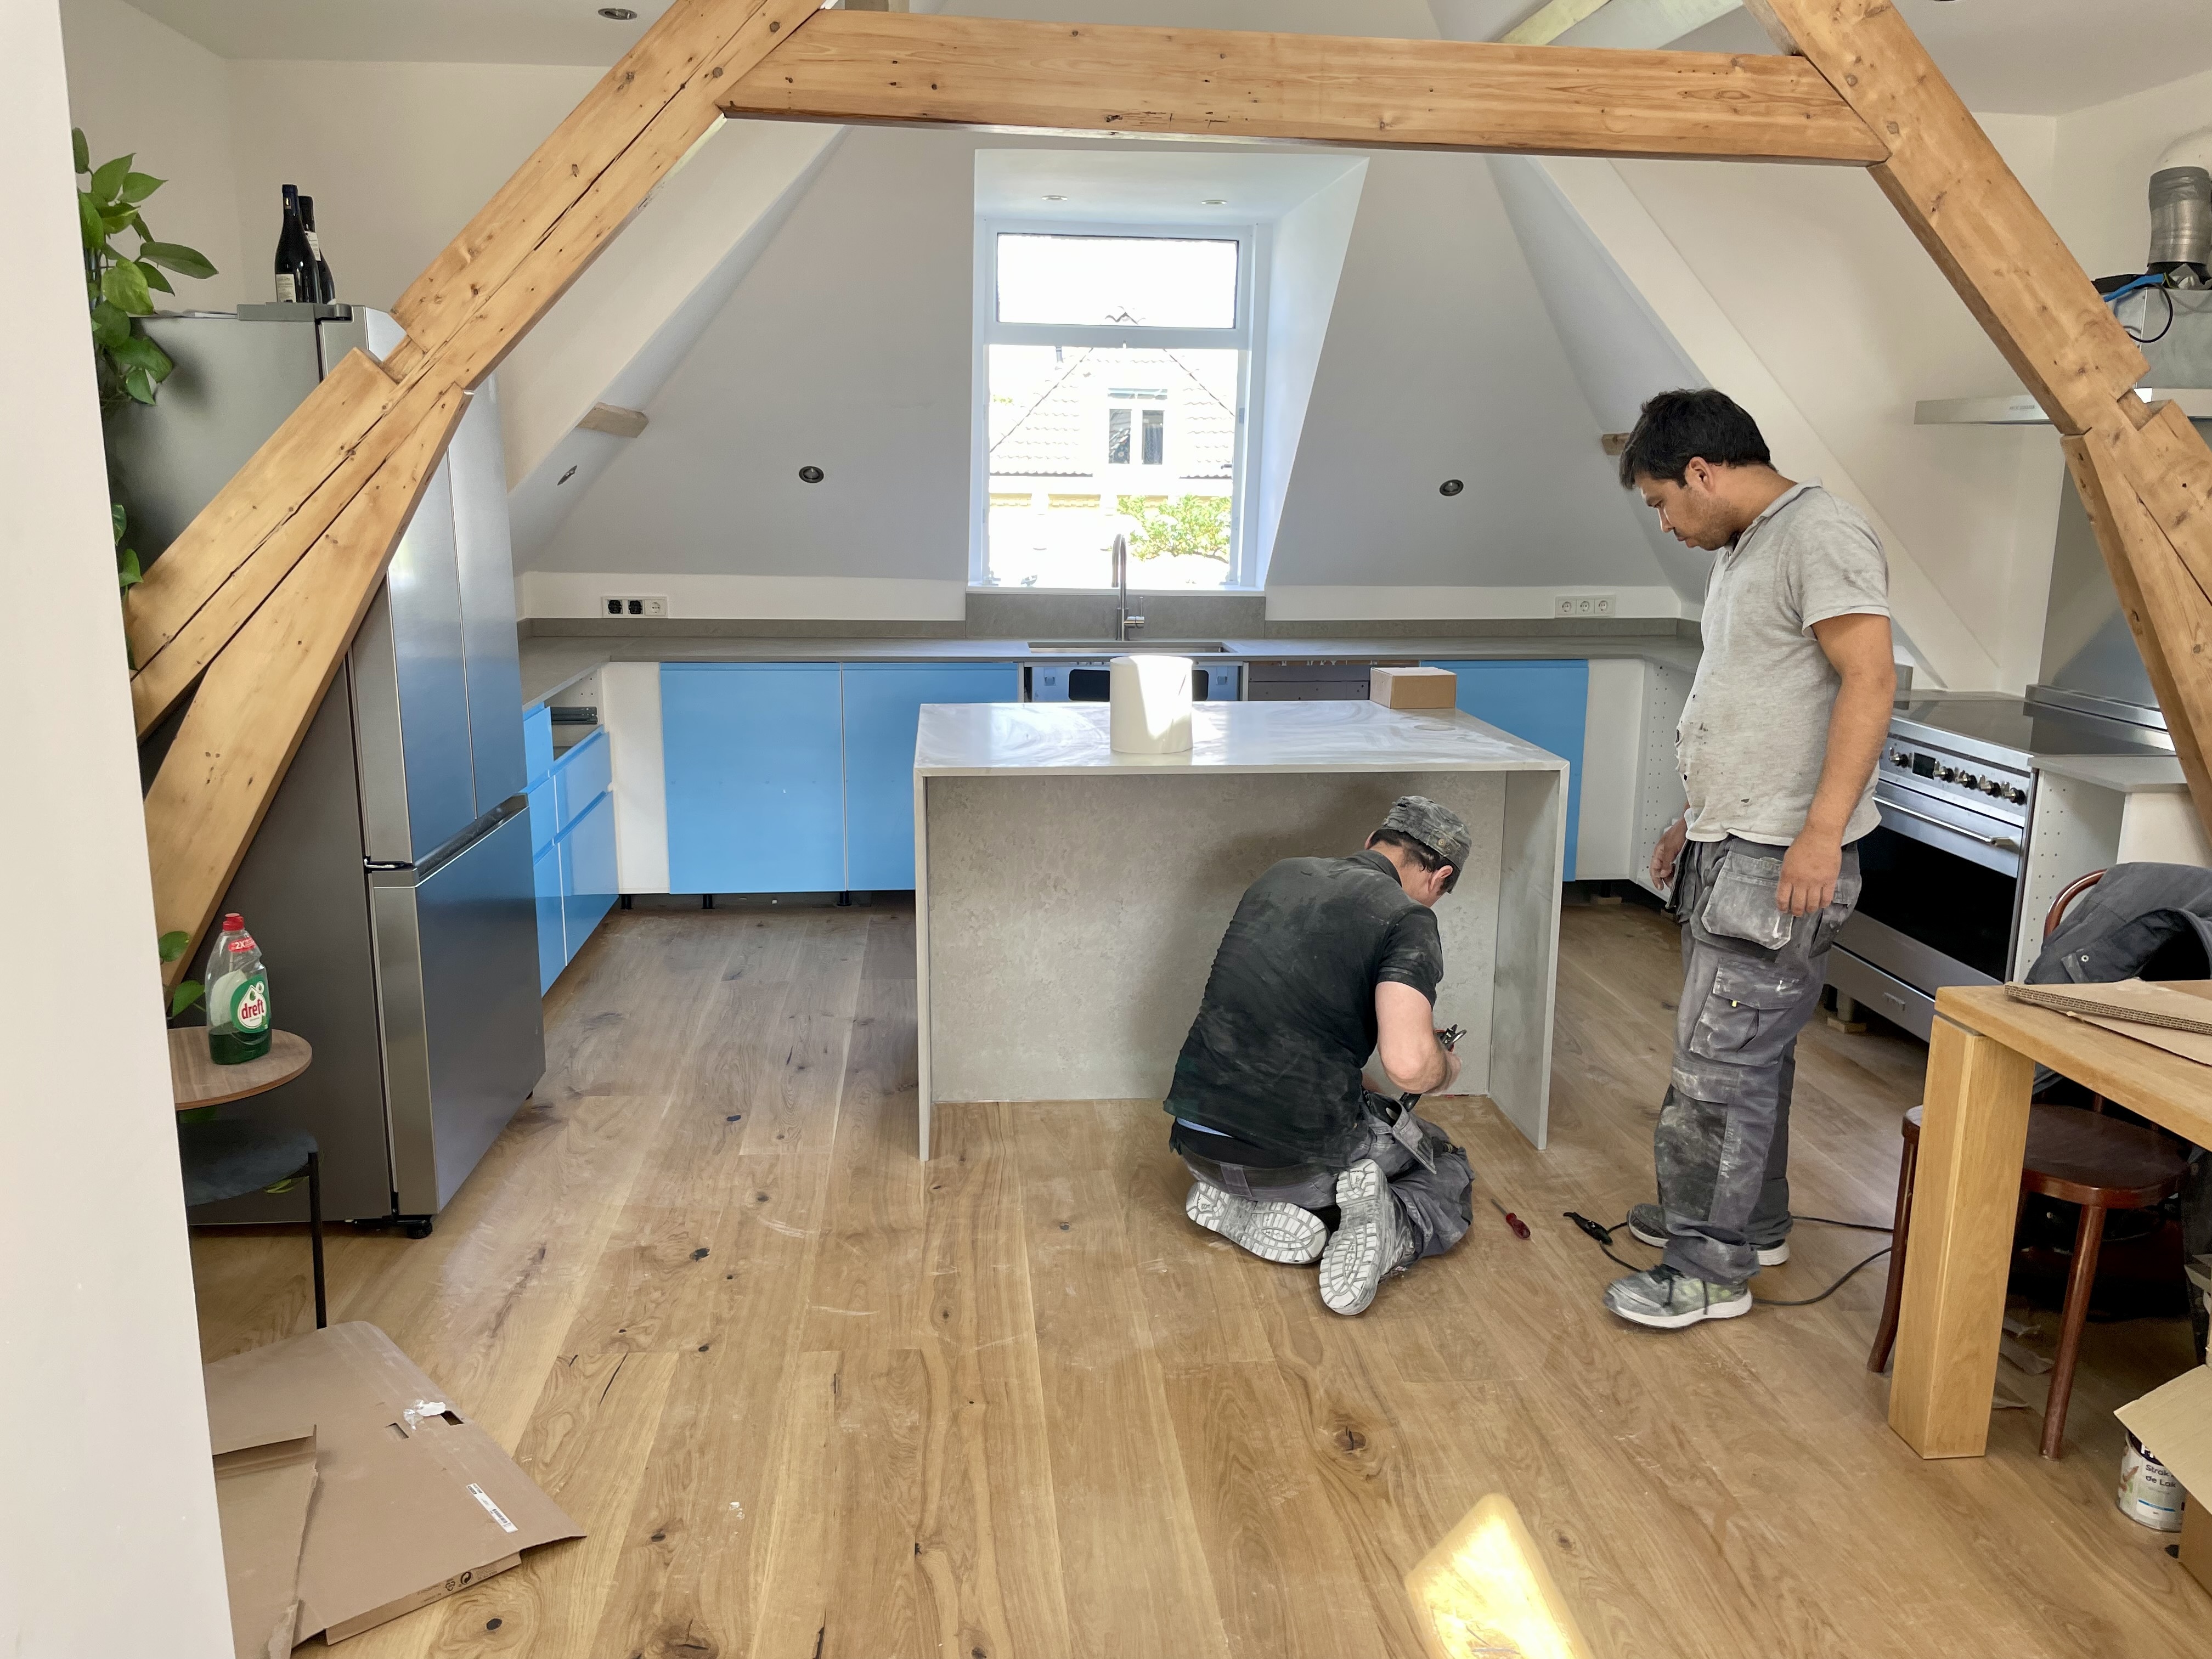
Summer was on the way so we wanted to get the deck finished to start enjoying the new space. We wrapped the truss while spray painting the underside of the roof. In hind-sight we should have spray painted the truss as well.
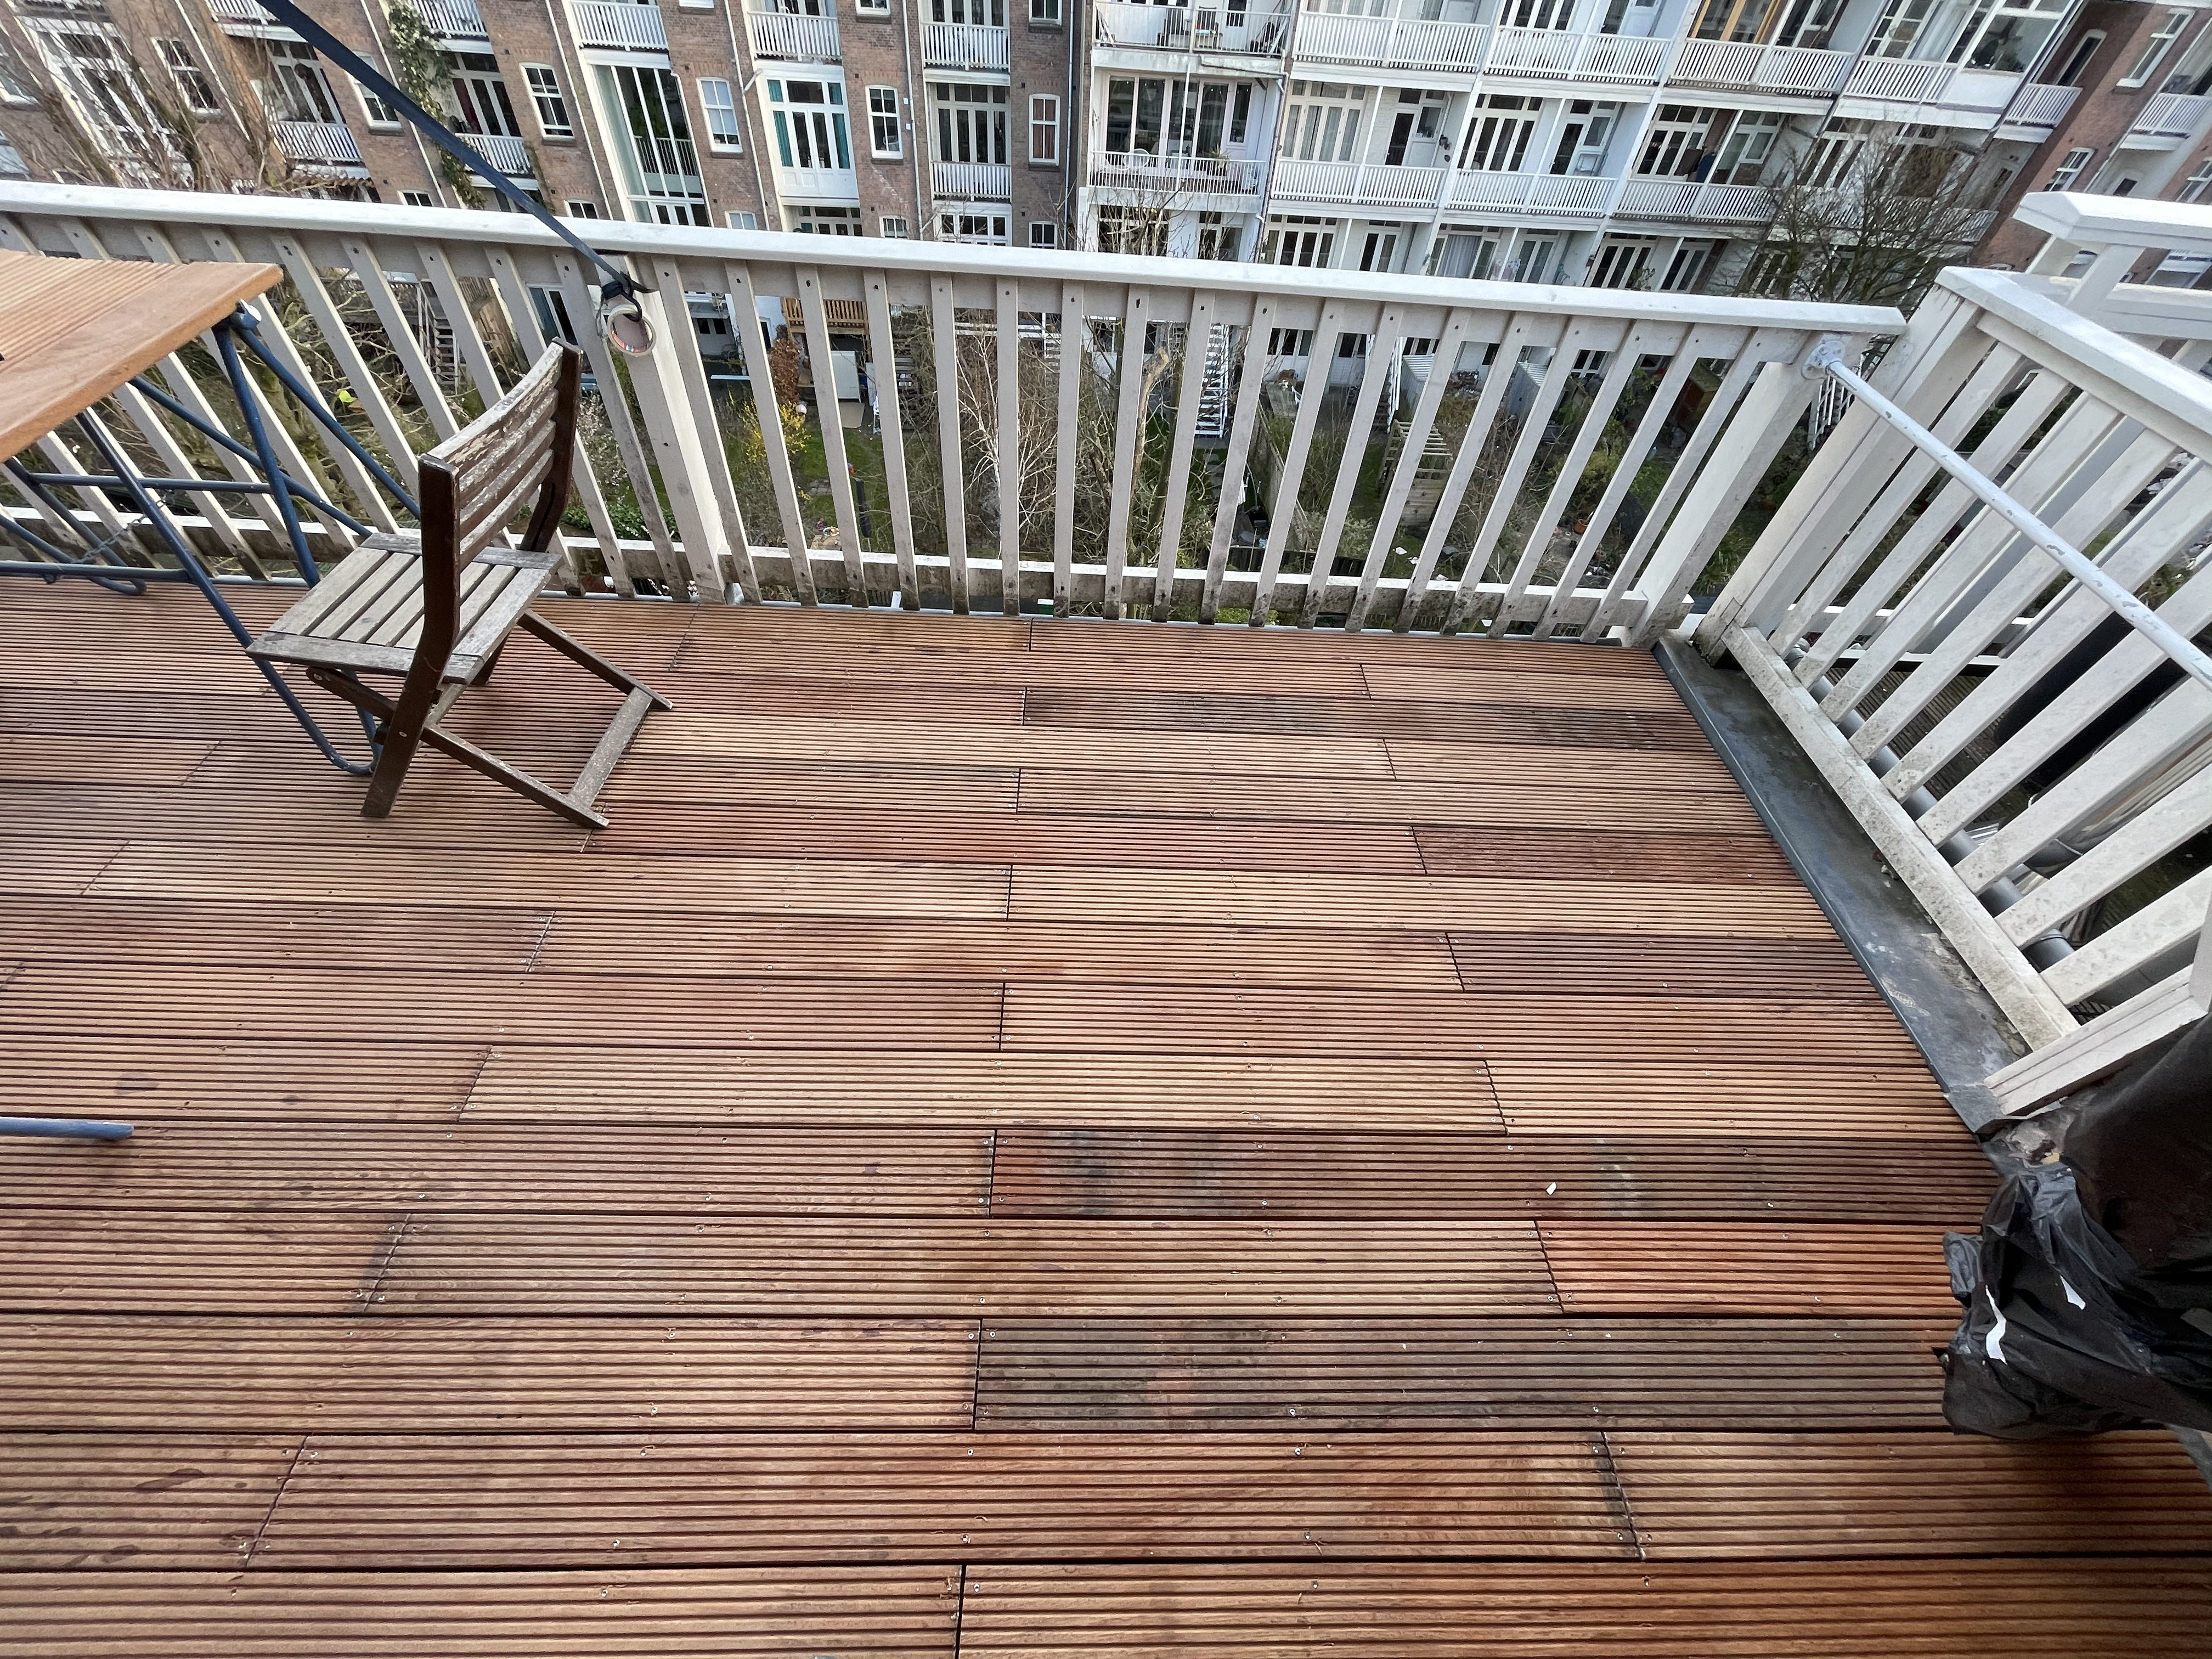
I like how the pattern in the deck boards turned out, I now clean and re stain this every summer to prevent the deck from going grey.
I was a bit surprised when this crane showed up. I knew a crane was coming but my brain didn’t register how large it would have to be. The street in front of our house was blocked for two hours to set the sliding door and windows on our balcony.
Our house is 15.5 meters long, adding in the distance from the front door to the street the boom on this crane was at least 20 meters long.
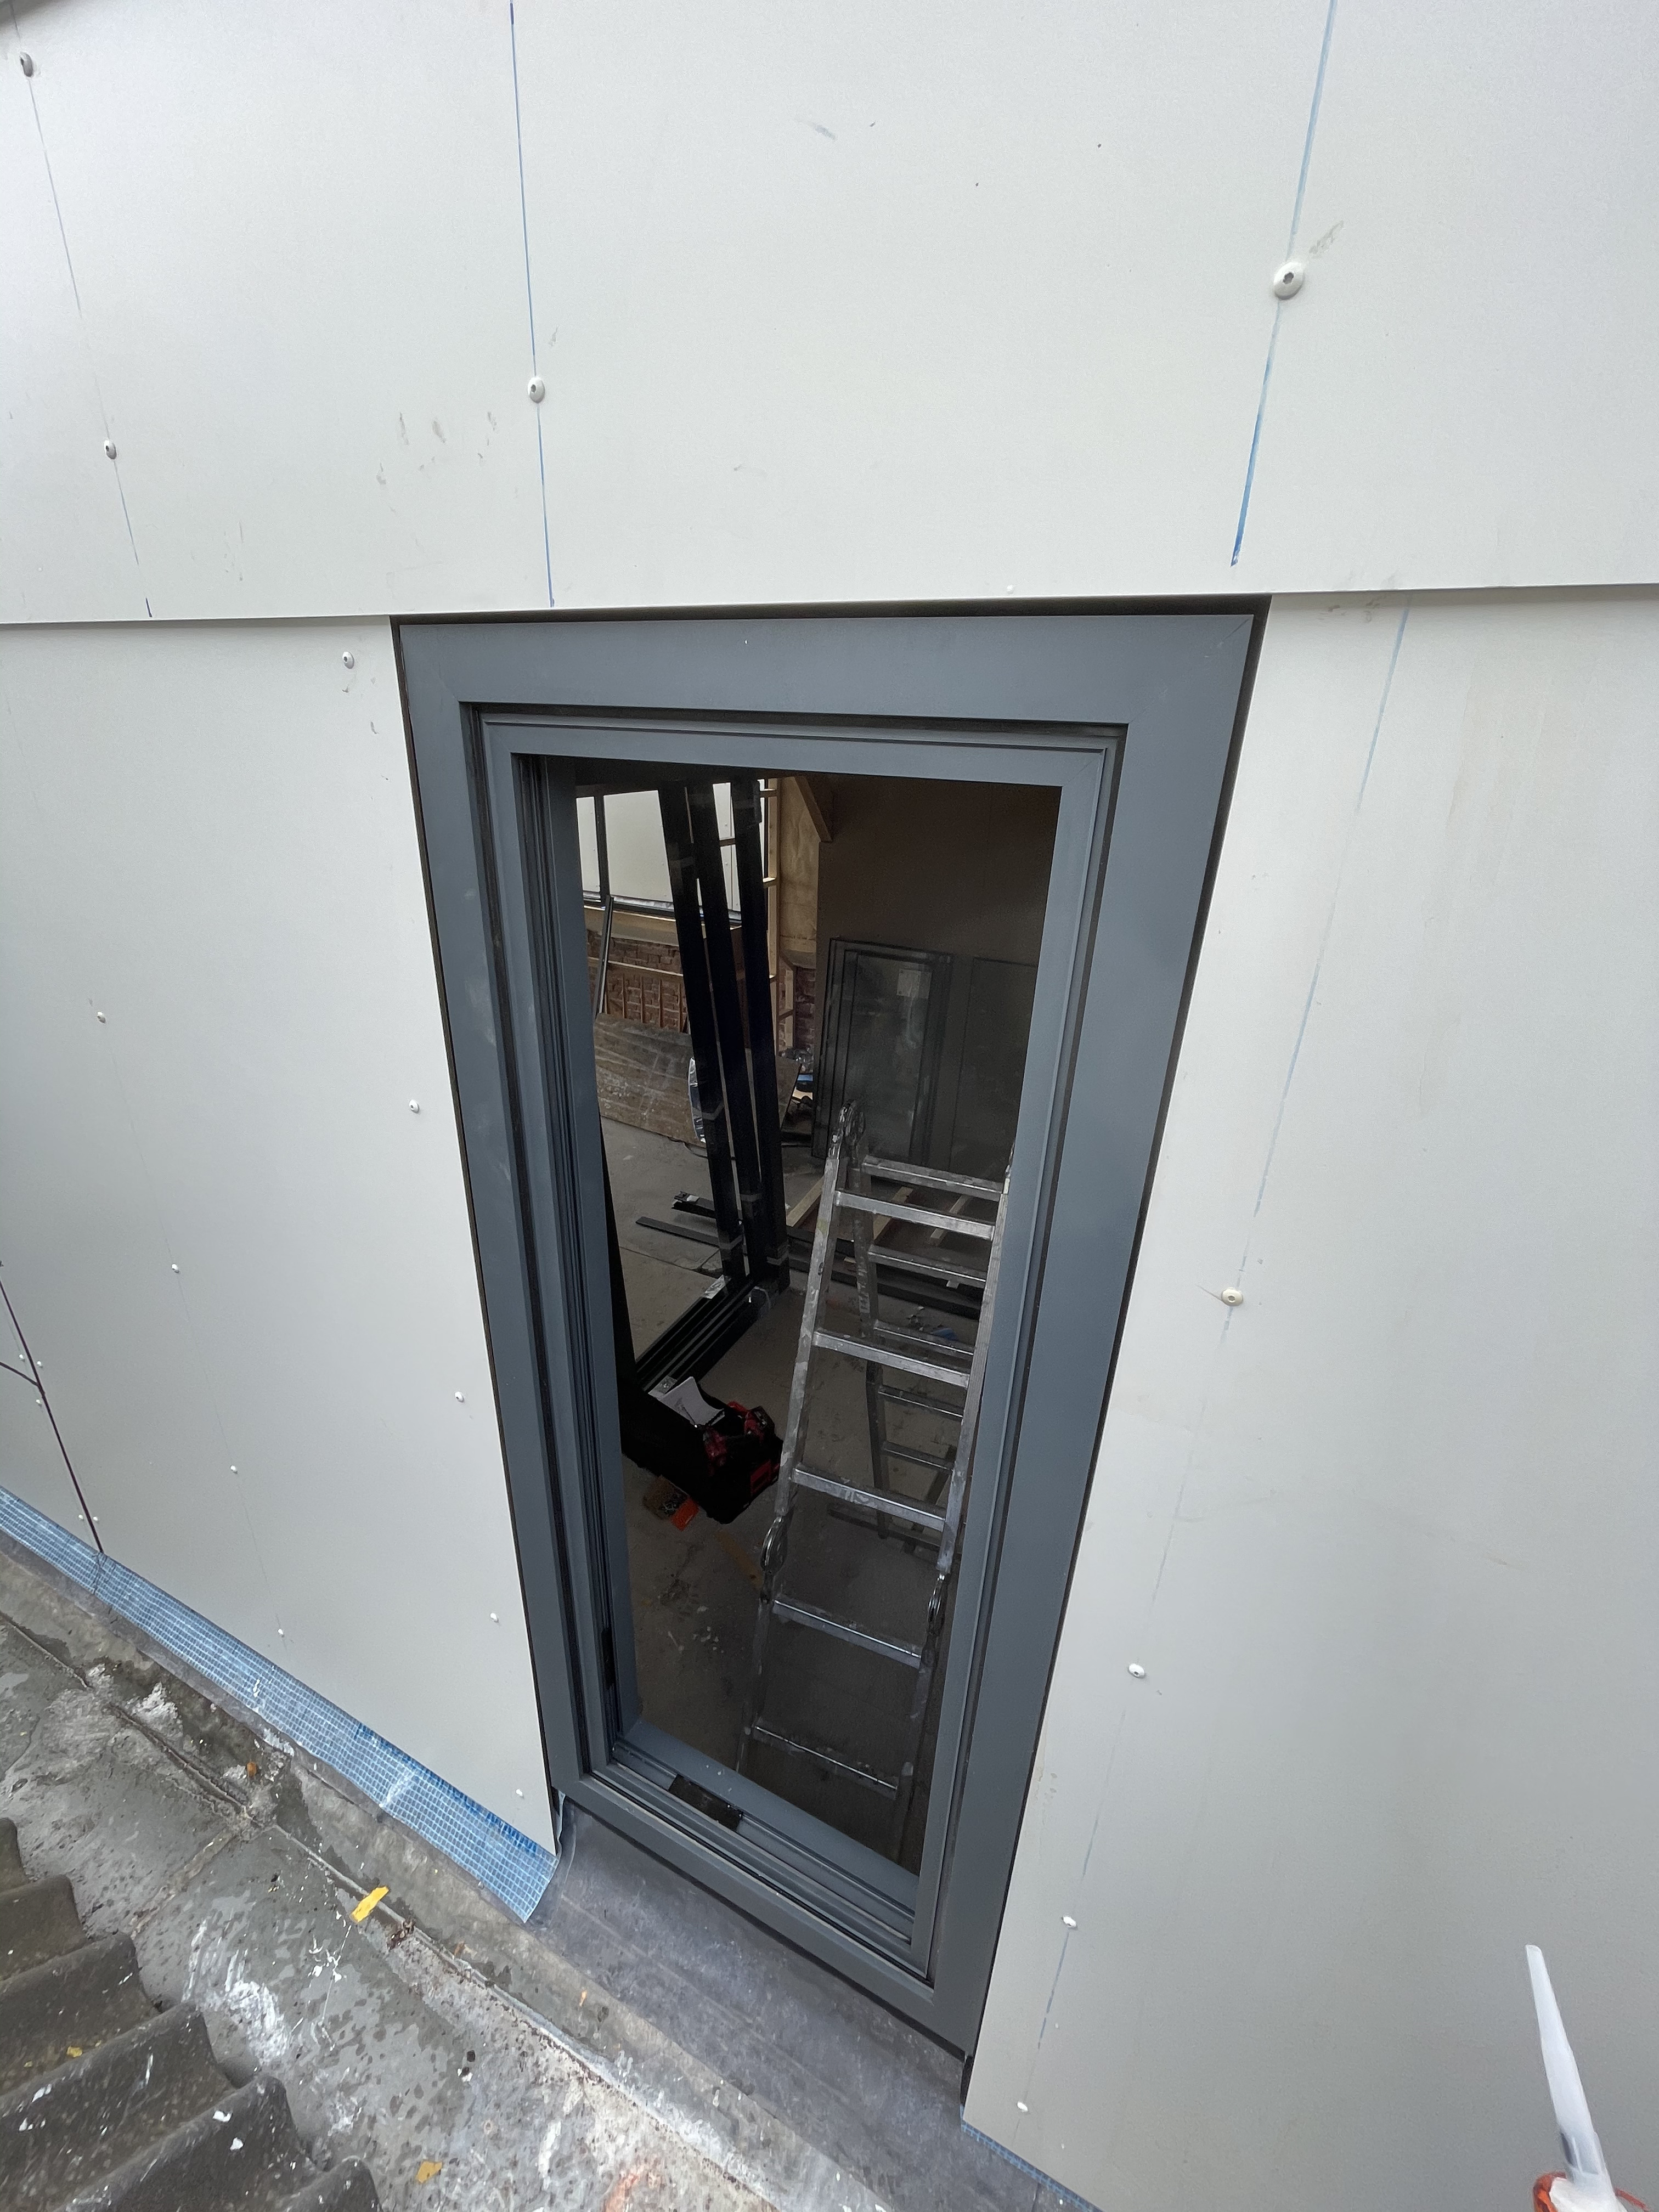
We went for aluminum windows and doors, hopefully for the rest of my life these the facade of the dormers will be maintenance free.
We got our aluminum doors and windows from Alupui. They installed everything in one day, were very professional and did excellent work. We’re super happy we went with them. Here we’re a bit out of order with the photos we were on our way with interior construction when the doors and windows arrived.
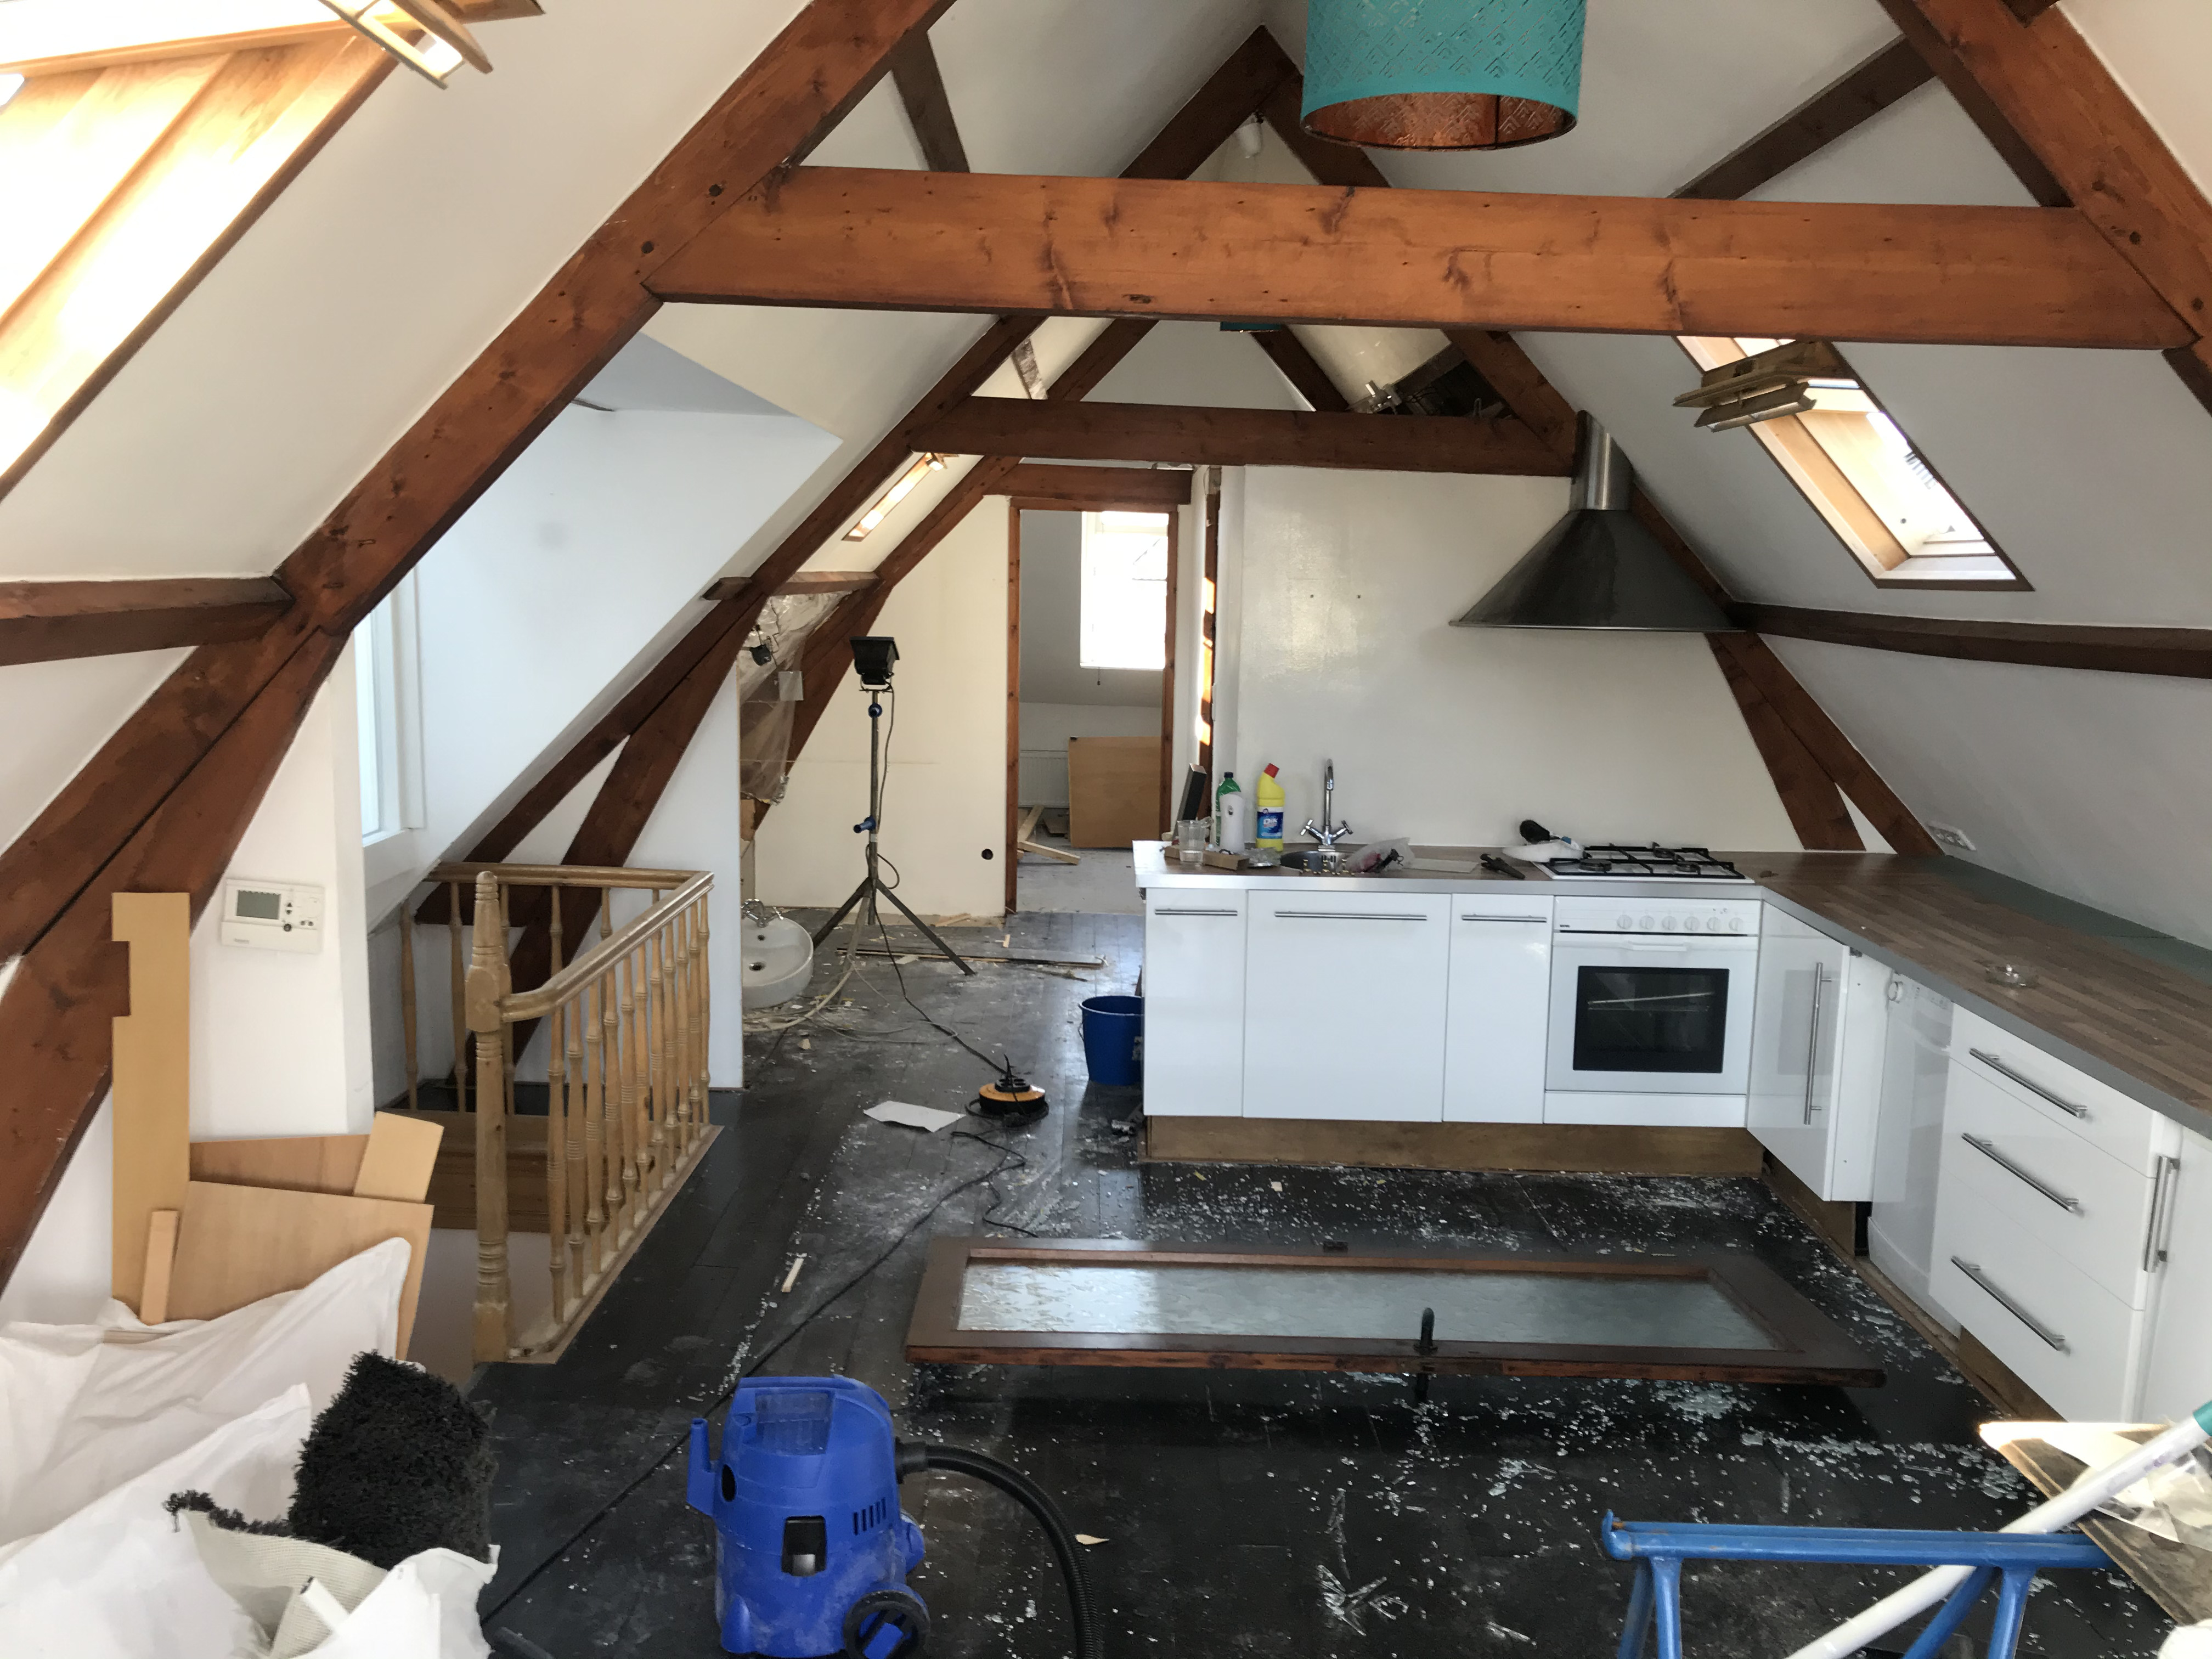
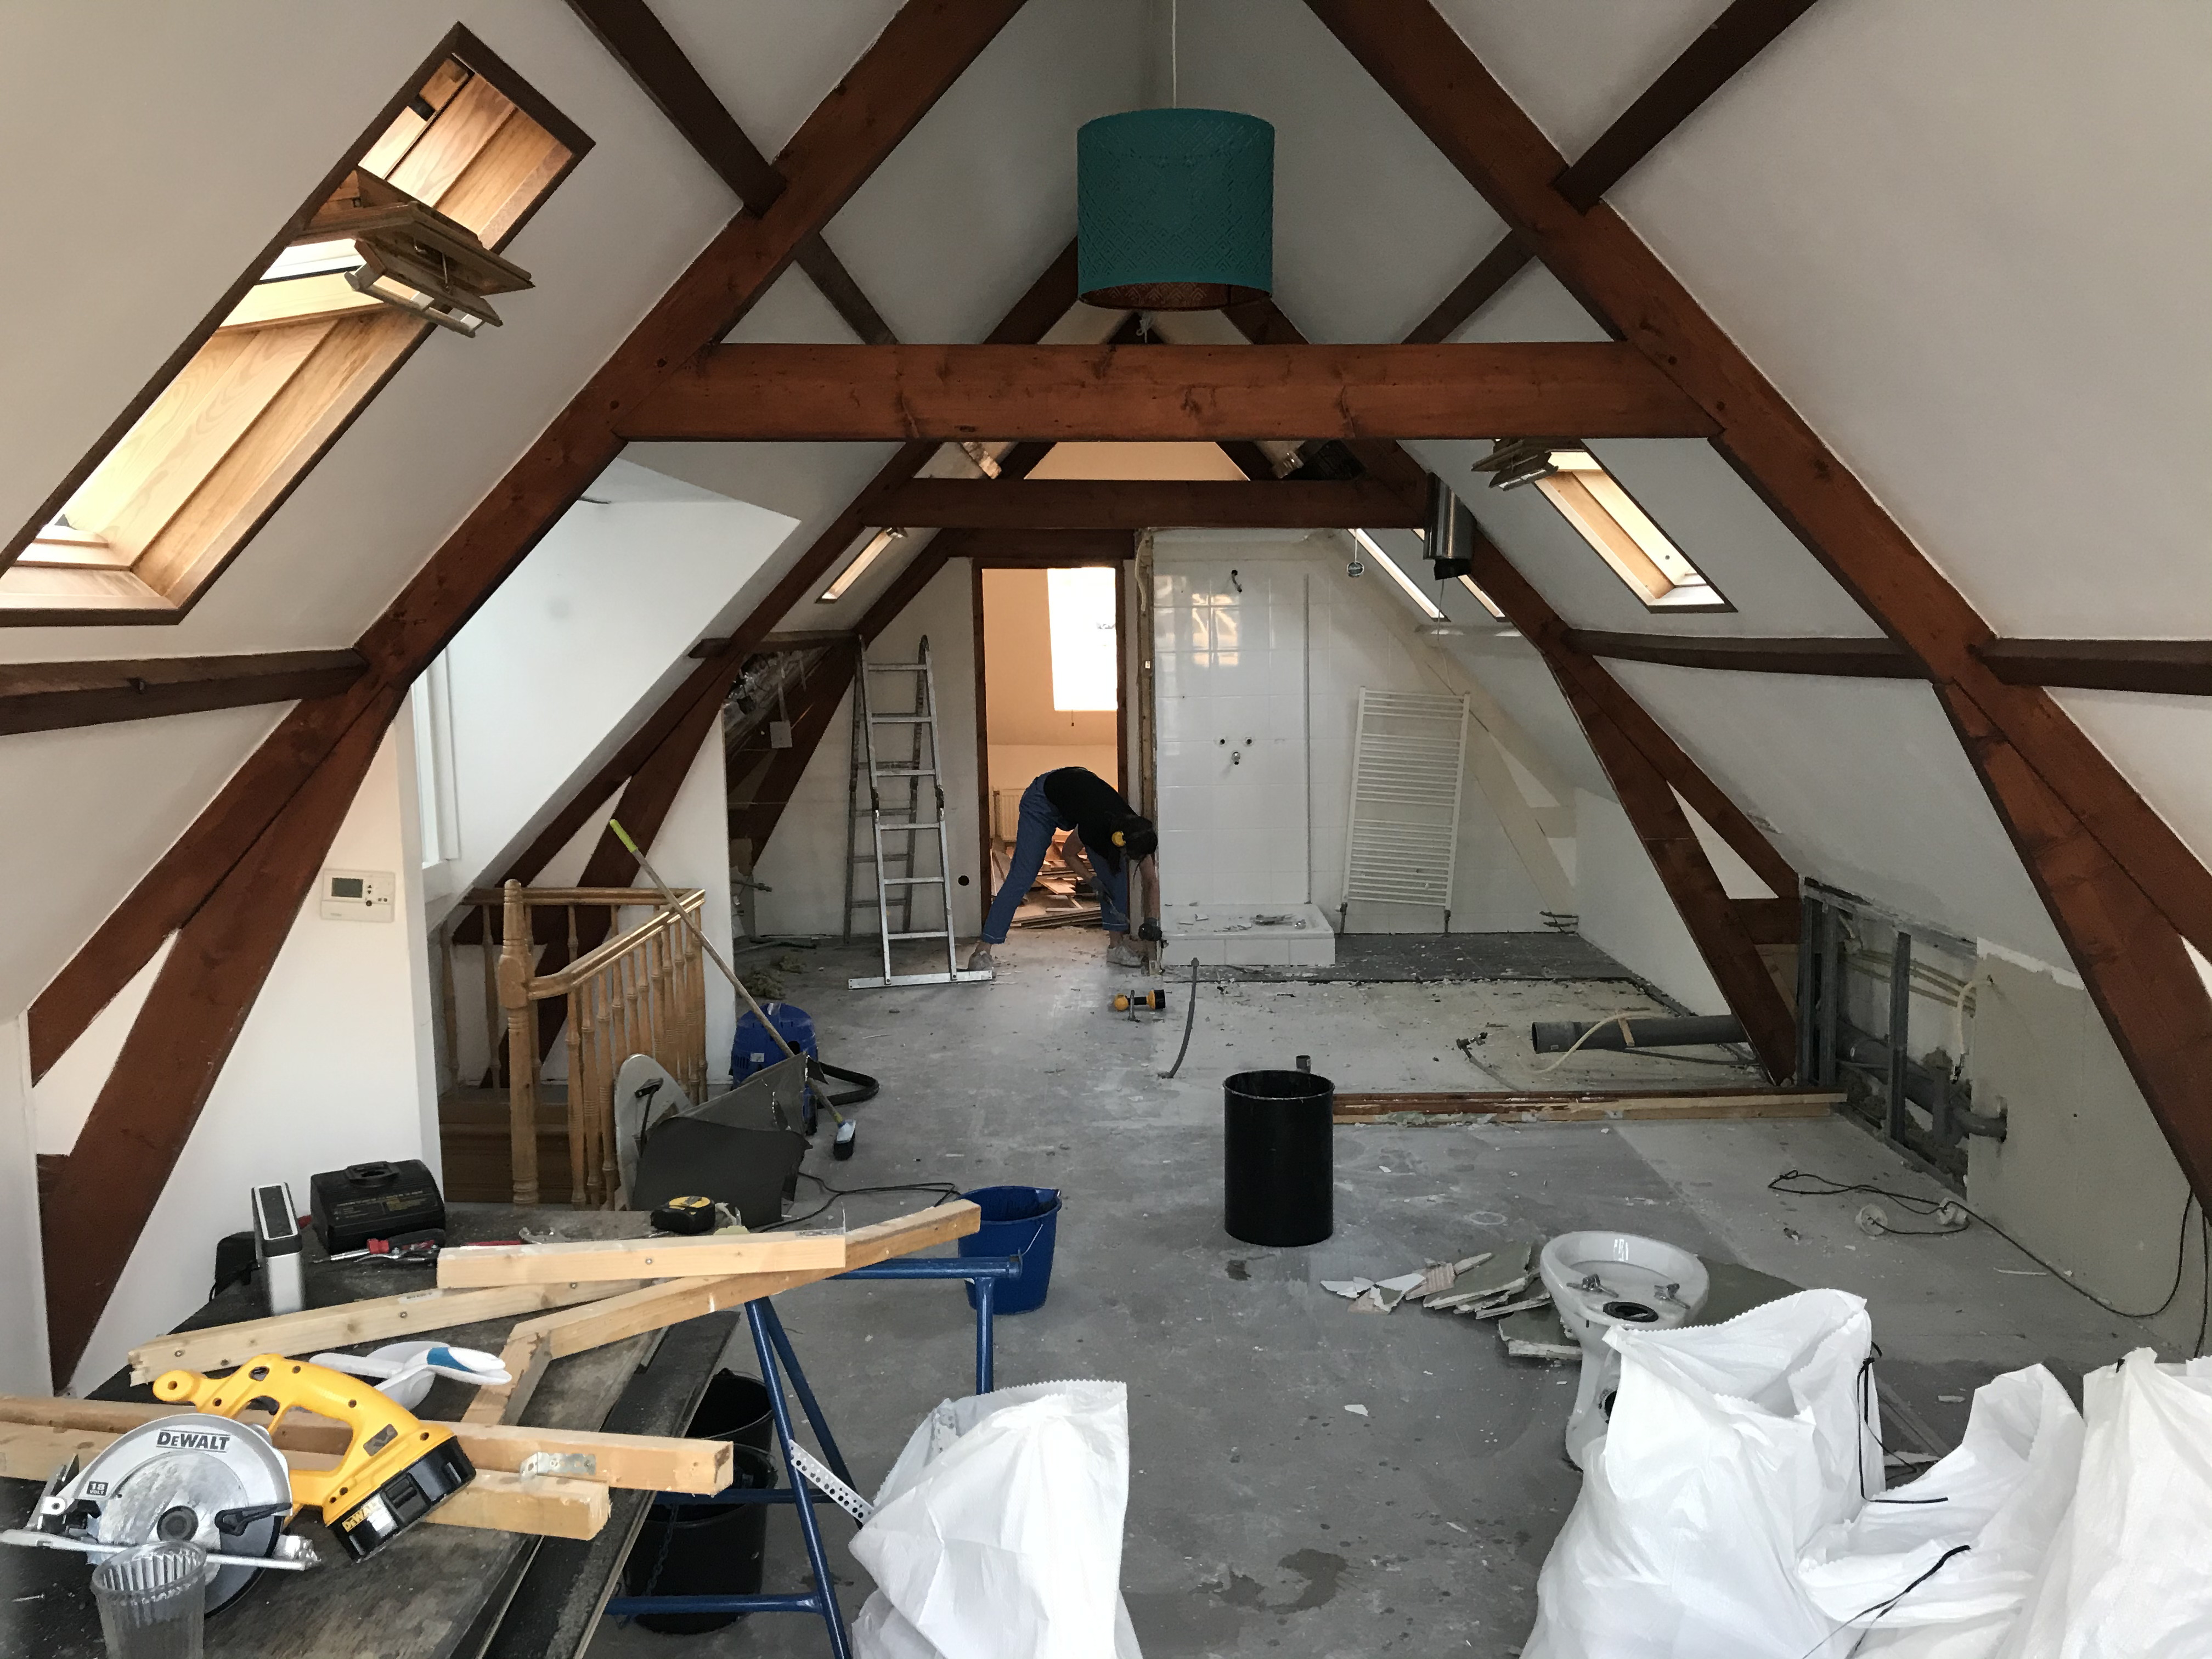
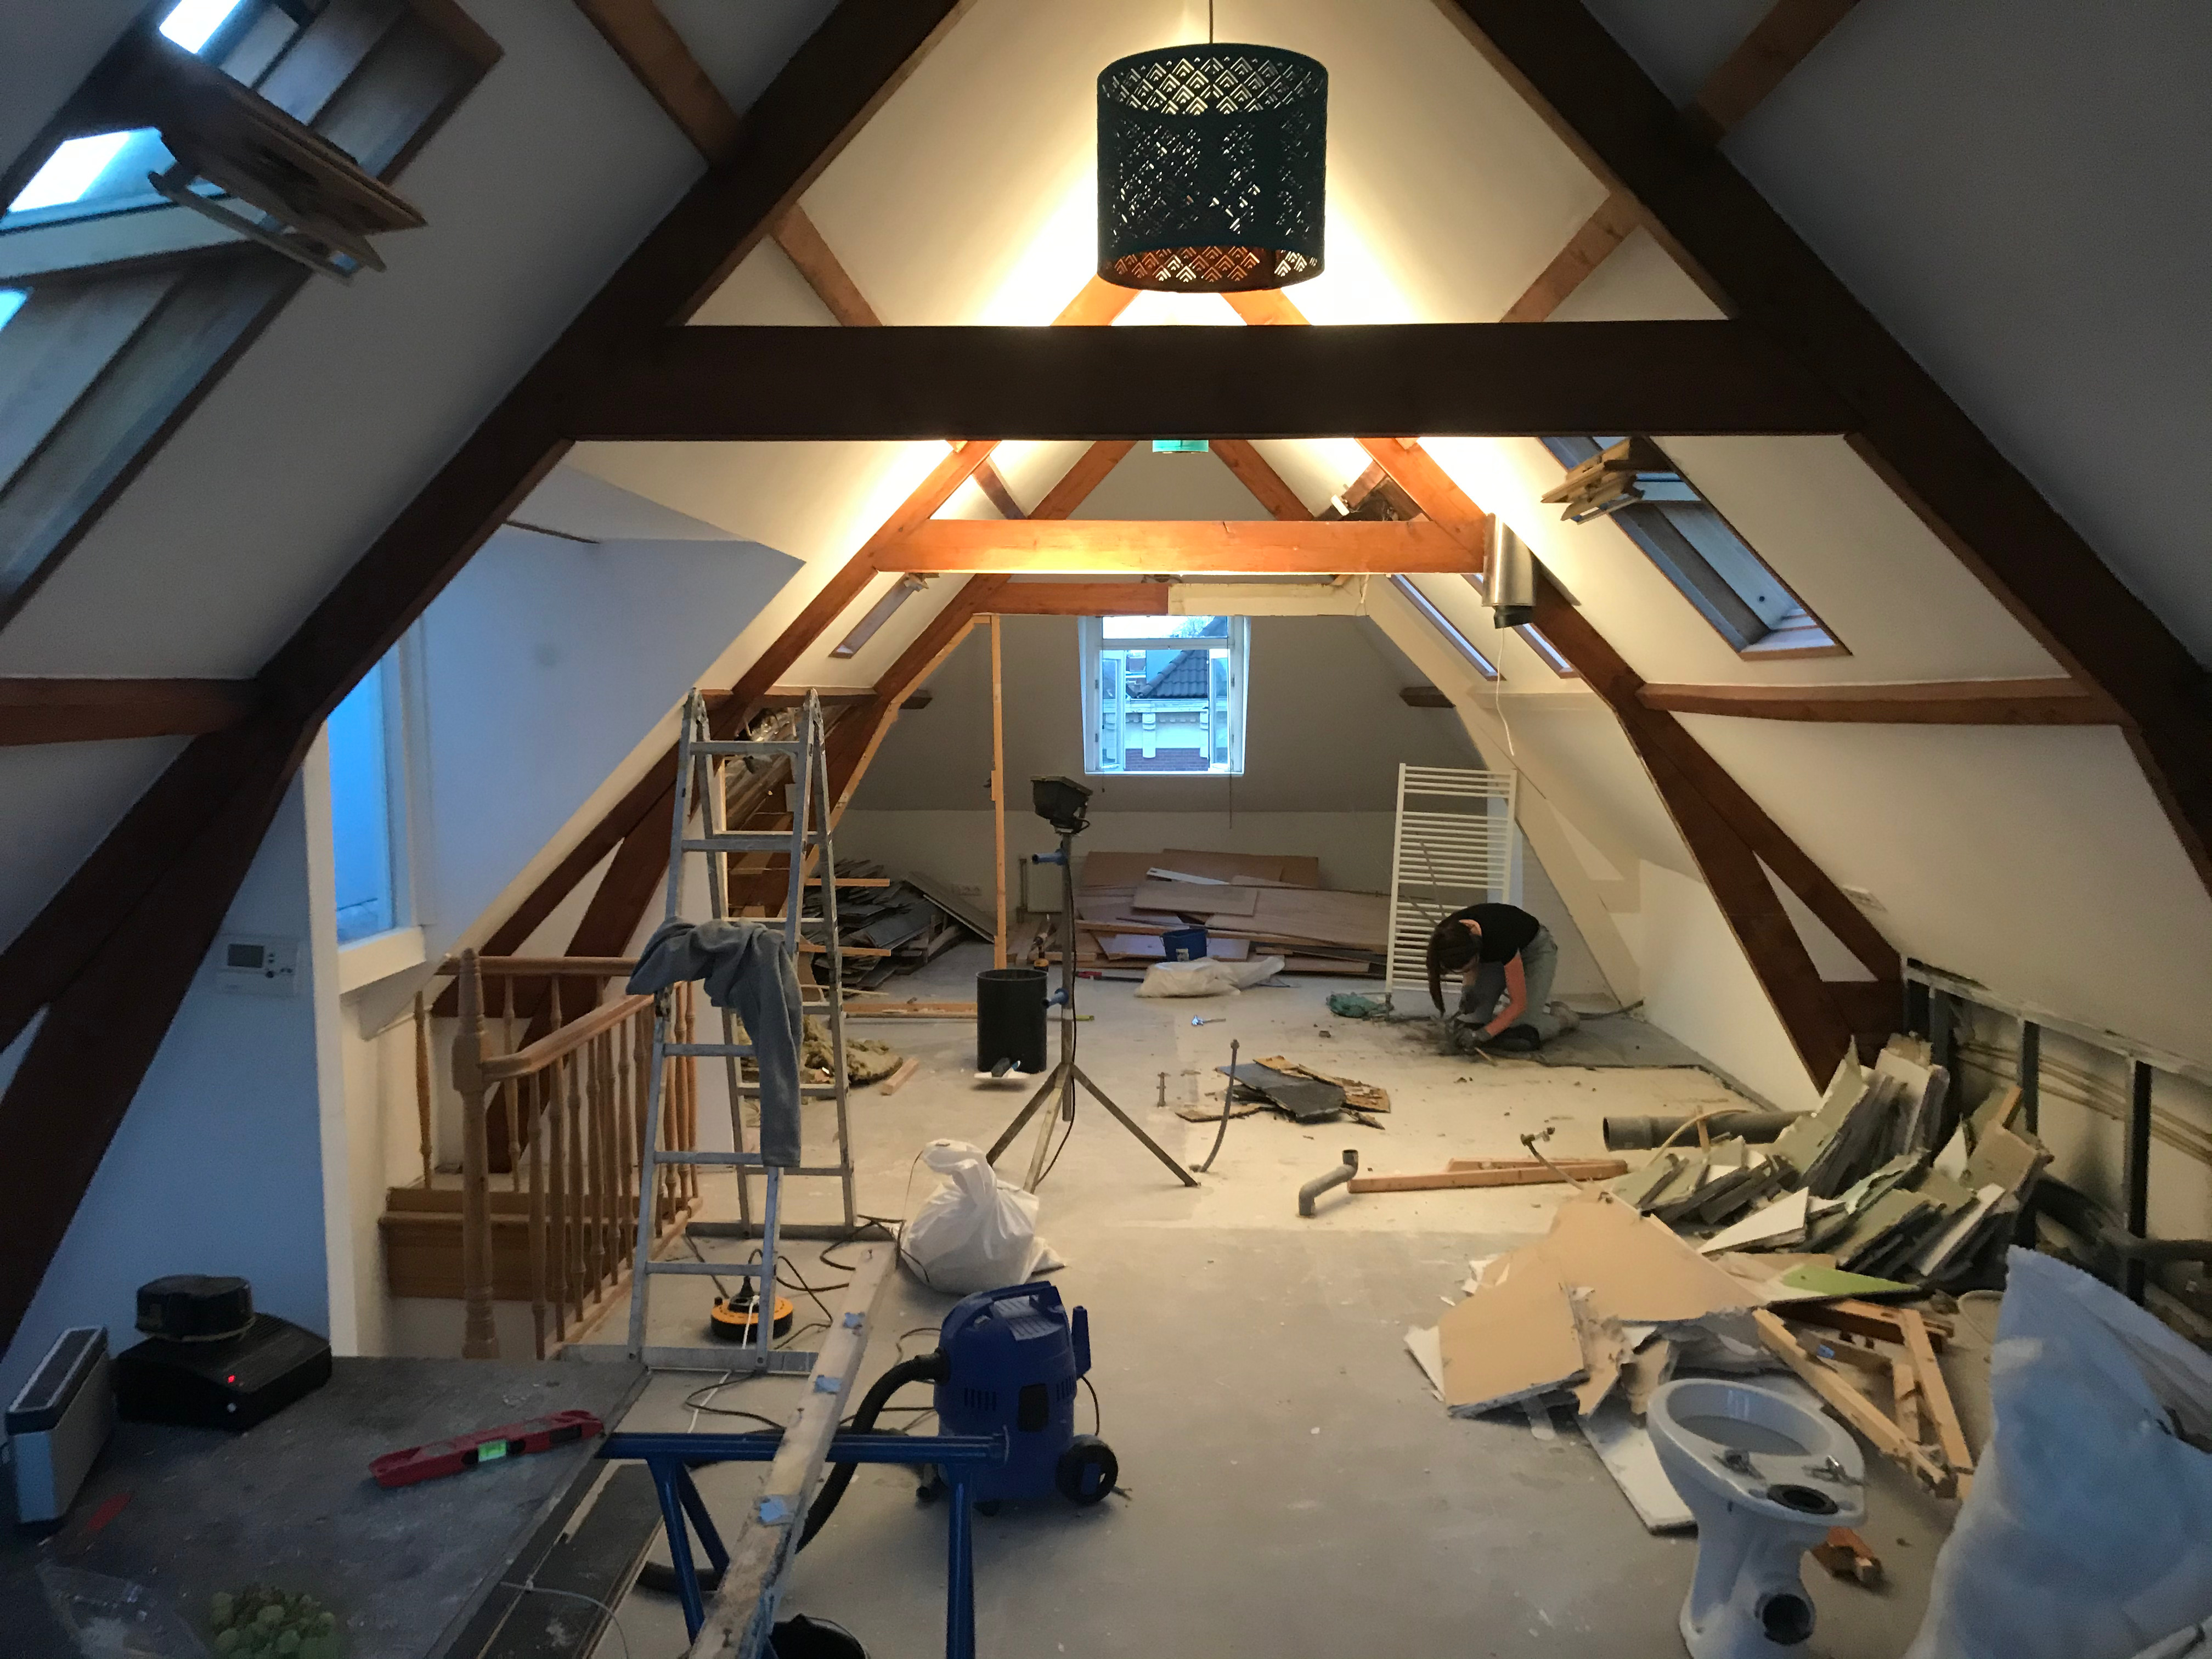
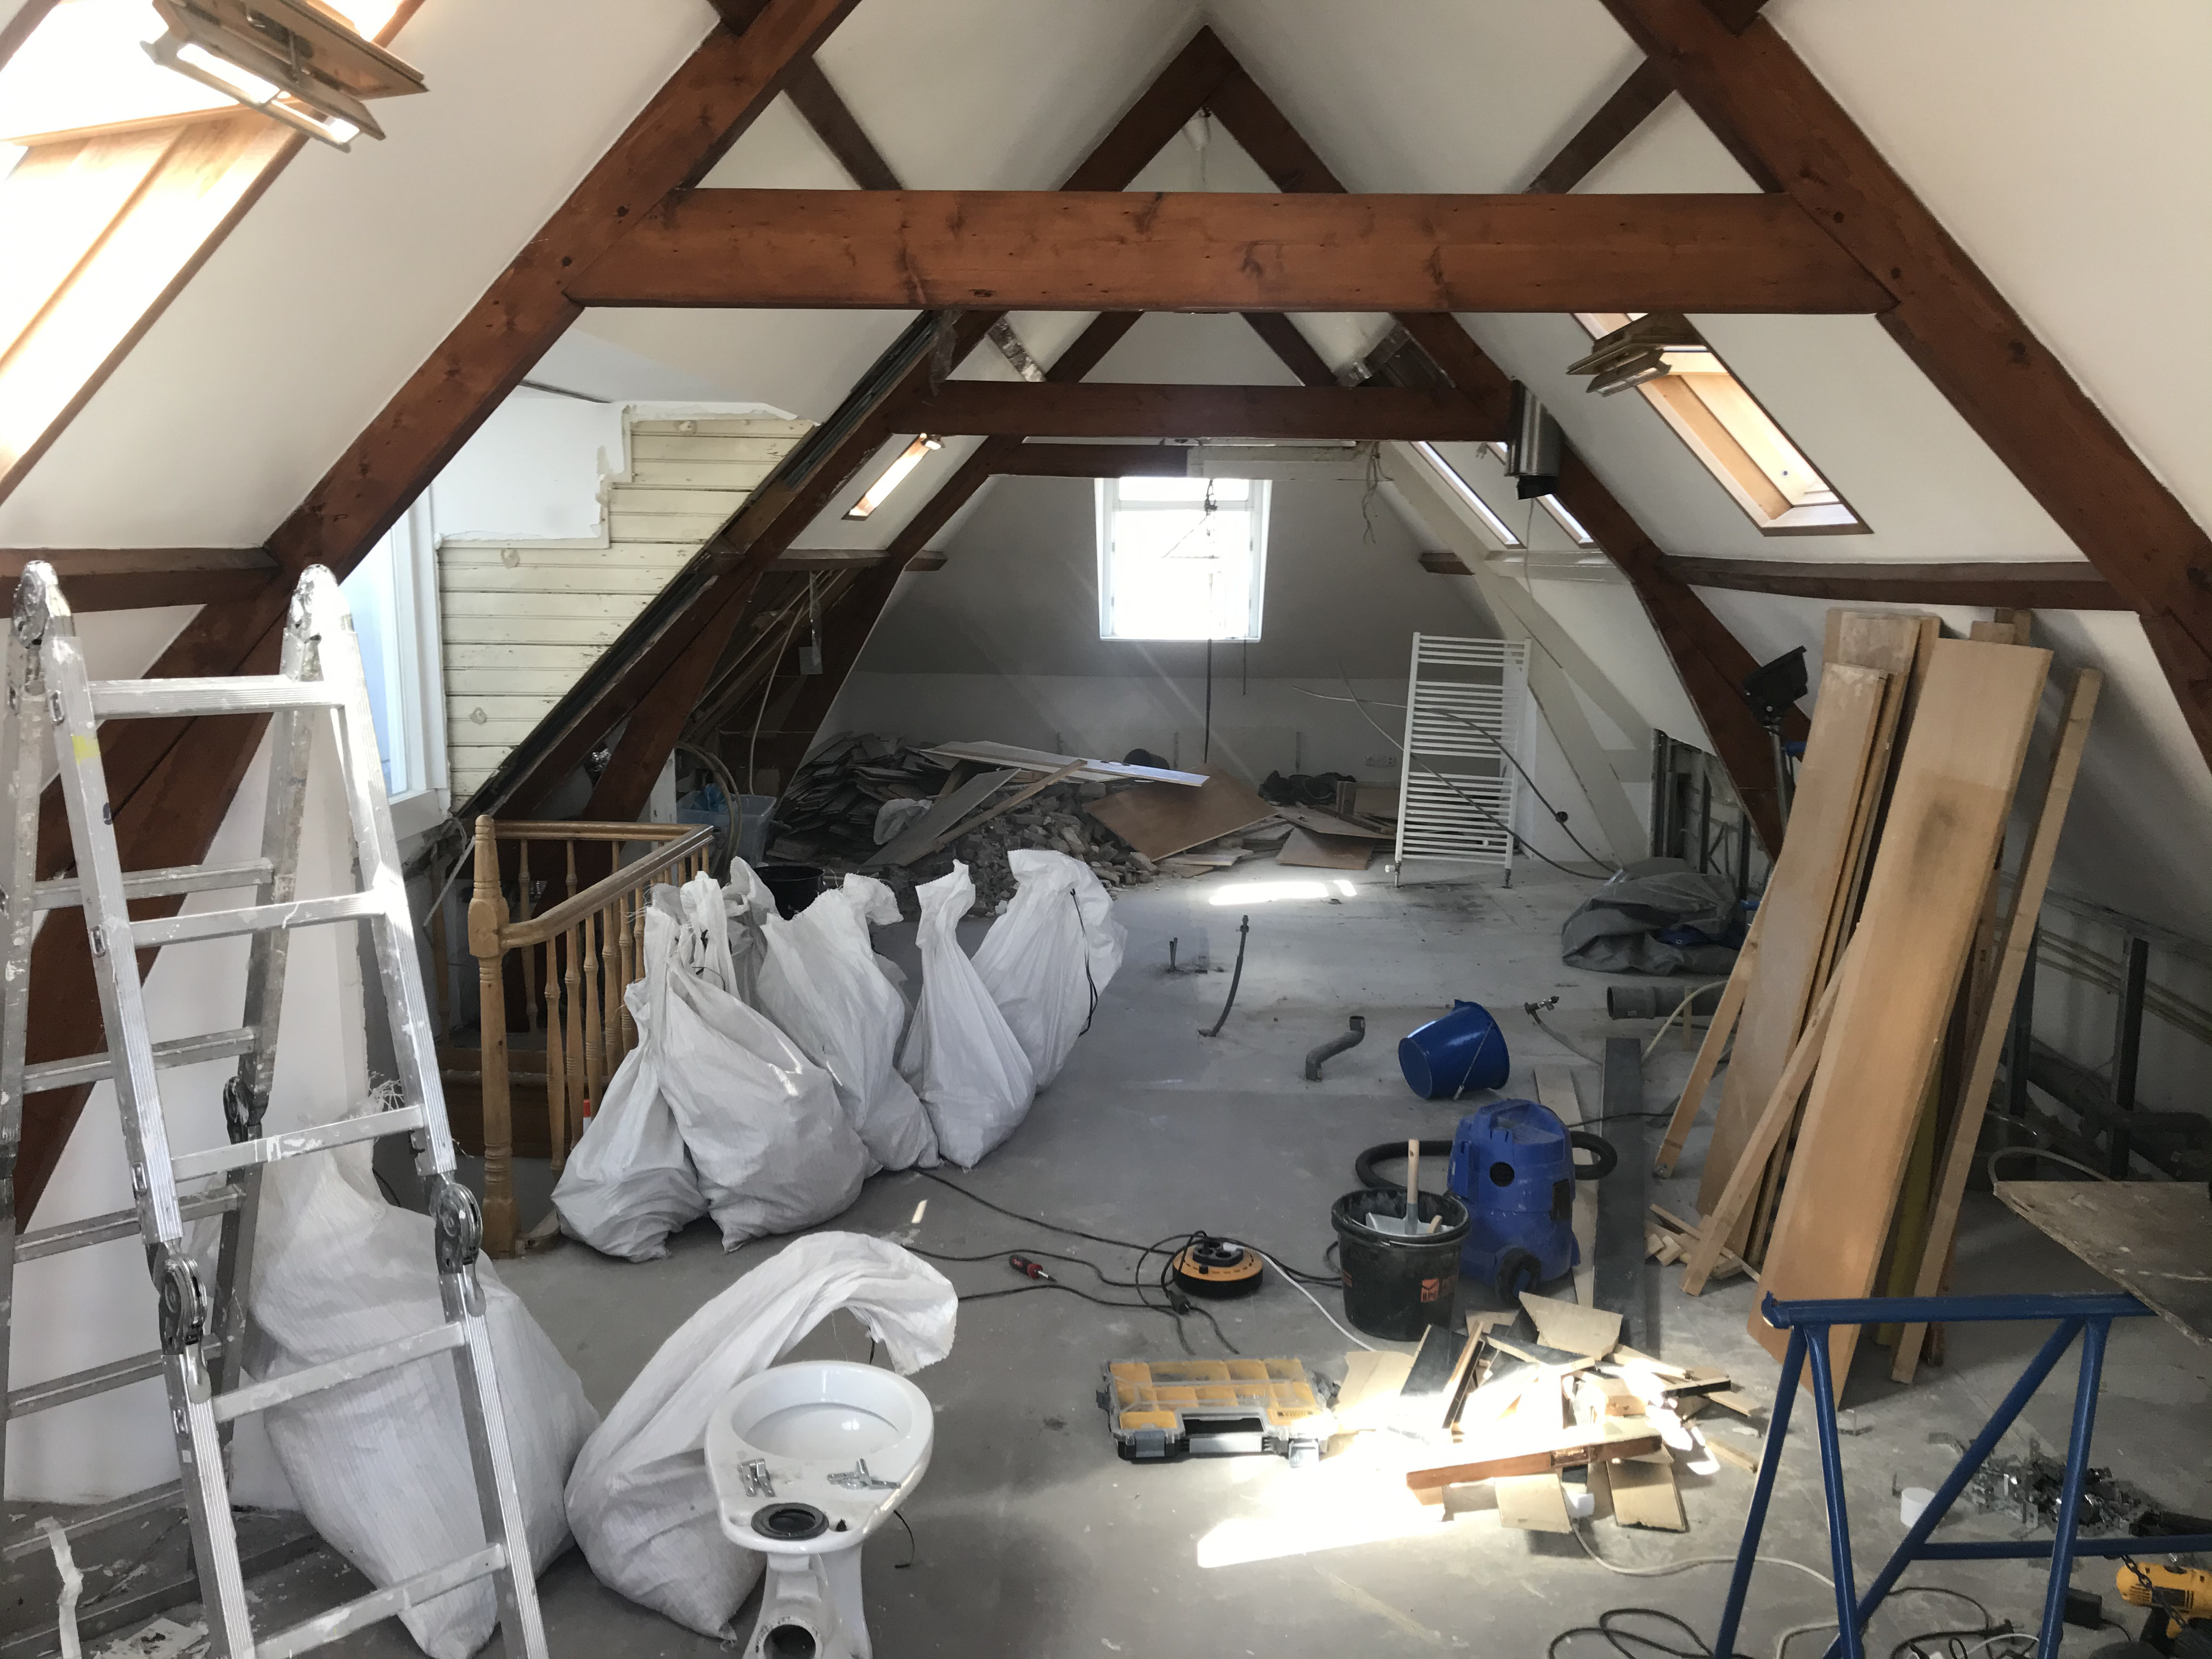
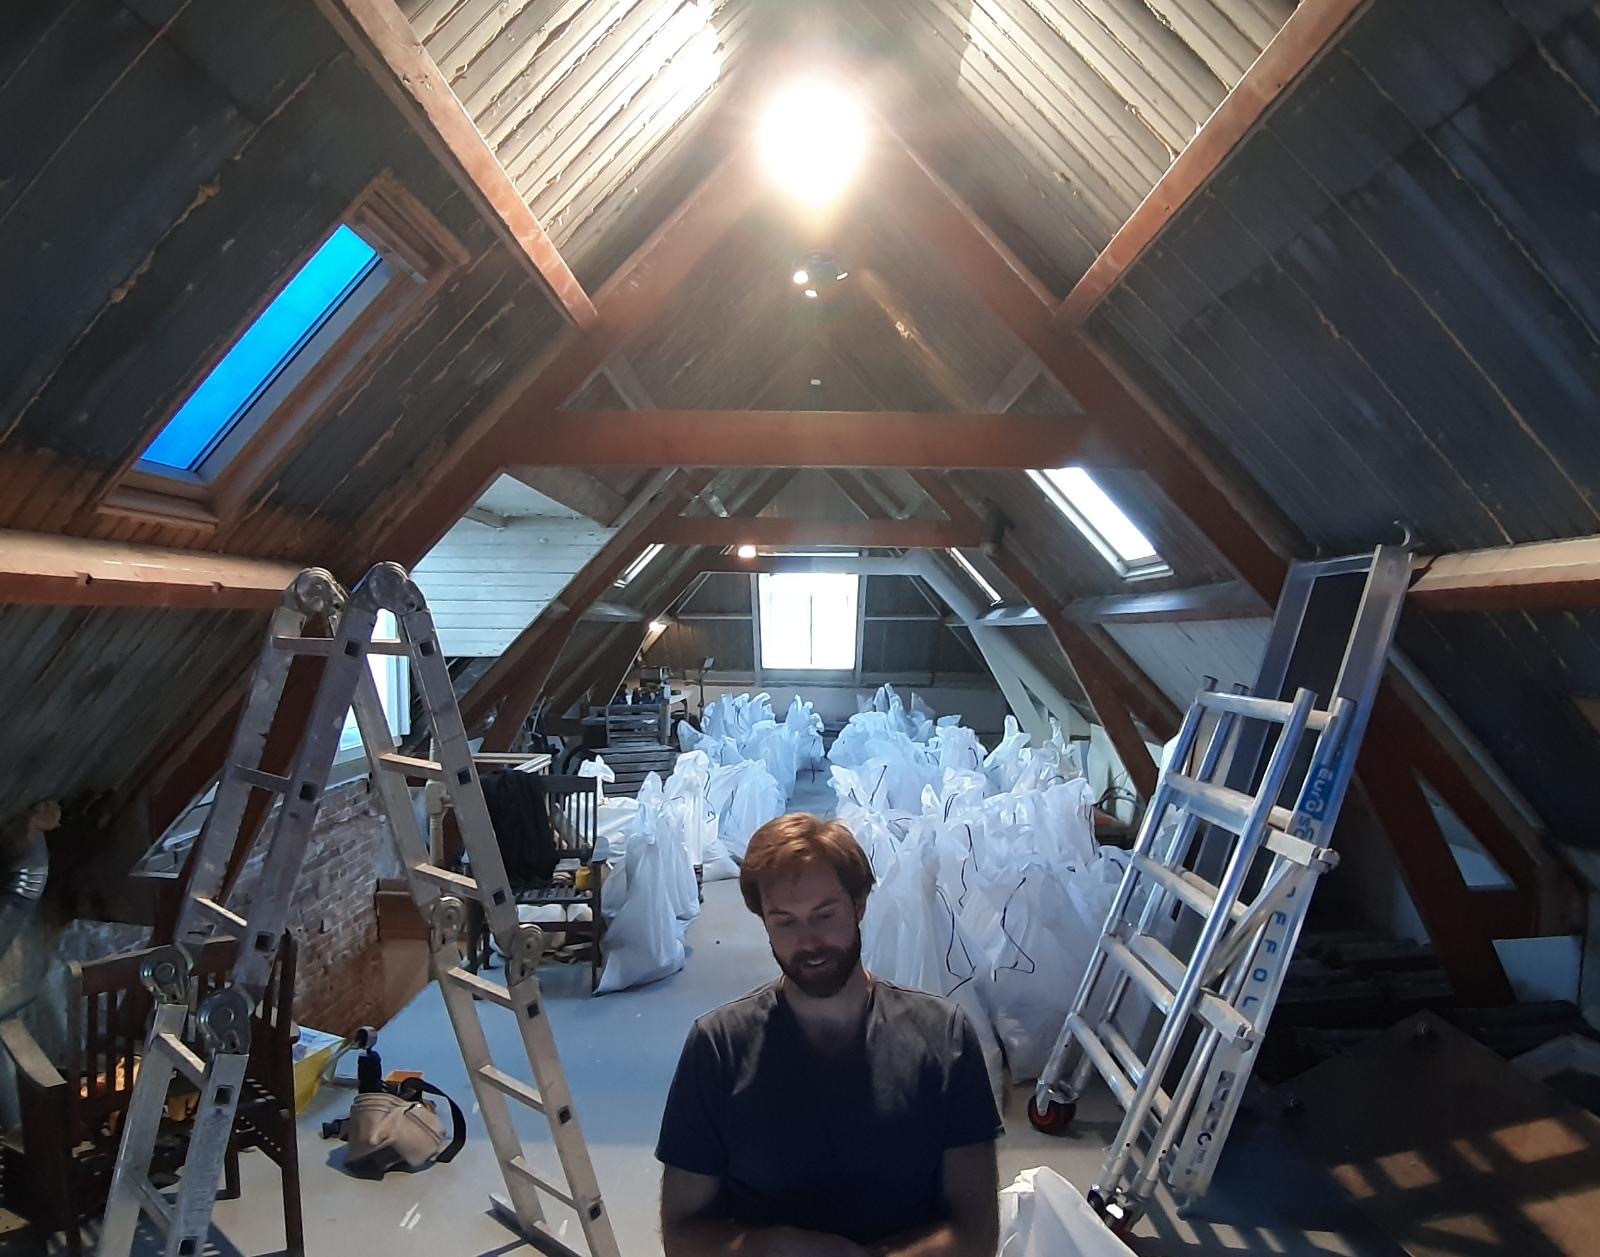
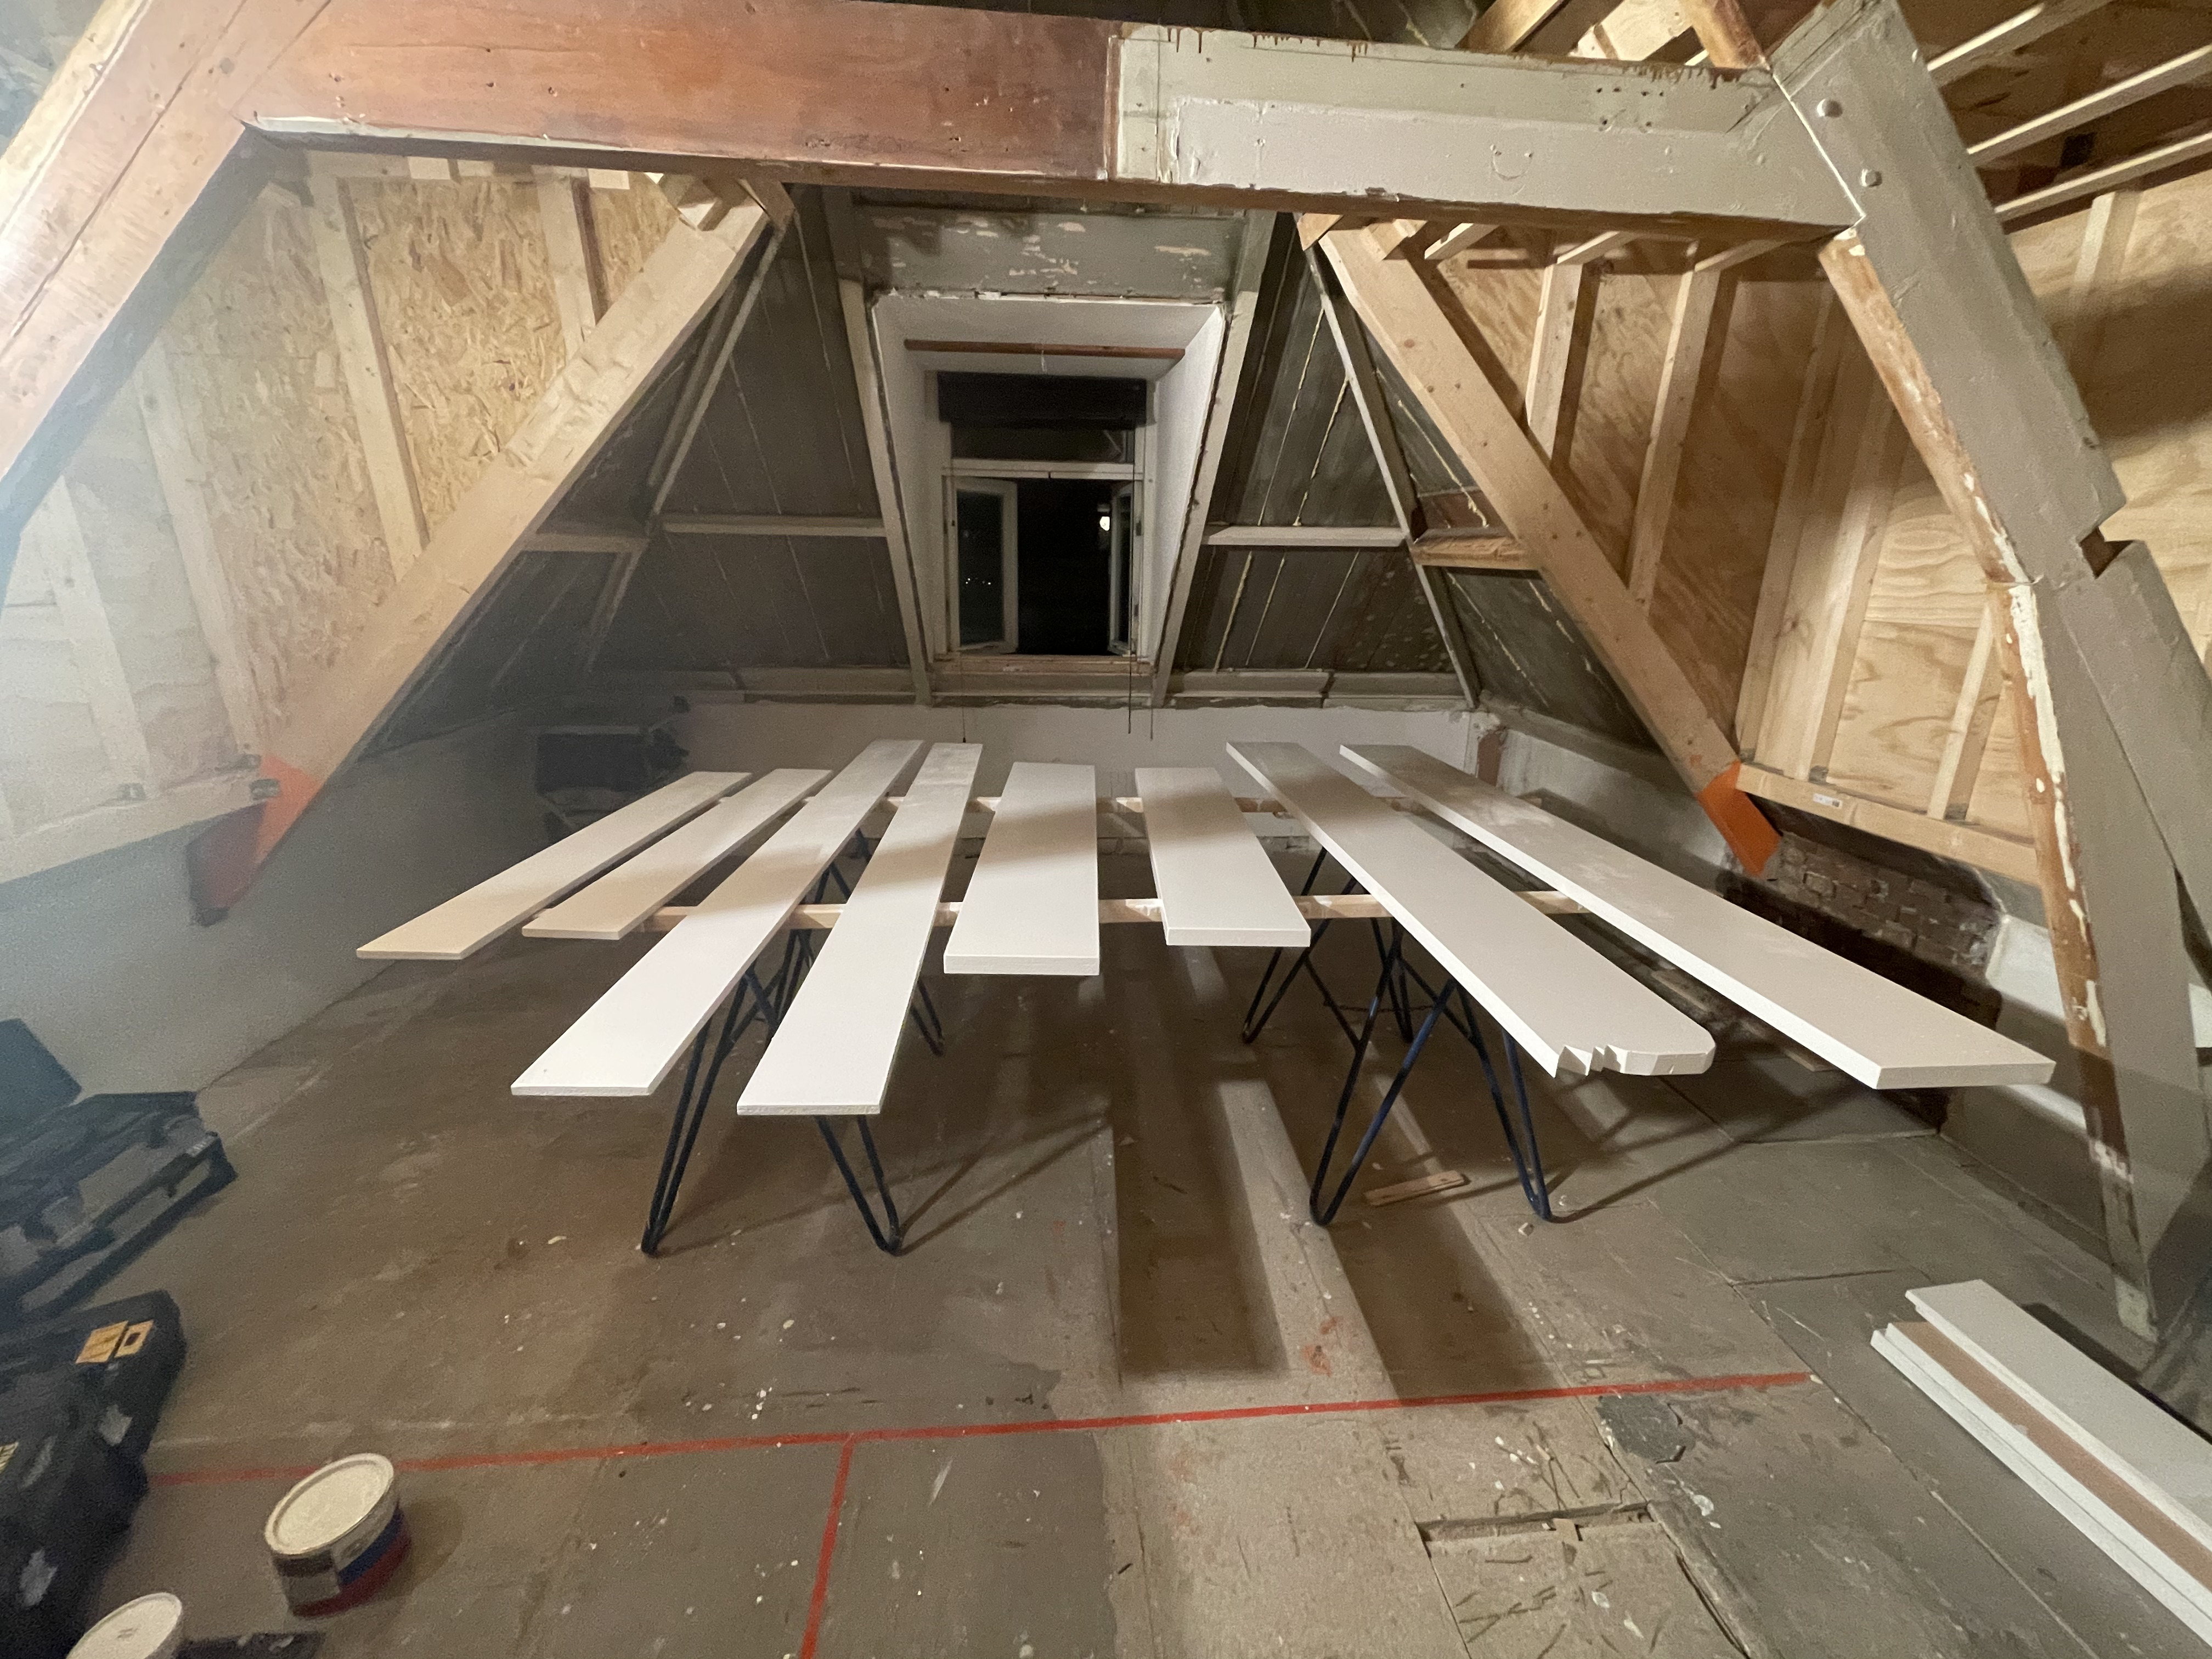
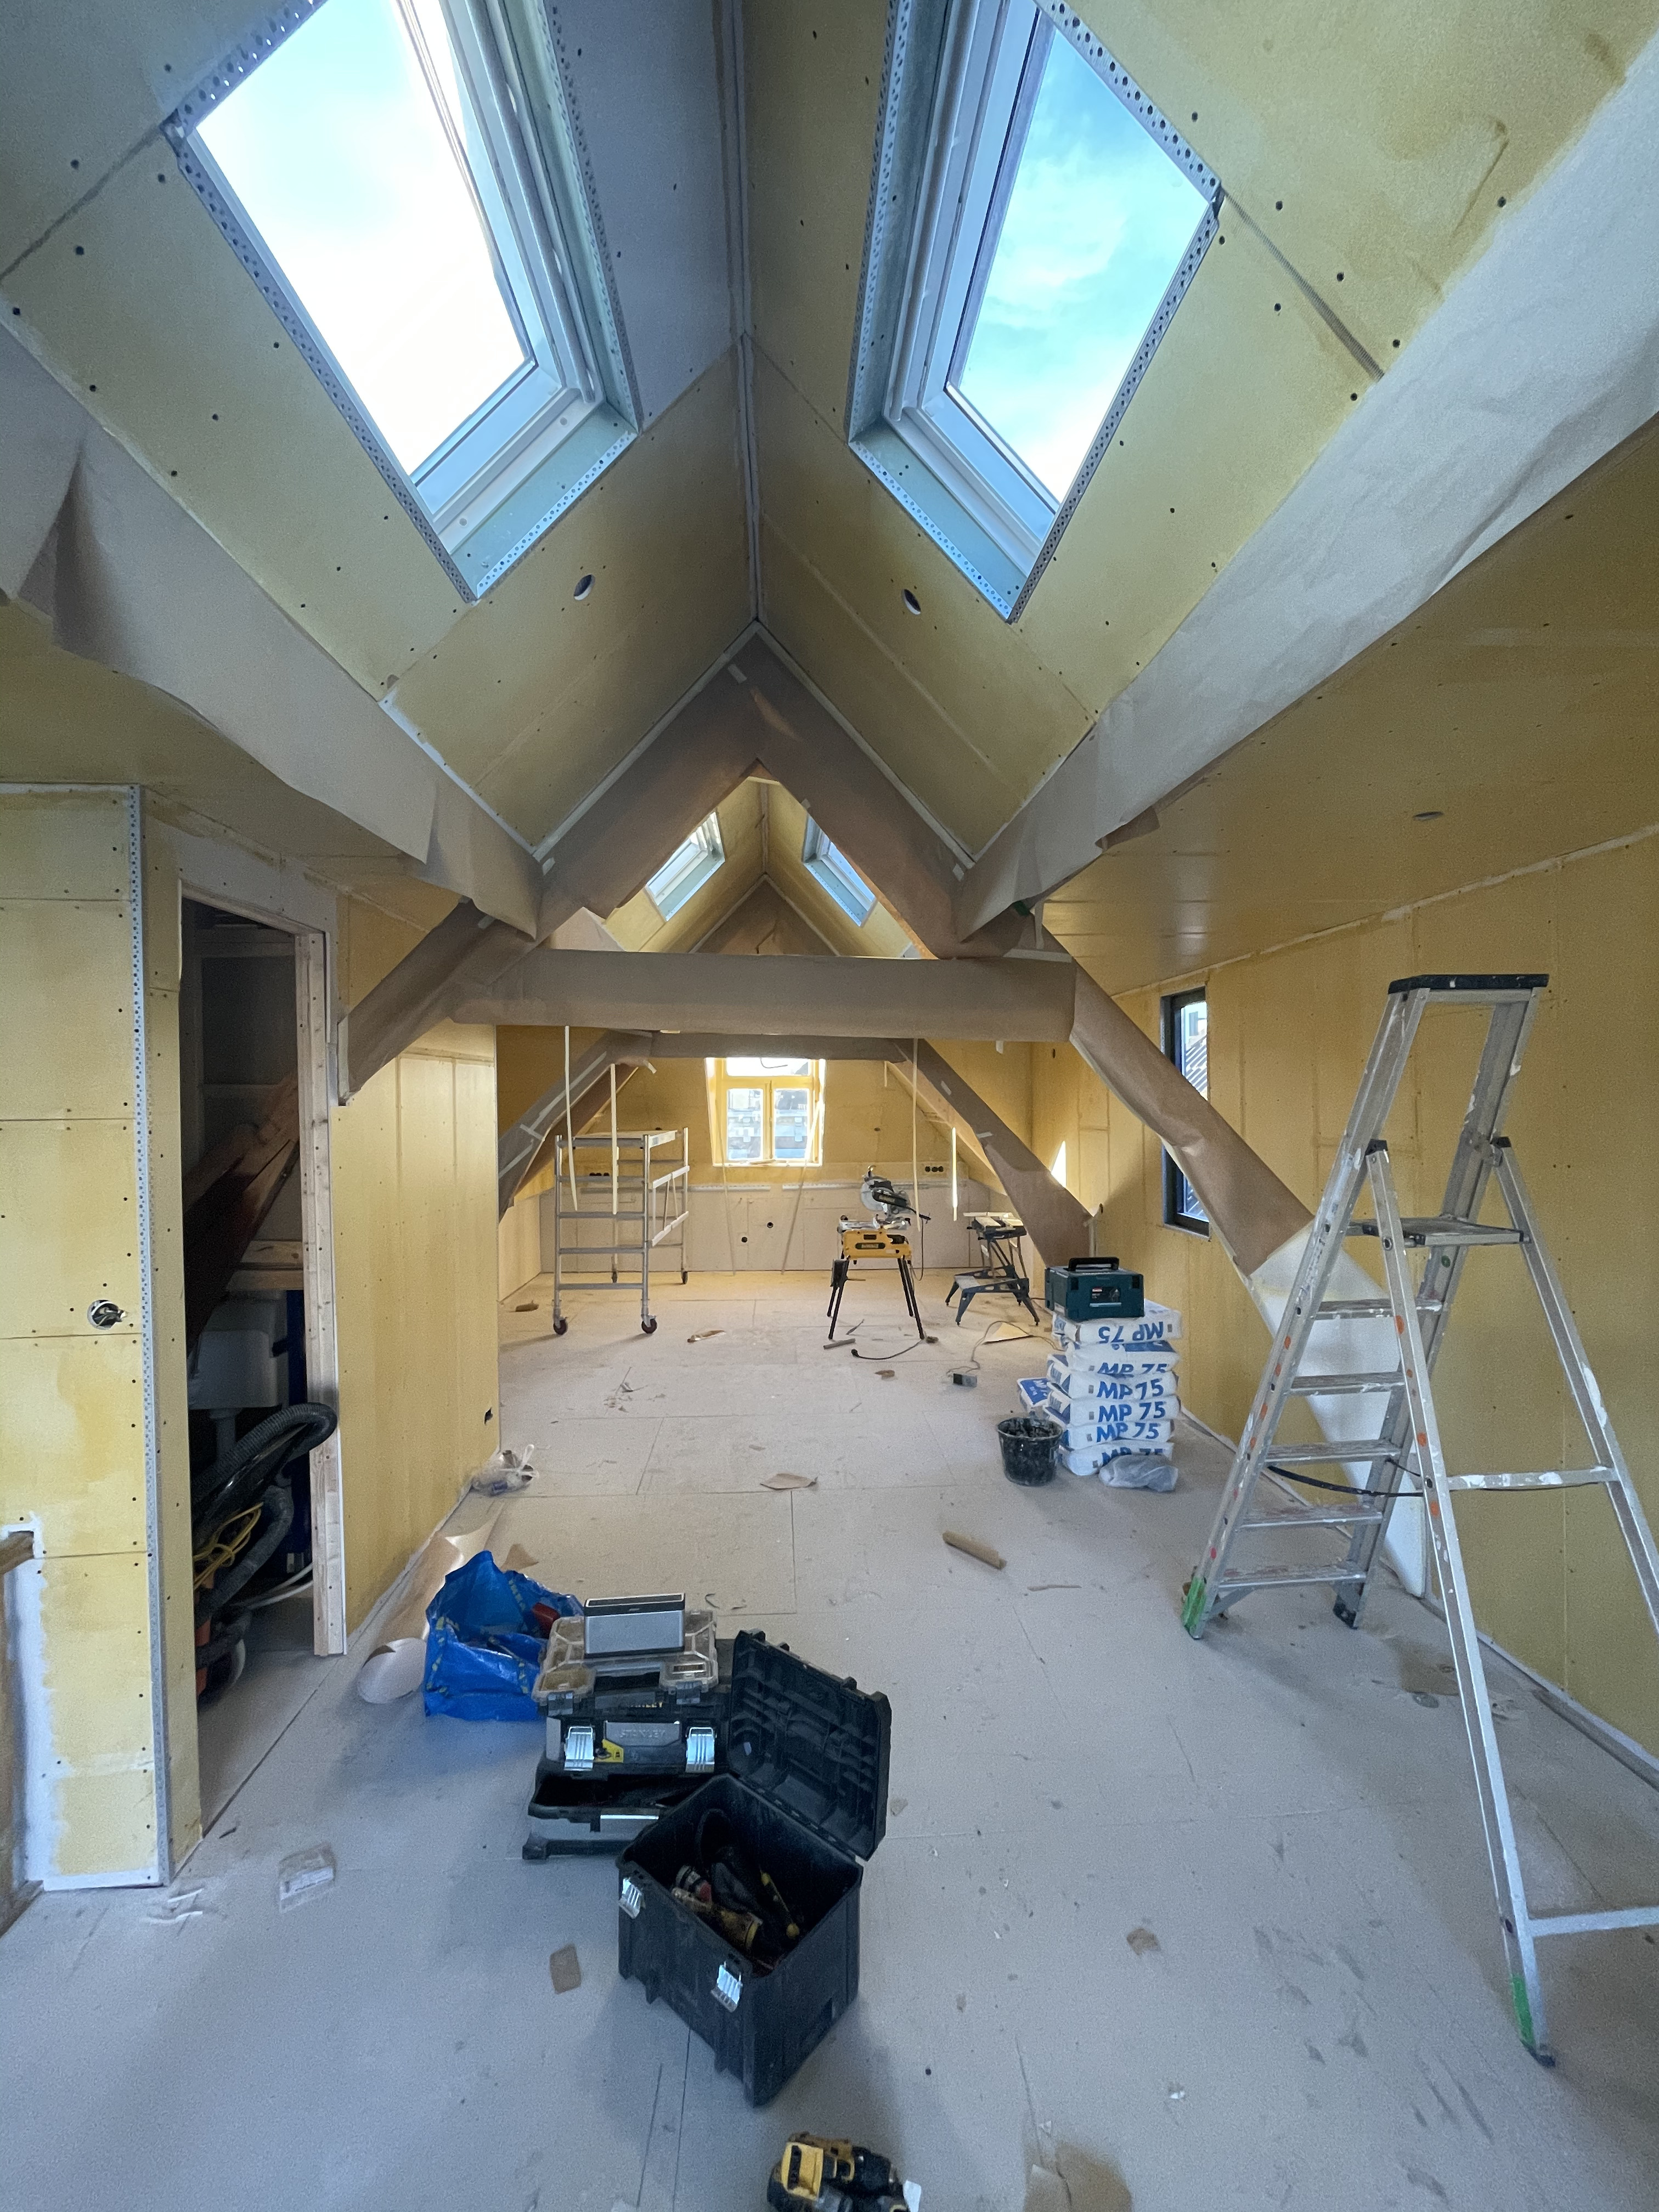
The last leg of this project was probably also the most work. We outsourced plumbing, floor heating, plastering, installing the parquet floor and installing the kitchen counter tops. There are too many tasks to list like I did above so I’ve picked a few highlights and tried to show the process for each.
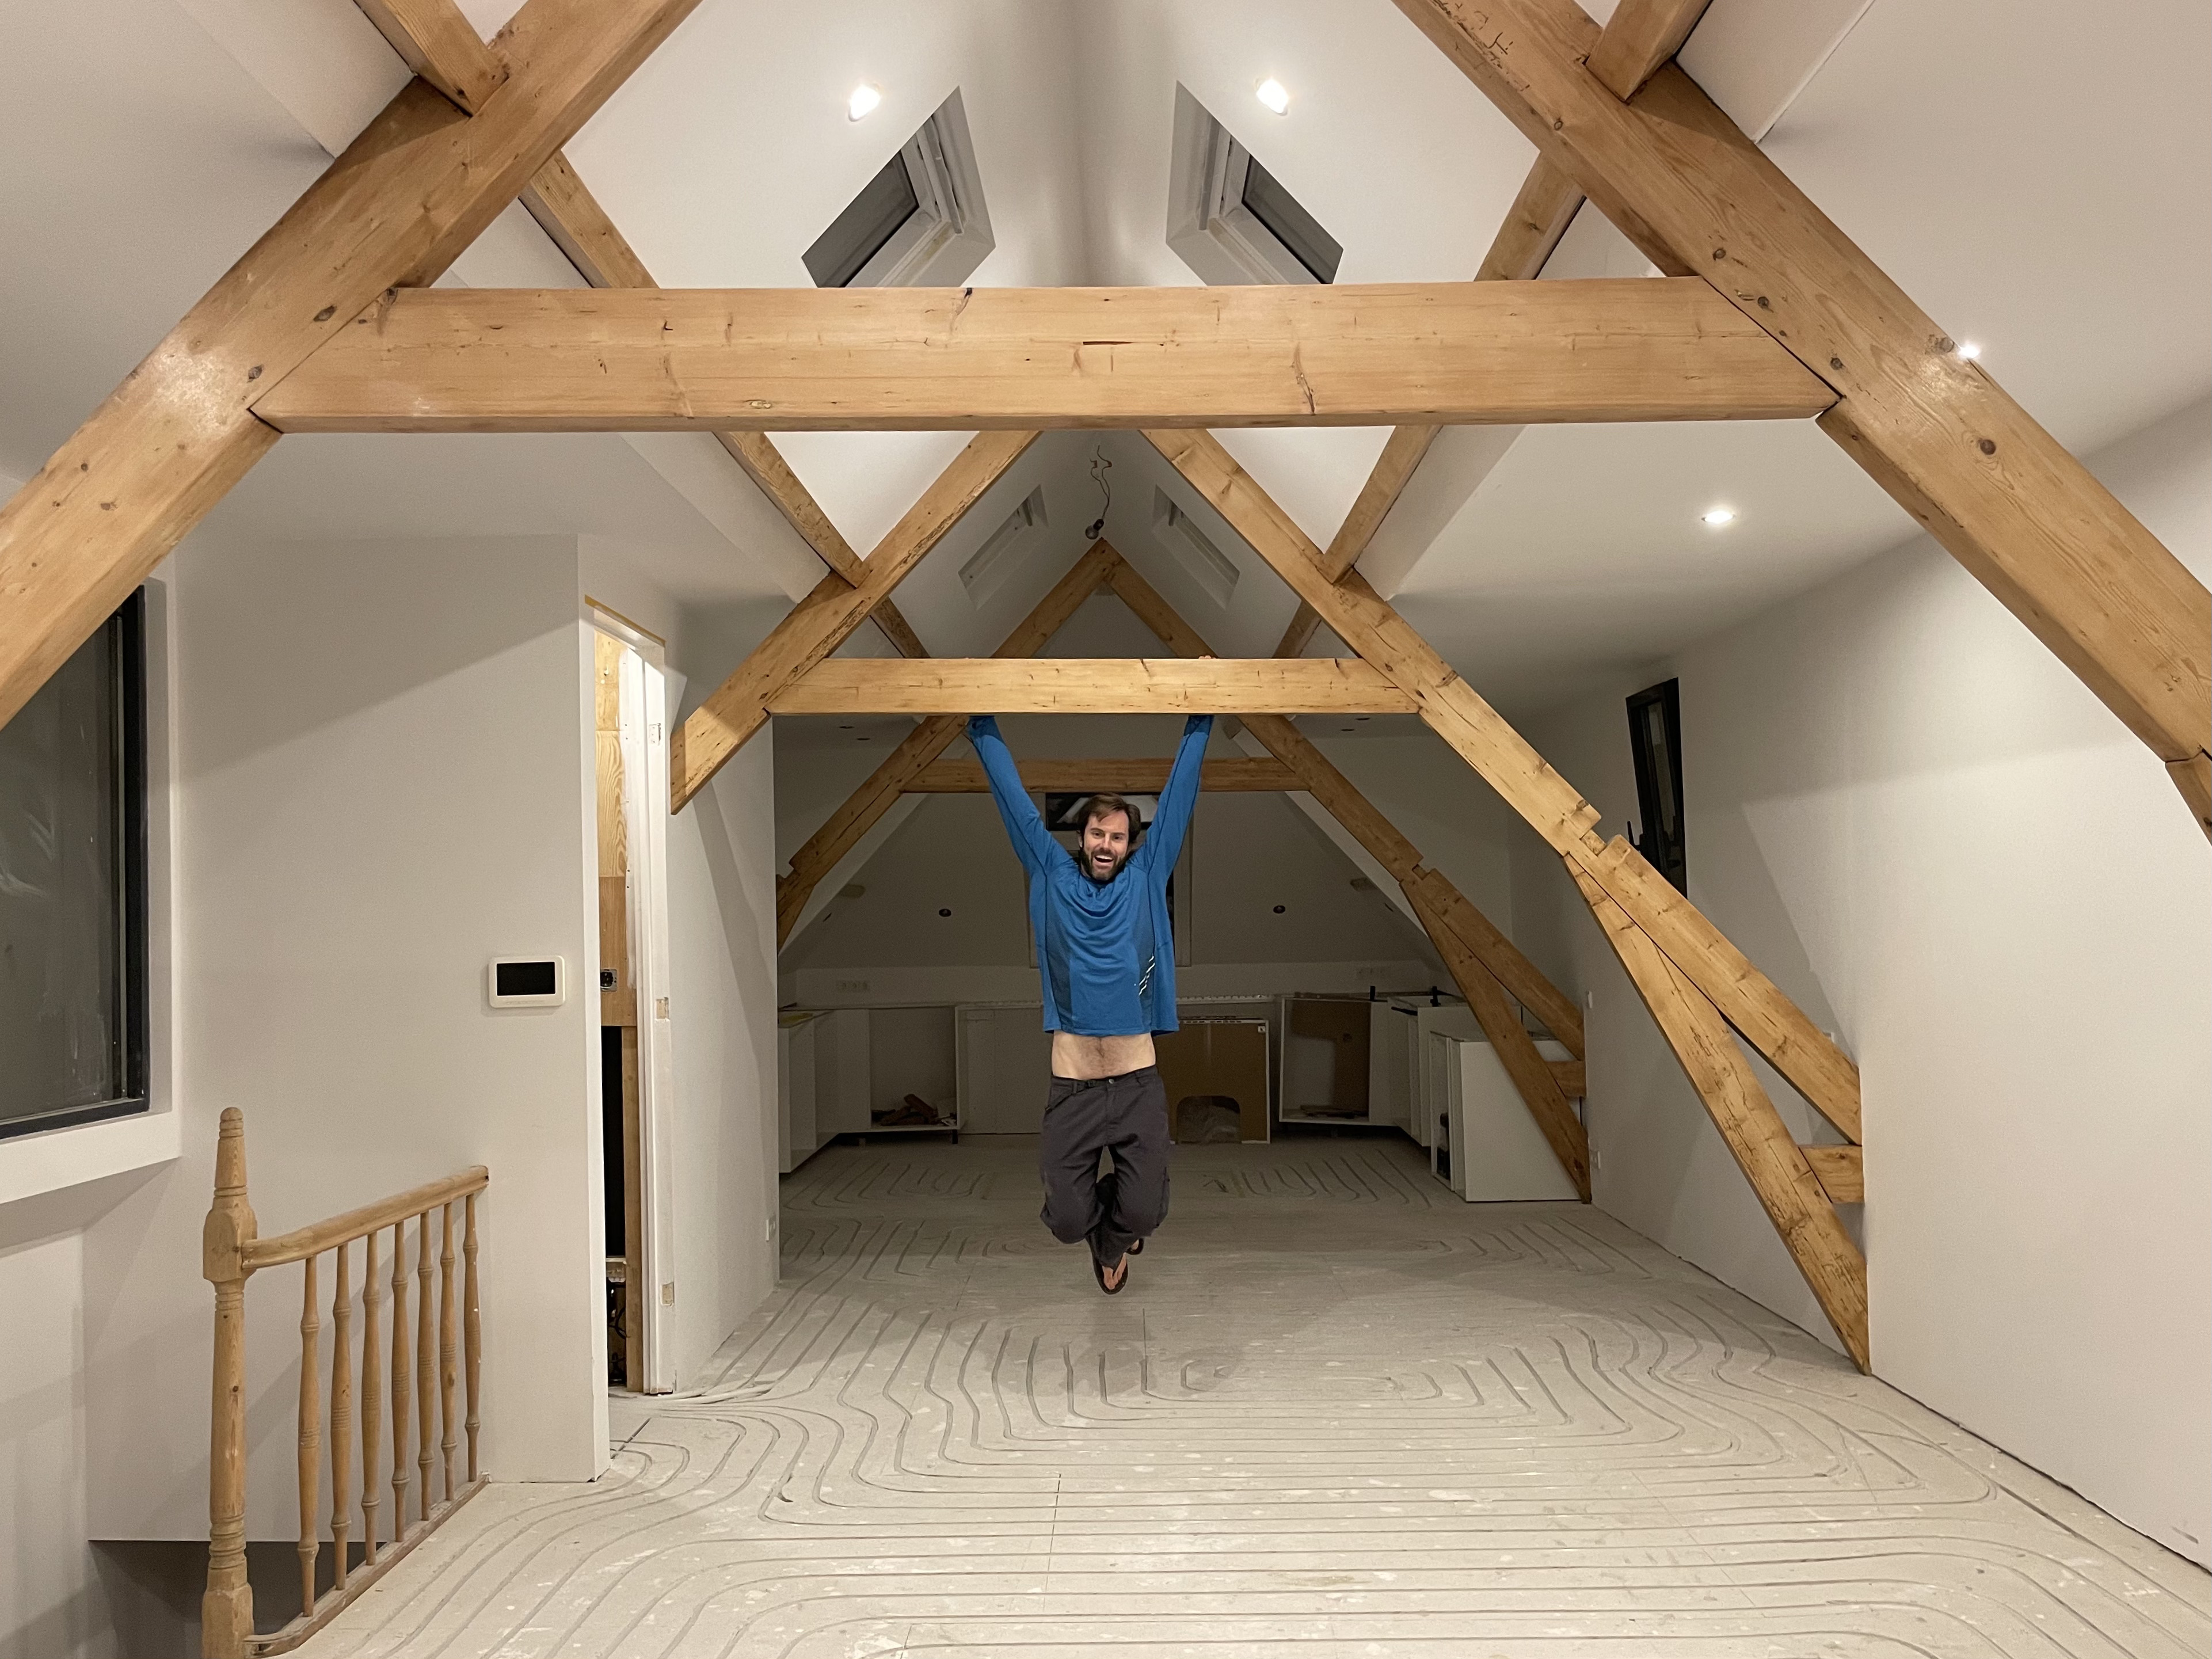
Since the start of the construction I couldn’t wait for the moment to clean the trusses and bring them back to their natural color. I was so excited, I started sanding the trusses long before I should have.
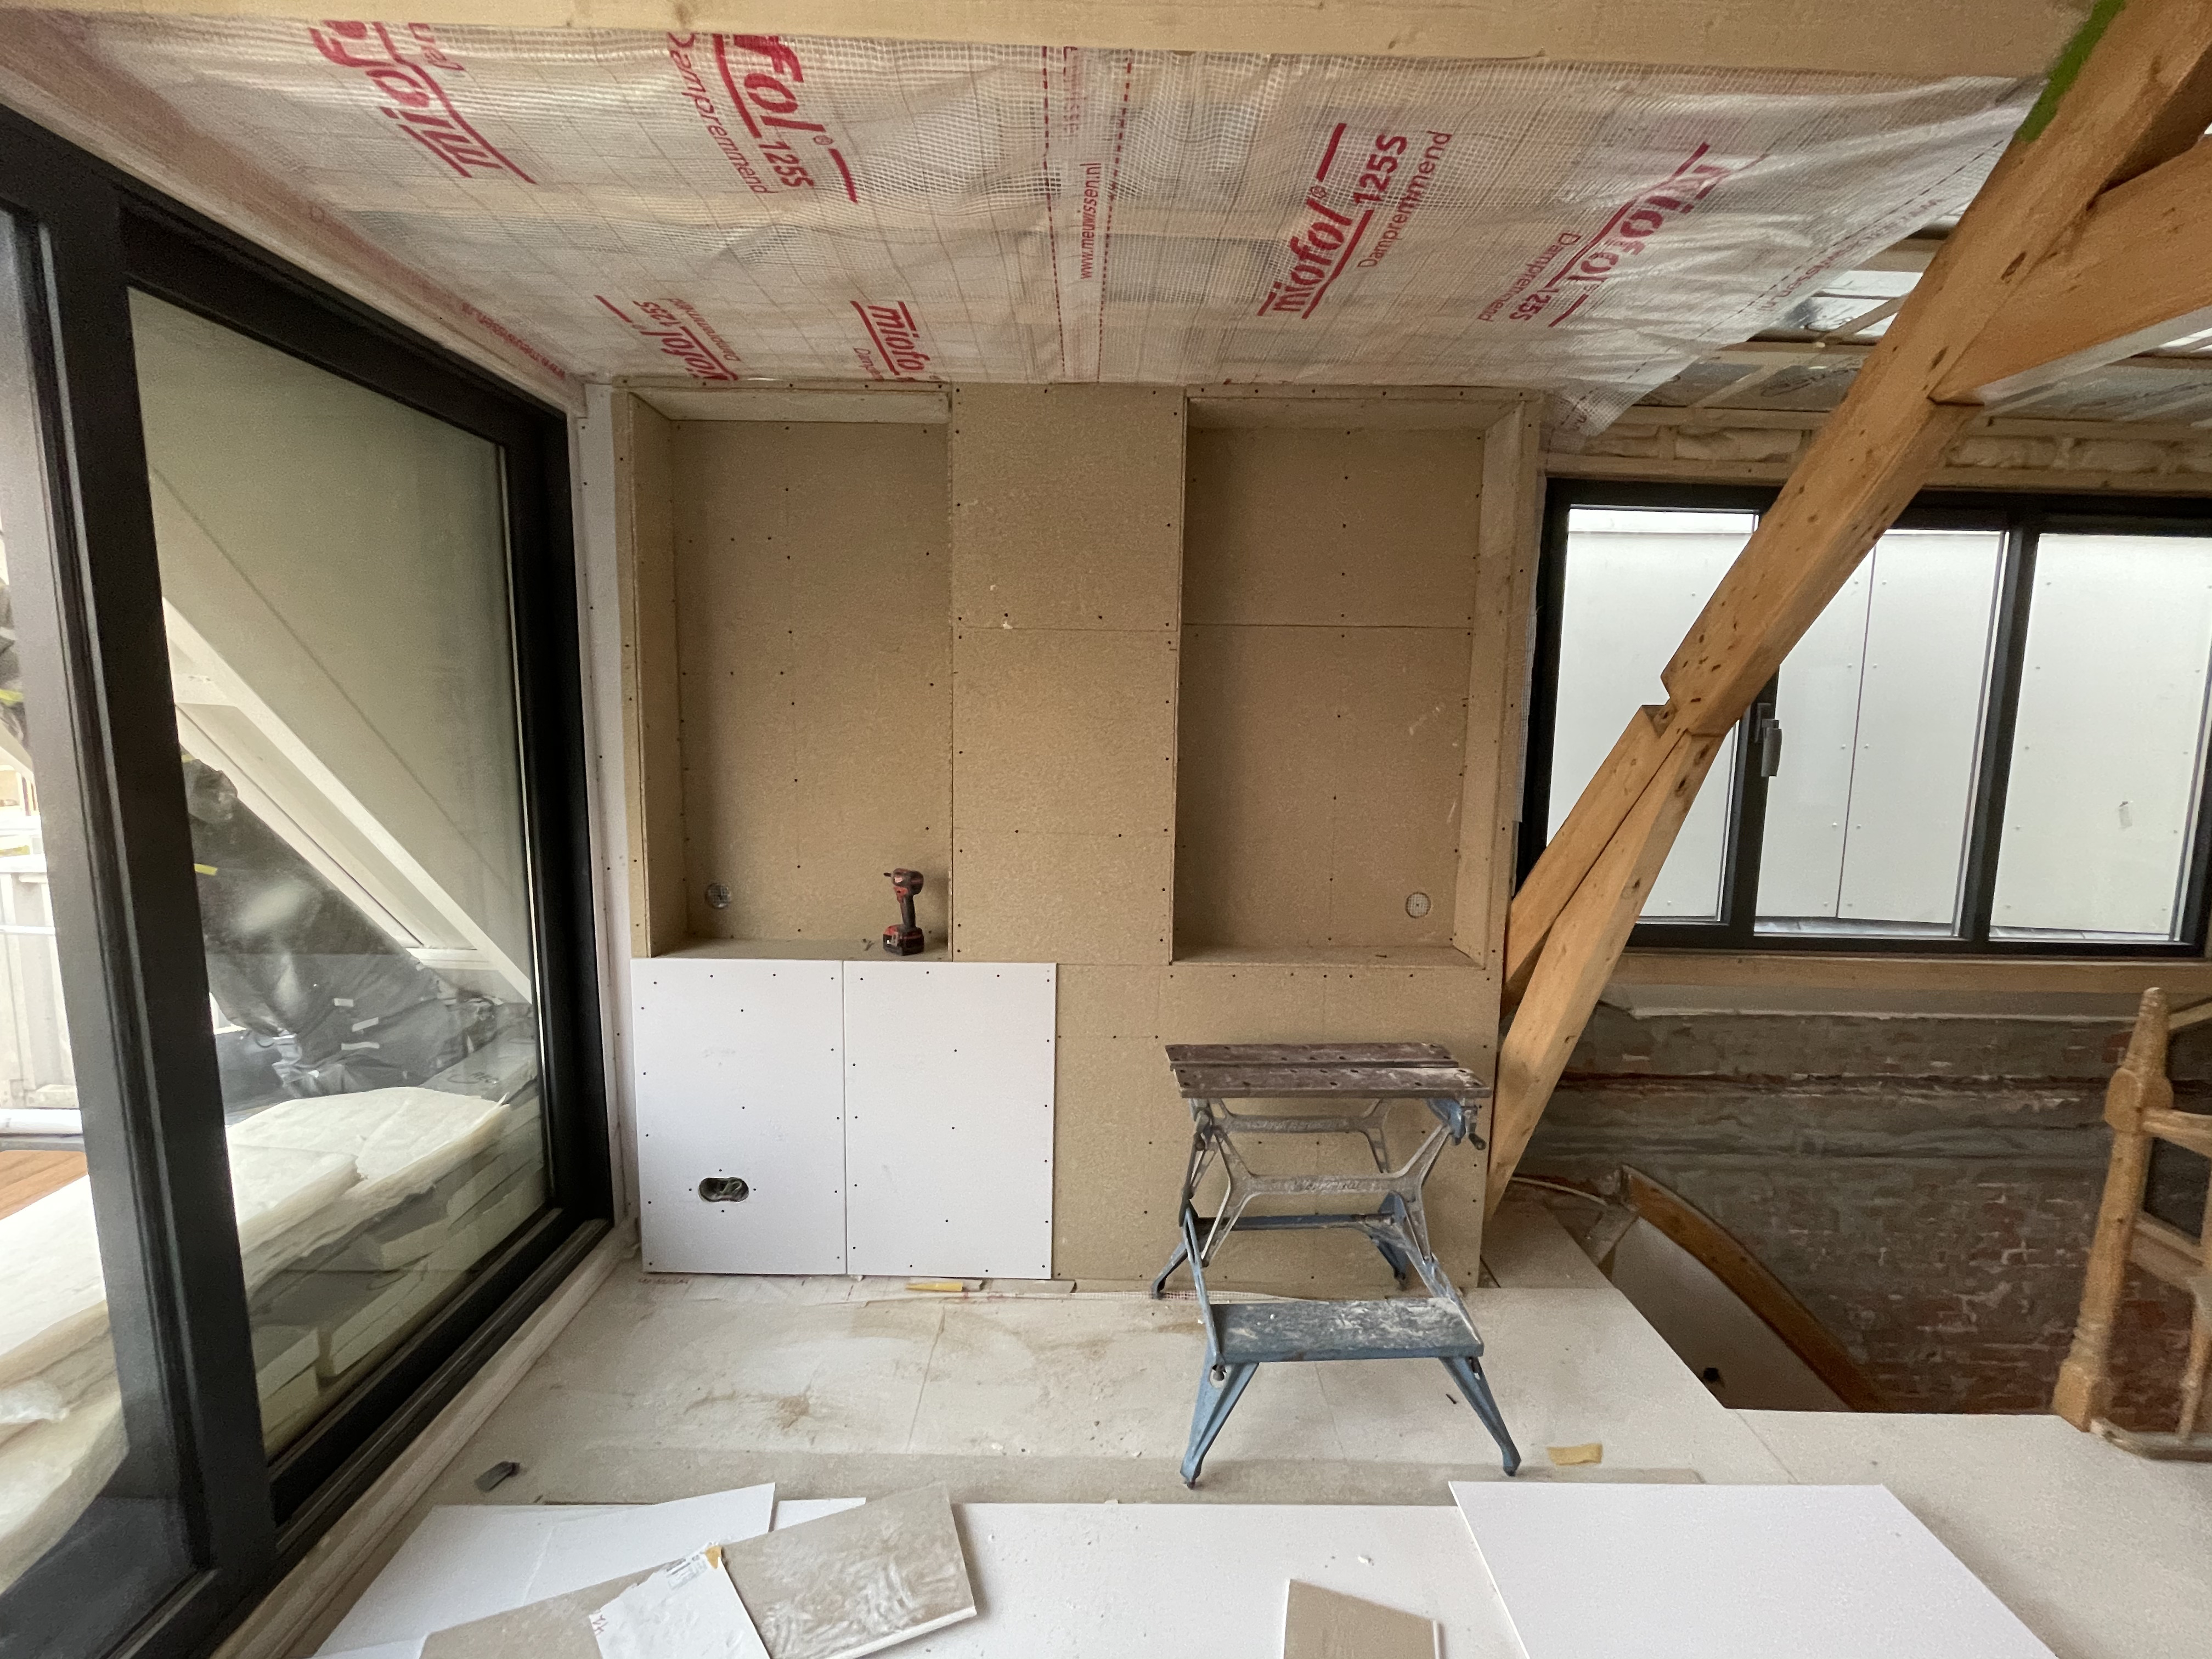
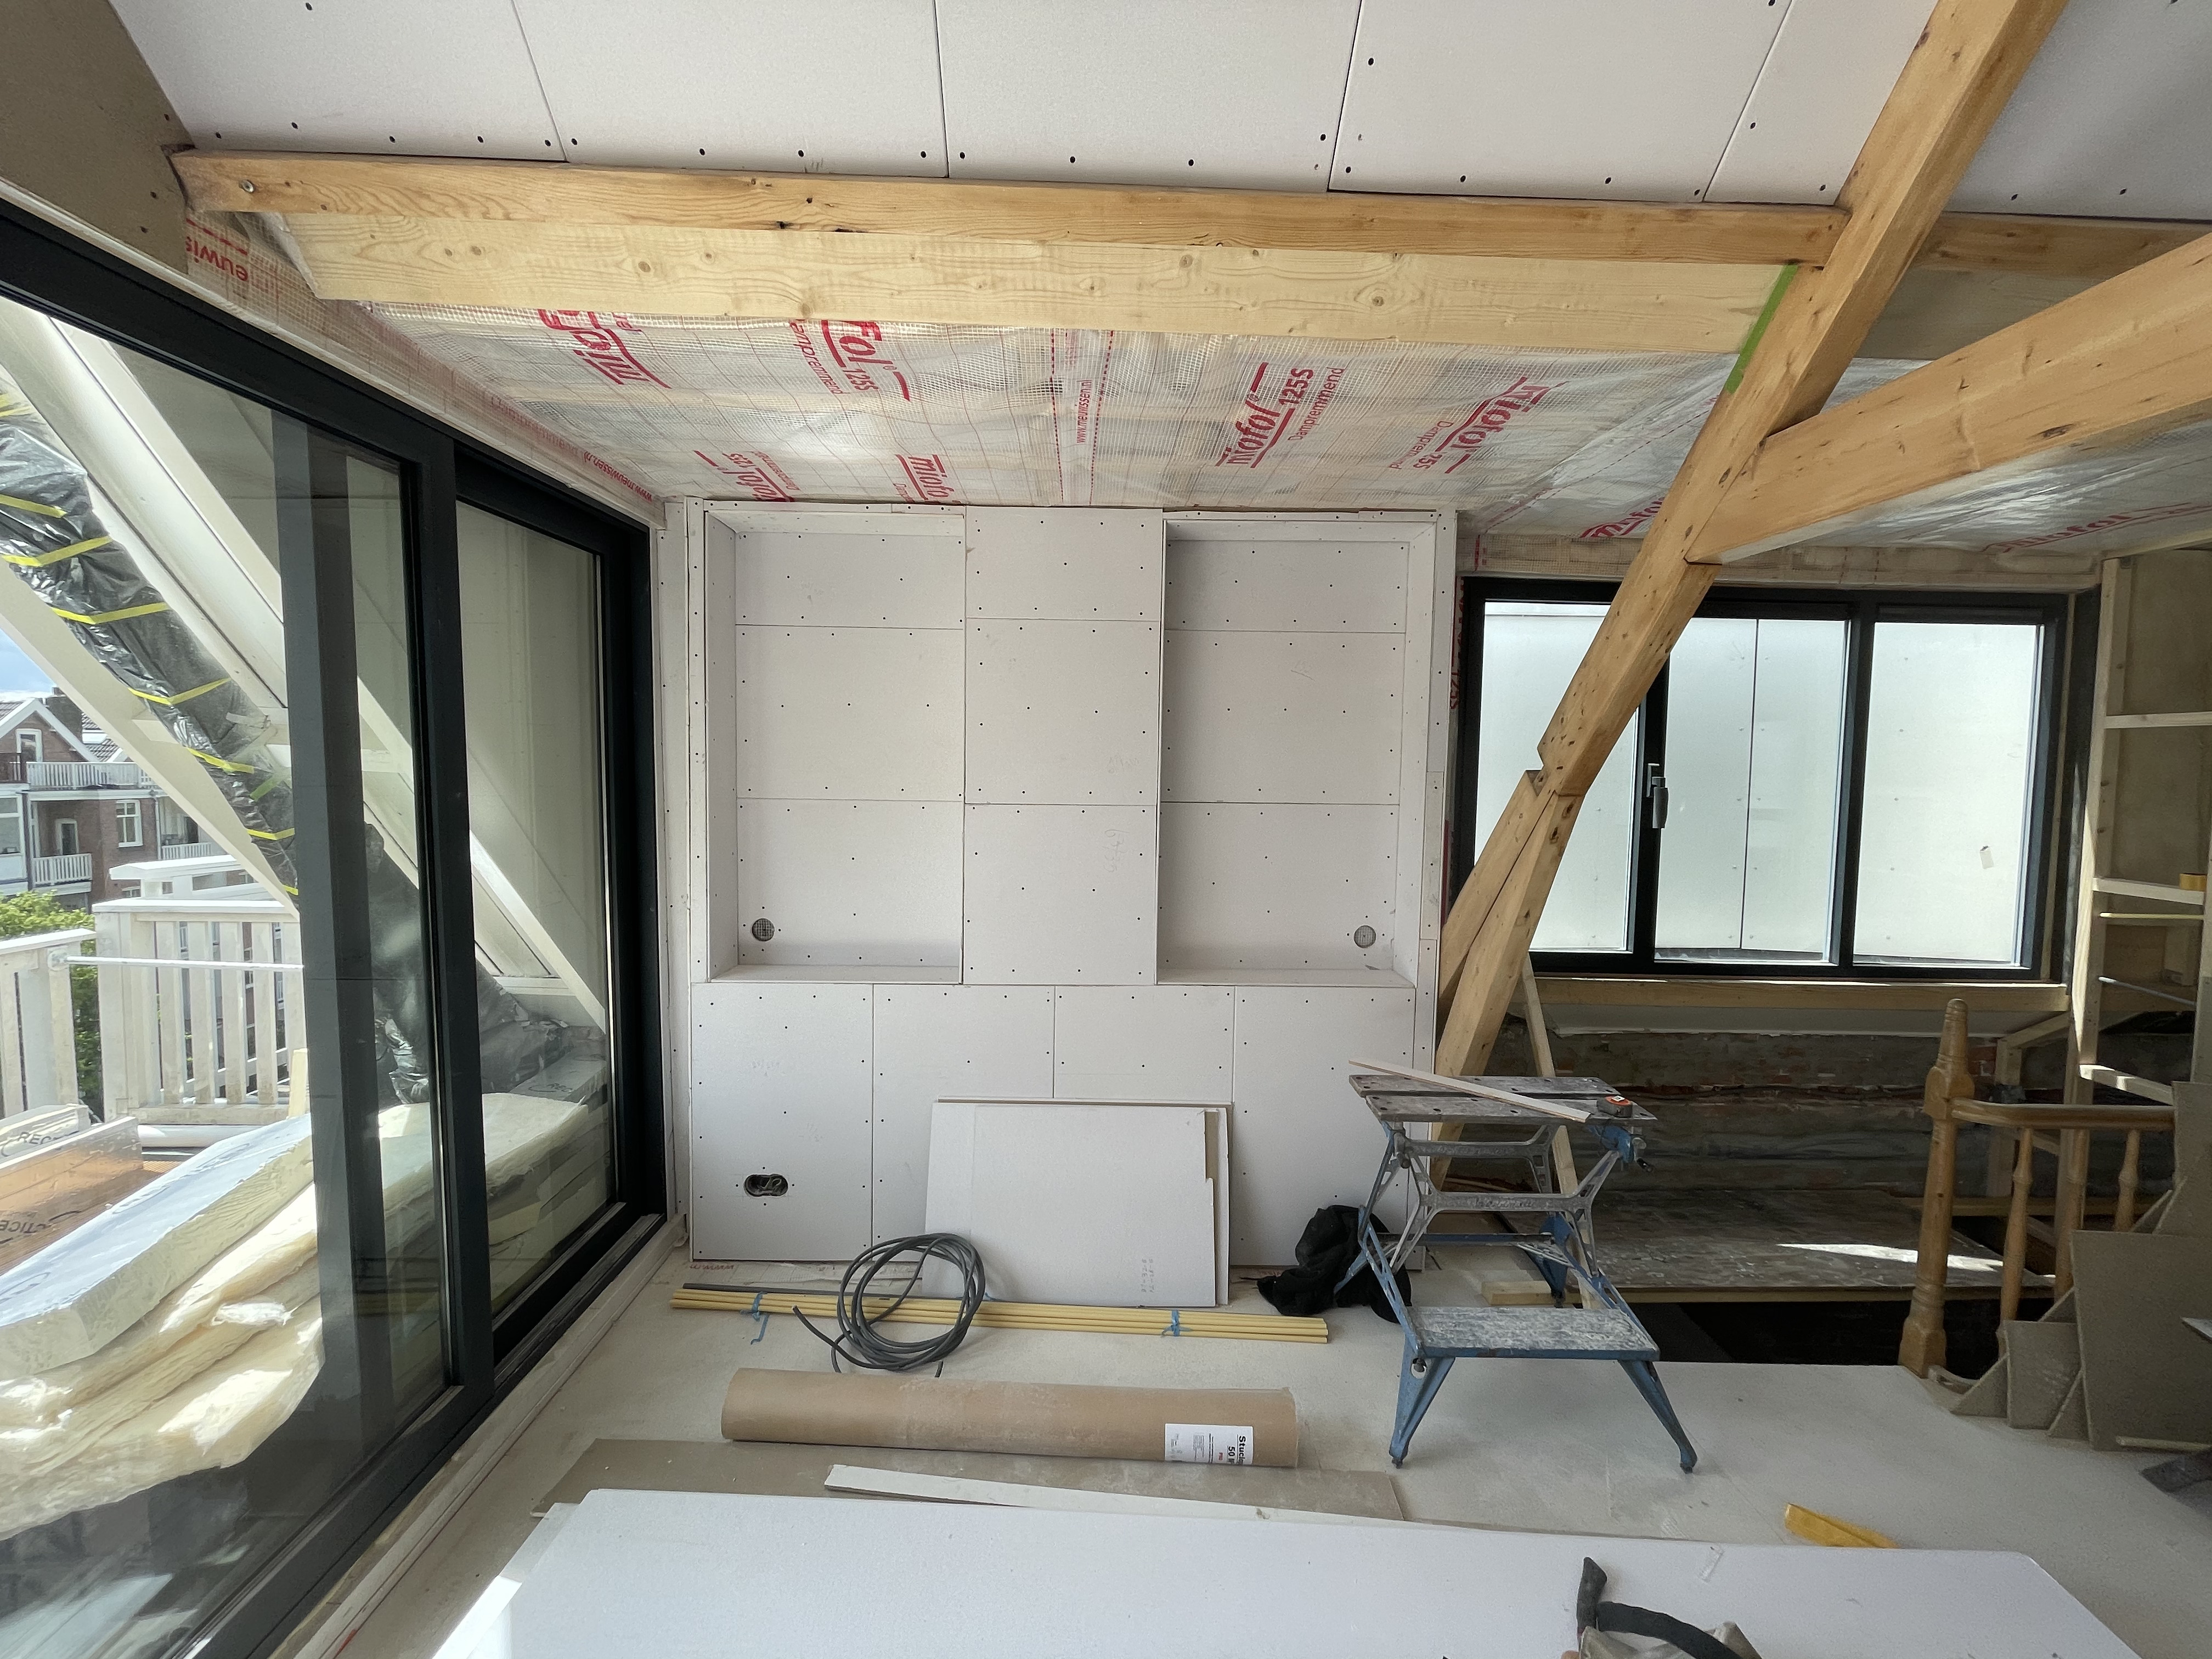
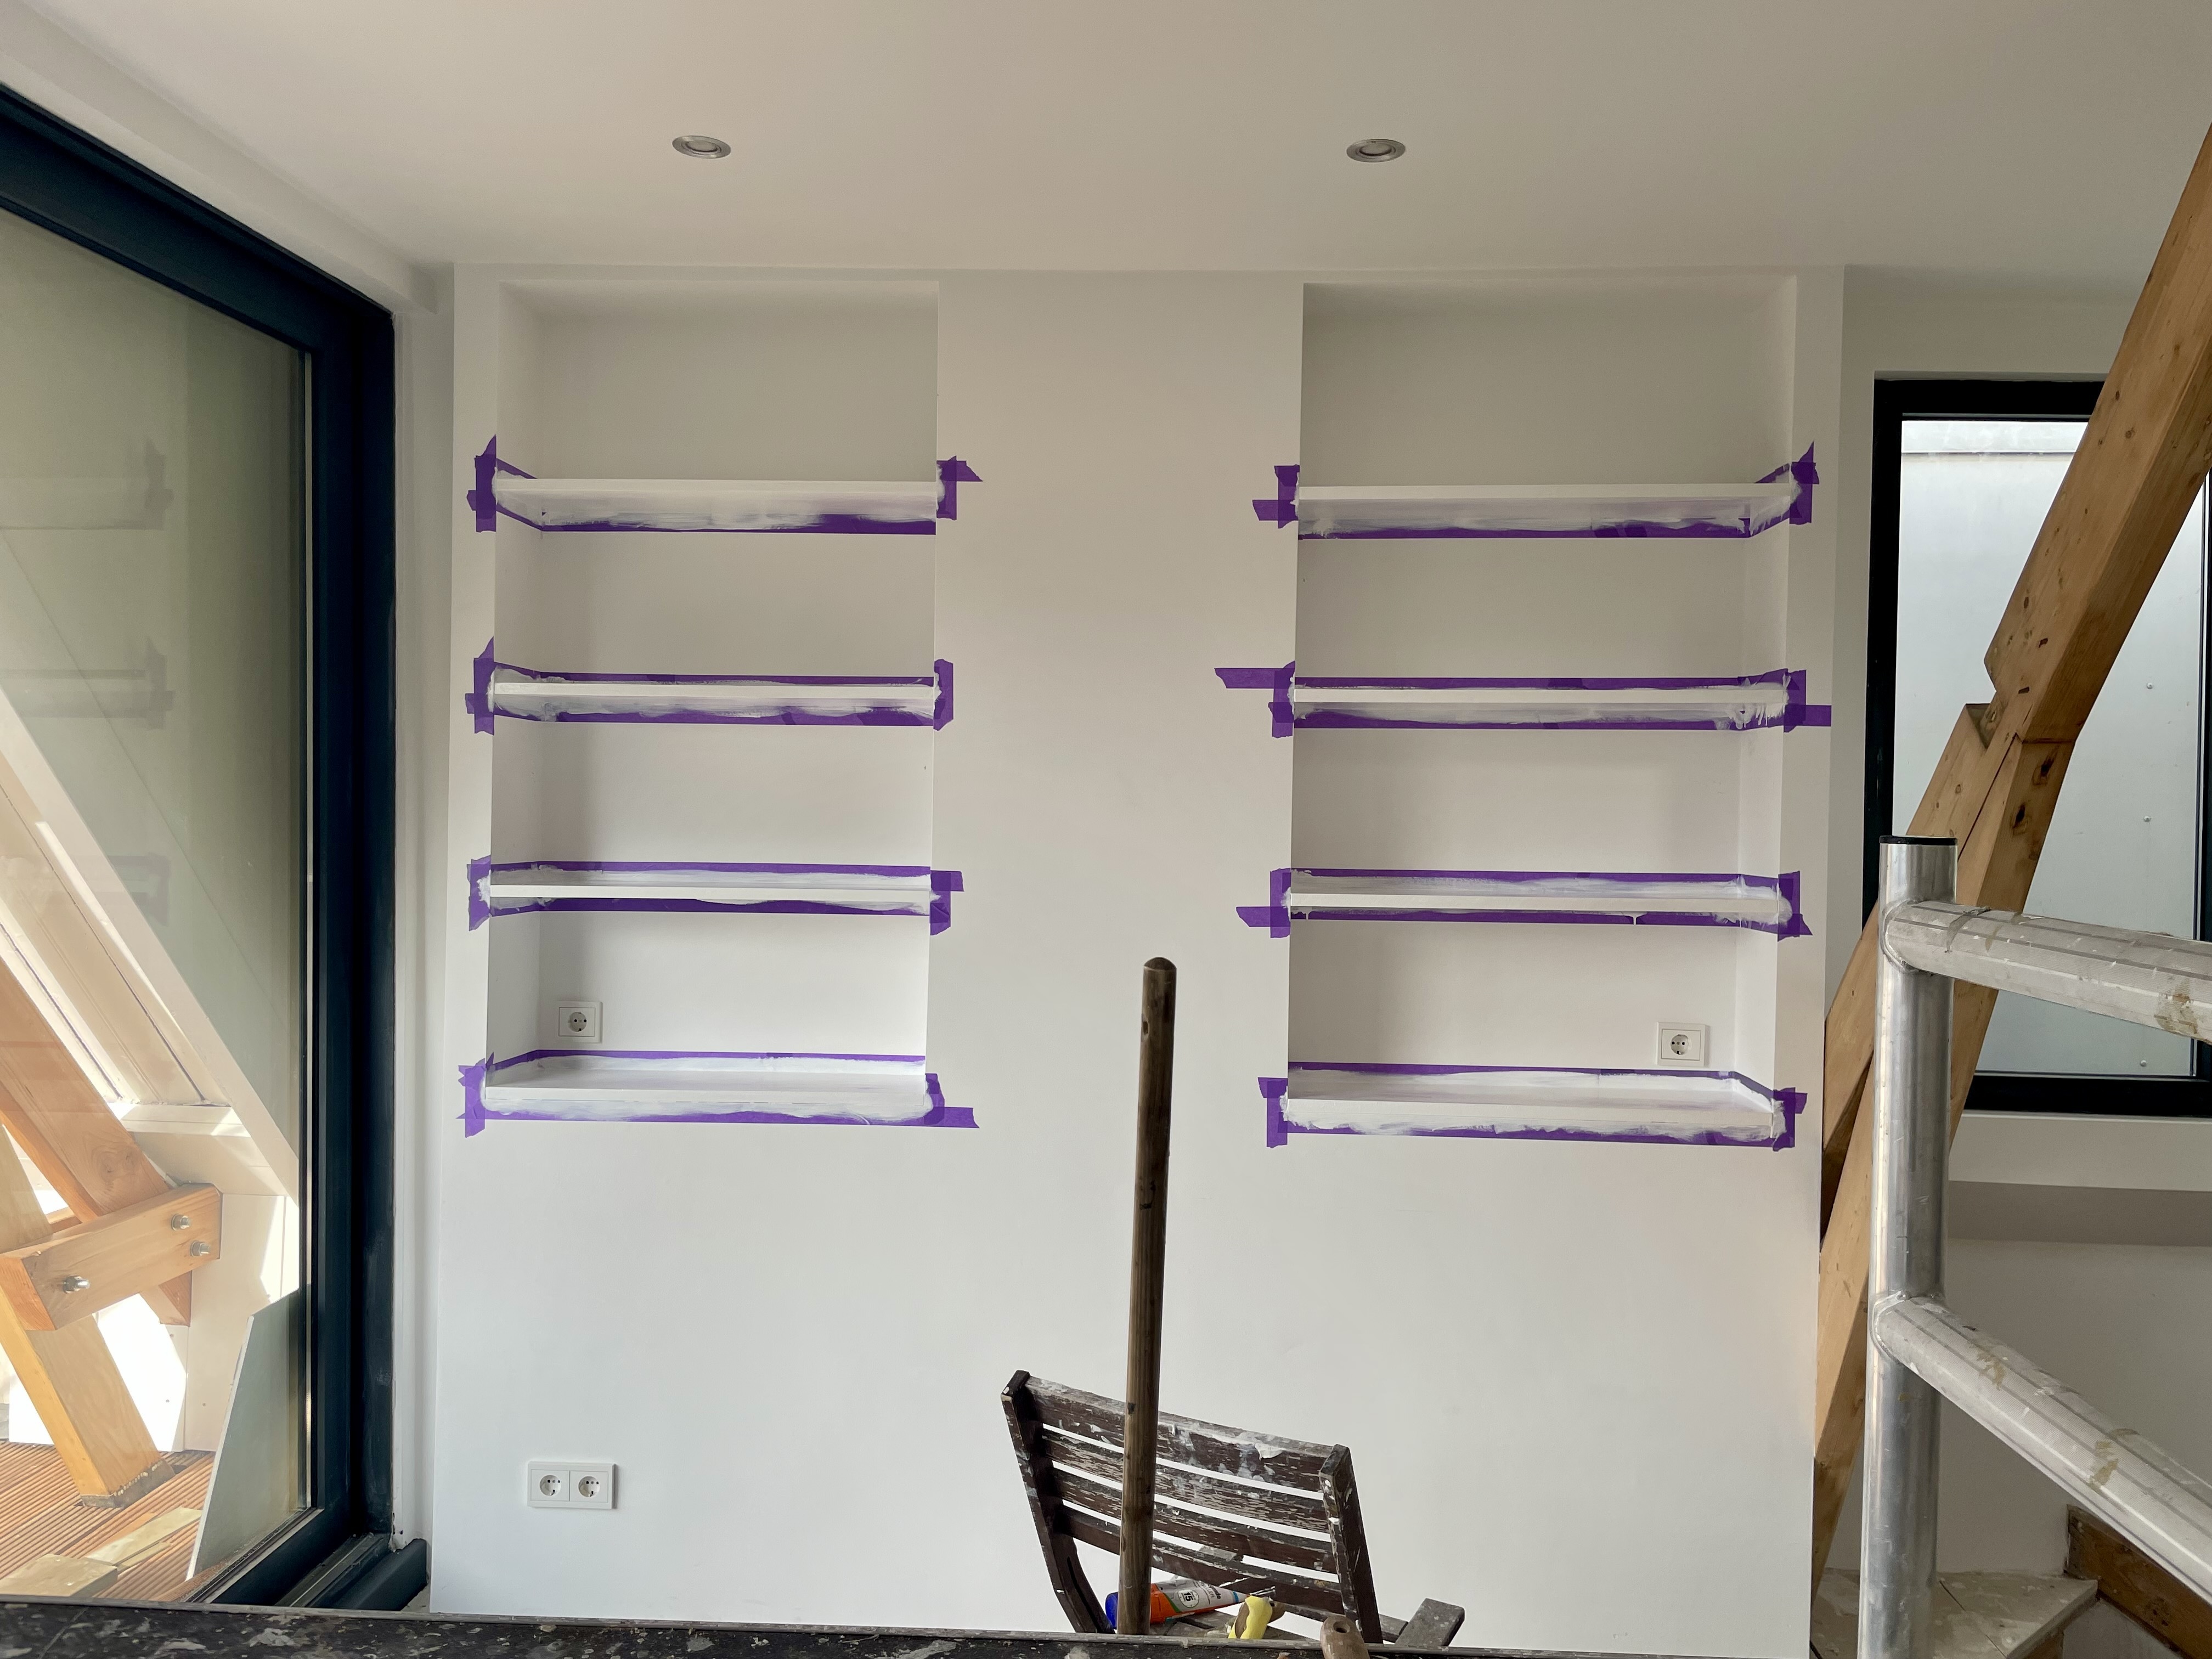
The exhaust from our neighbors water heater and some bathroom fans went through our ceiling. Rather than having just a mechanical box we decided to build a bookcase around it.
Wrapping the bookcase with the vapor barrier felt like wrapping a present
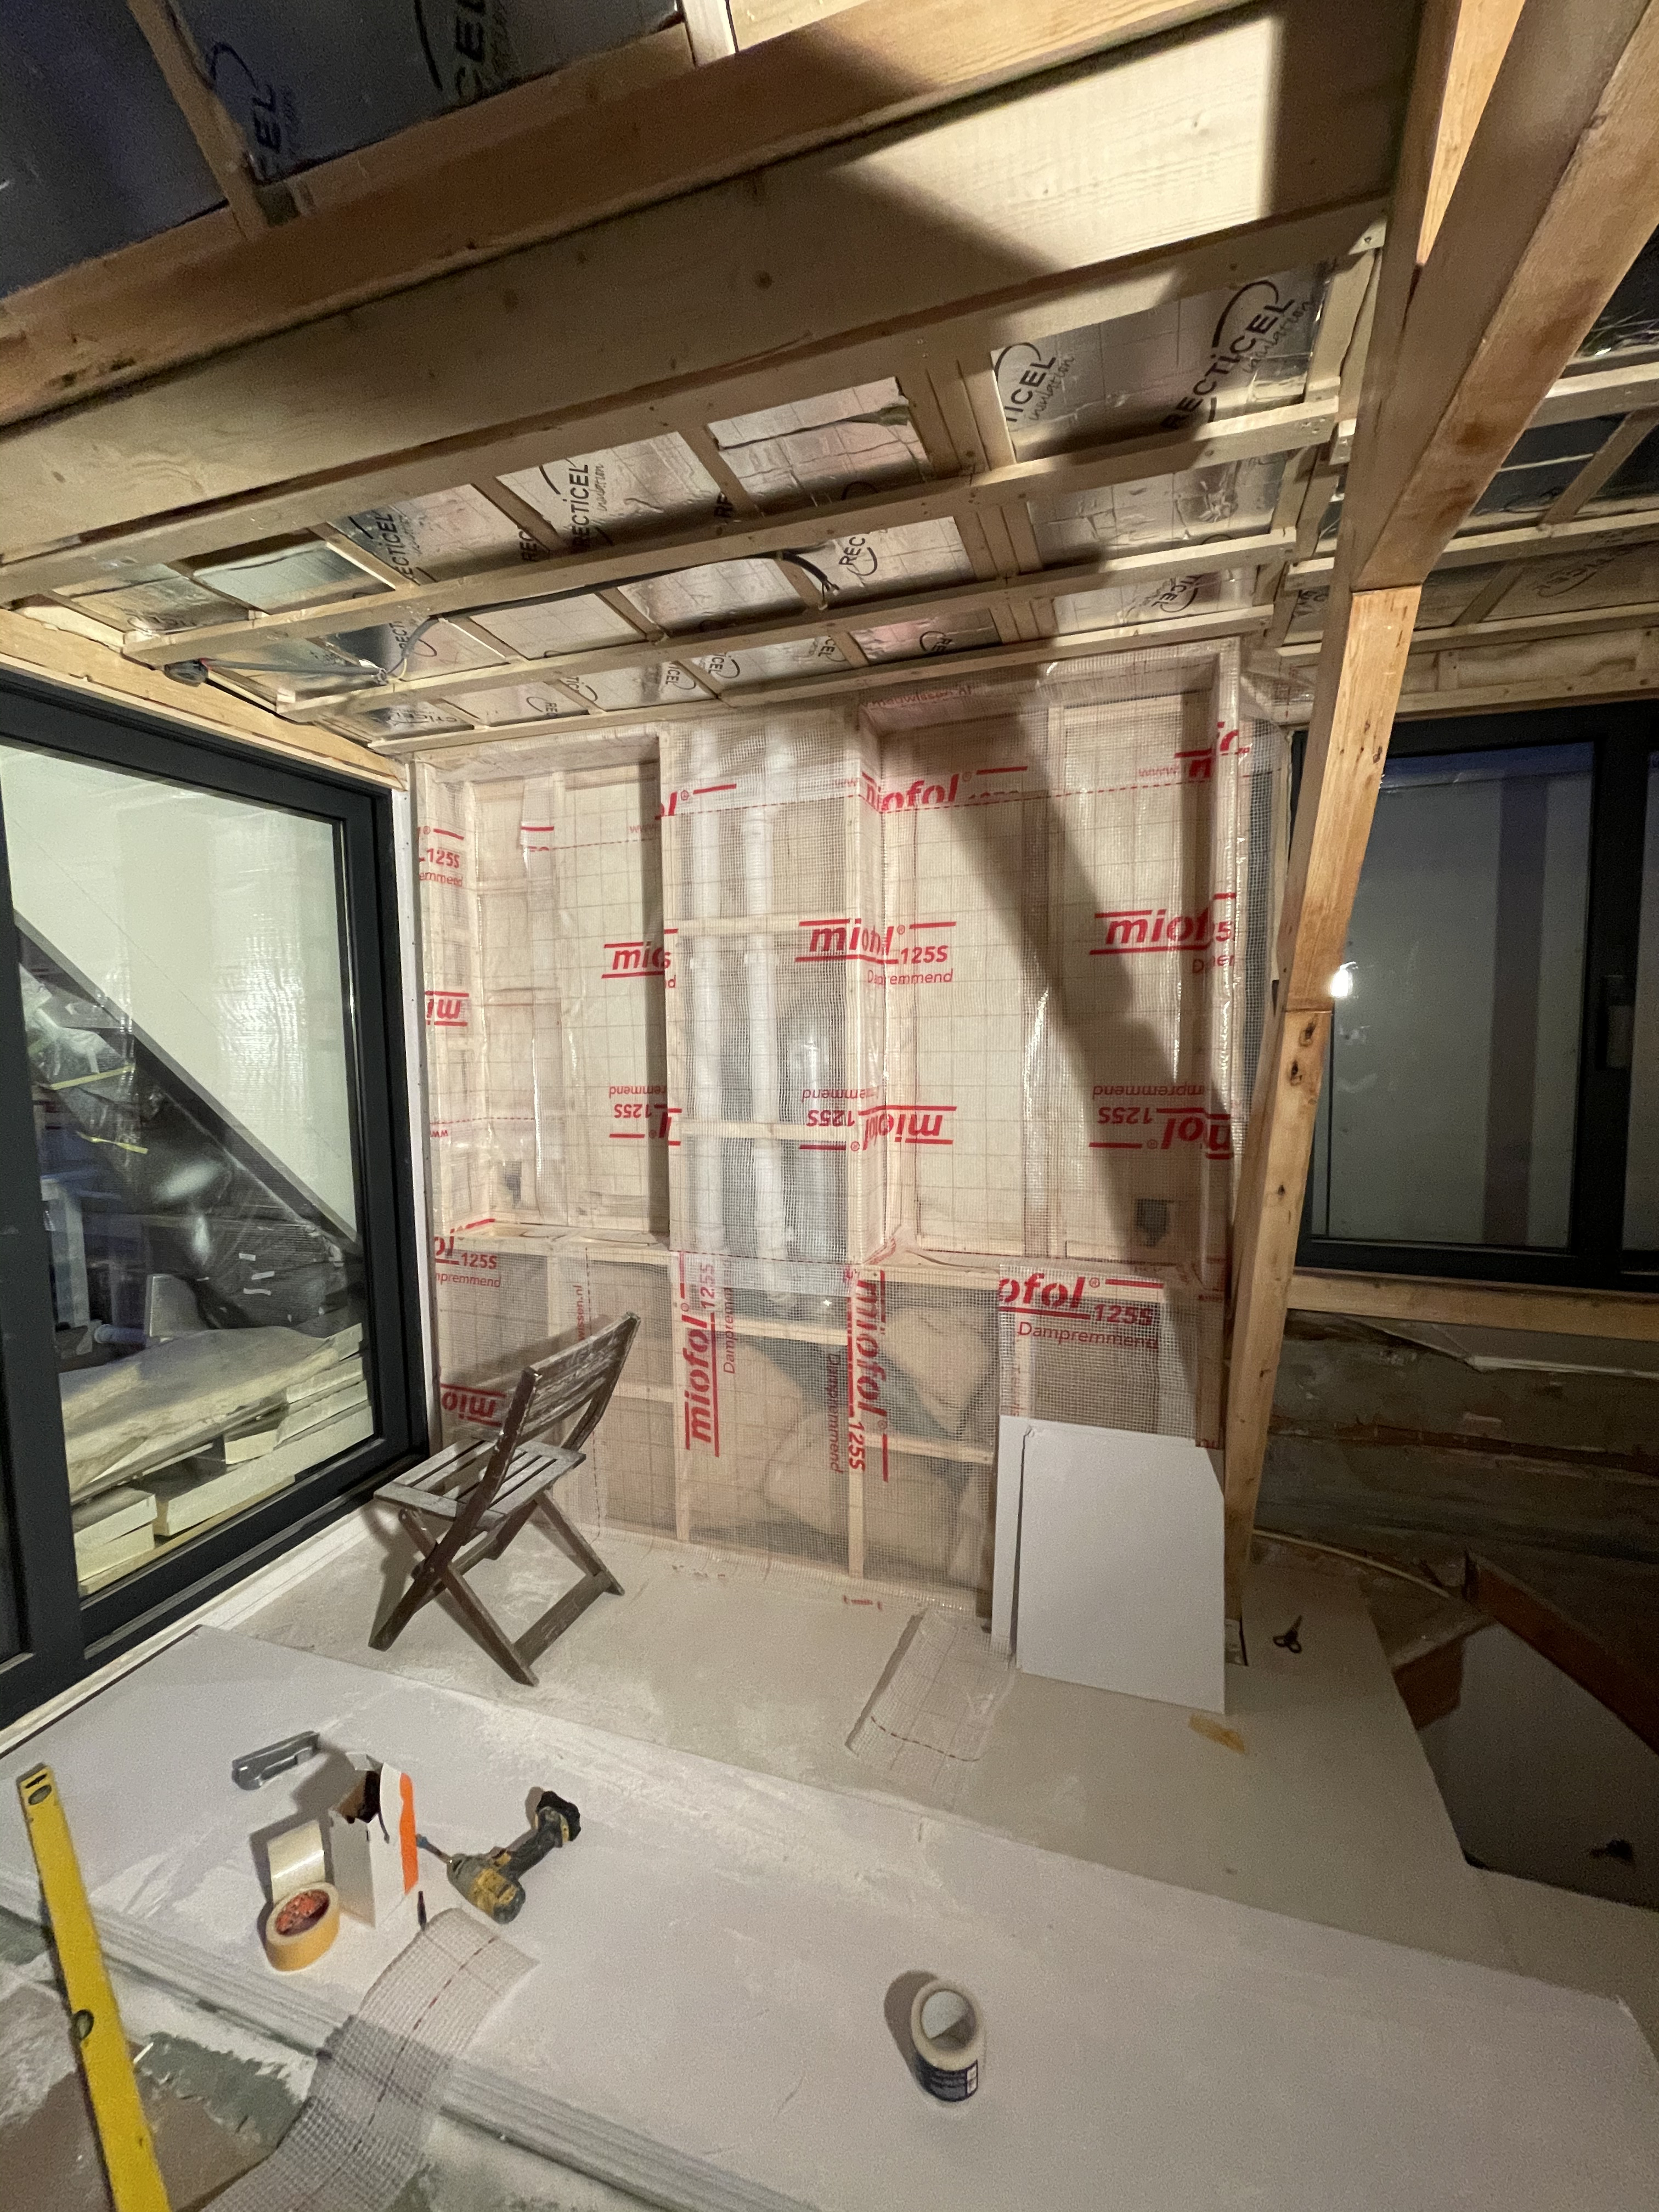
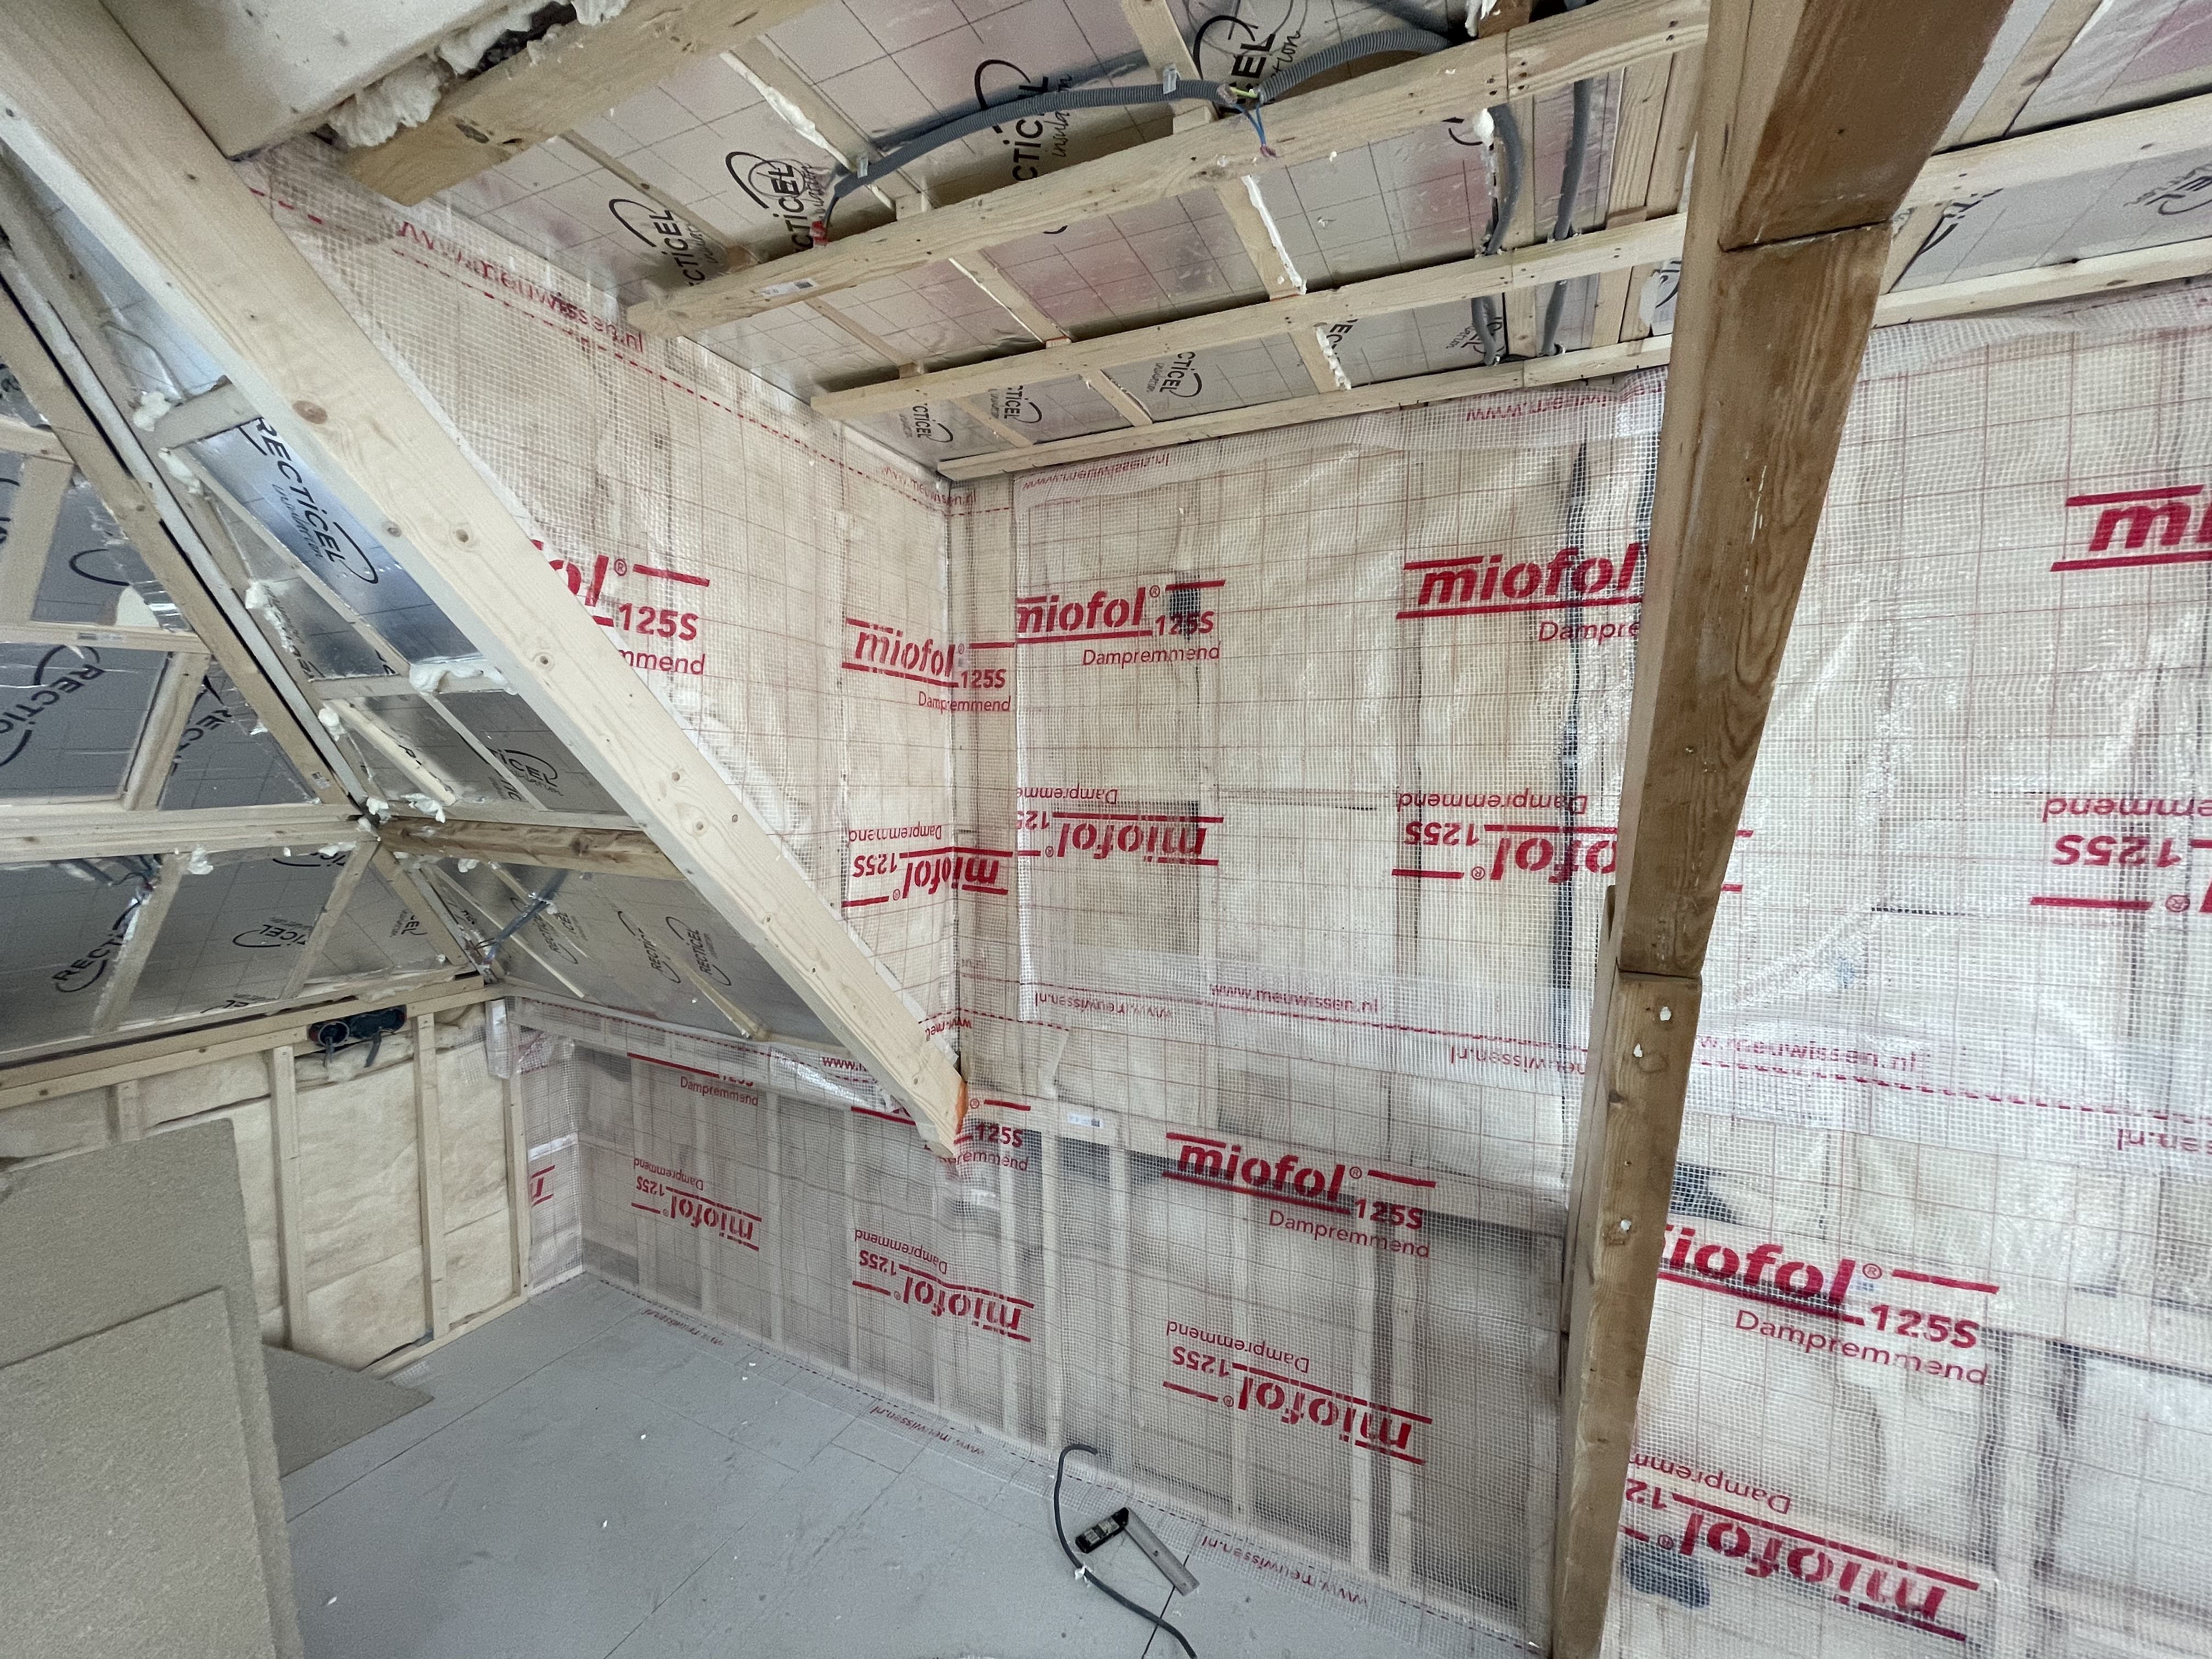
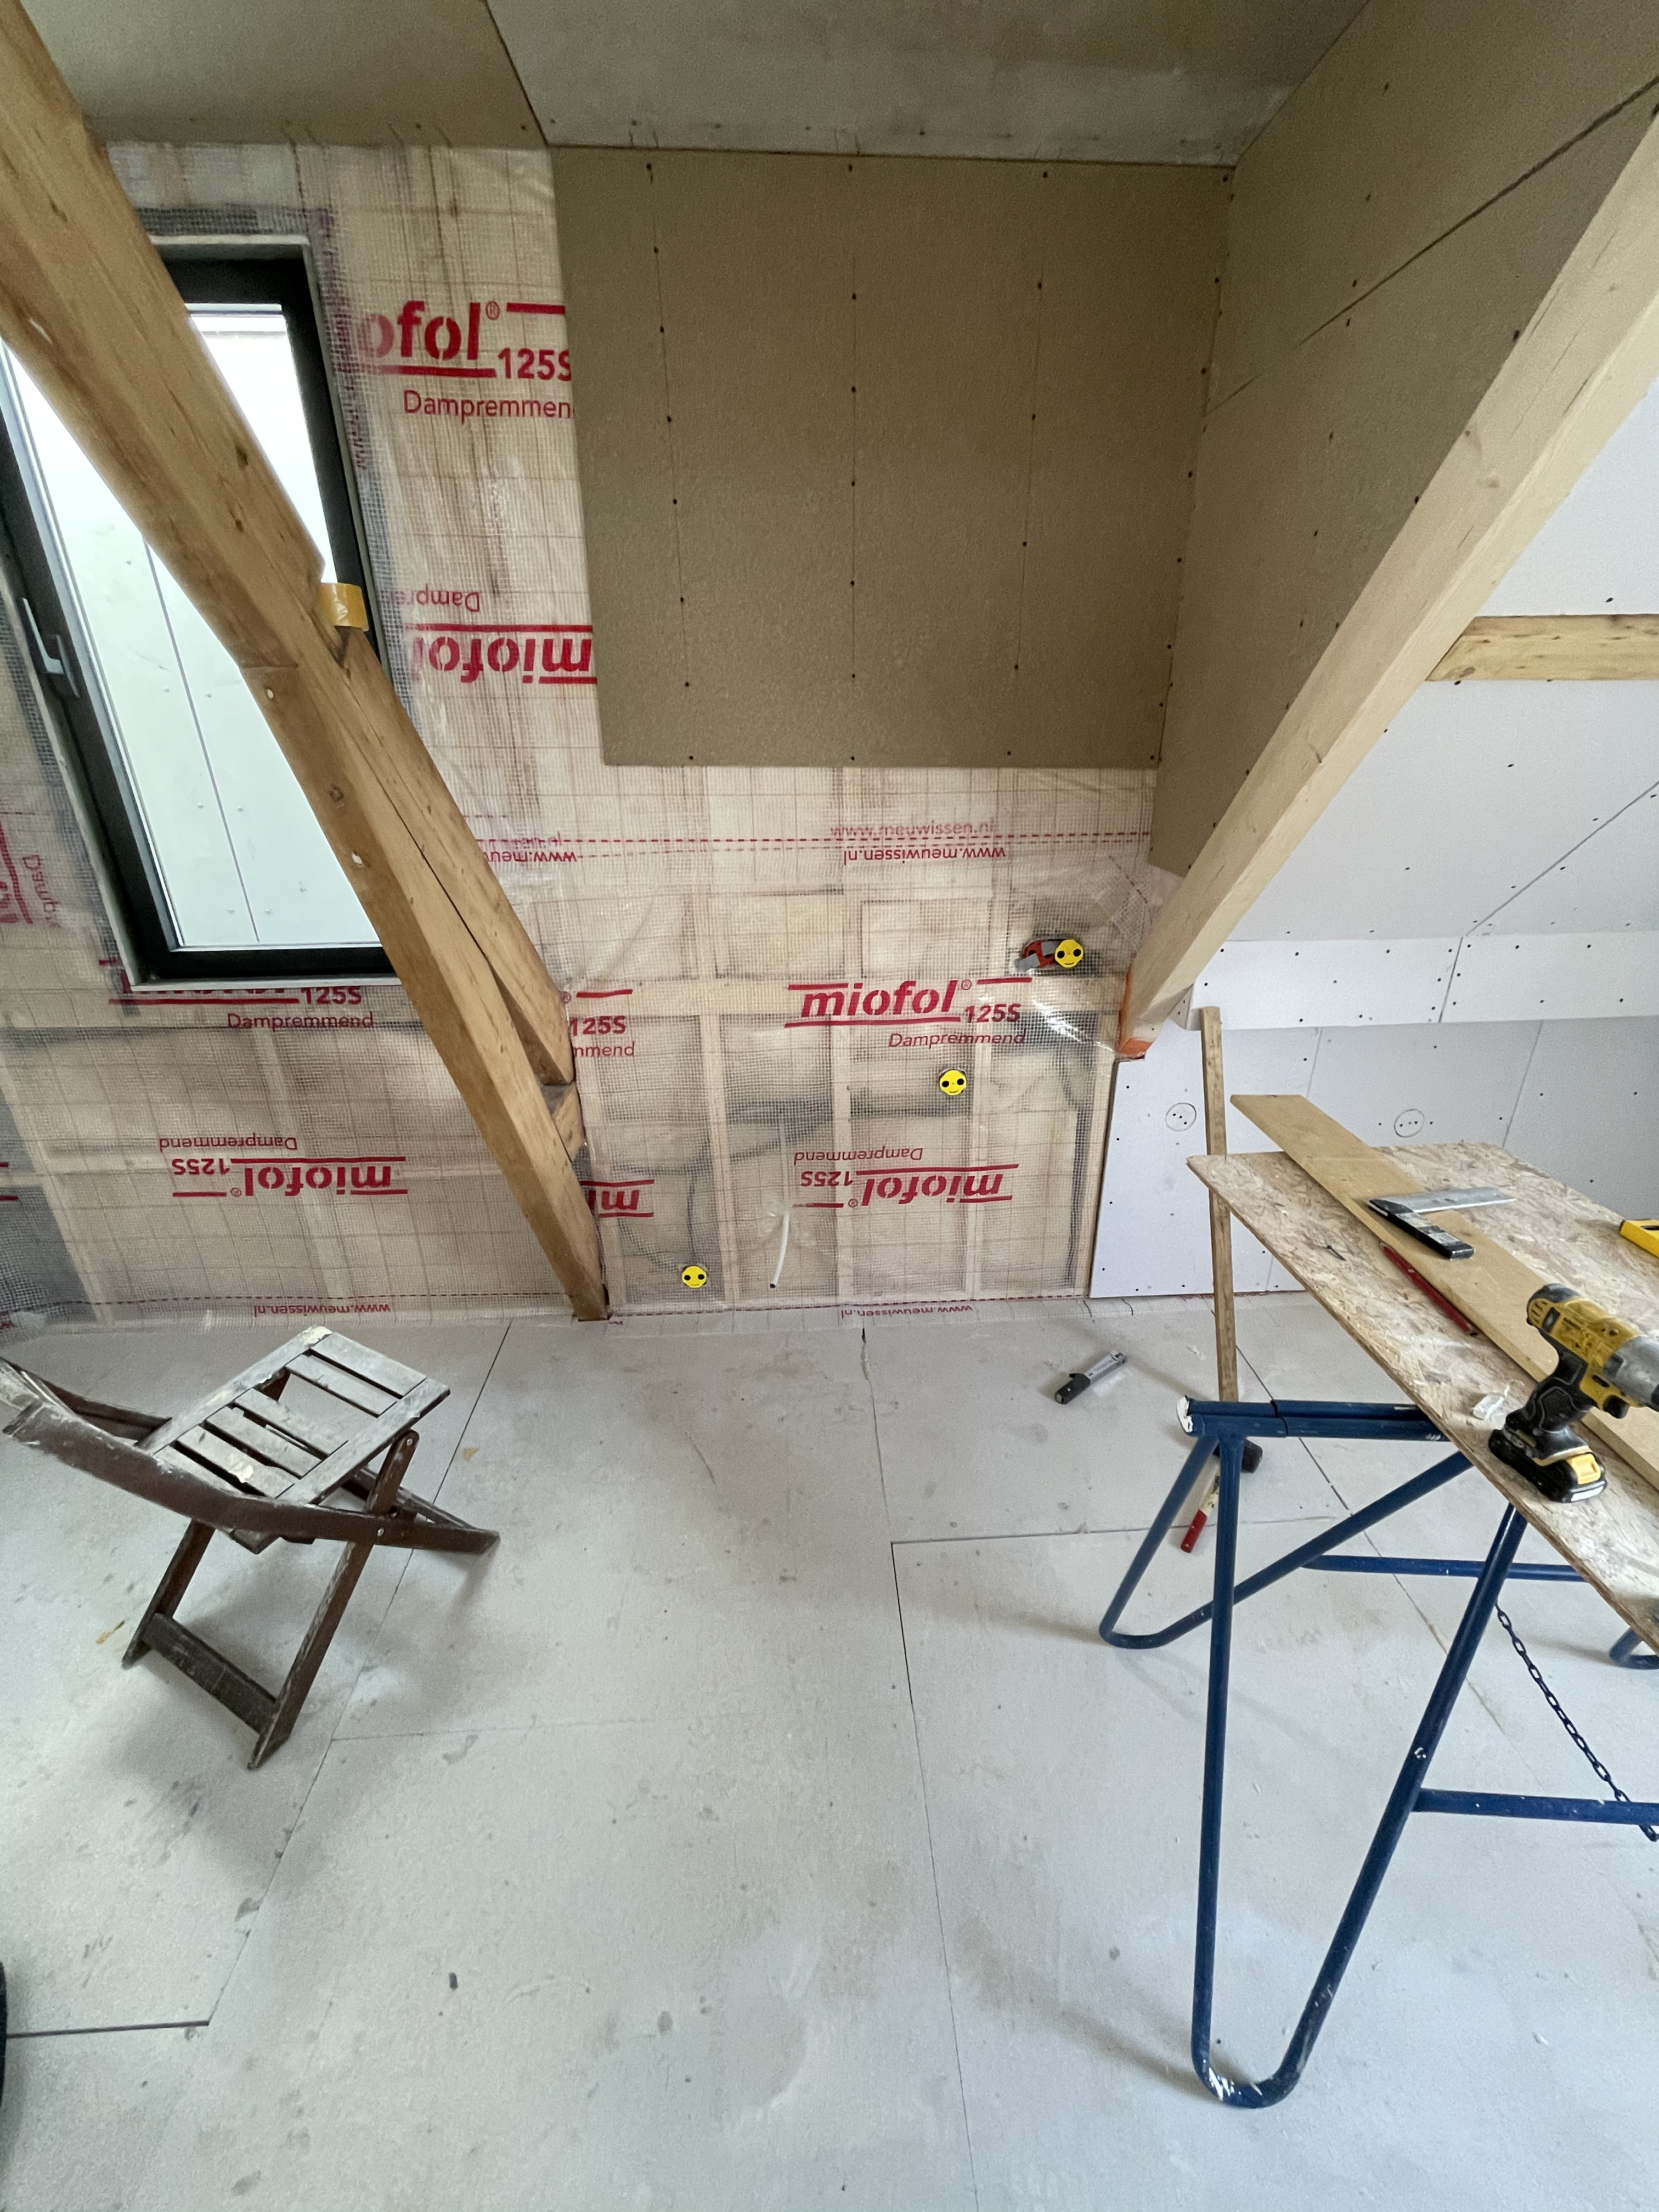
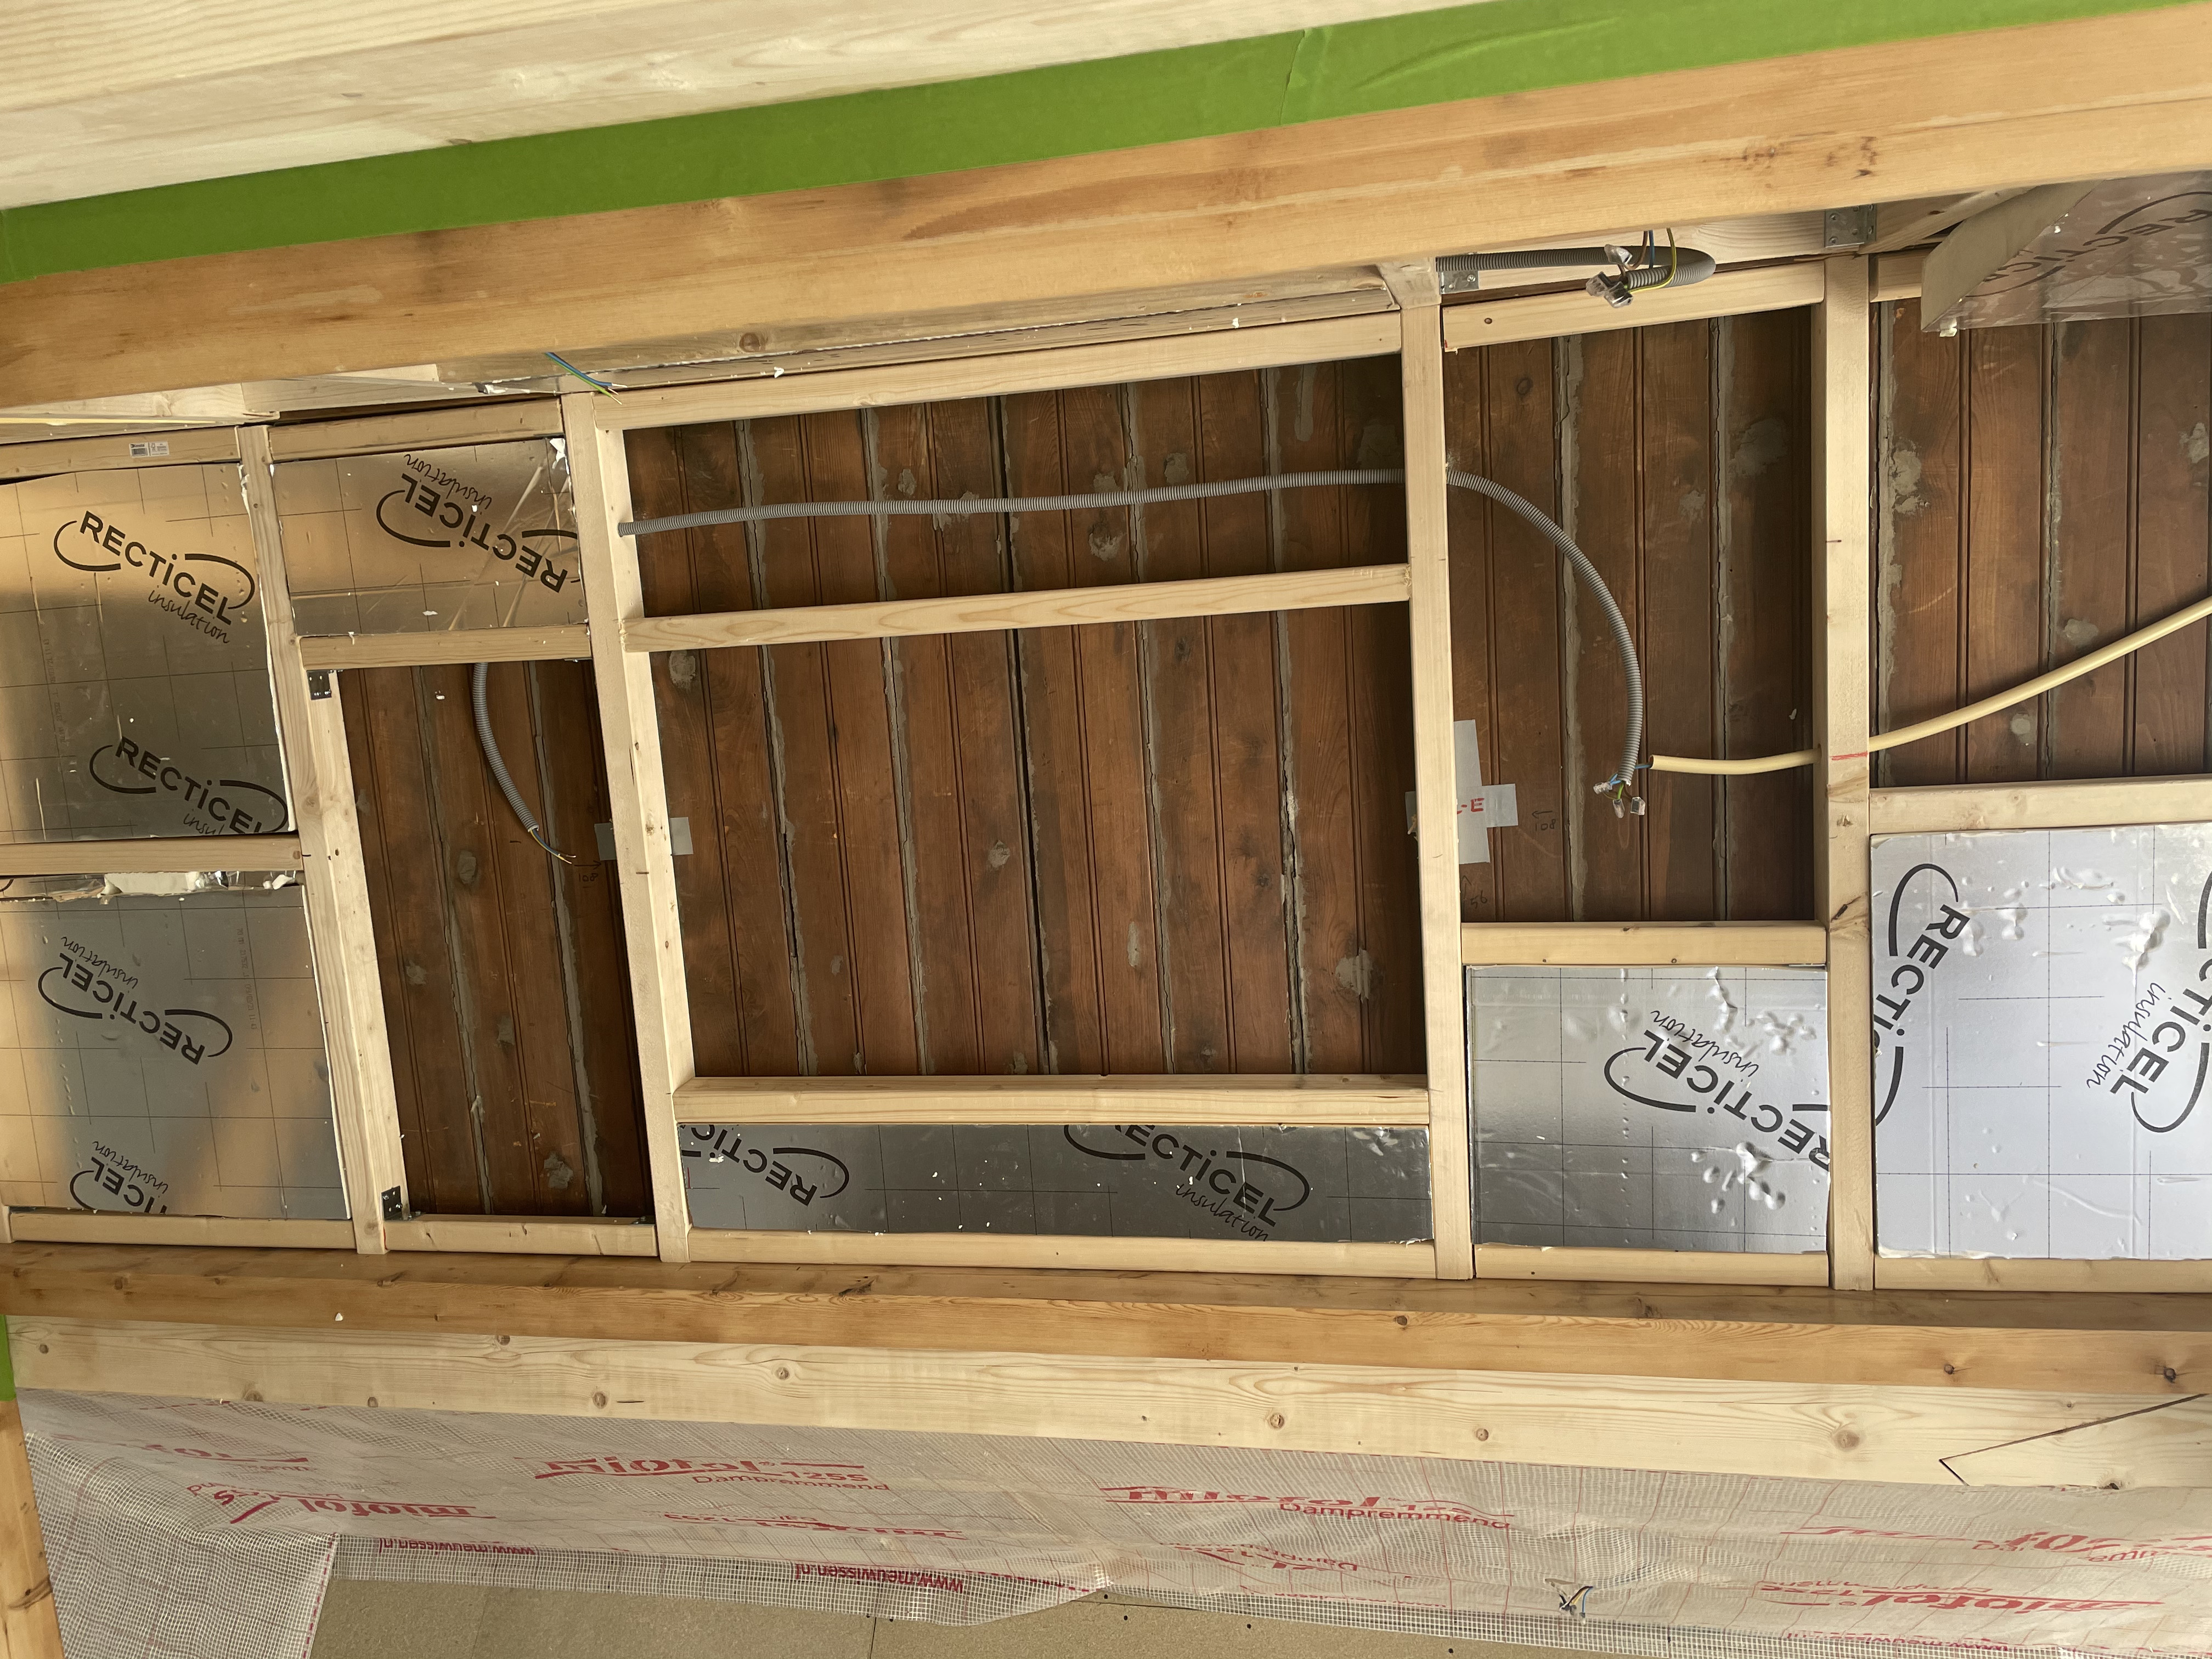
We used the same wall profile for the entire upstairs, covered all the walls with 1cm particle board and 9mm drywall
We added wooden shelves after the bookcase was plastered
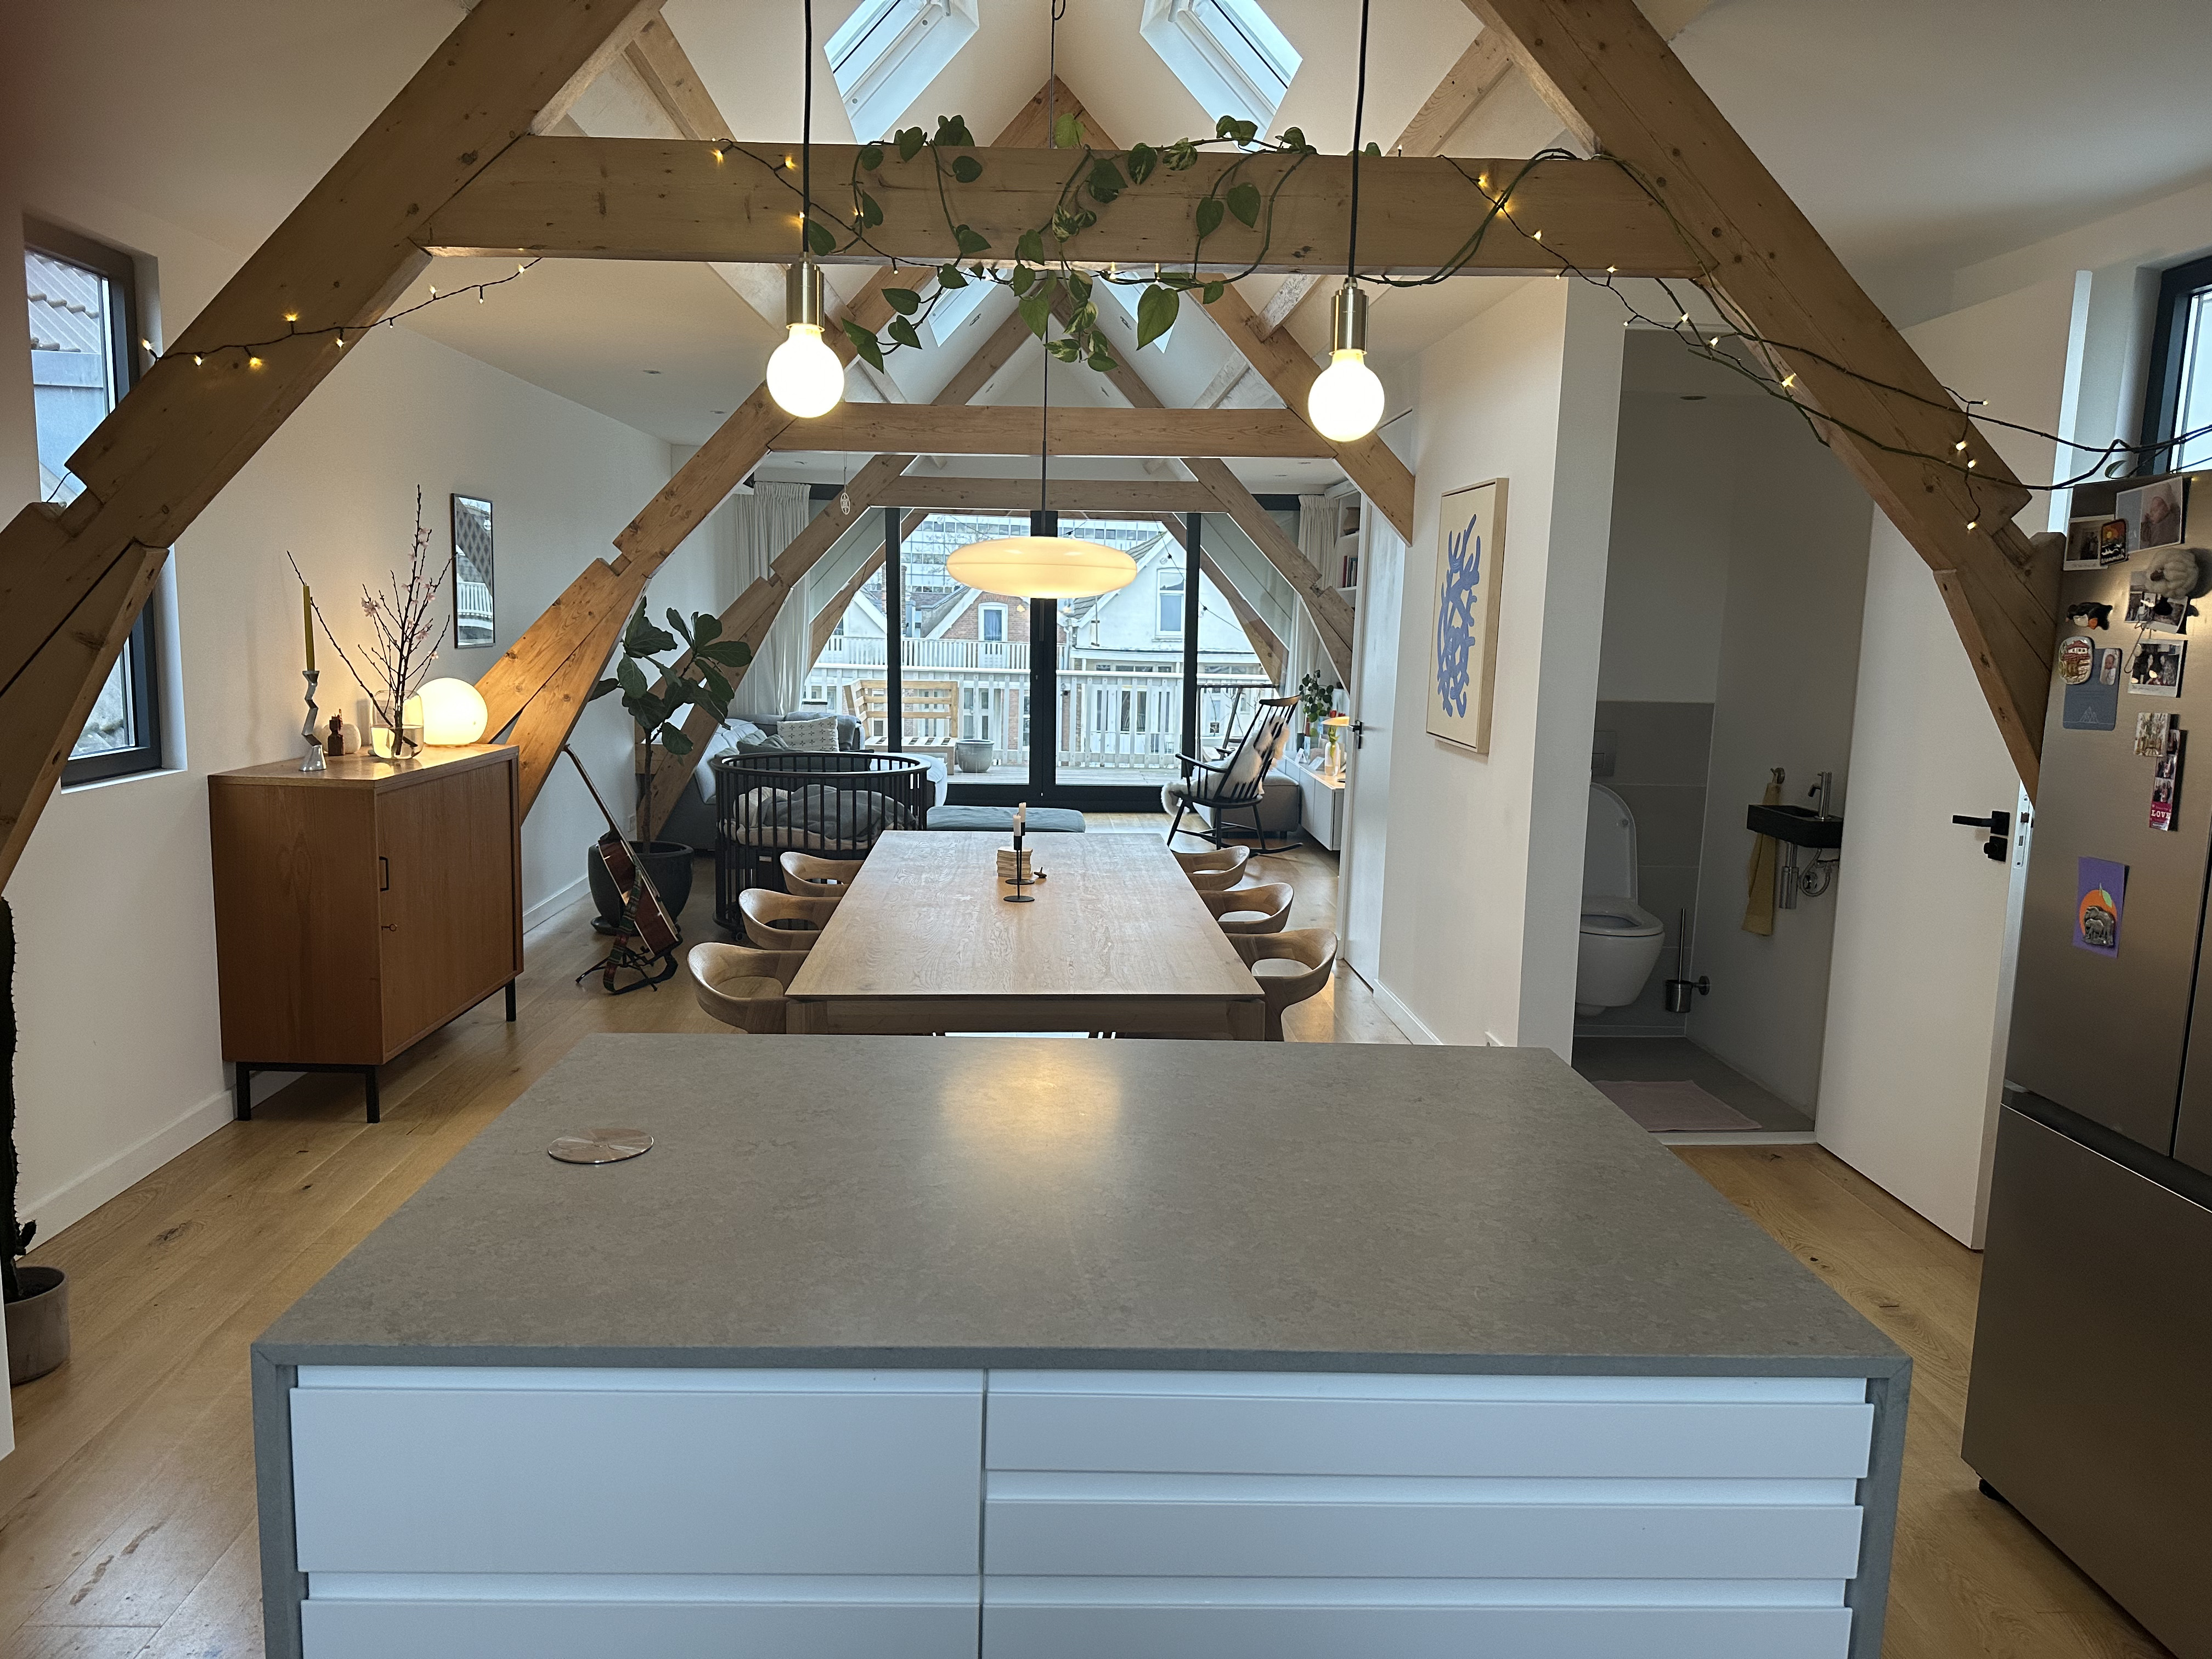
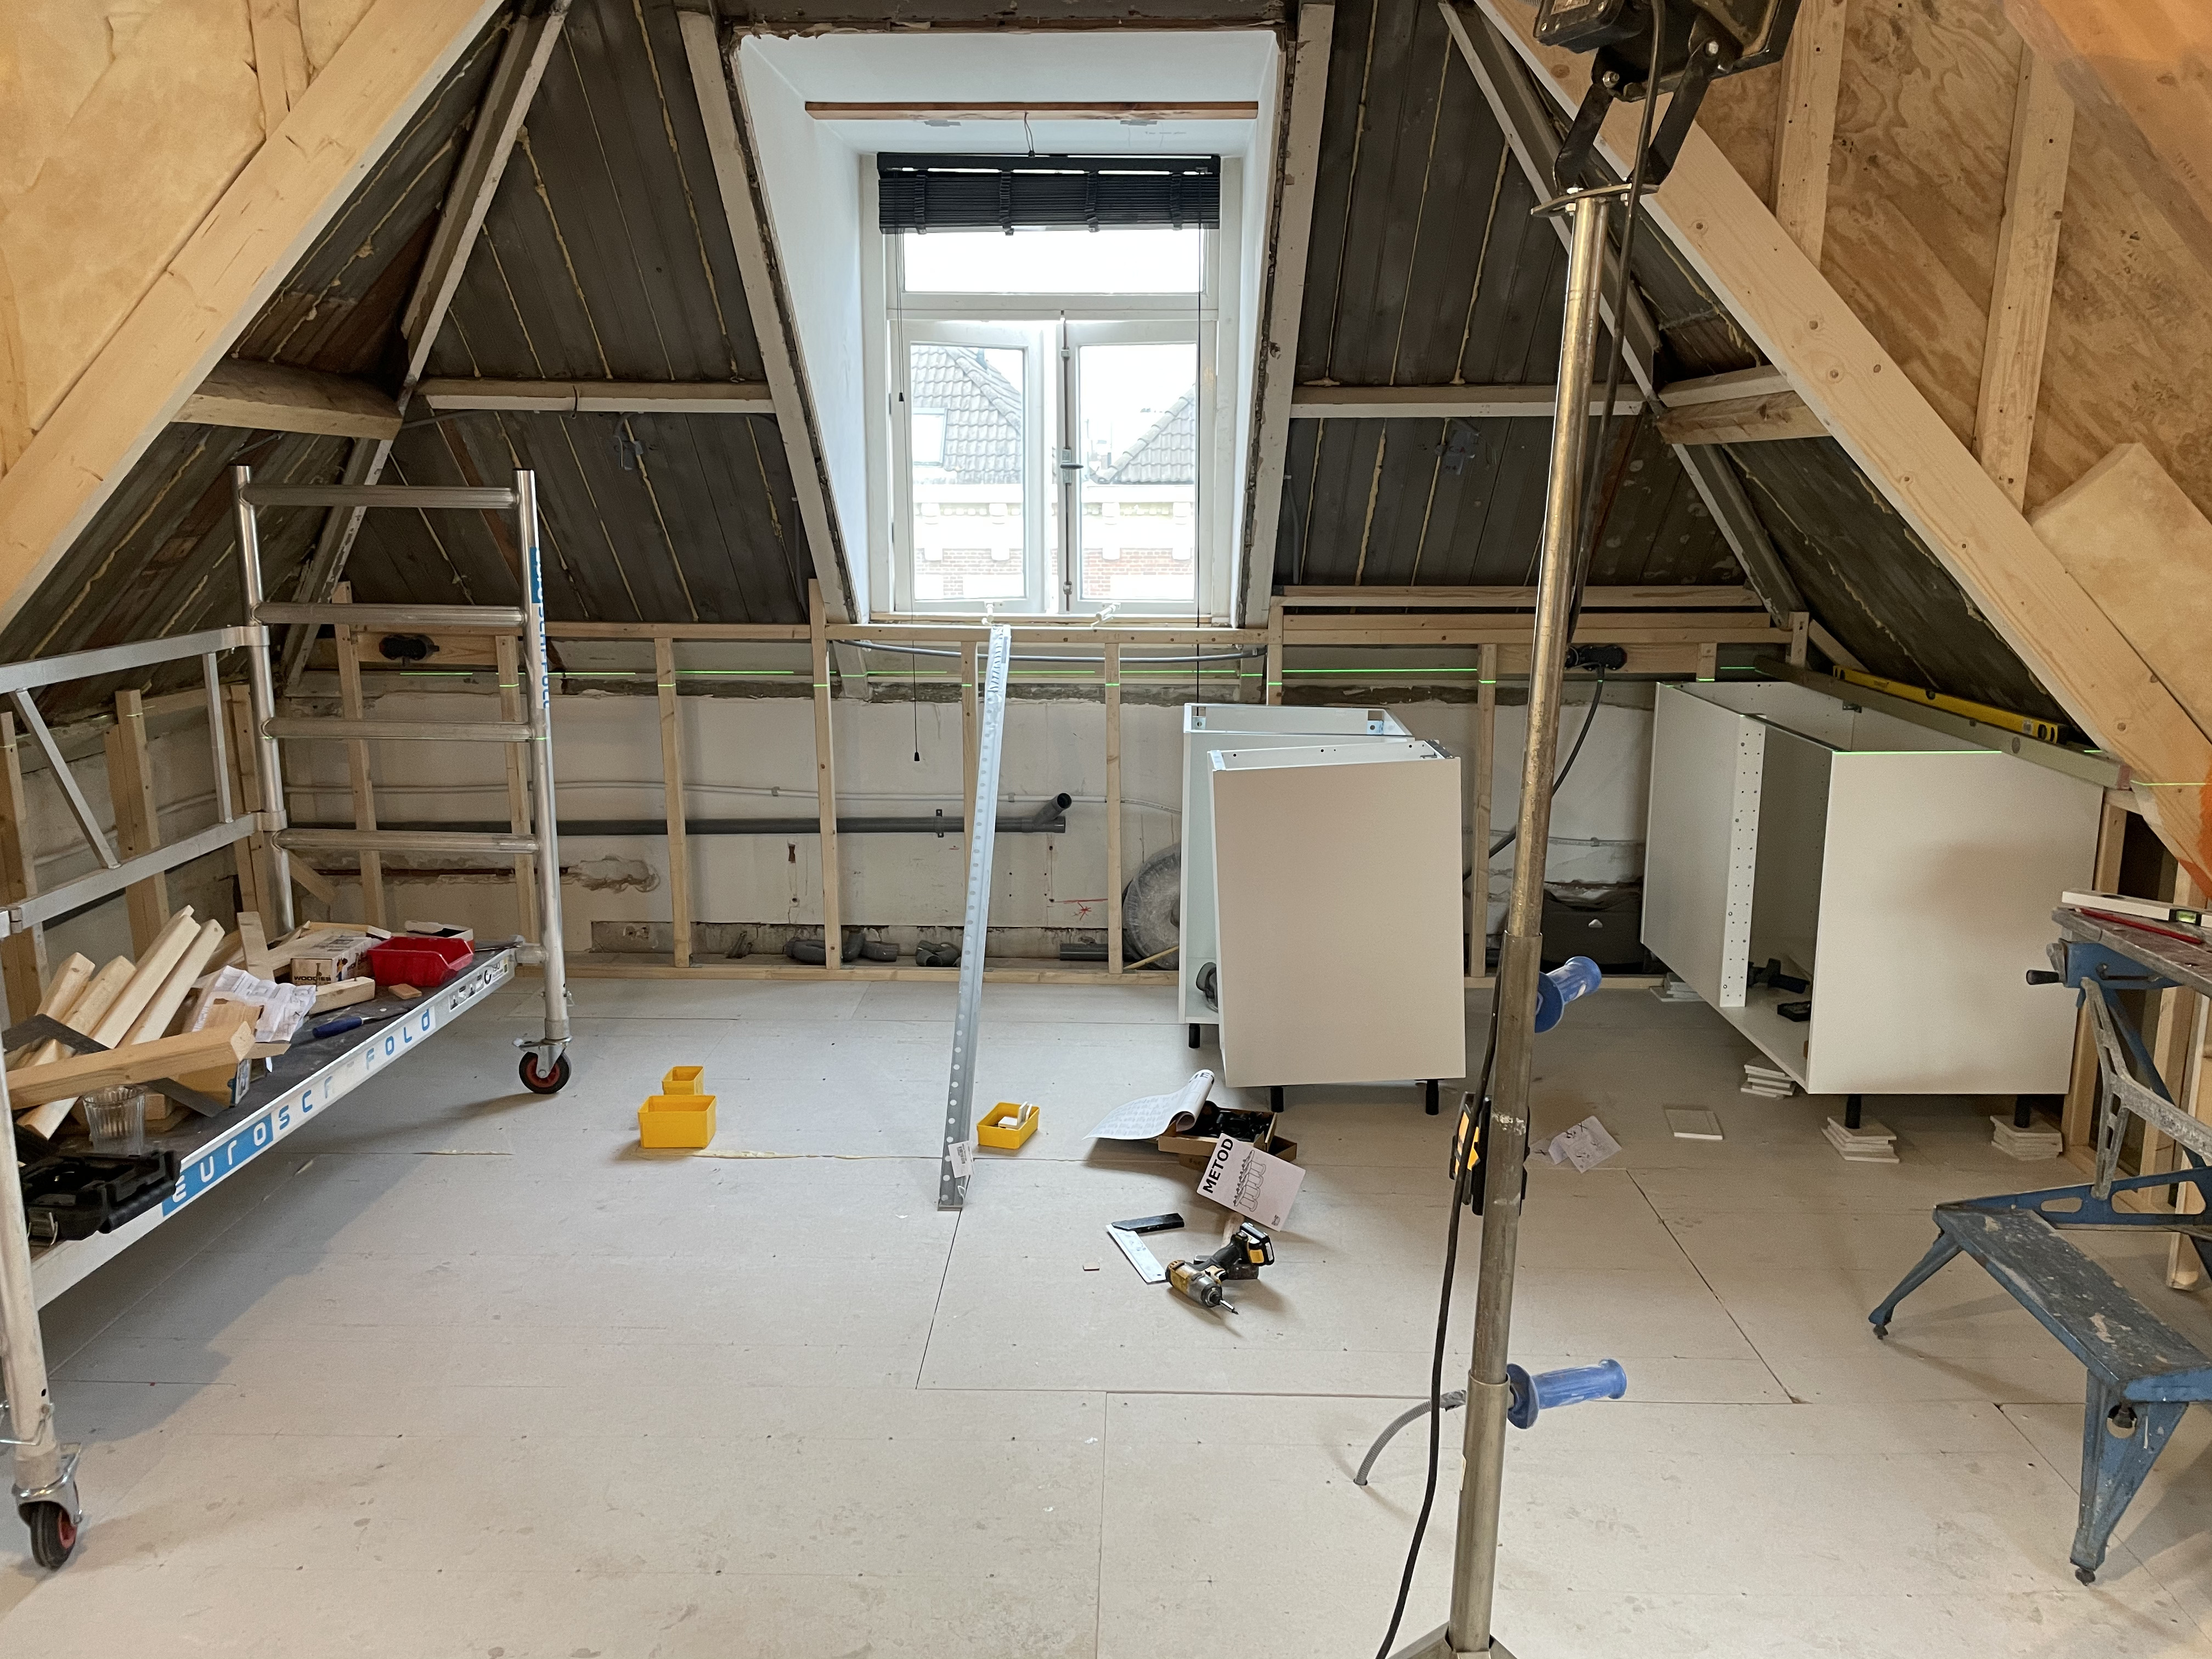
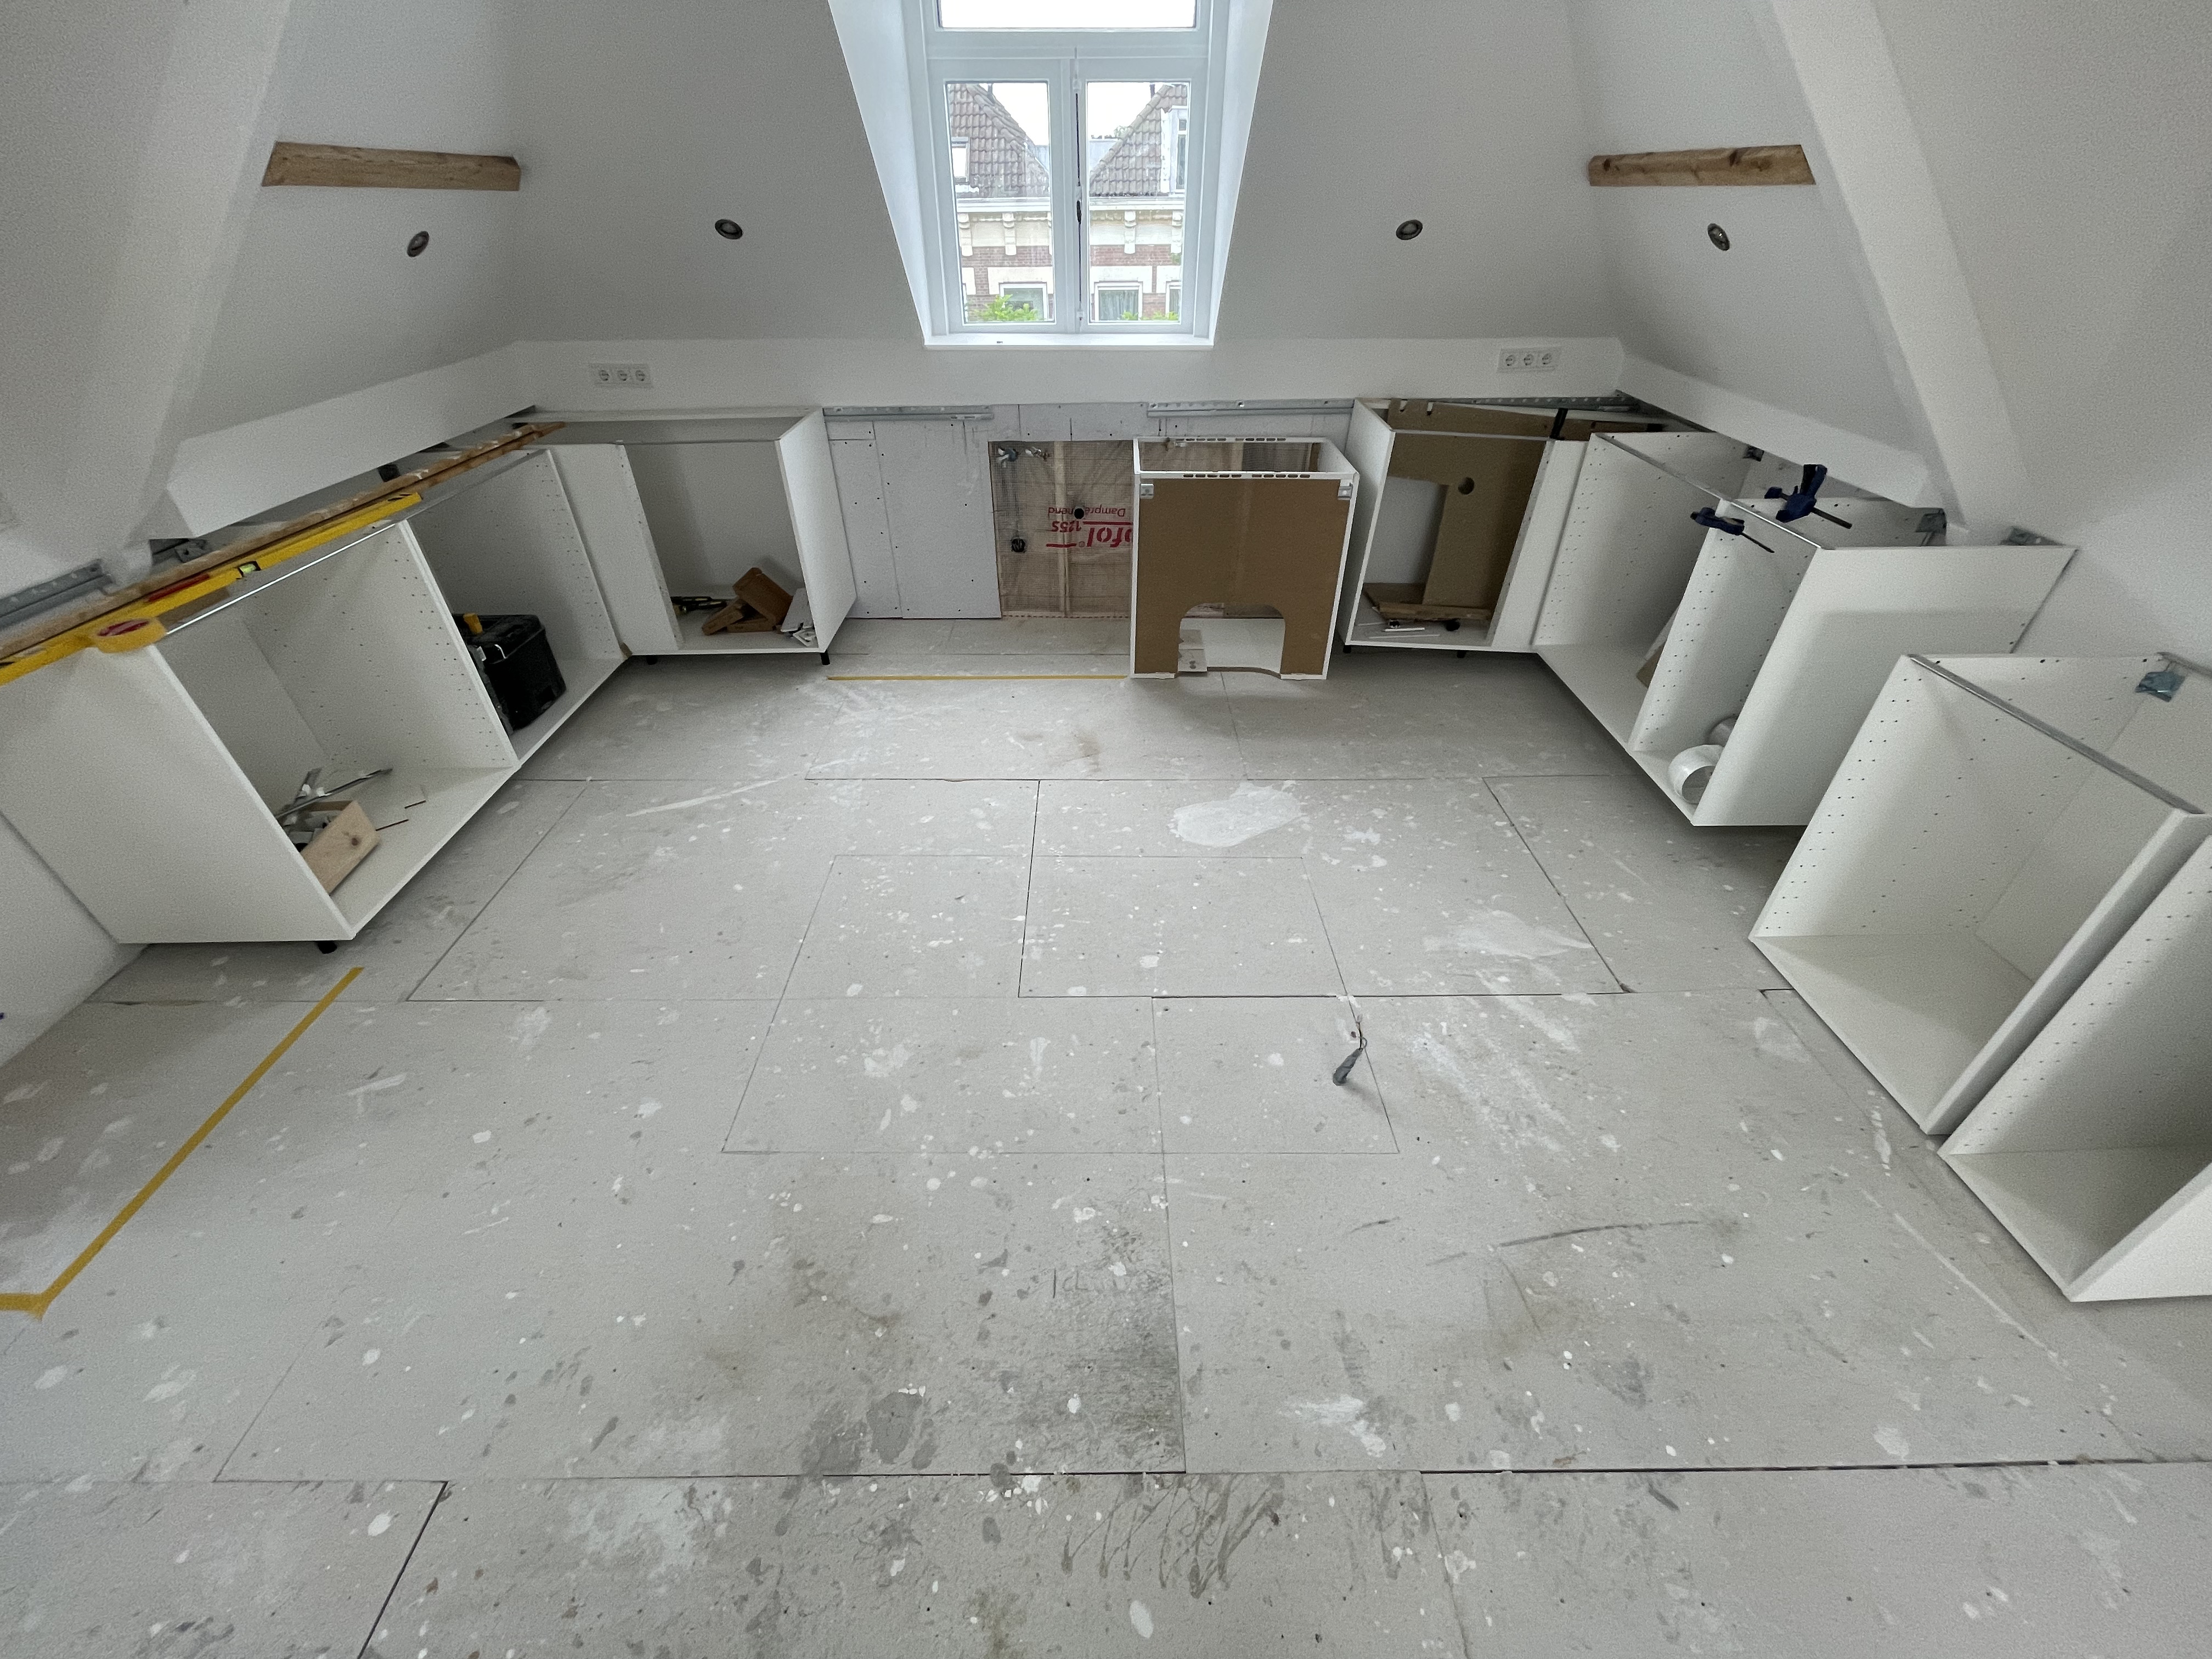
We went for an Ikea kitchen with a composite counter top from a different supplier. We made the kitchen counter earth level (because we also had the concept of ‘house level’ due to the slope of the house) and 83cm tall at the center of the kitchen. Which meant that on the east side of the house the counter was 86cm tall and on the west side it was 80cm tall.
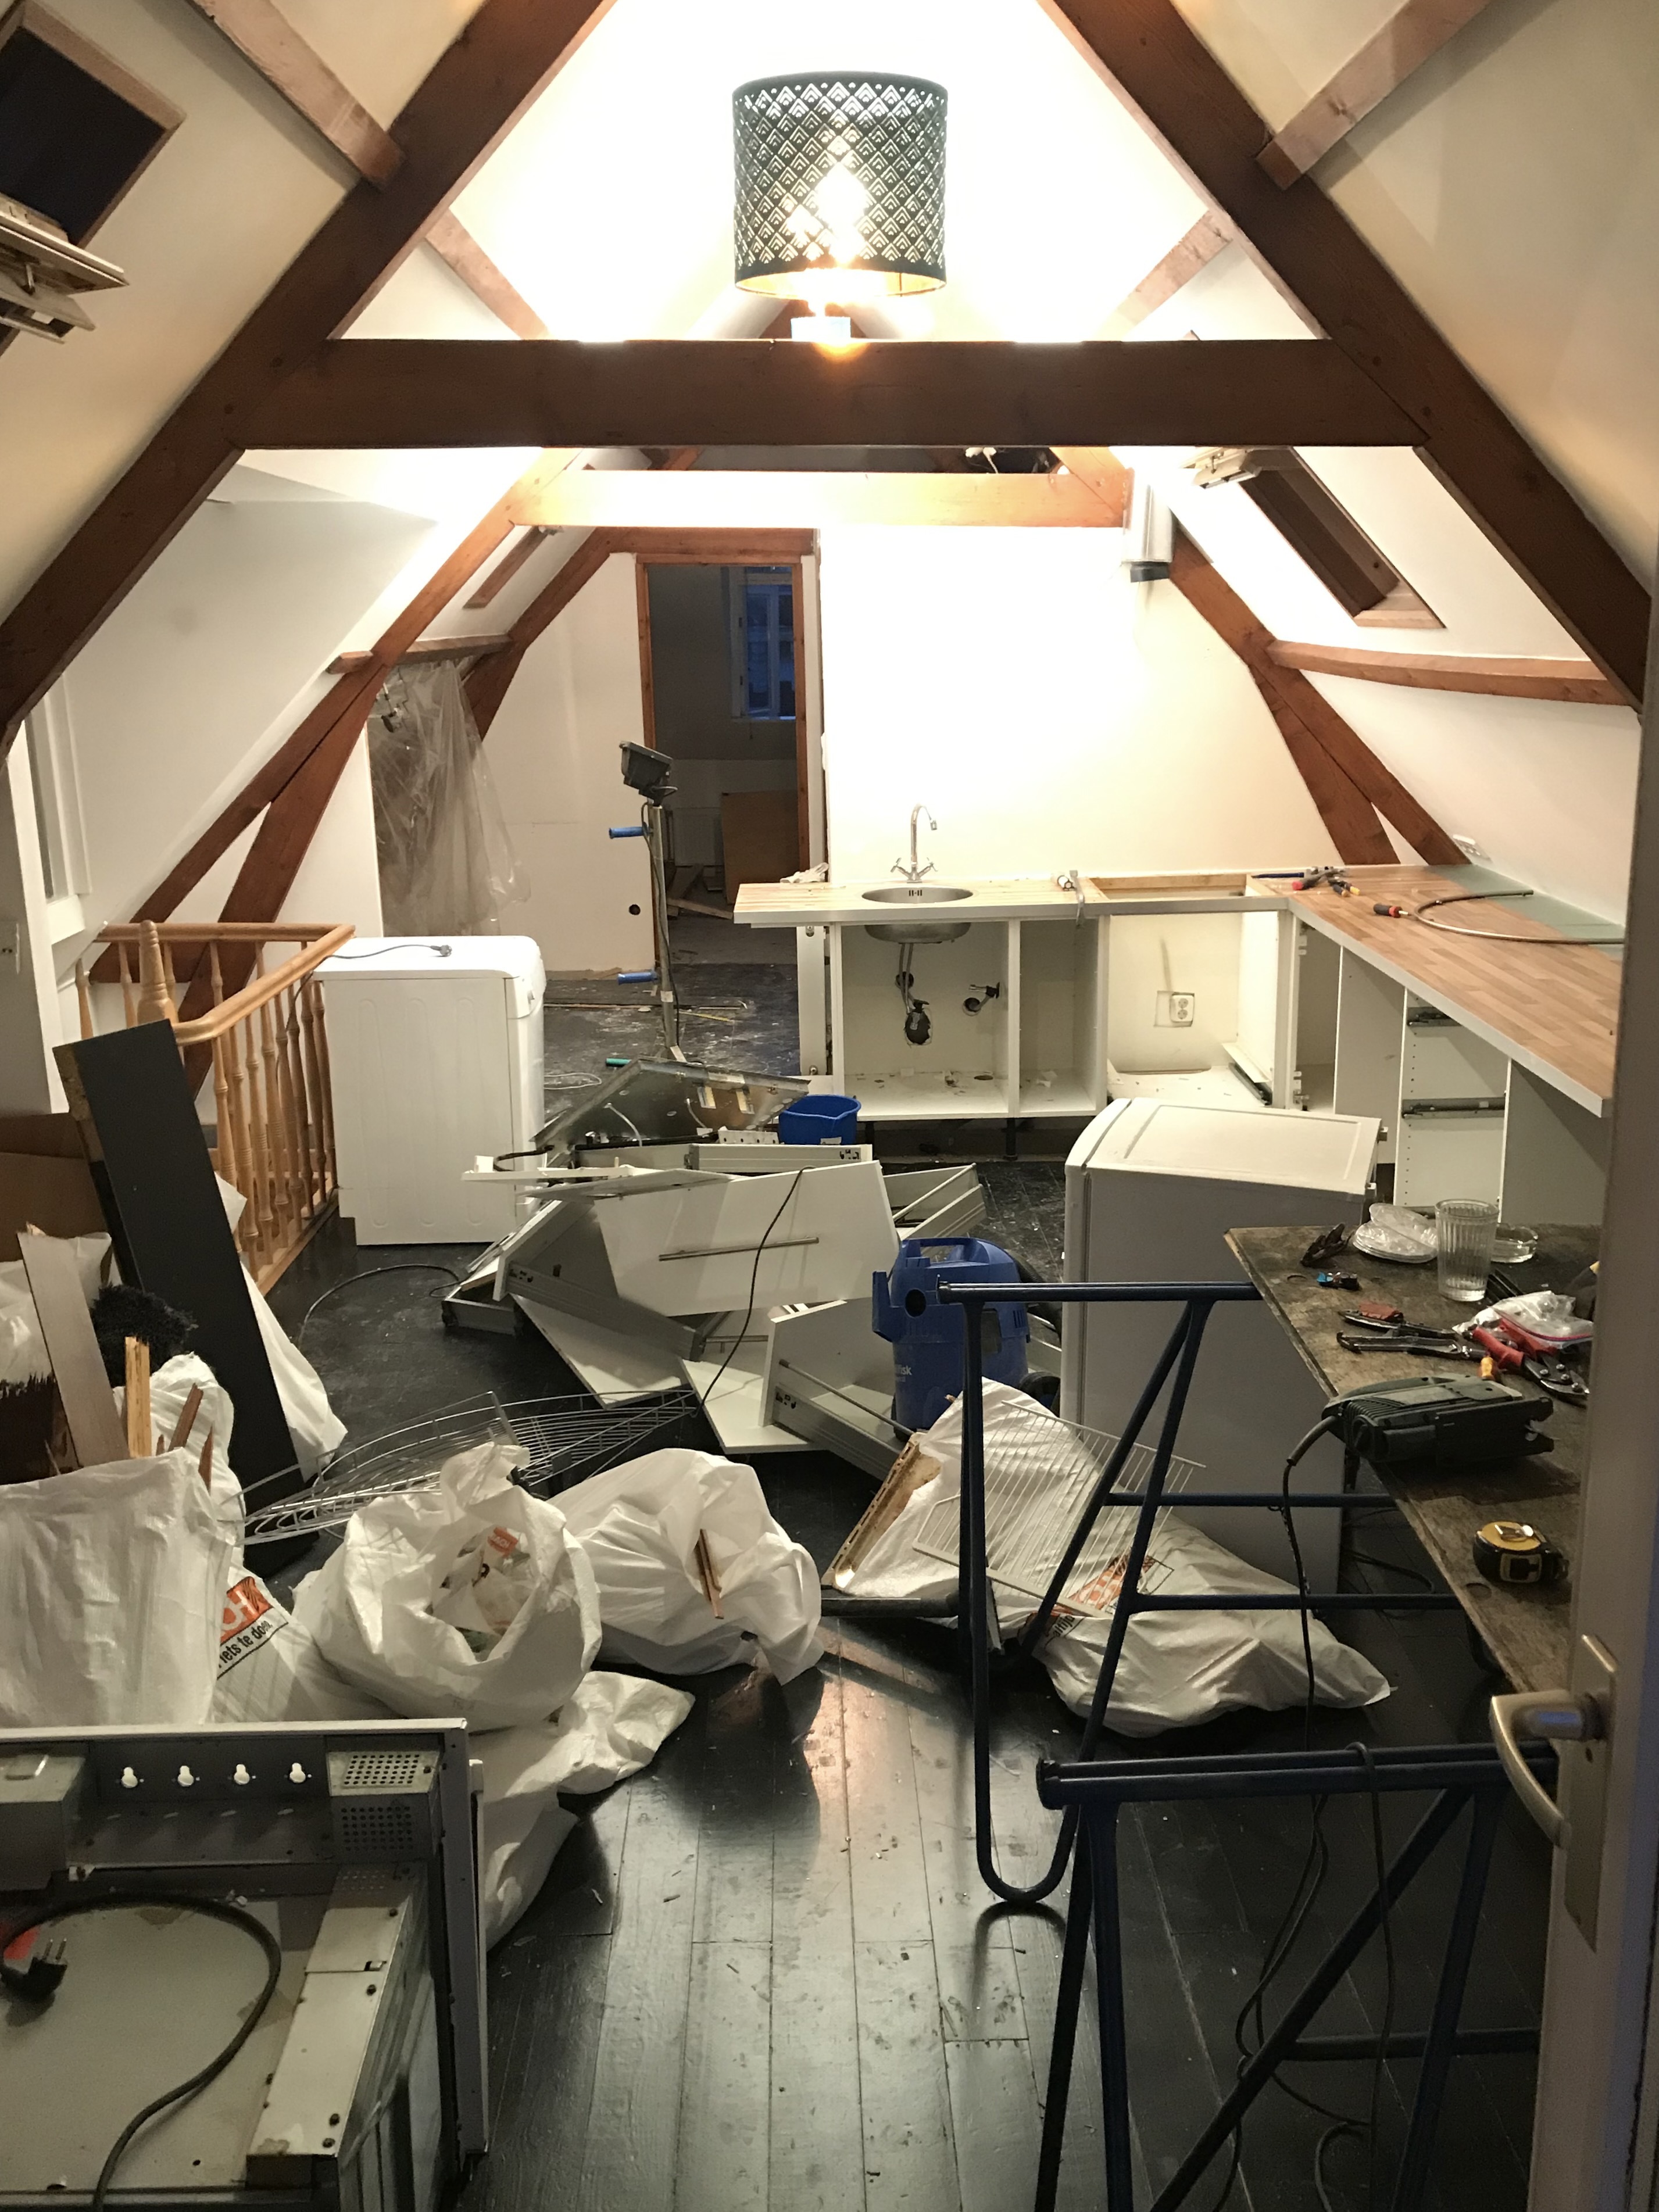
We bought a few cabinets to start with to figure out how to build the framing
We wanted to use as much space as possible so we made it so the cabinets went deeper than the counter.
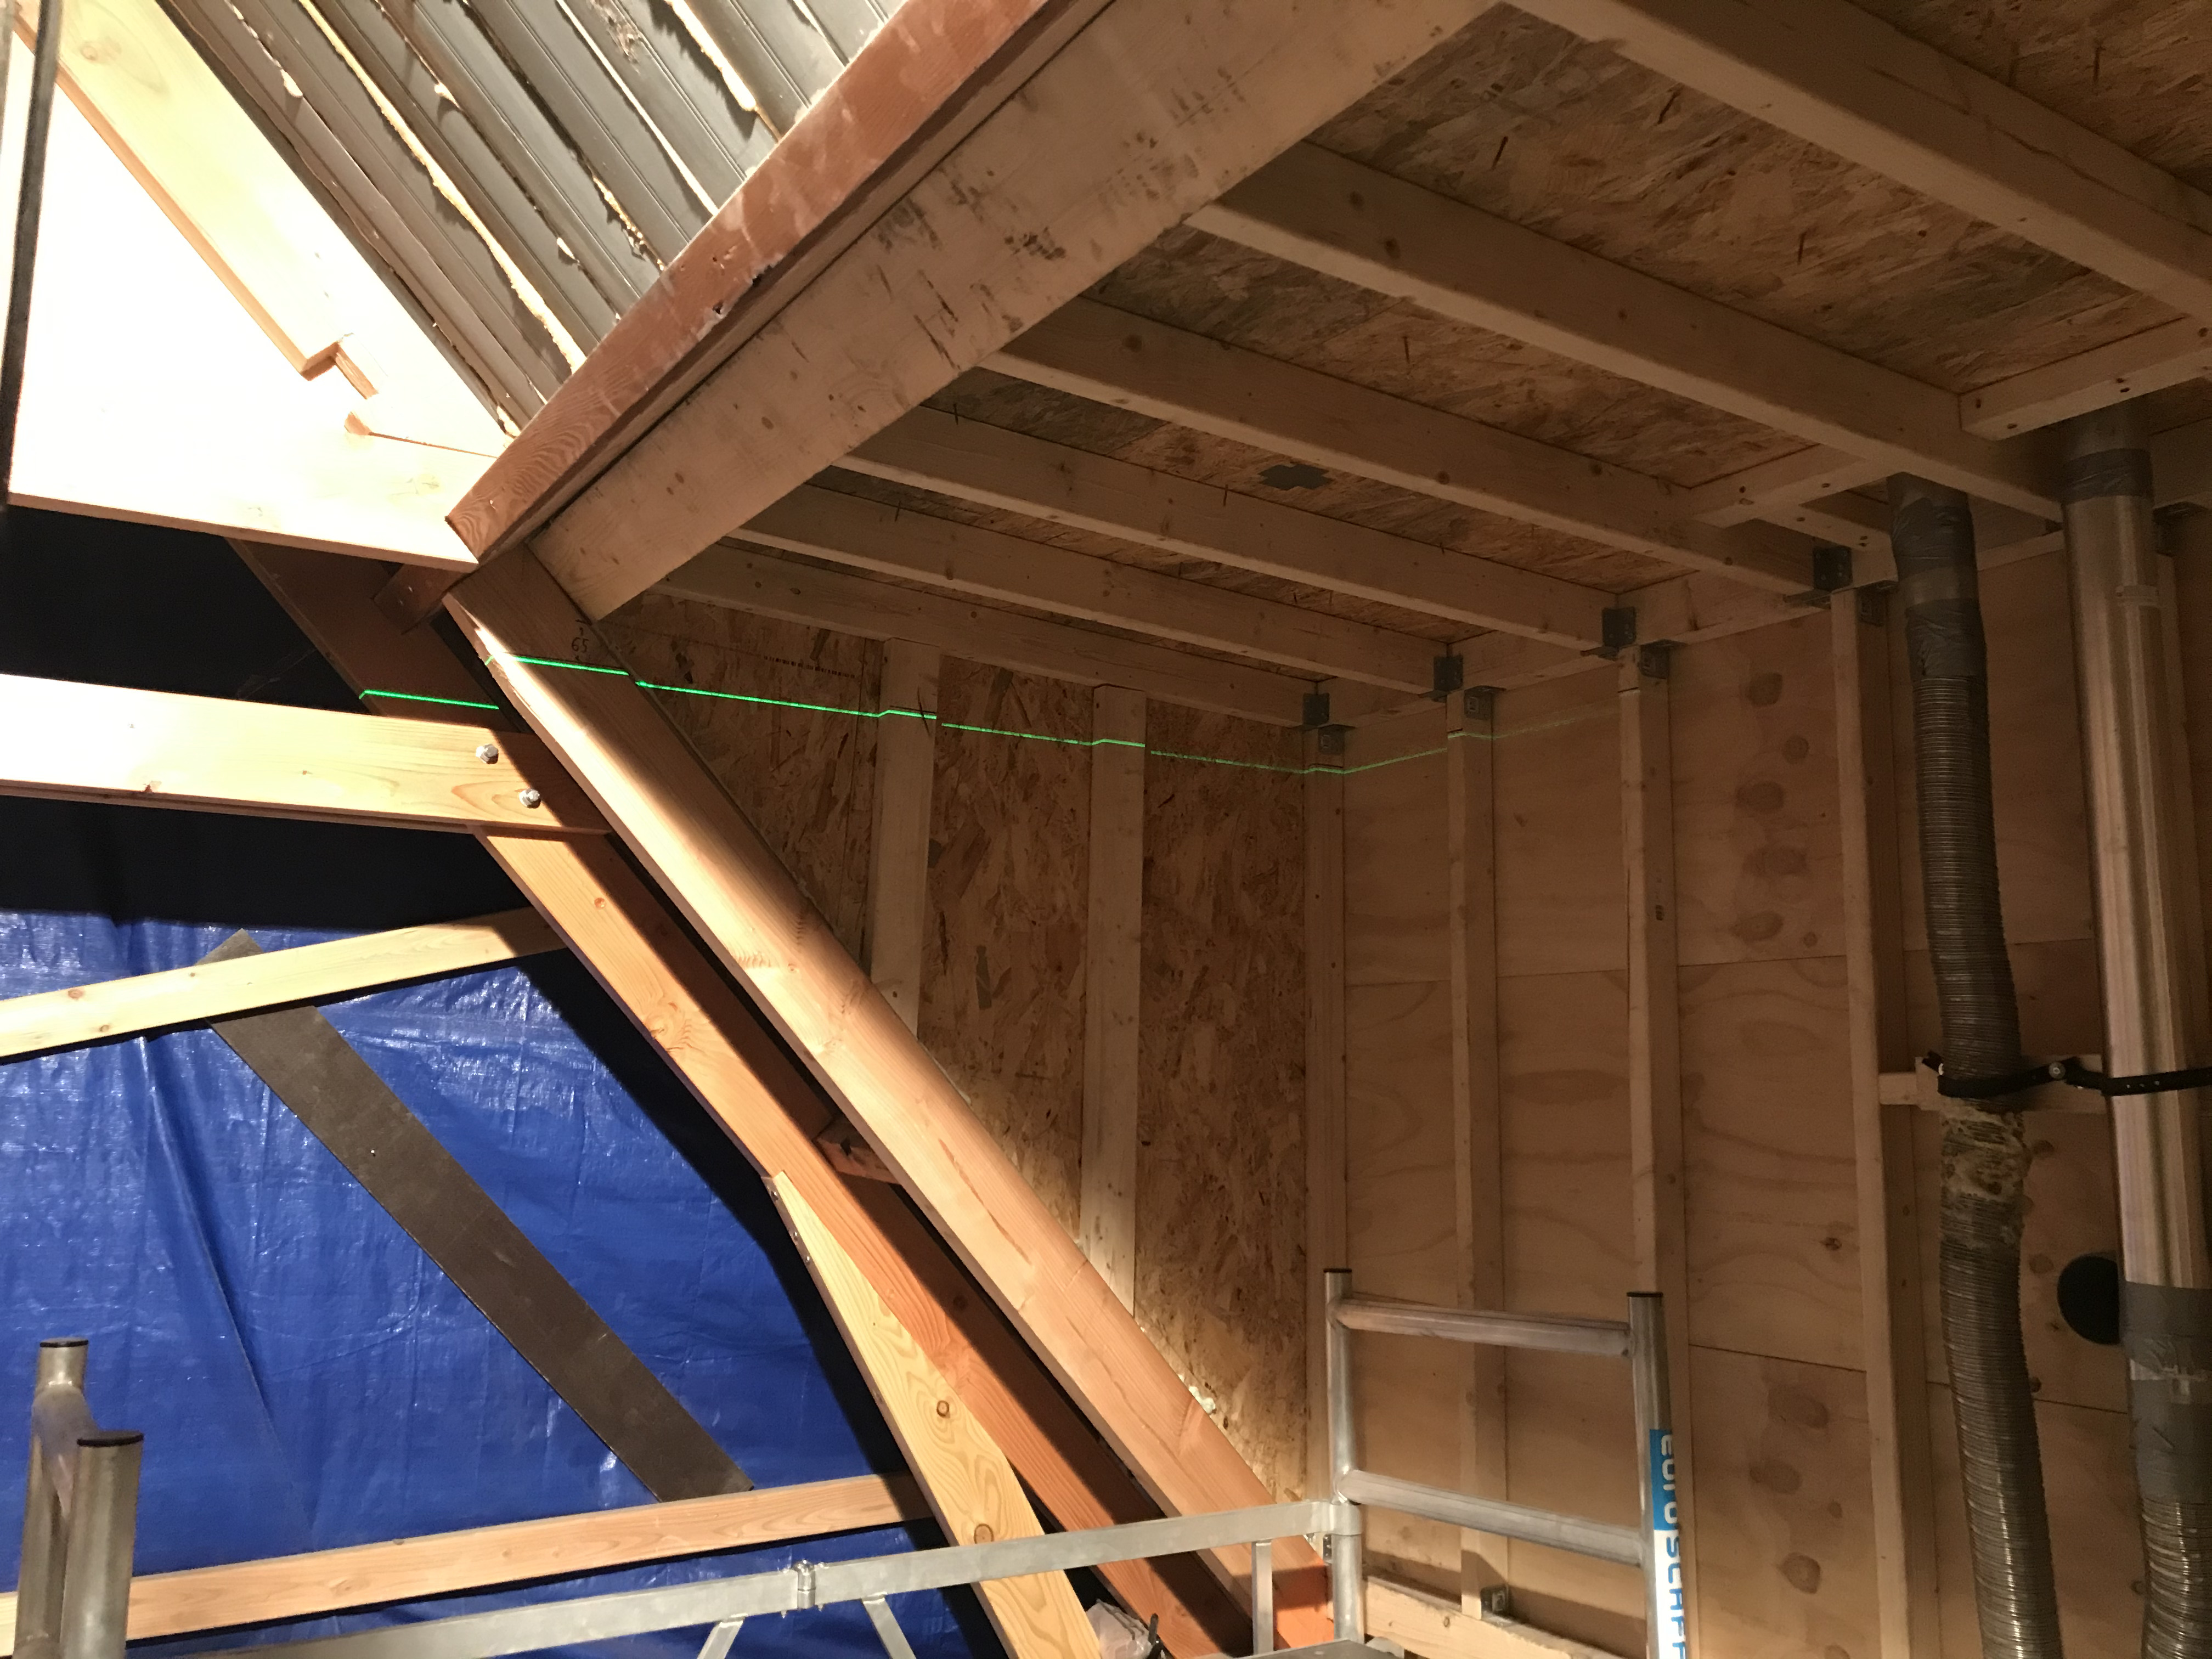
Framing the ceiling was a challenge, I probably over did it with the number of framing elements used
We used rockwool insulation on the walls and a hard polyurethane foam on the ceiling. Everything was covered in a vapor barrier. I’m really happy with the warmth of space, in below freezing nights it can be warm upstairs with only the floor heating.
At this part of the kitchen we were going to have the fridge and a microwave. We used plaatprikker to easily mark where we had to drill the holes for the outlets. There are pretty expensive for what they are but save so much time it’s worth the cost.
When the kitchen was being plastered
Installing the ikea cabinets after we plastered and painted
When it was time to install the exhaust for the grill I got to put a hole saw through all the layers of the wall, which was 14.5 cm thick
the composite counter tops installed by the fabricator, they did a great job
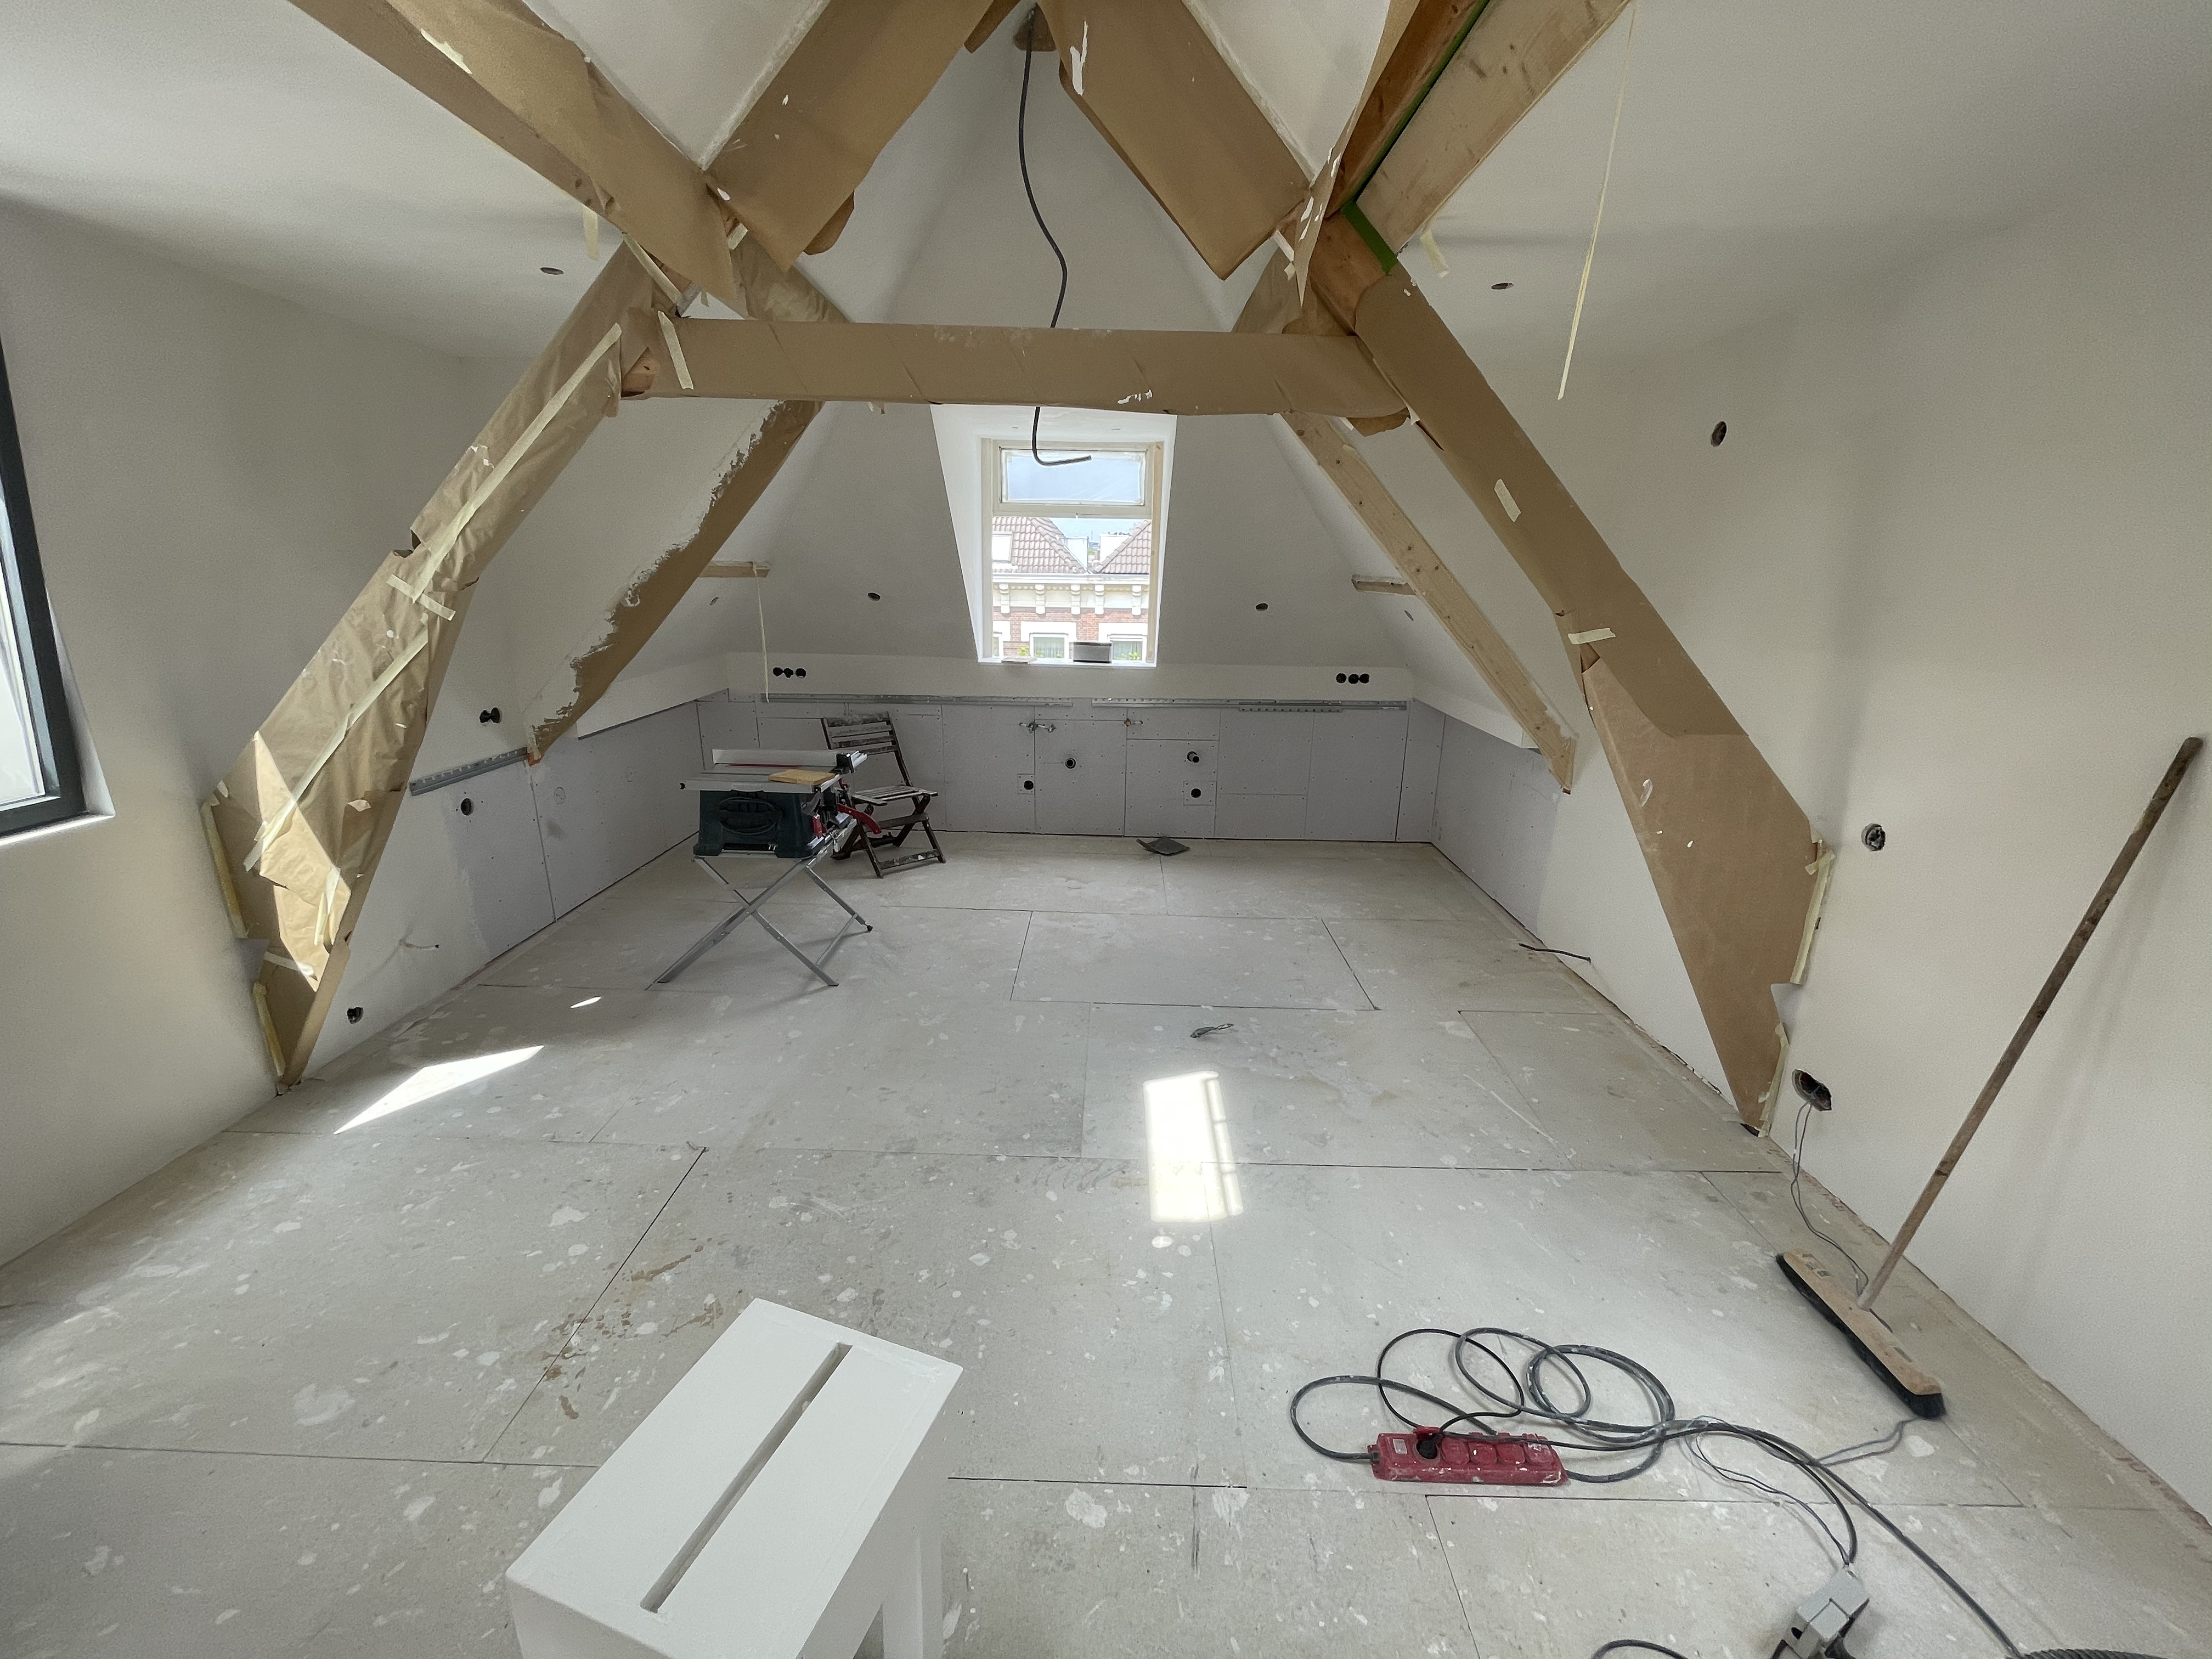
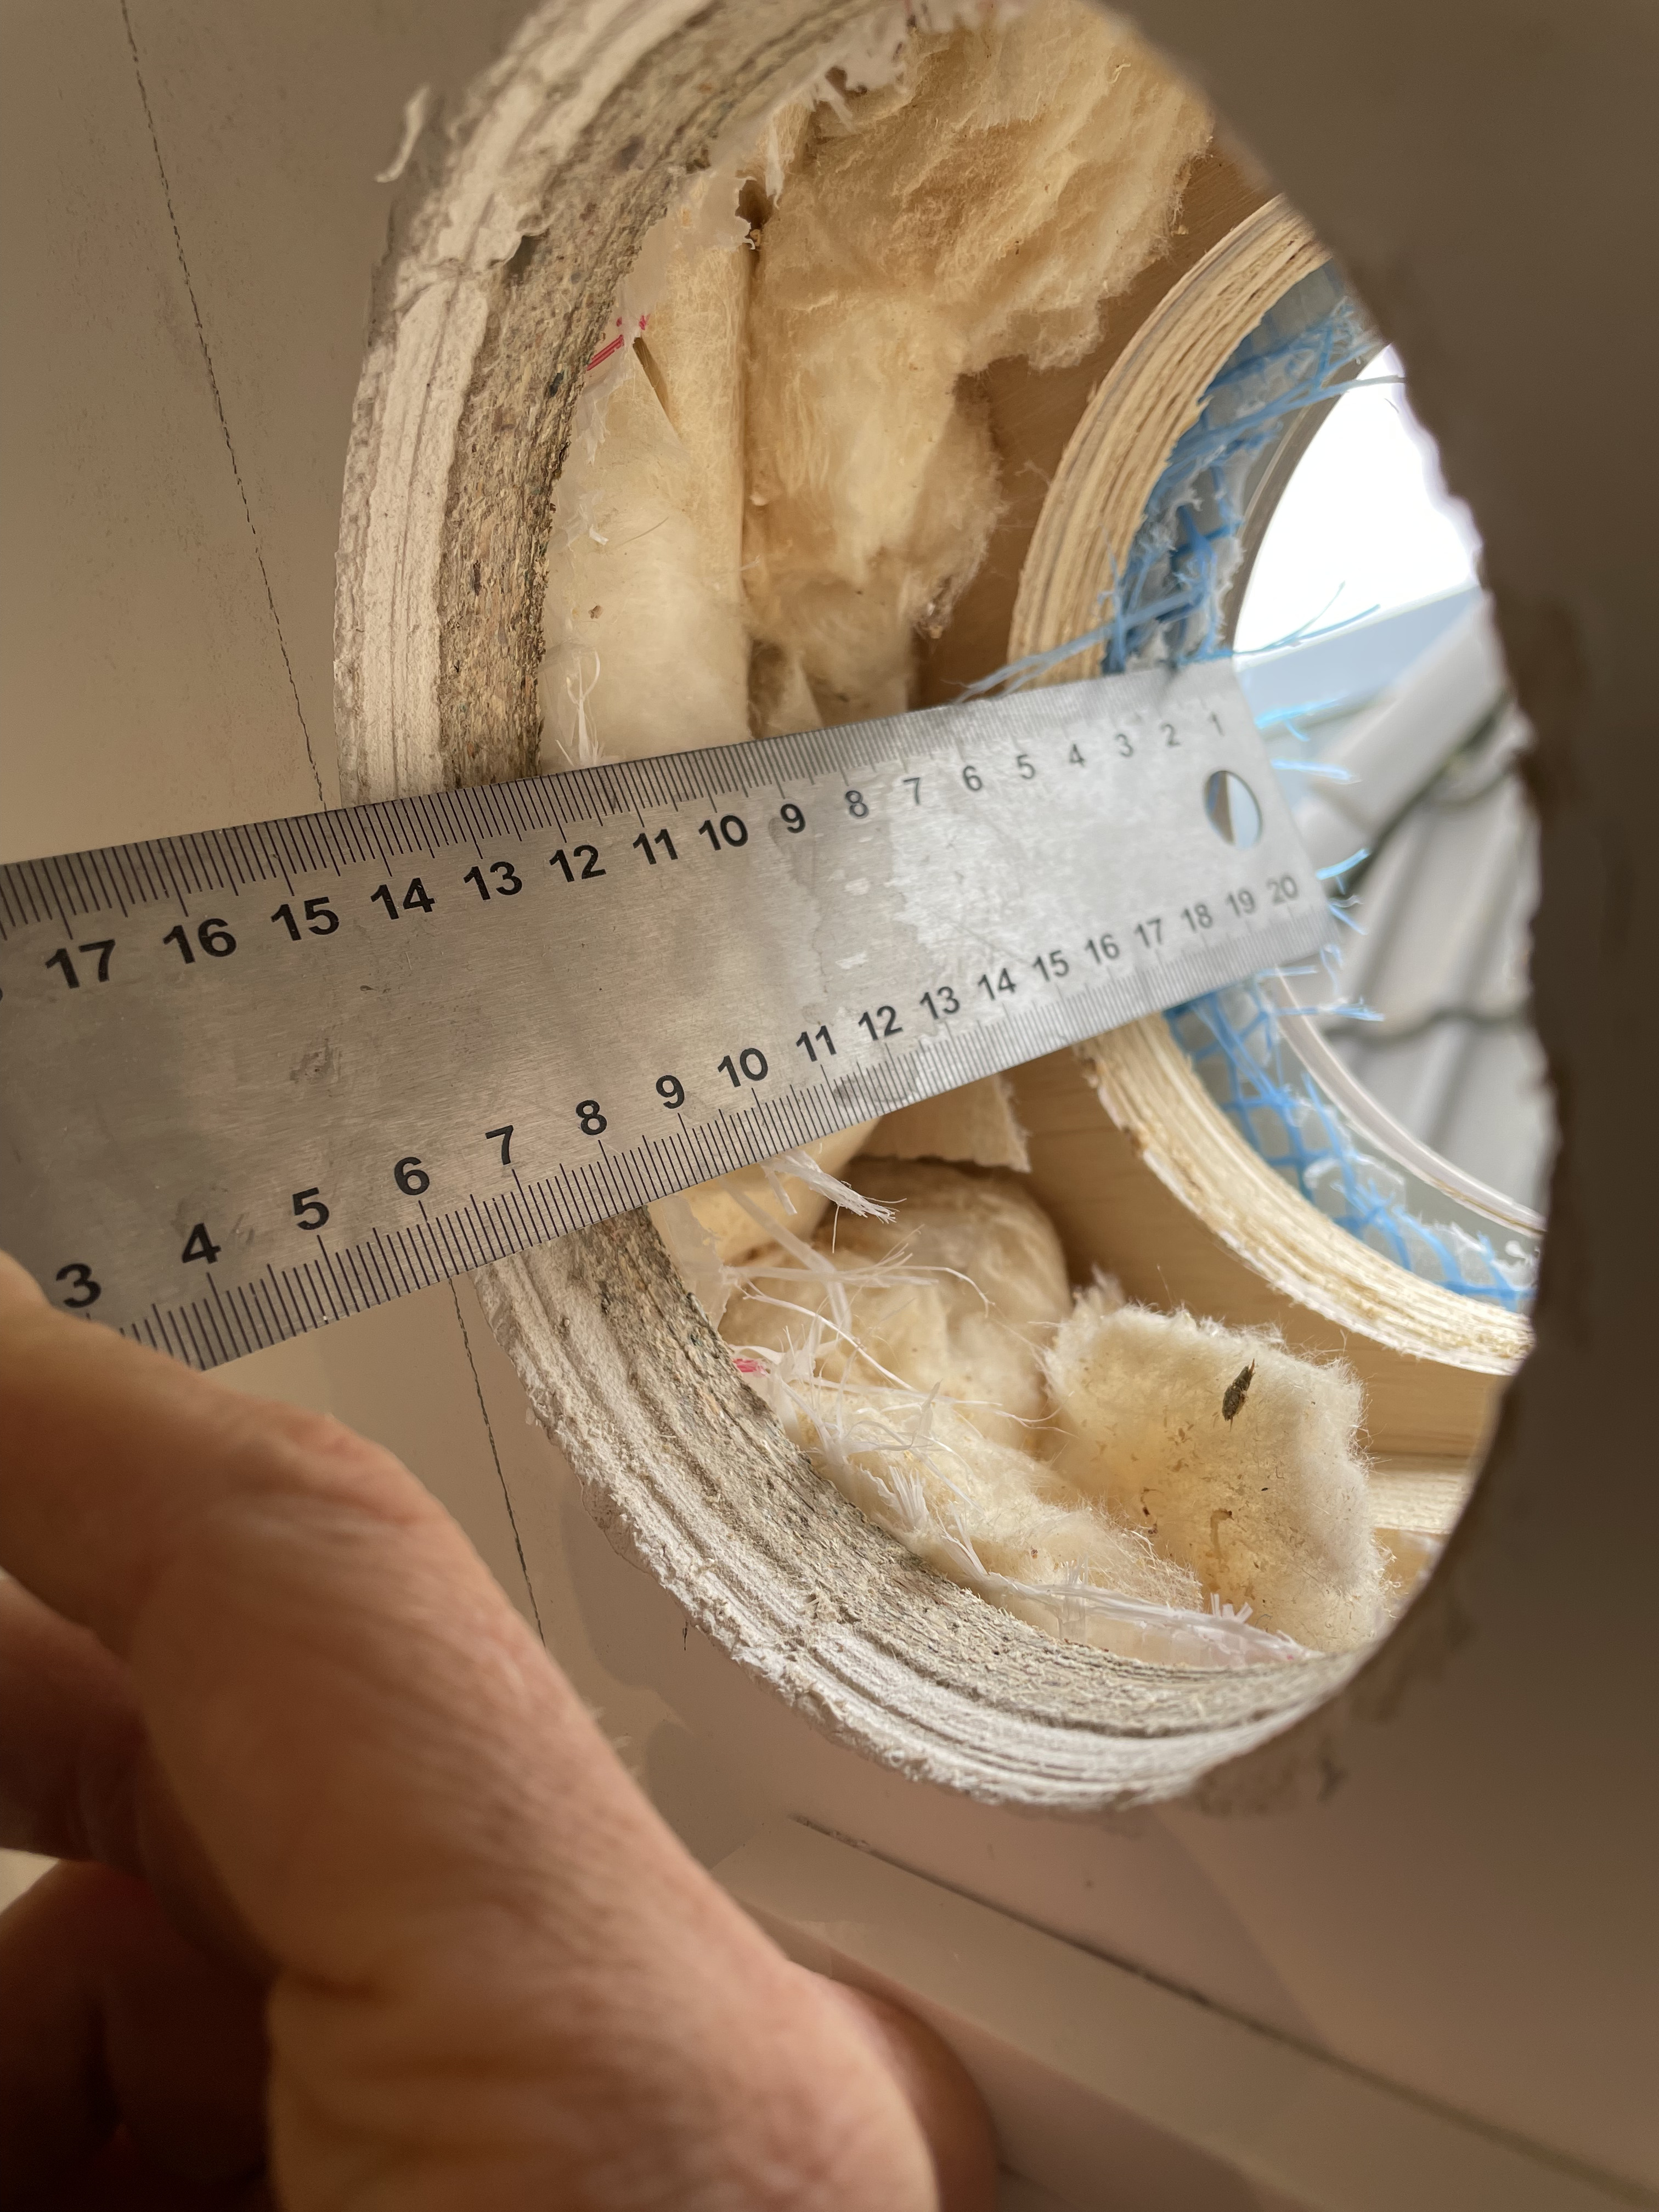
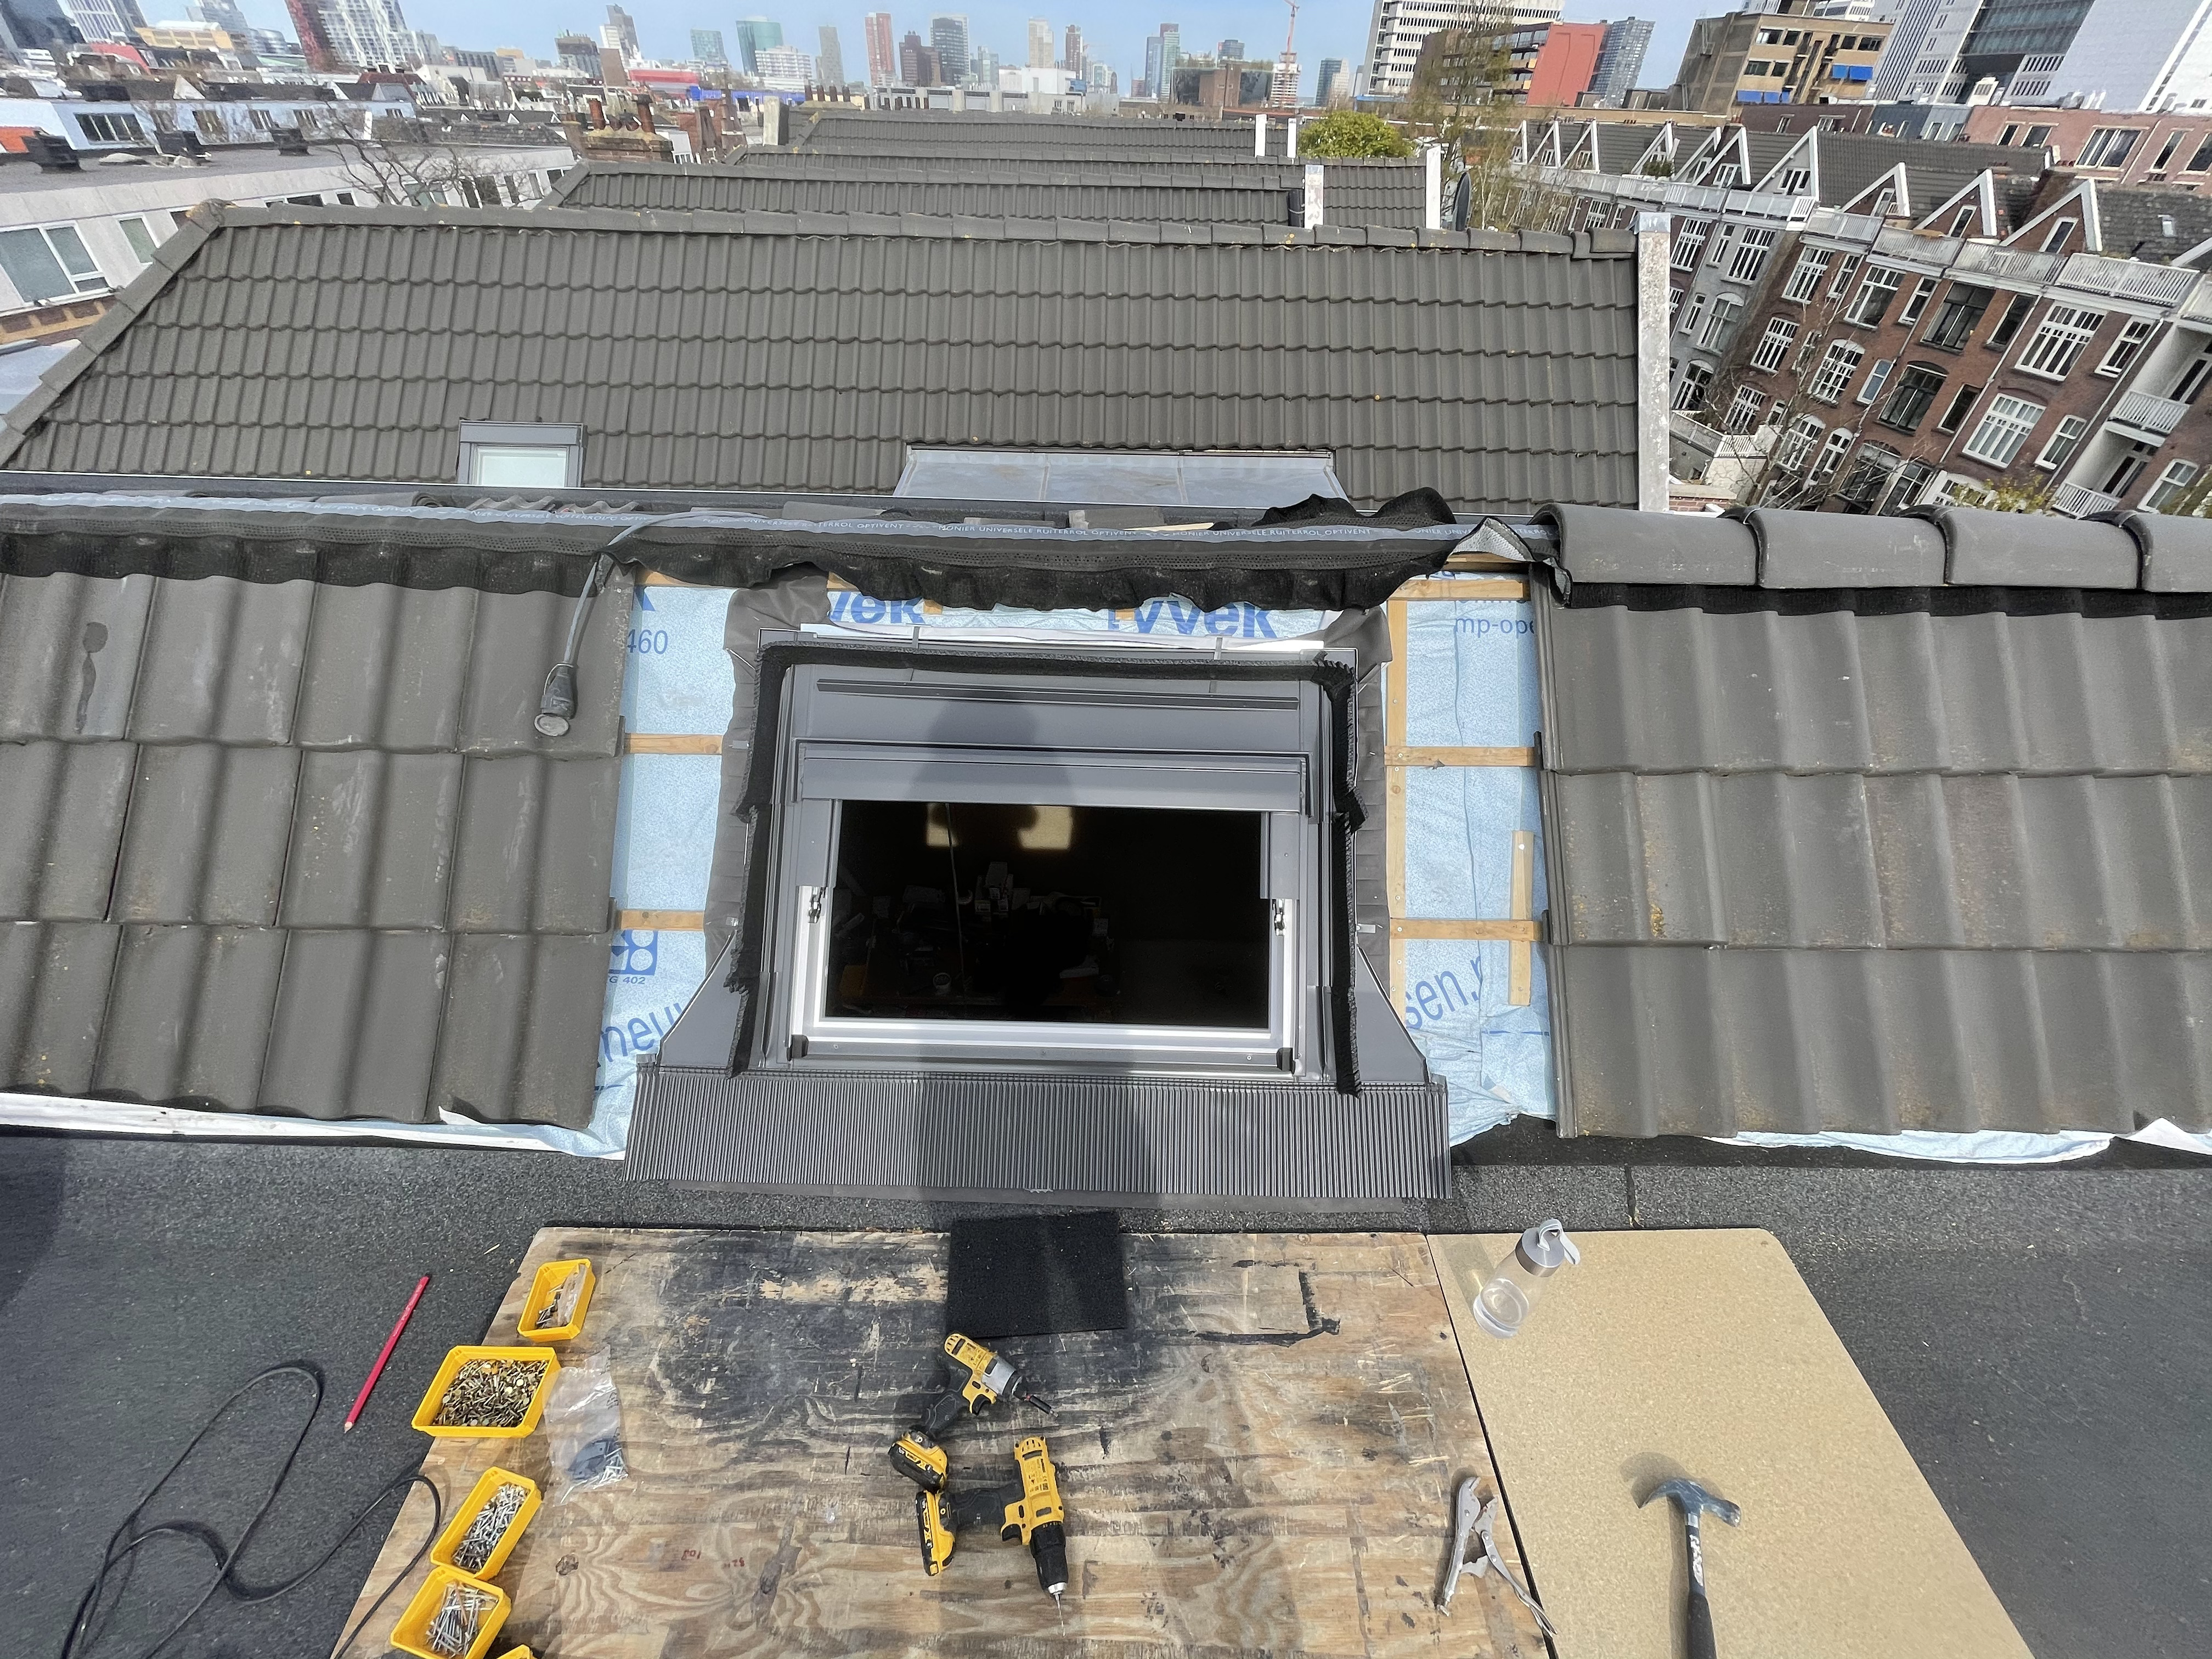
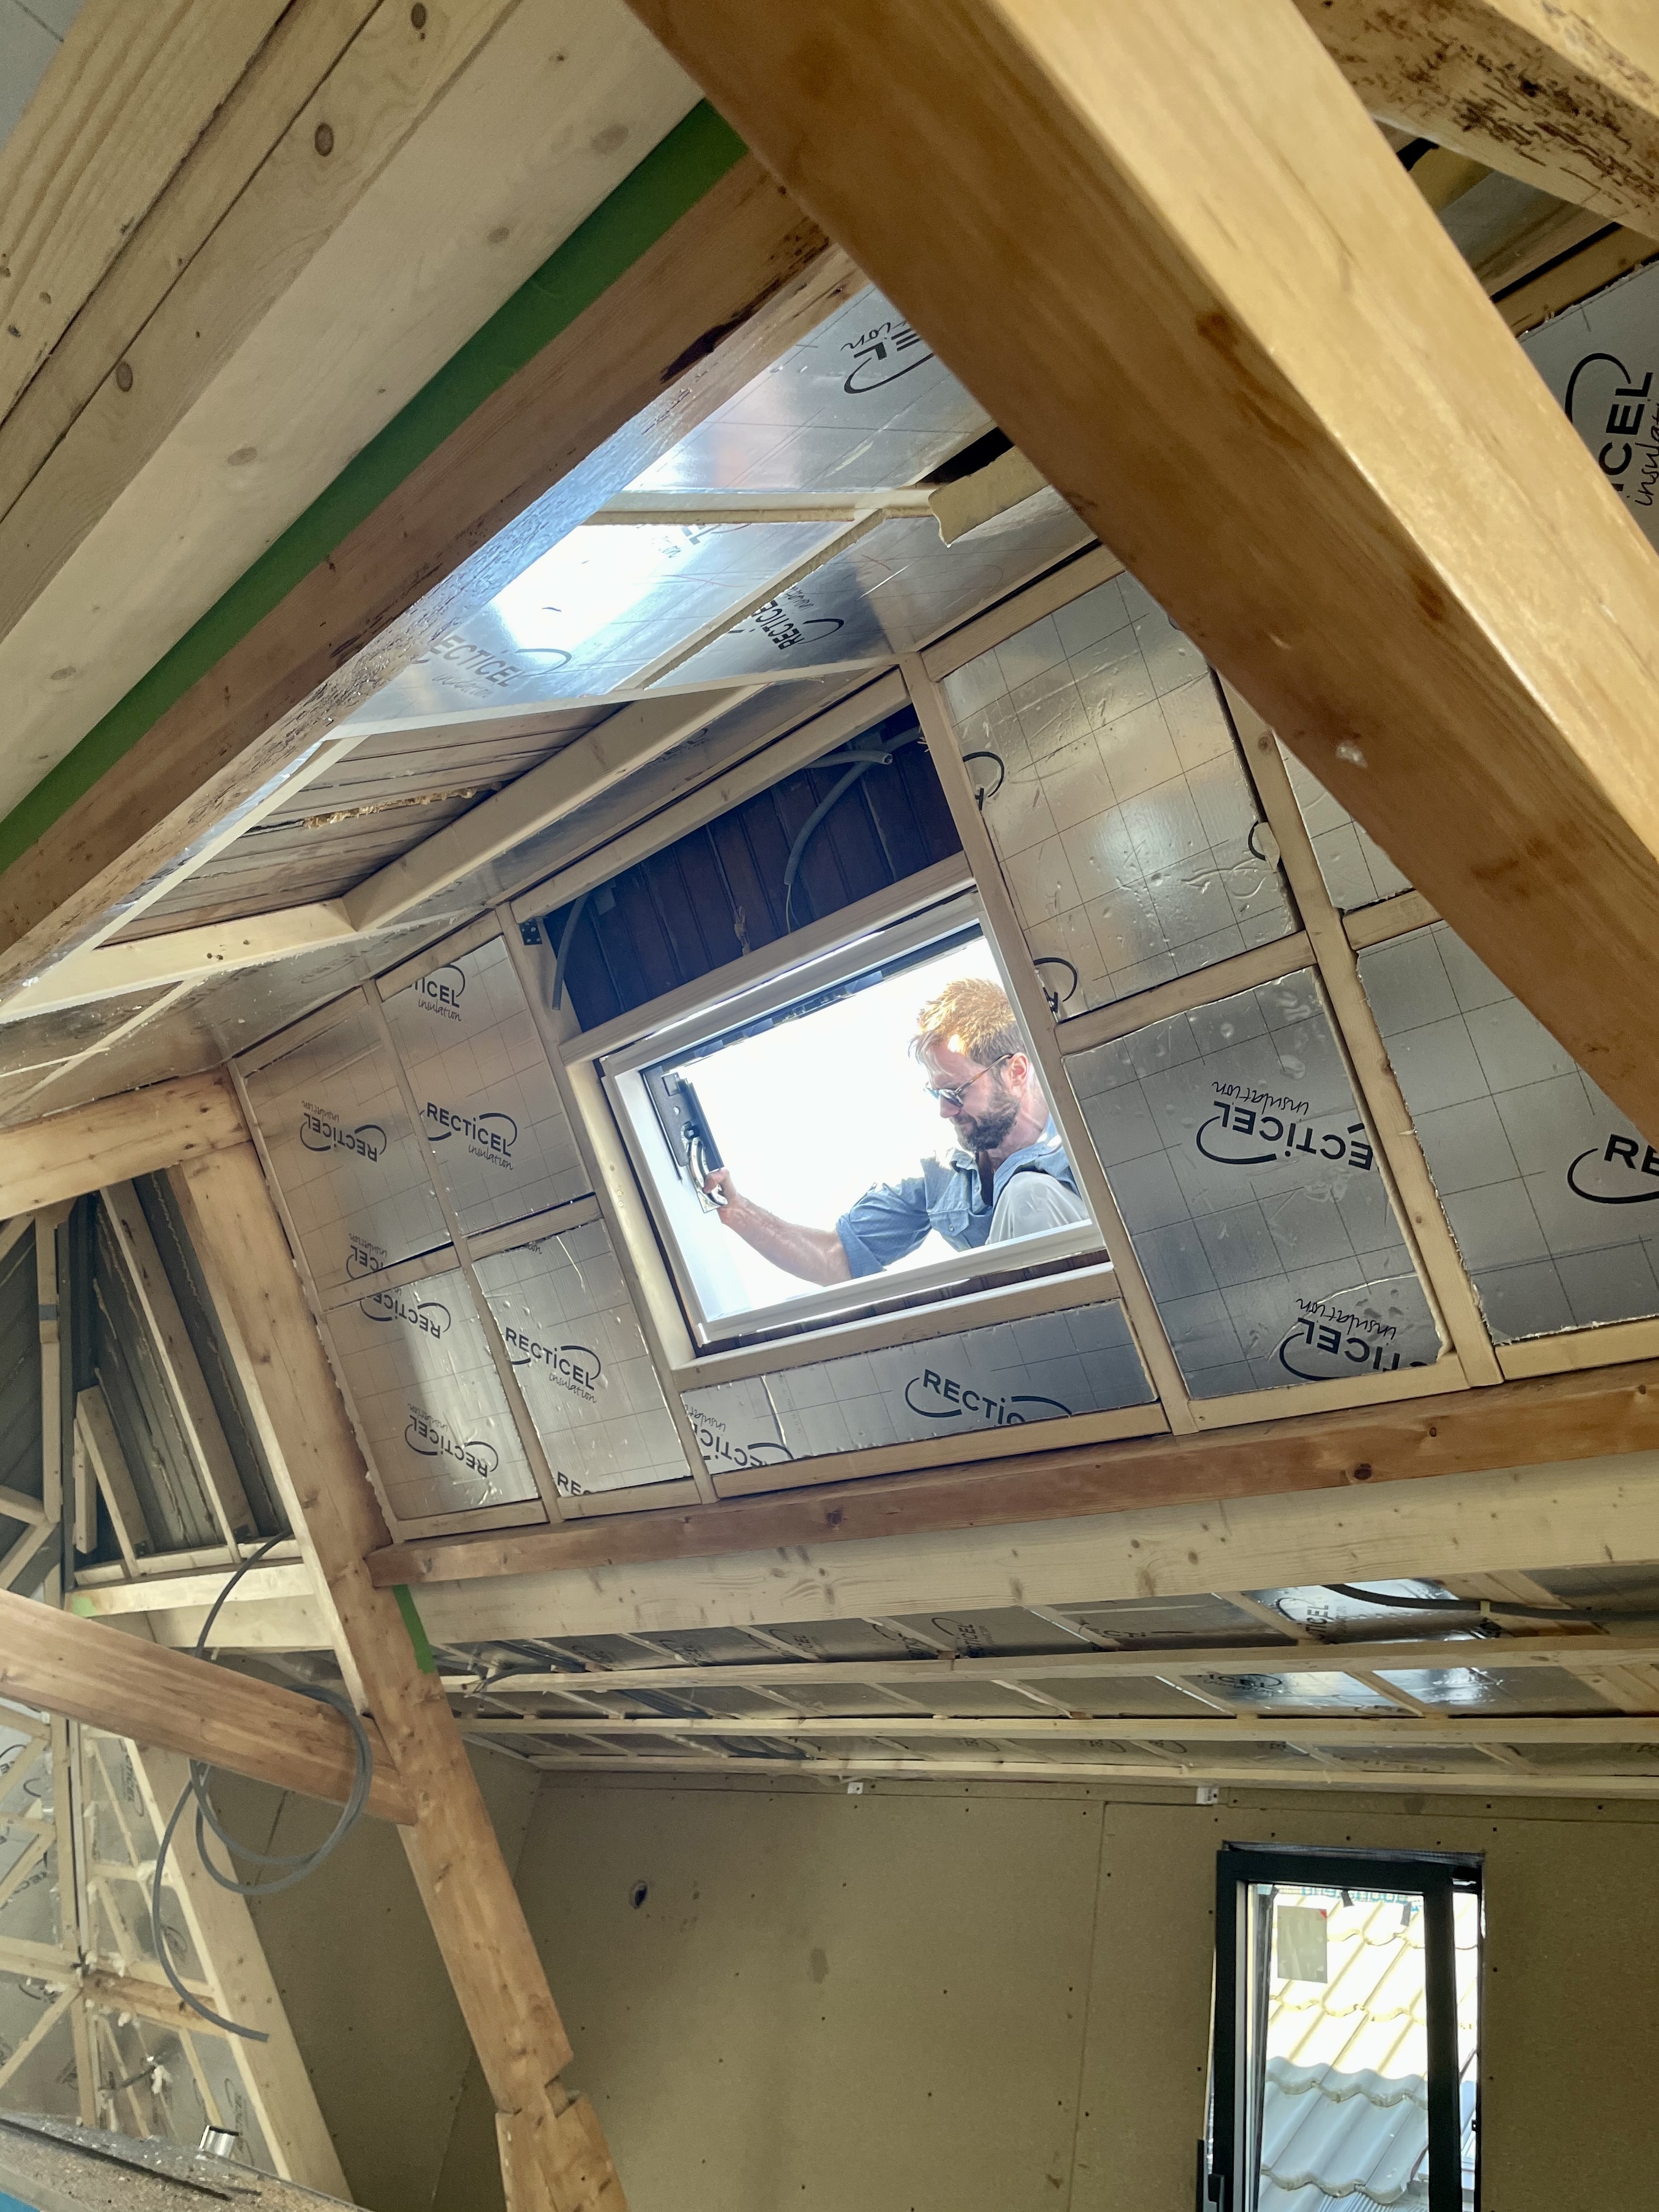
We added 4 Velux skylights at the ridge, which really lightened up the space. Sometimes I wear sunglasses upstairs. If I were going to re-do this project, I would spend the extra money to have exterior shades on the skylights It can get really hot in the summer.
I started by framing where the skylights would be attached to, then drilled a hole through the interior corner of each frame. So I would know where to cut out the outside.
The Velux system was really nice to work with everything felt really high quality and went together easily. I did four of these in a weekend
It looks like I was struggling with something here
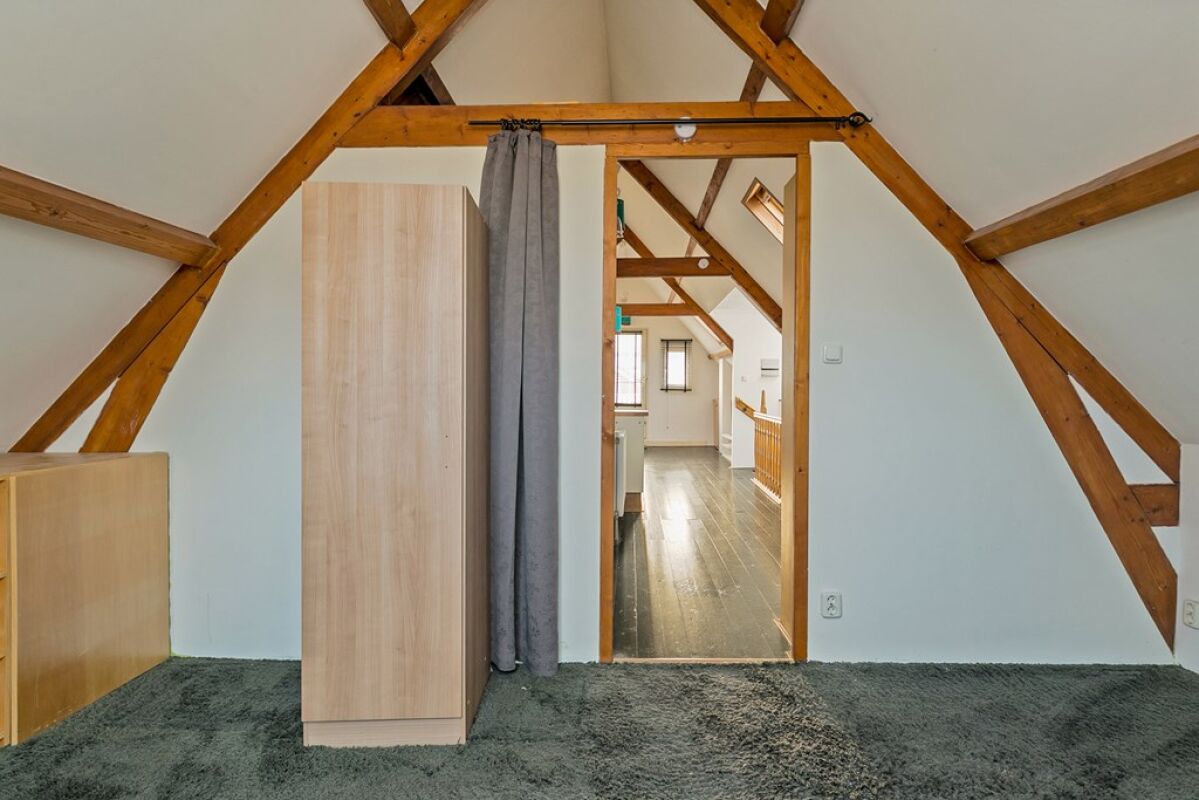
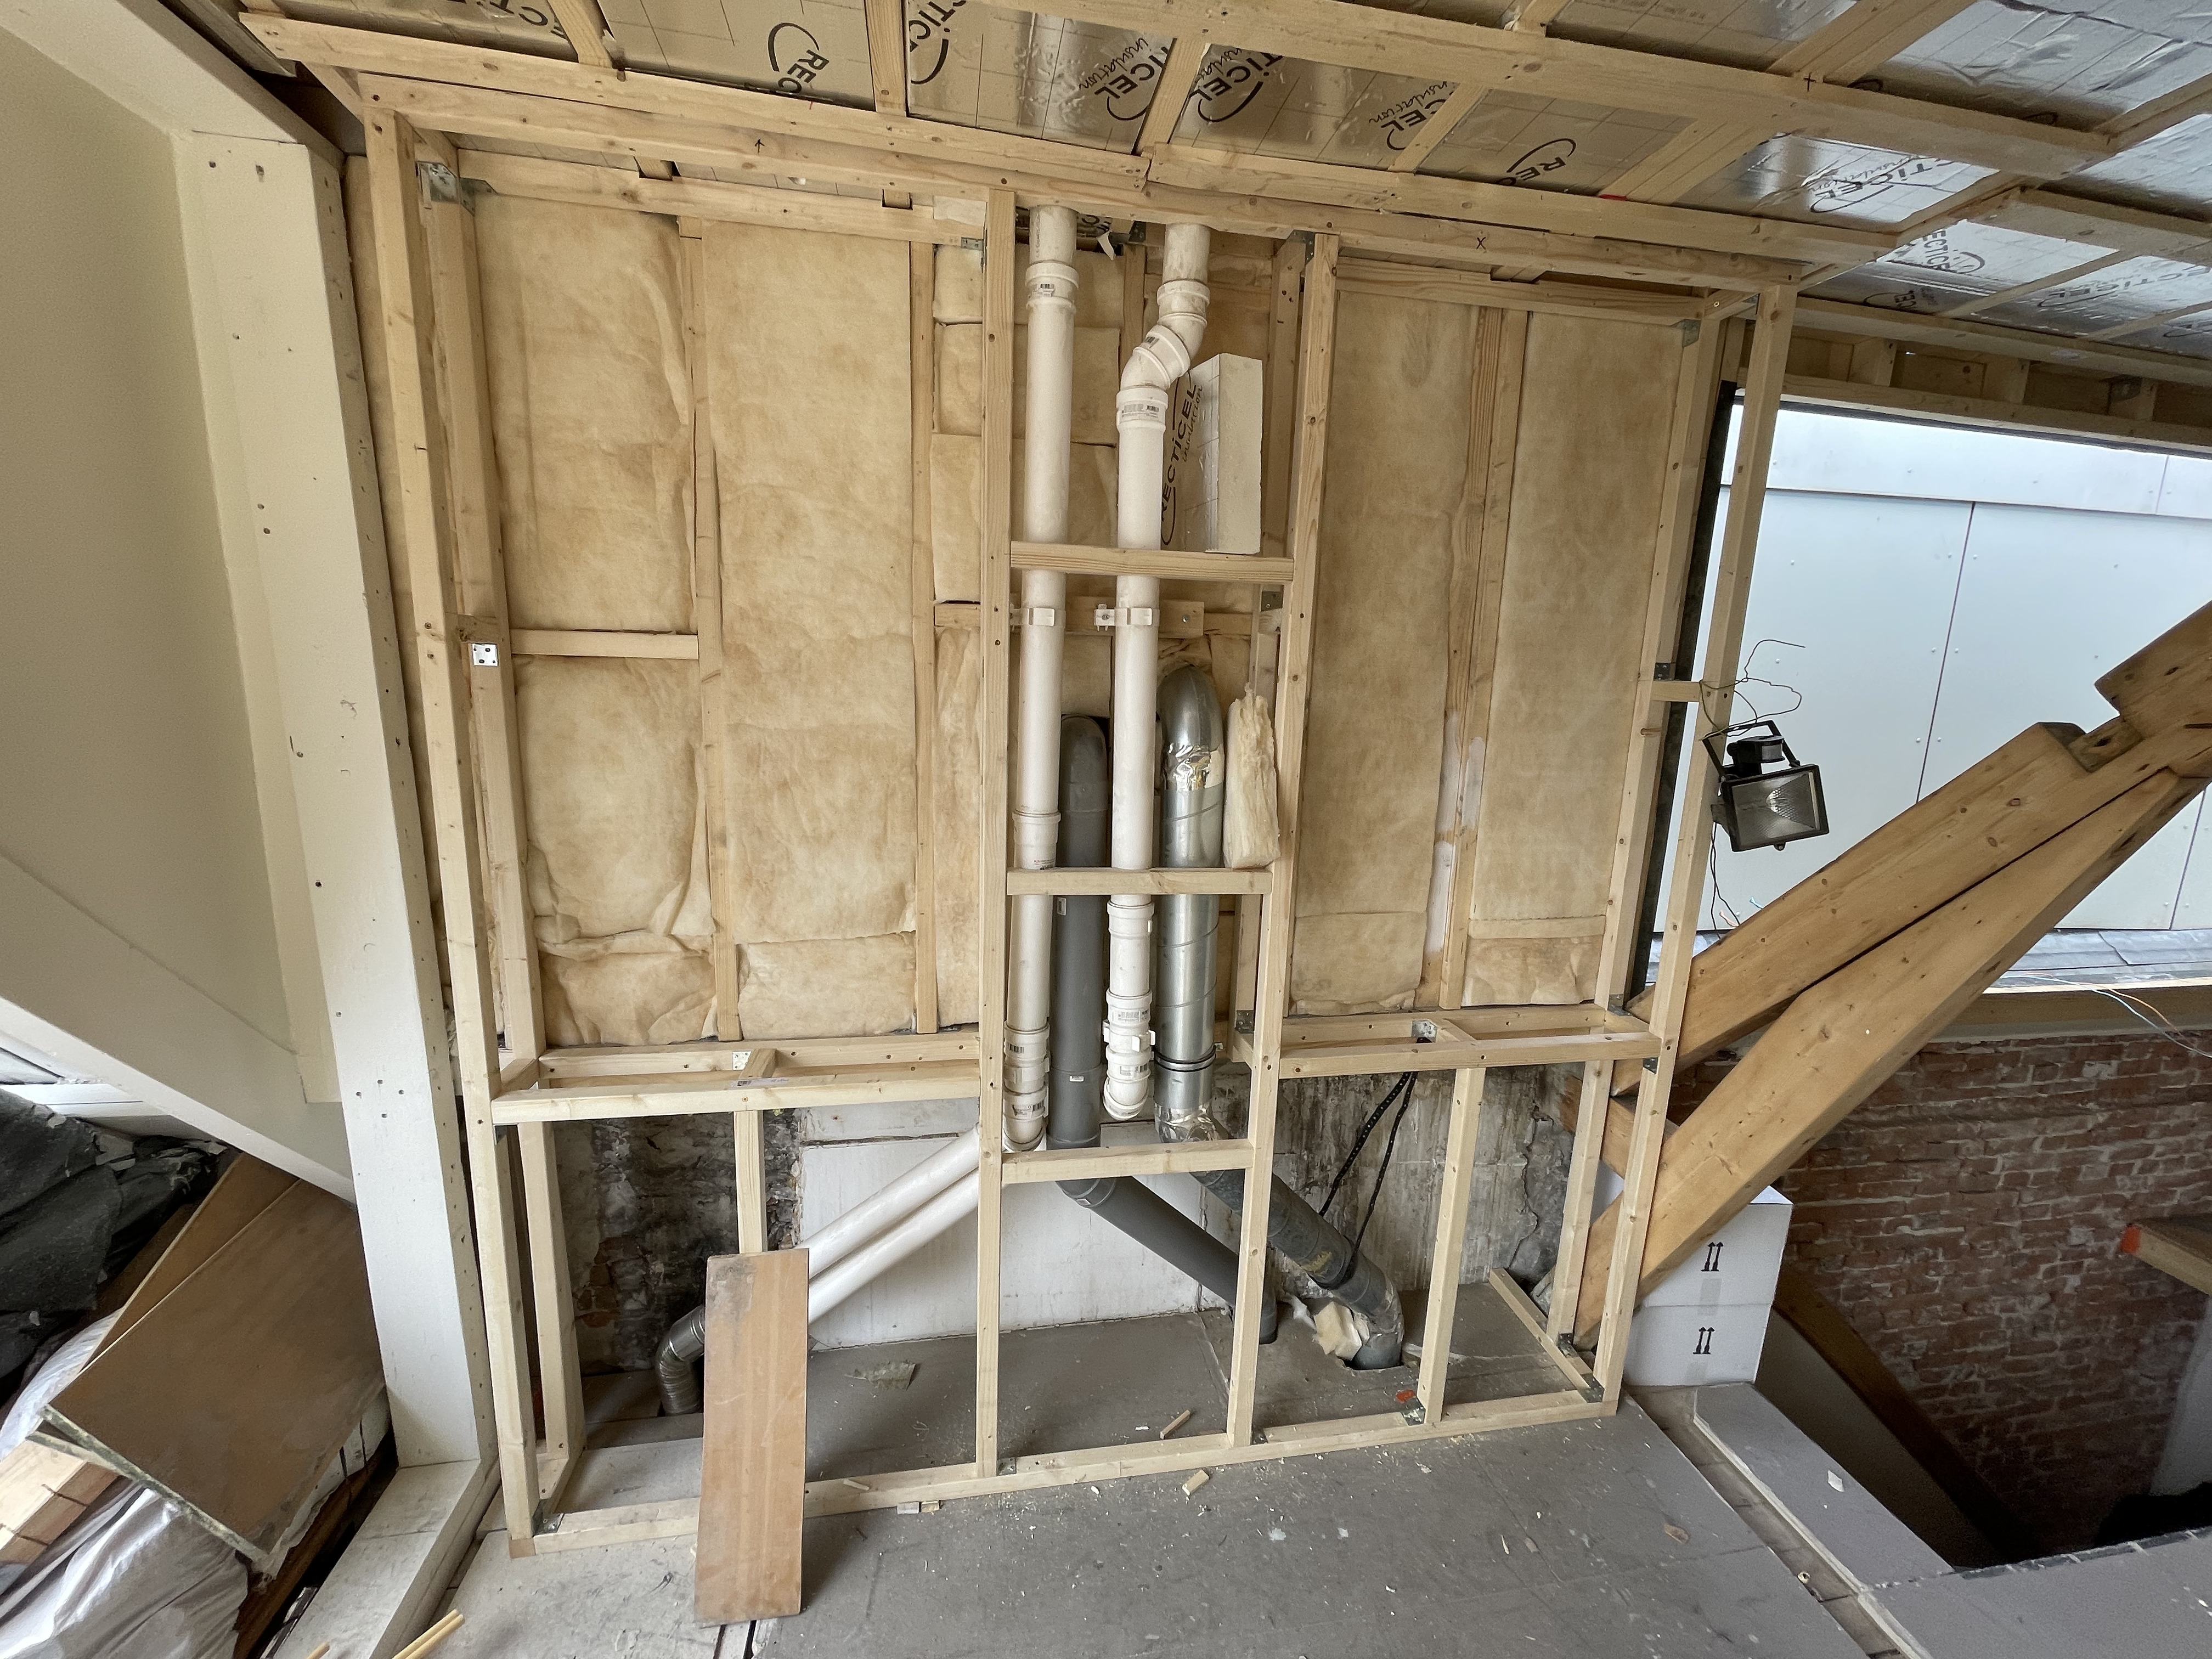
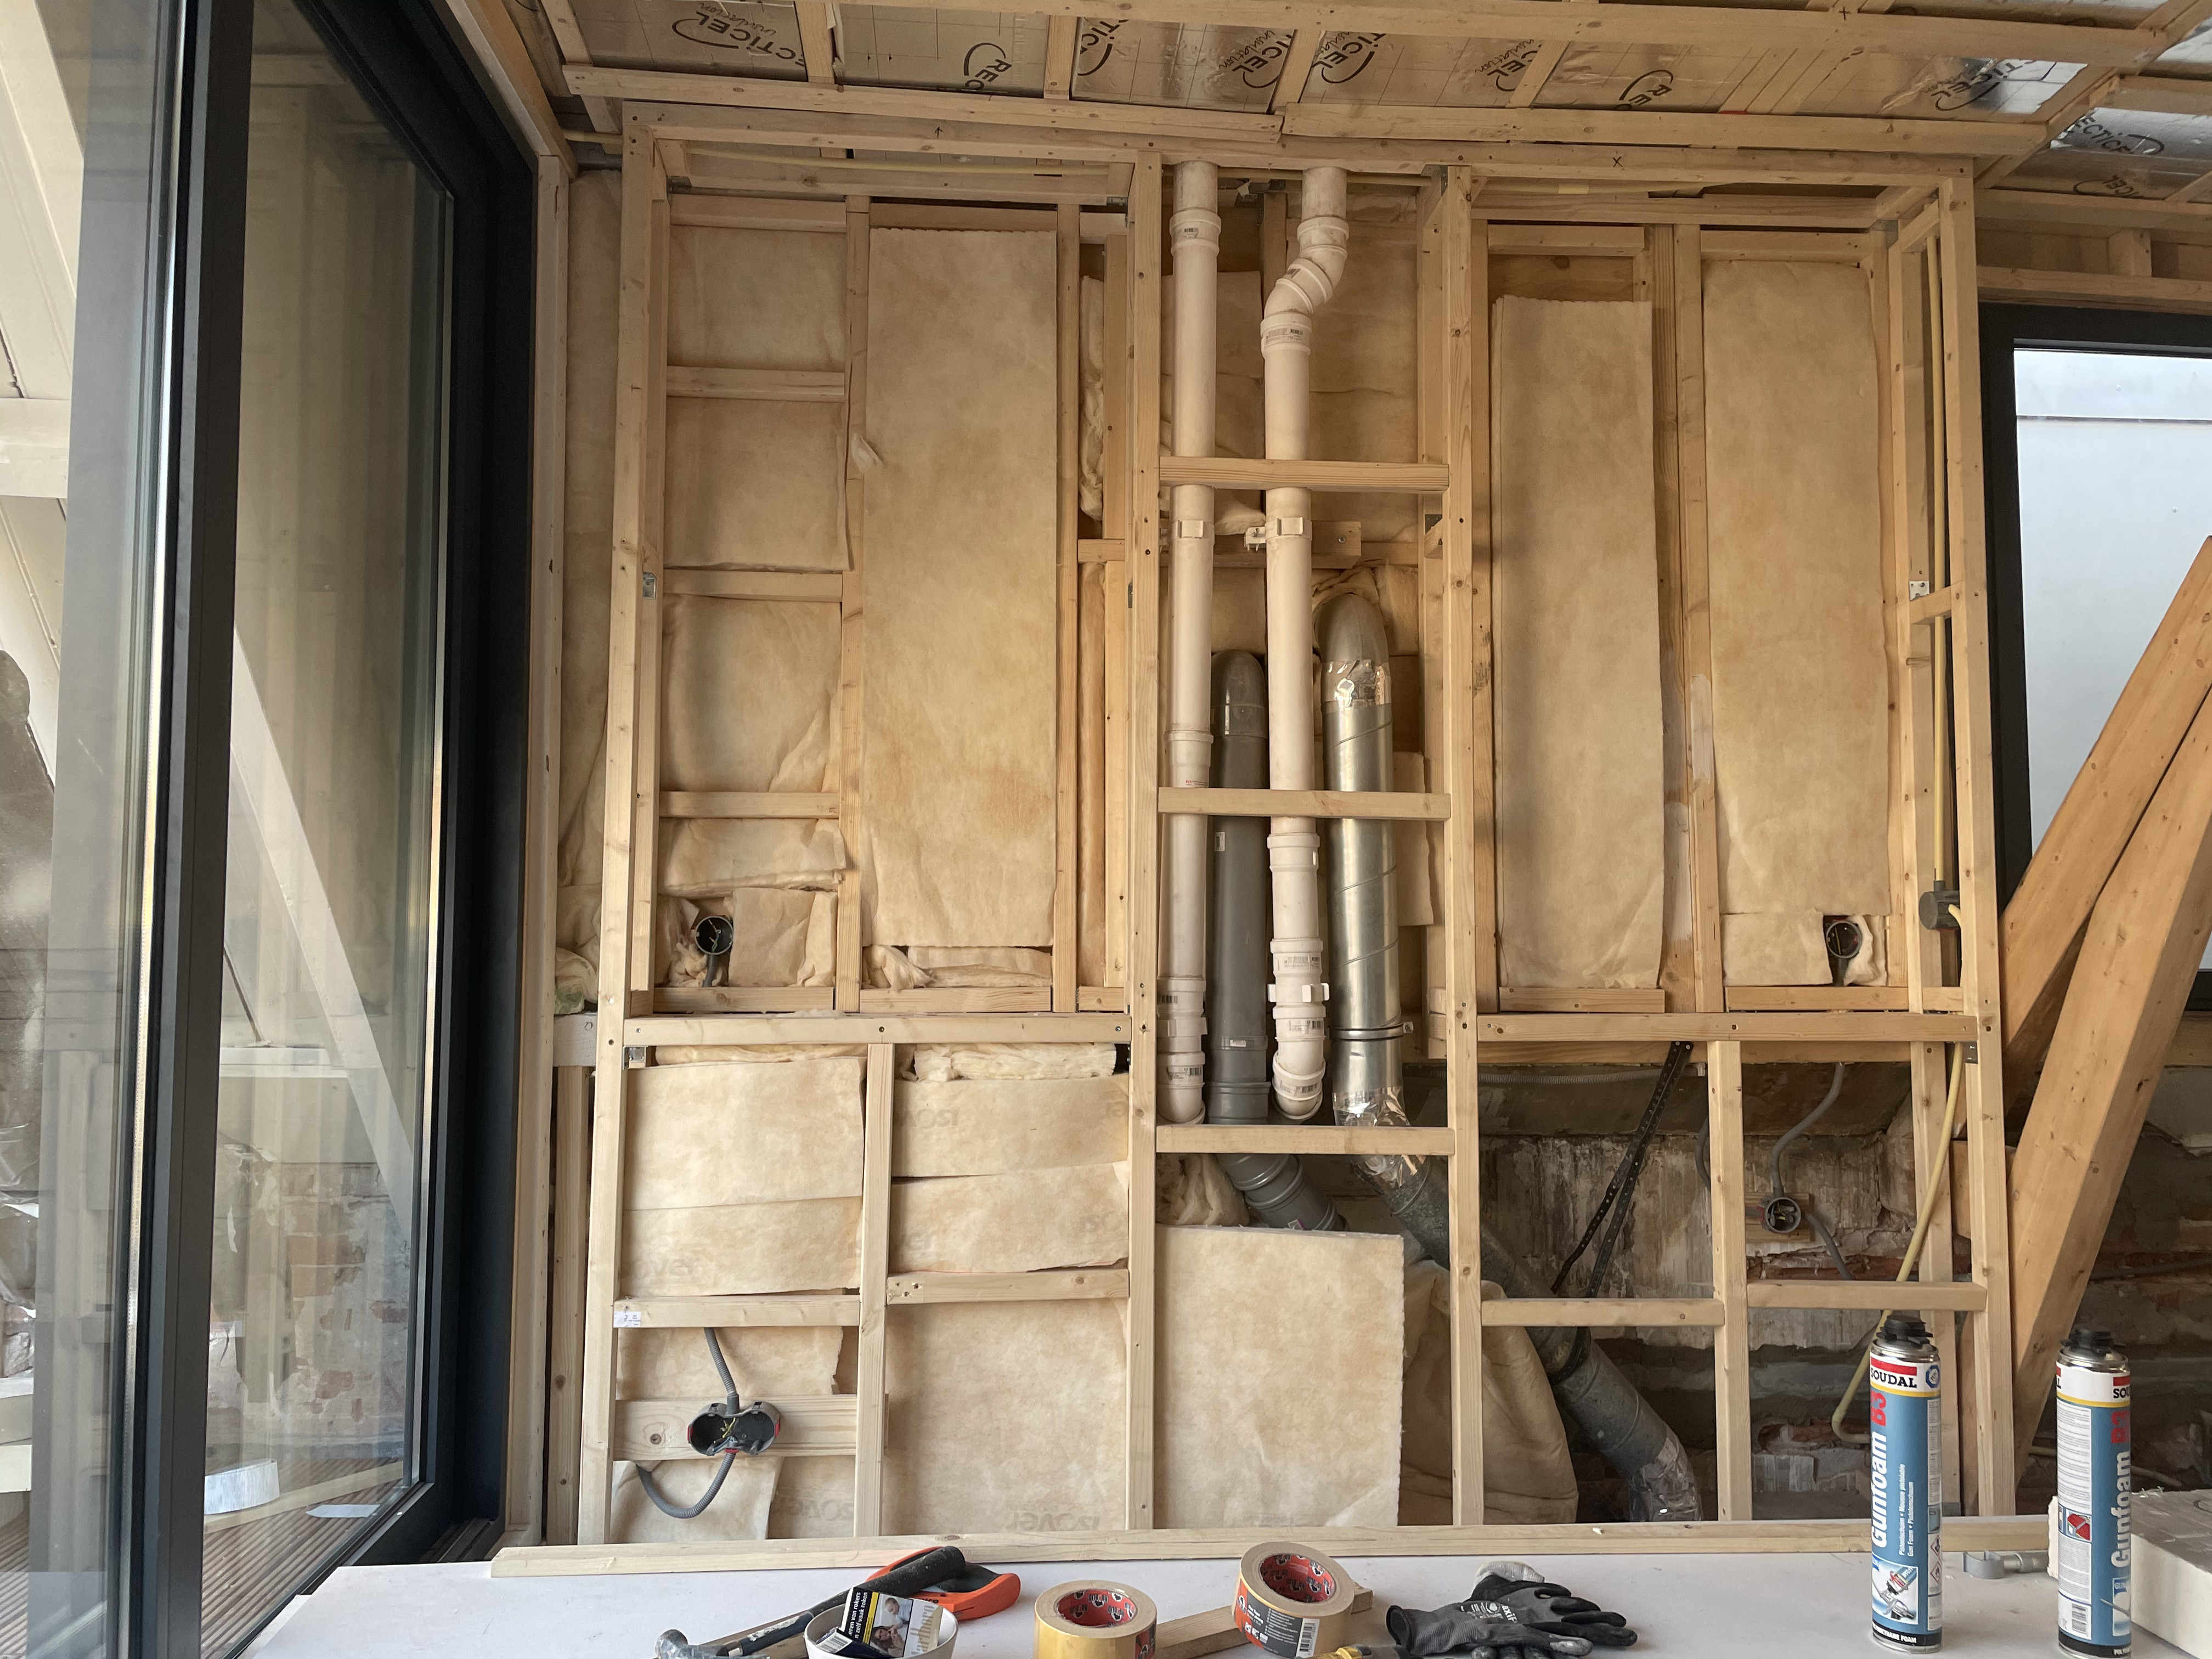
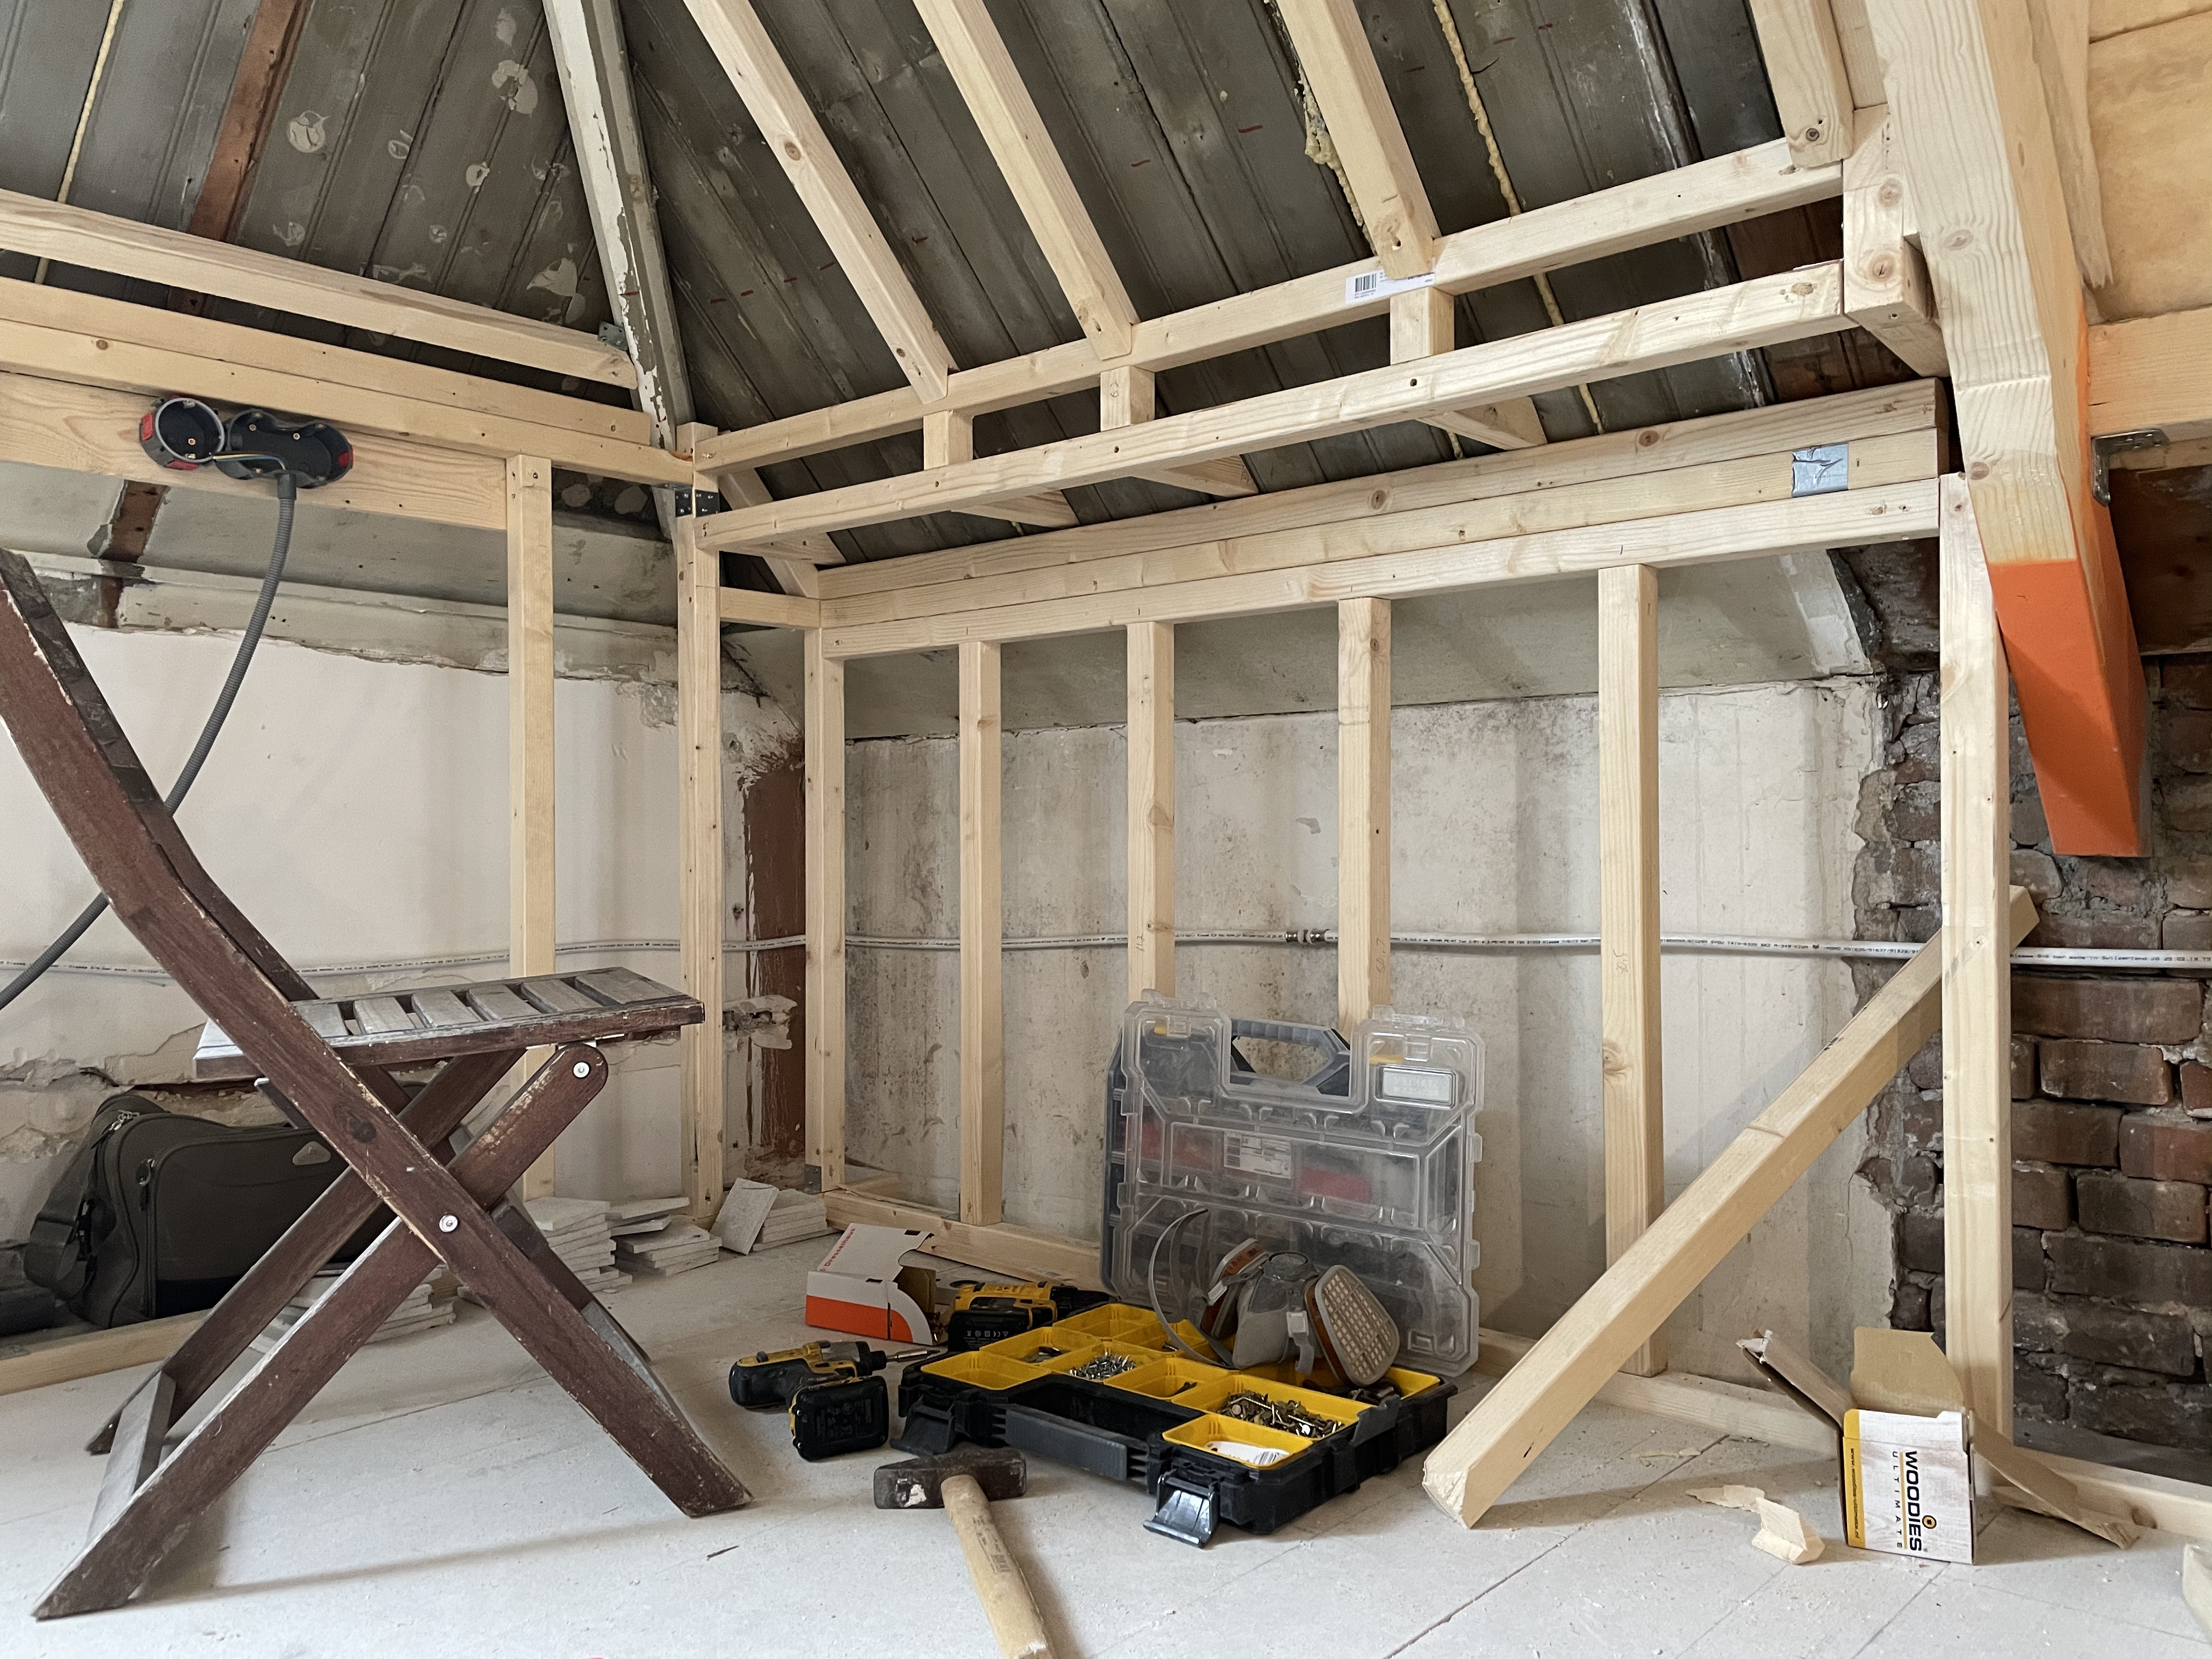
We wanted to have a toilet upstairs and needed a mechanical shaft for our water heater and bathroom exhaust as well as a place for the floor heating pump and tubes. Therefore, we sandwiched the mechanical shaft between the toilet and the closet.
We wanted to have a closet upstairs, so we needed to extend the floor above the staircase a bit. Here, we are cutting out two parts from the brick wall that will support the floor joists to be installed.
Adding the two new floor joists that will support the closet floor
We only added 1 m x 0.5 m to the floor, but it made creating a good sized closet feasible.
The right door leads to the toilet and the left to the closet.
We bought the doors and frames from the Hornbach, a Dutch building supply store.
The toilet under construction above the toilet to the right is where the mechanical shaft is, to the left of that we made a shelf which is handy for storing toilet paper
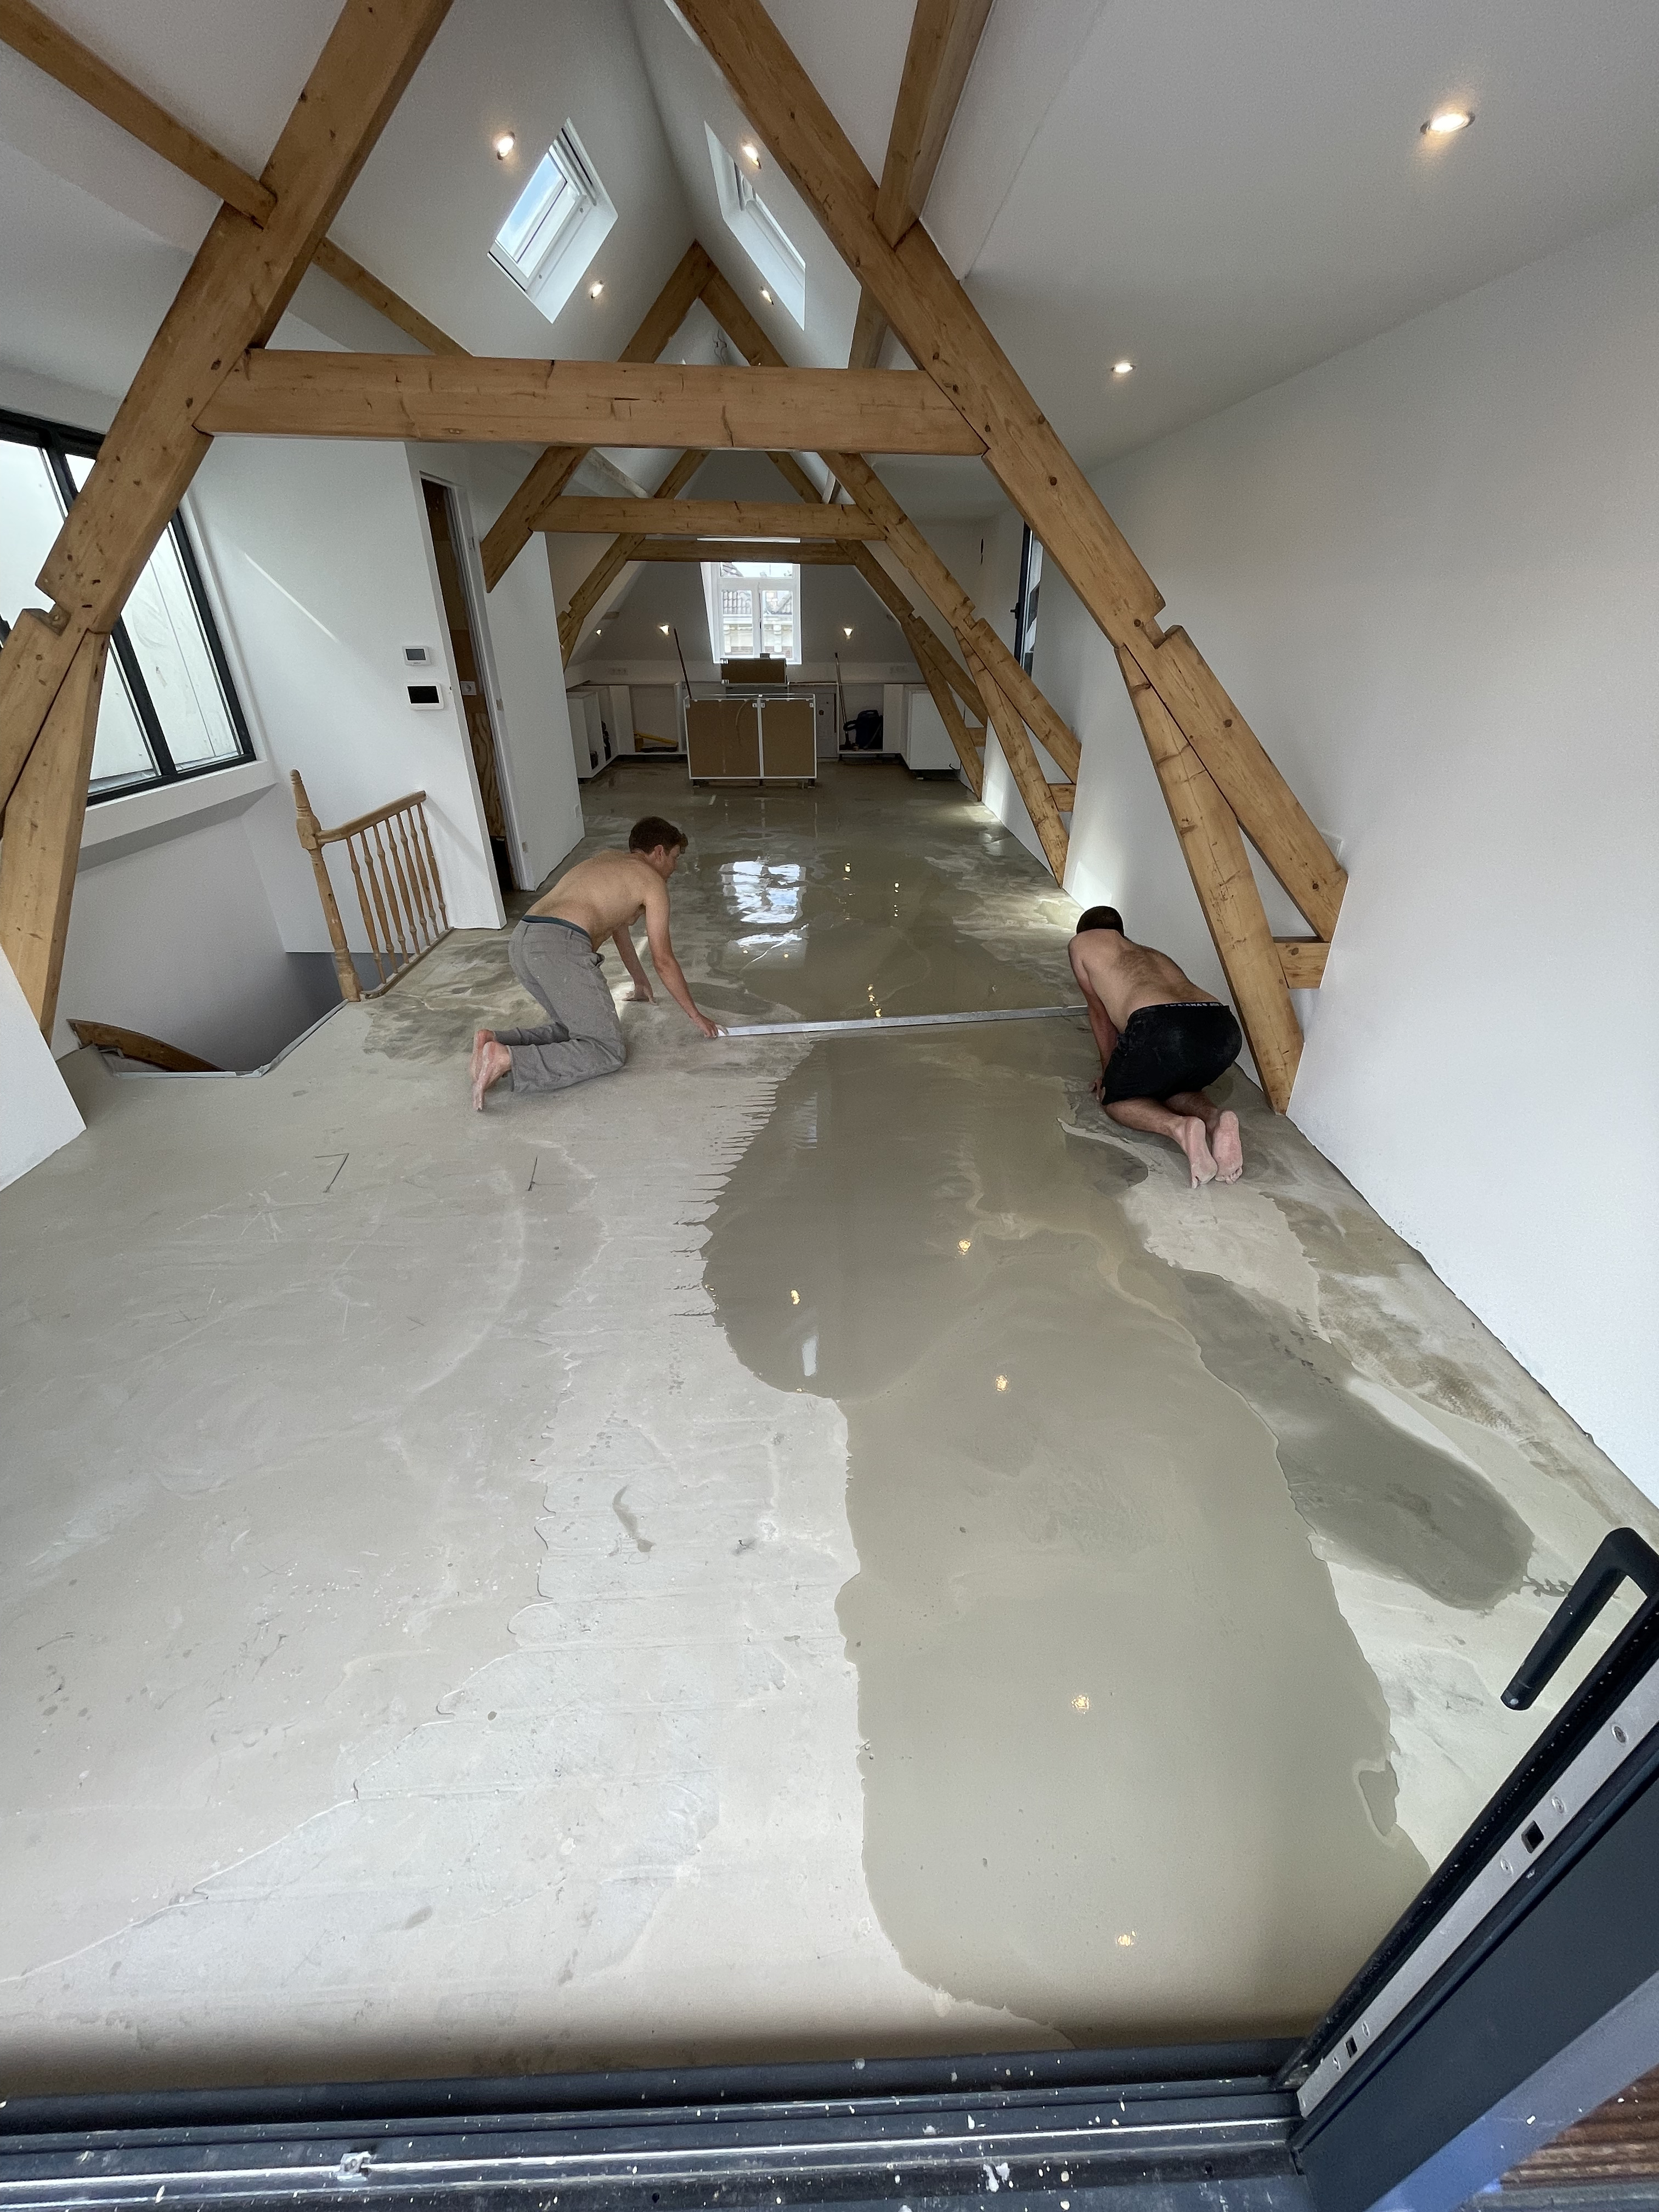
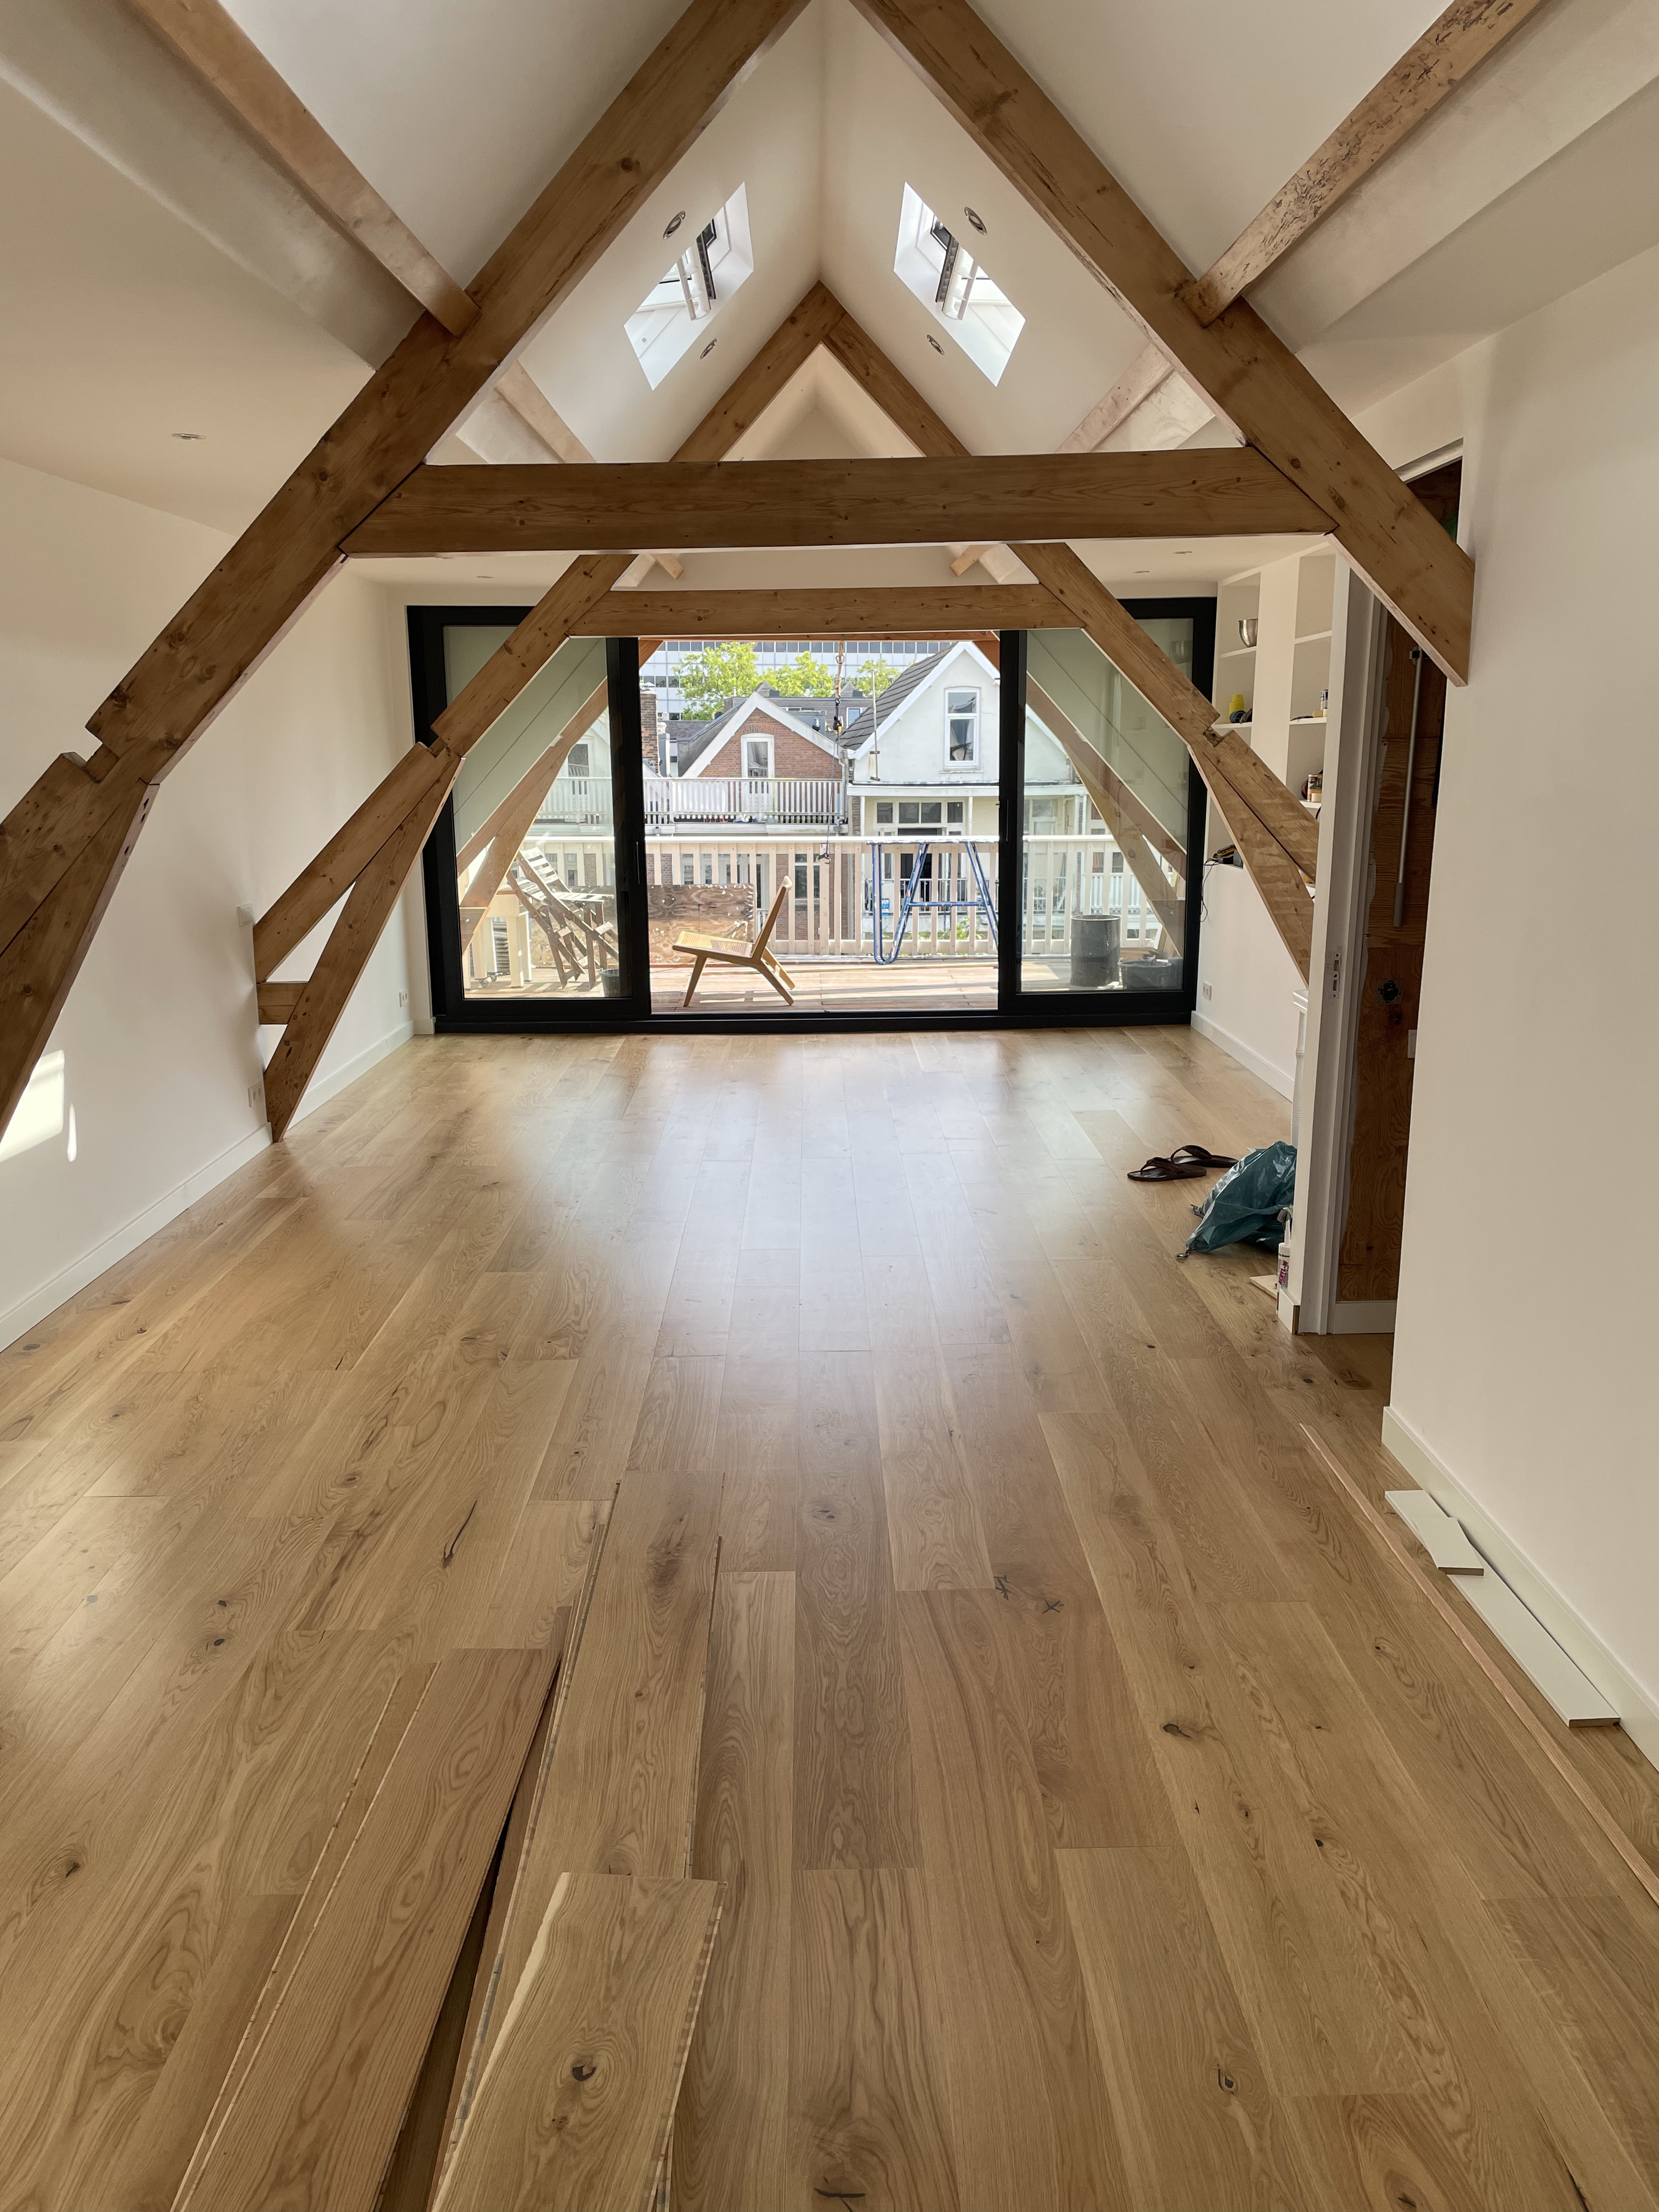
Once all the walls were built, the MEP (mechanical, electrical, and plumbing) systems were installed. Then, the walls were covered (drywall most likely). A separate company plastered the space. After that, we painted everything, and another company installed the floor heating. Unfortunately, the floor wasn’t level enough to lay the parquet flooring directly on the Femerell plates. To address this, we had to level the floor before the parquet could be installed. Finally, the project was complete, and we could enjoy the finished space.
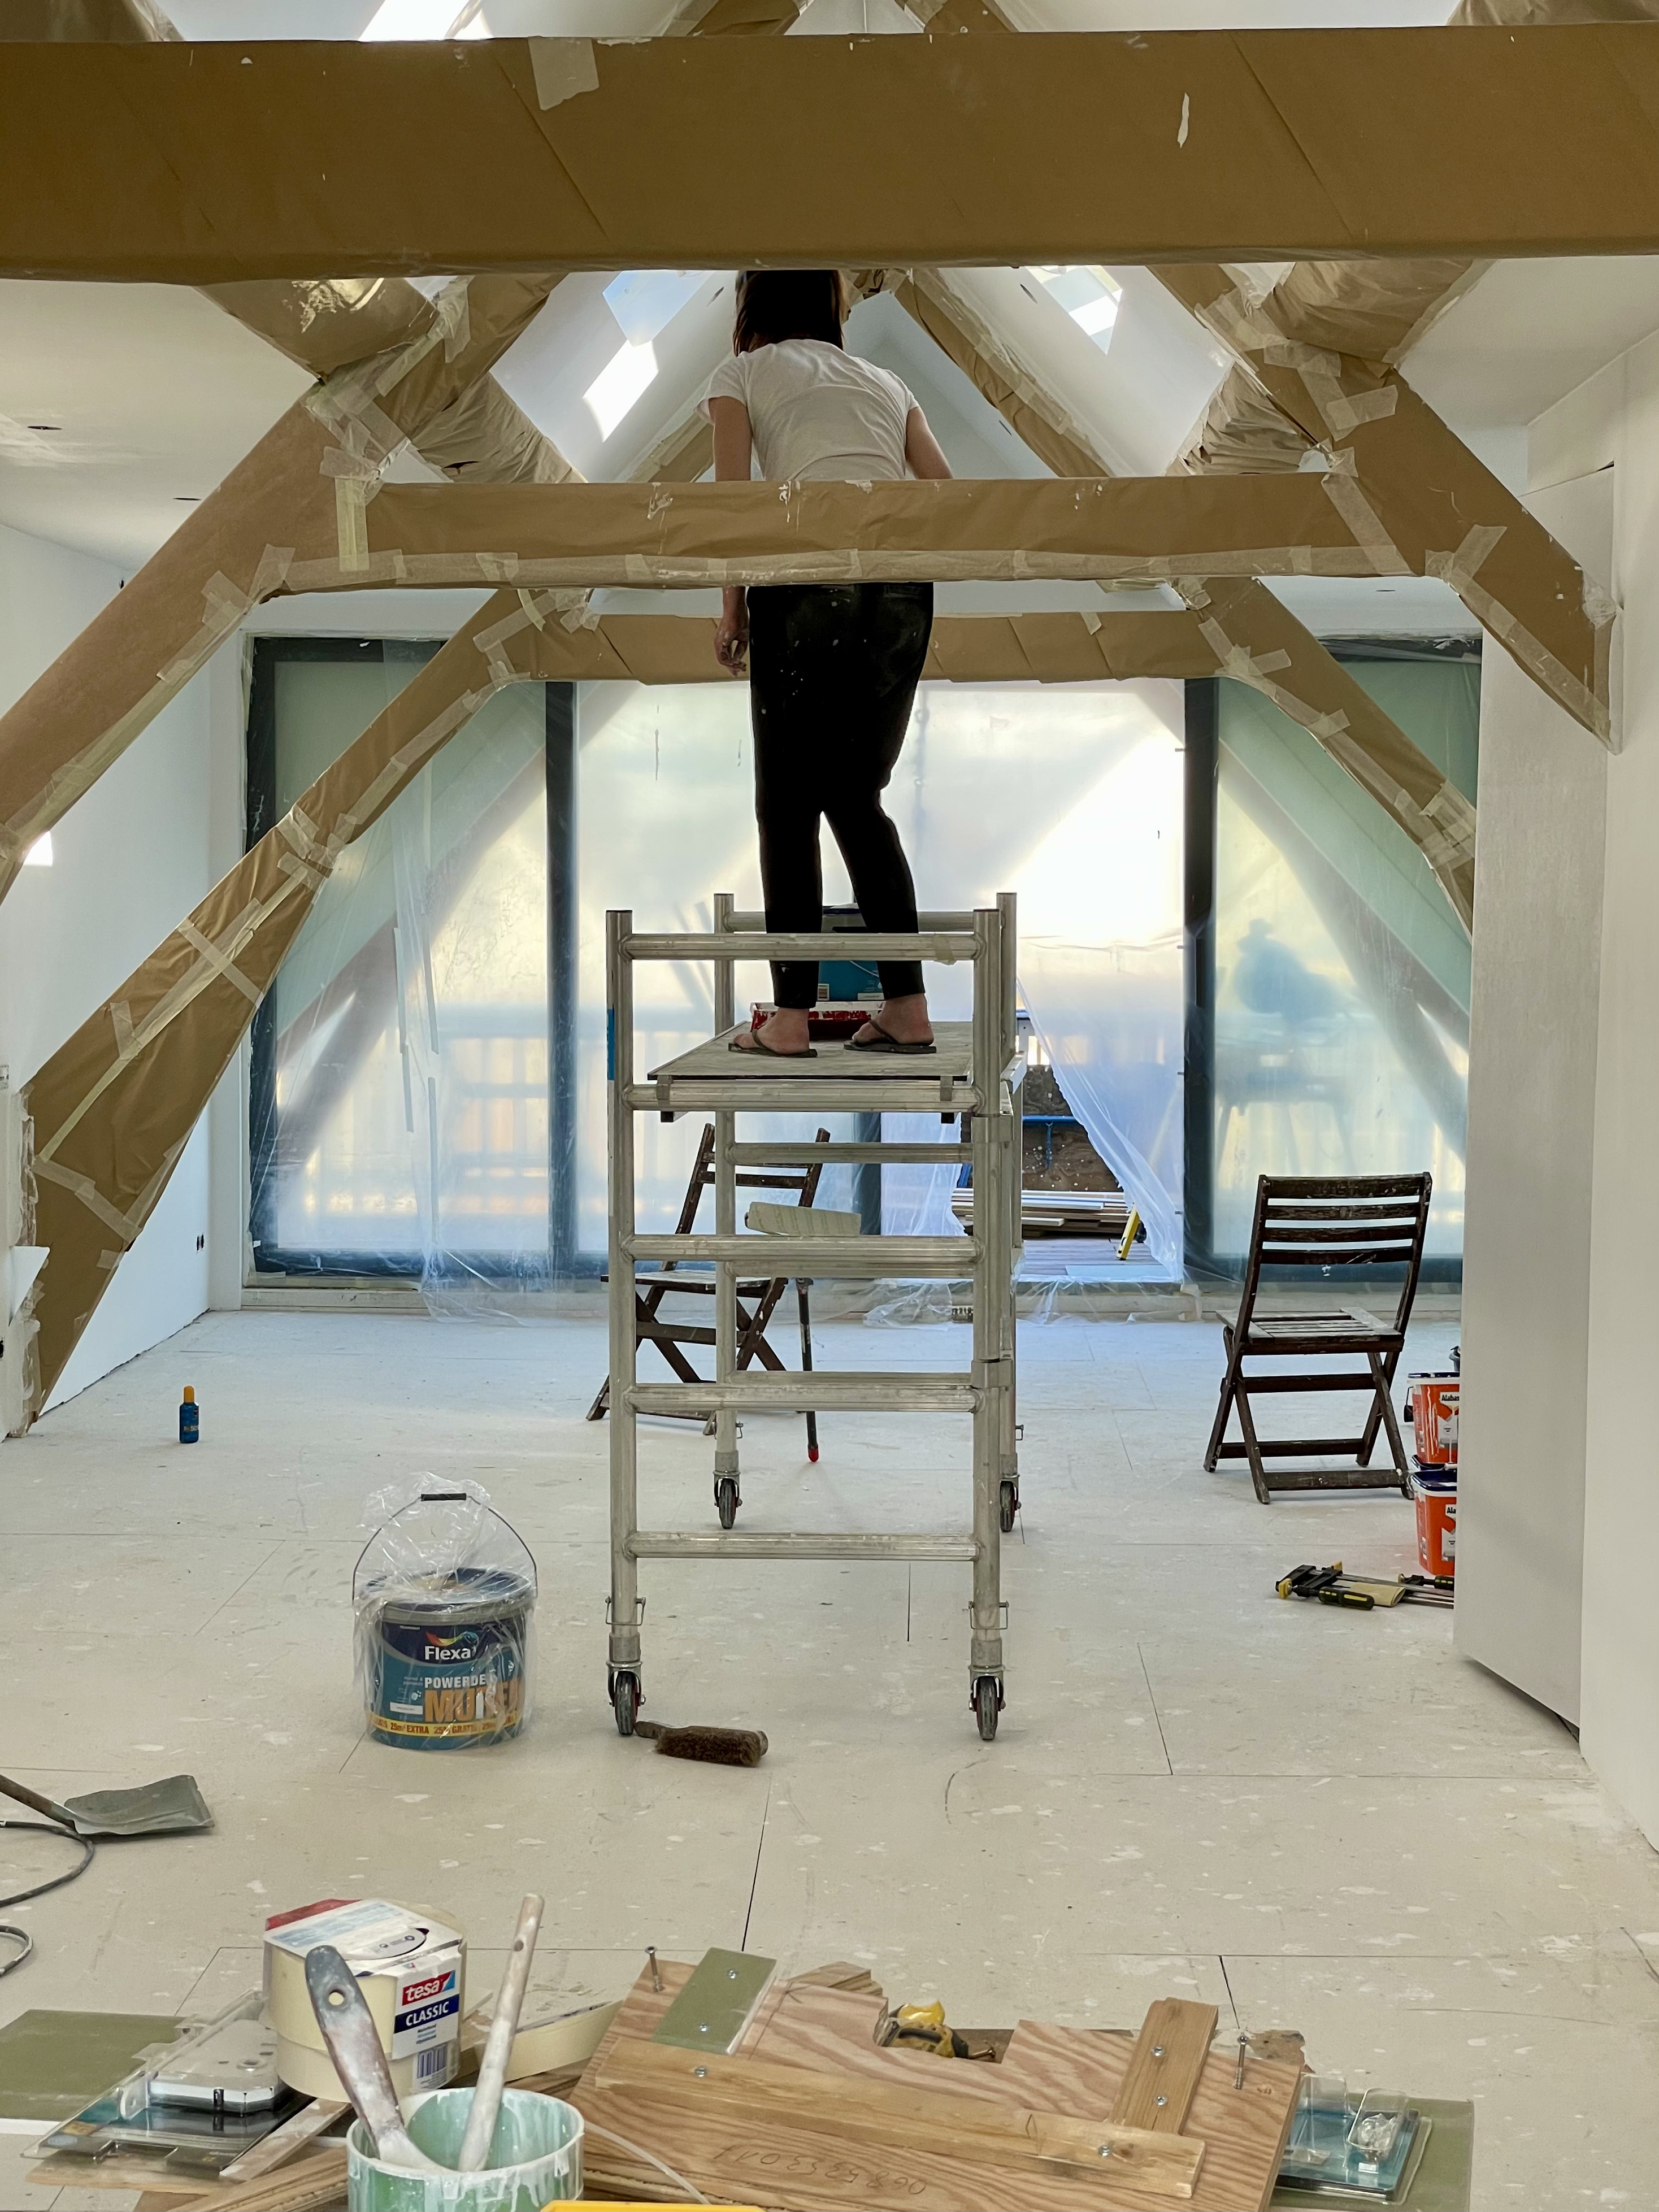
The house was covered in drywall, the next step was to plaster everything
Painting the space
Prepping the house for plaster
Floor heating was installed!
There was this big sag in the floor that needed equalizing
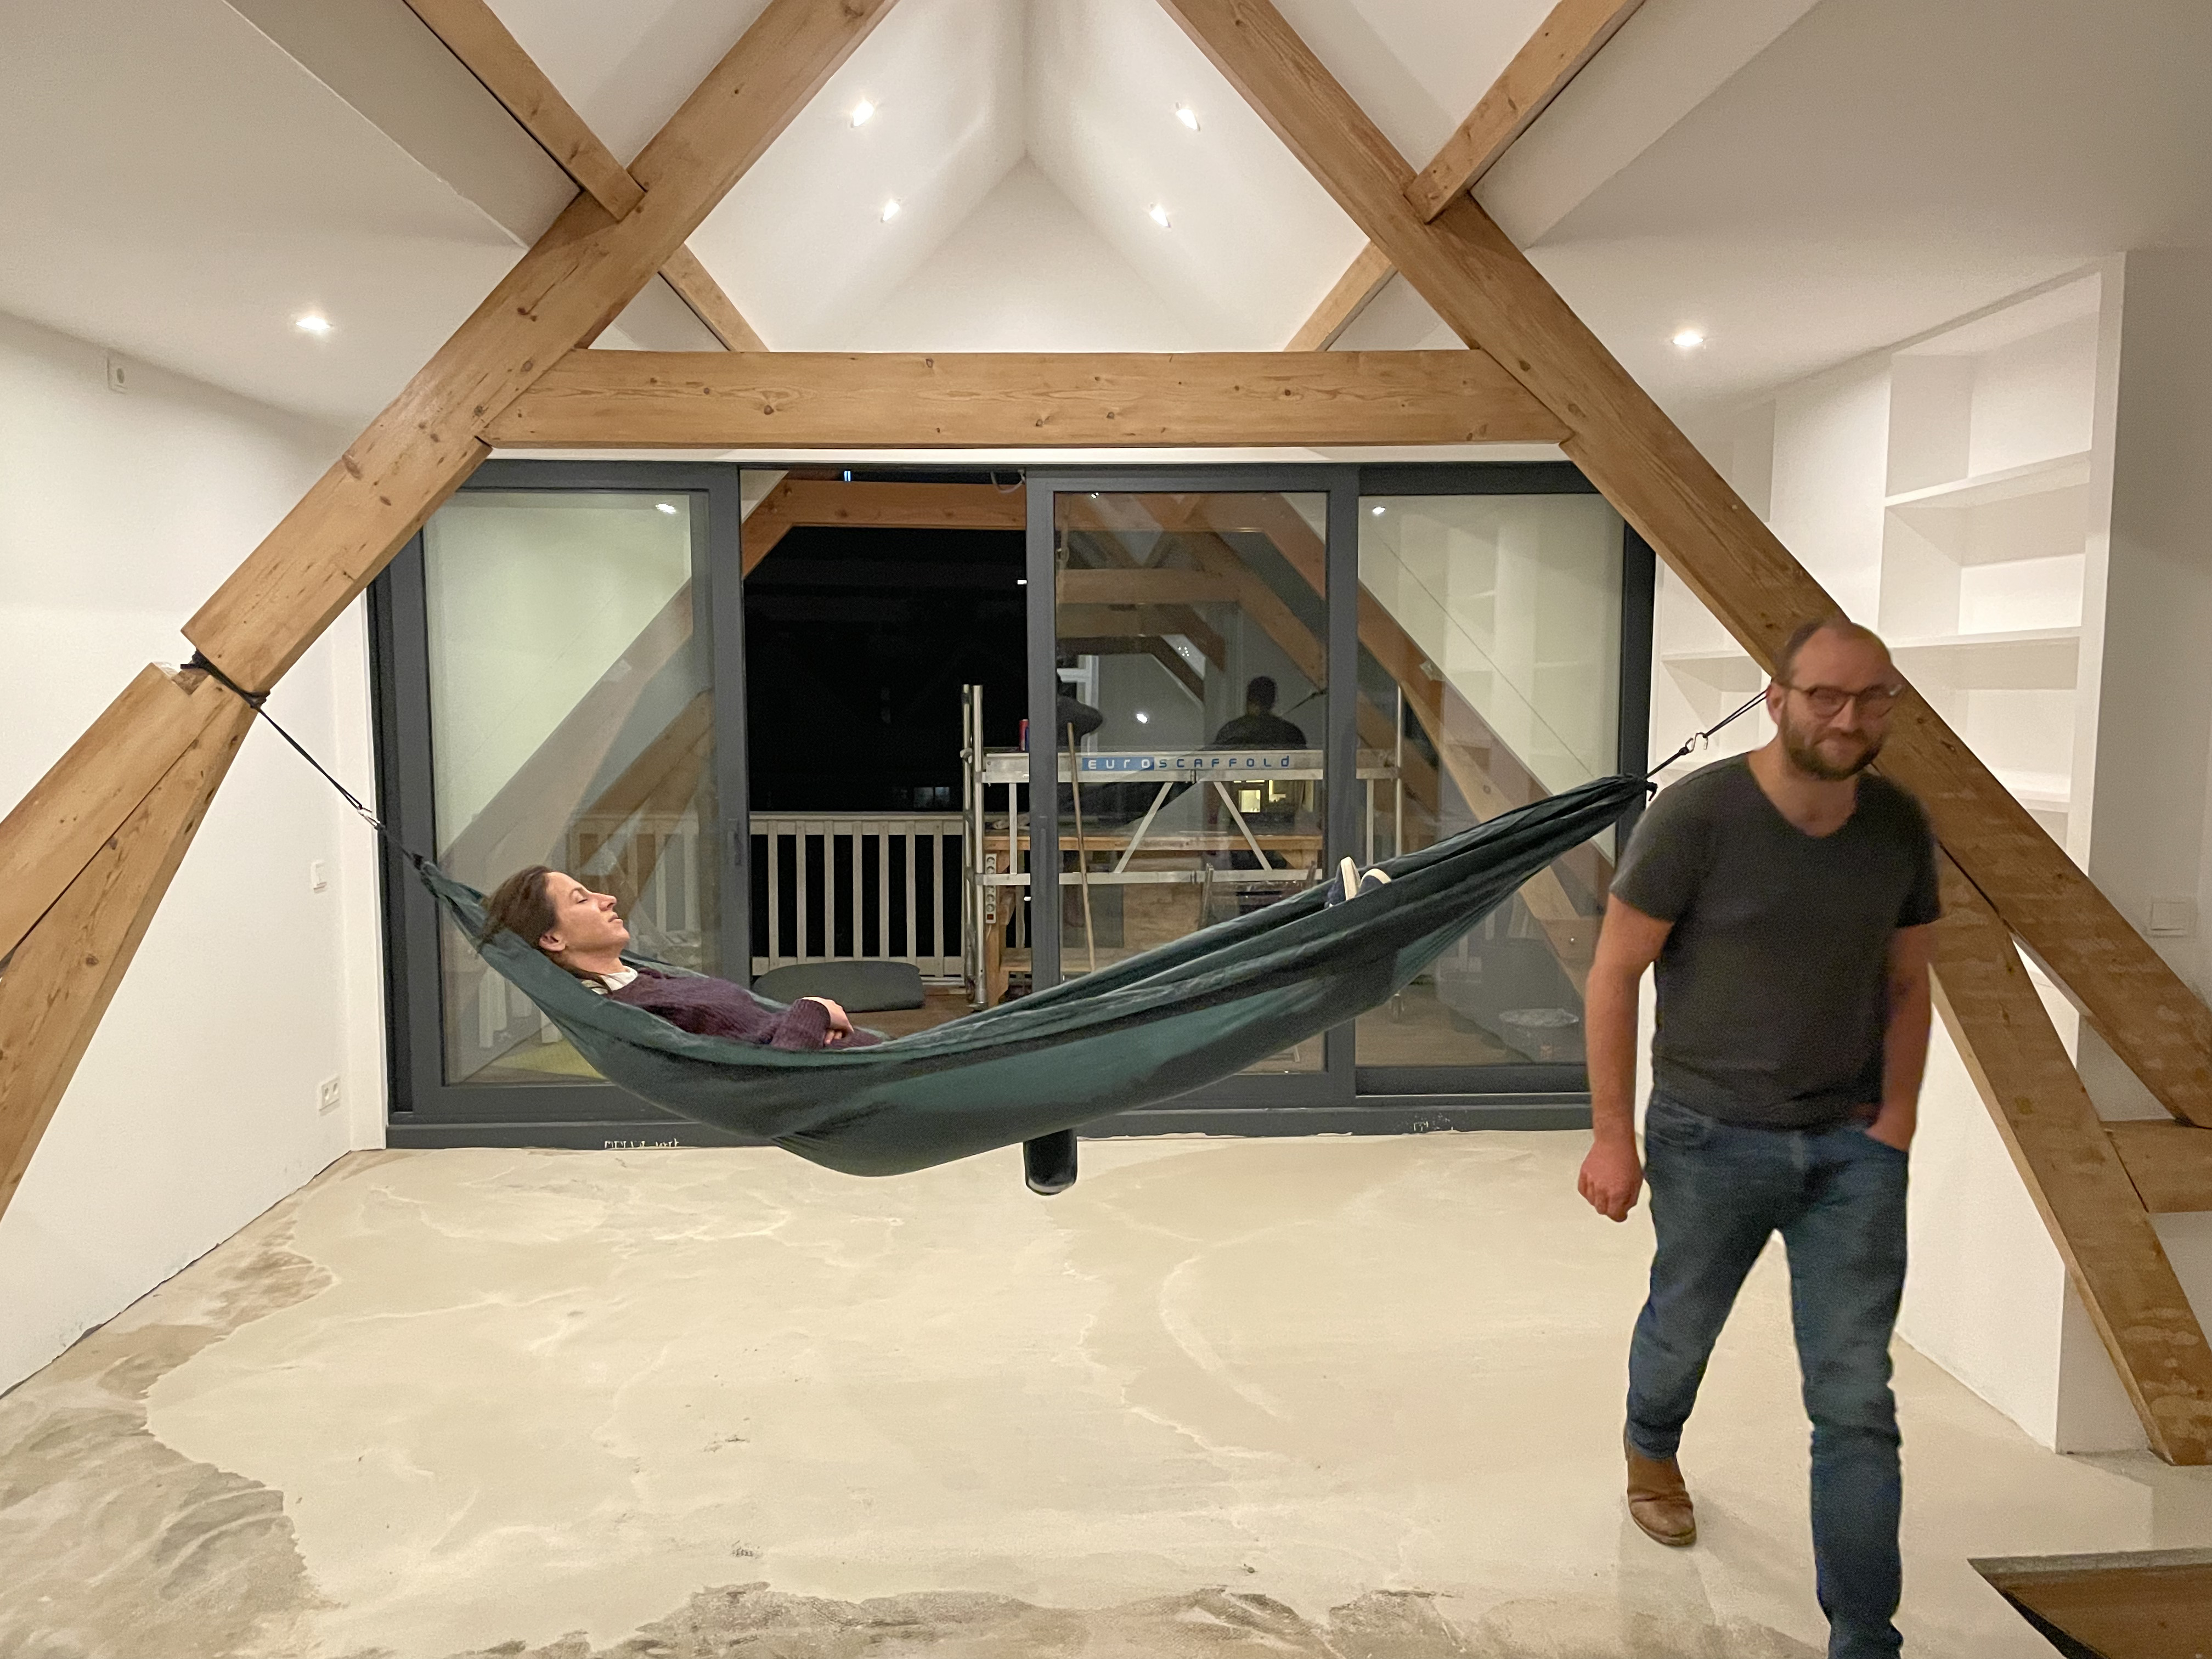
Relaxing upstairs before the floor was installed
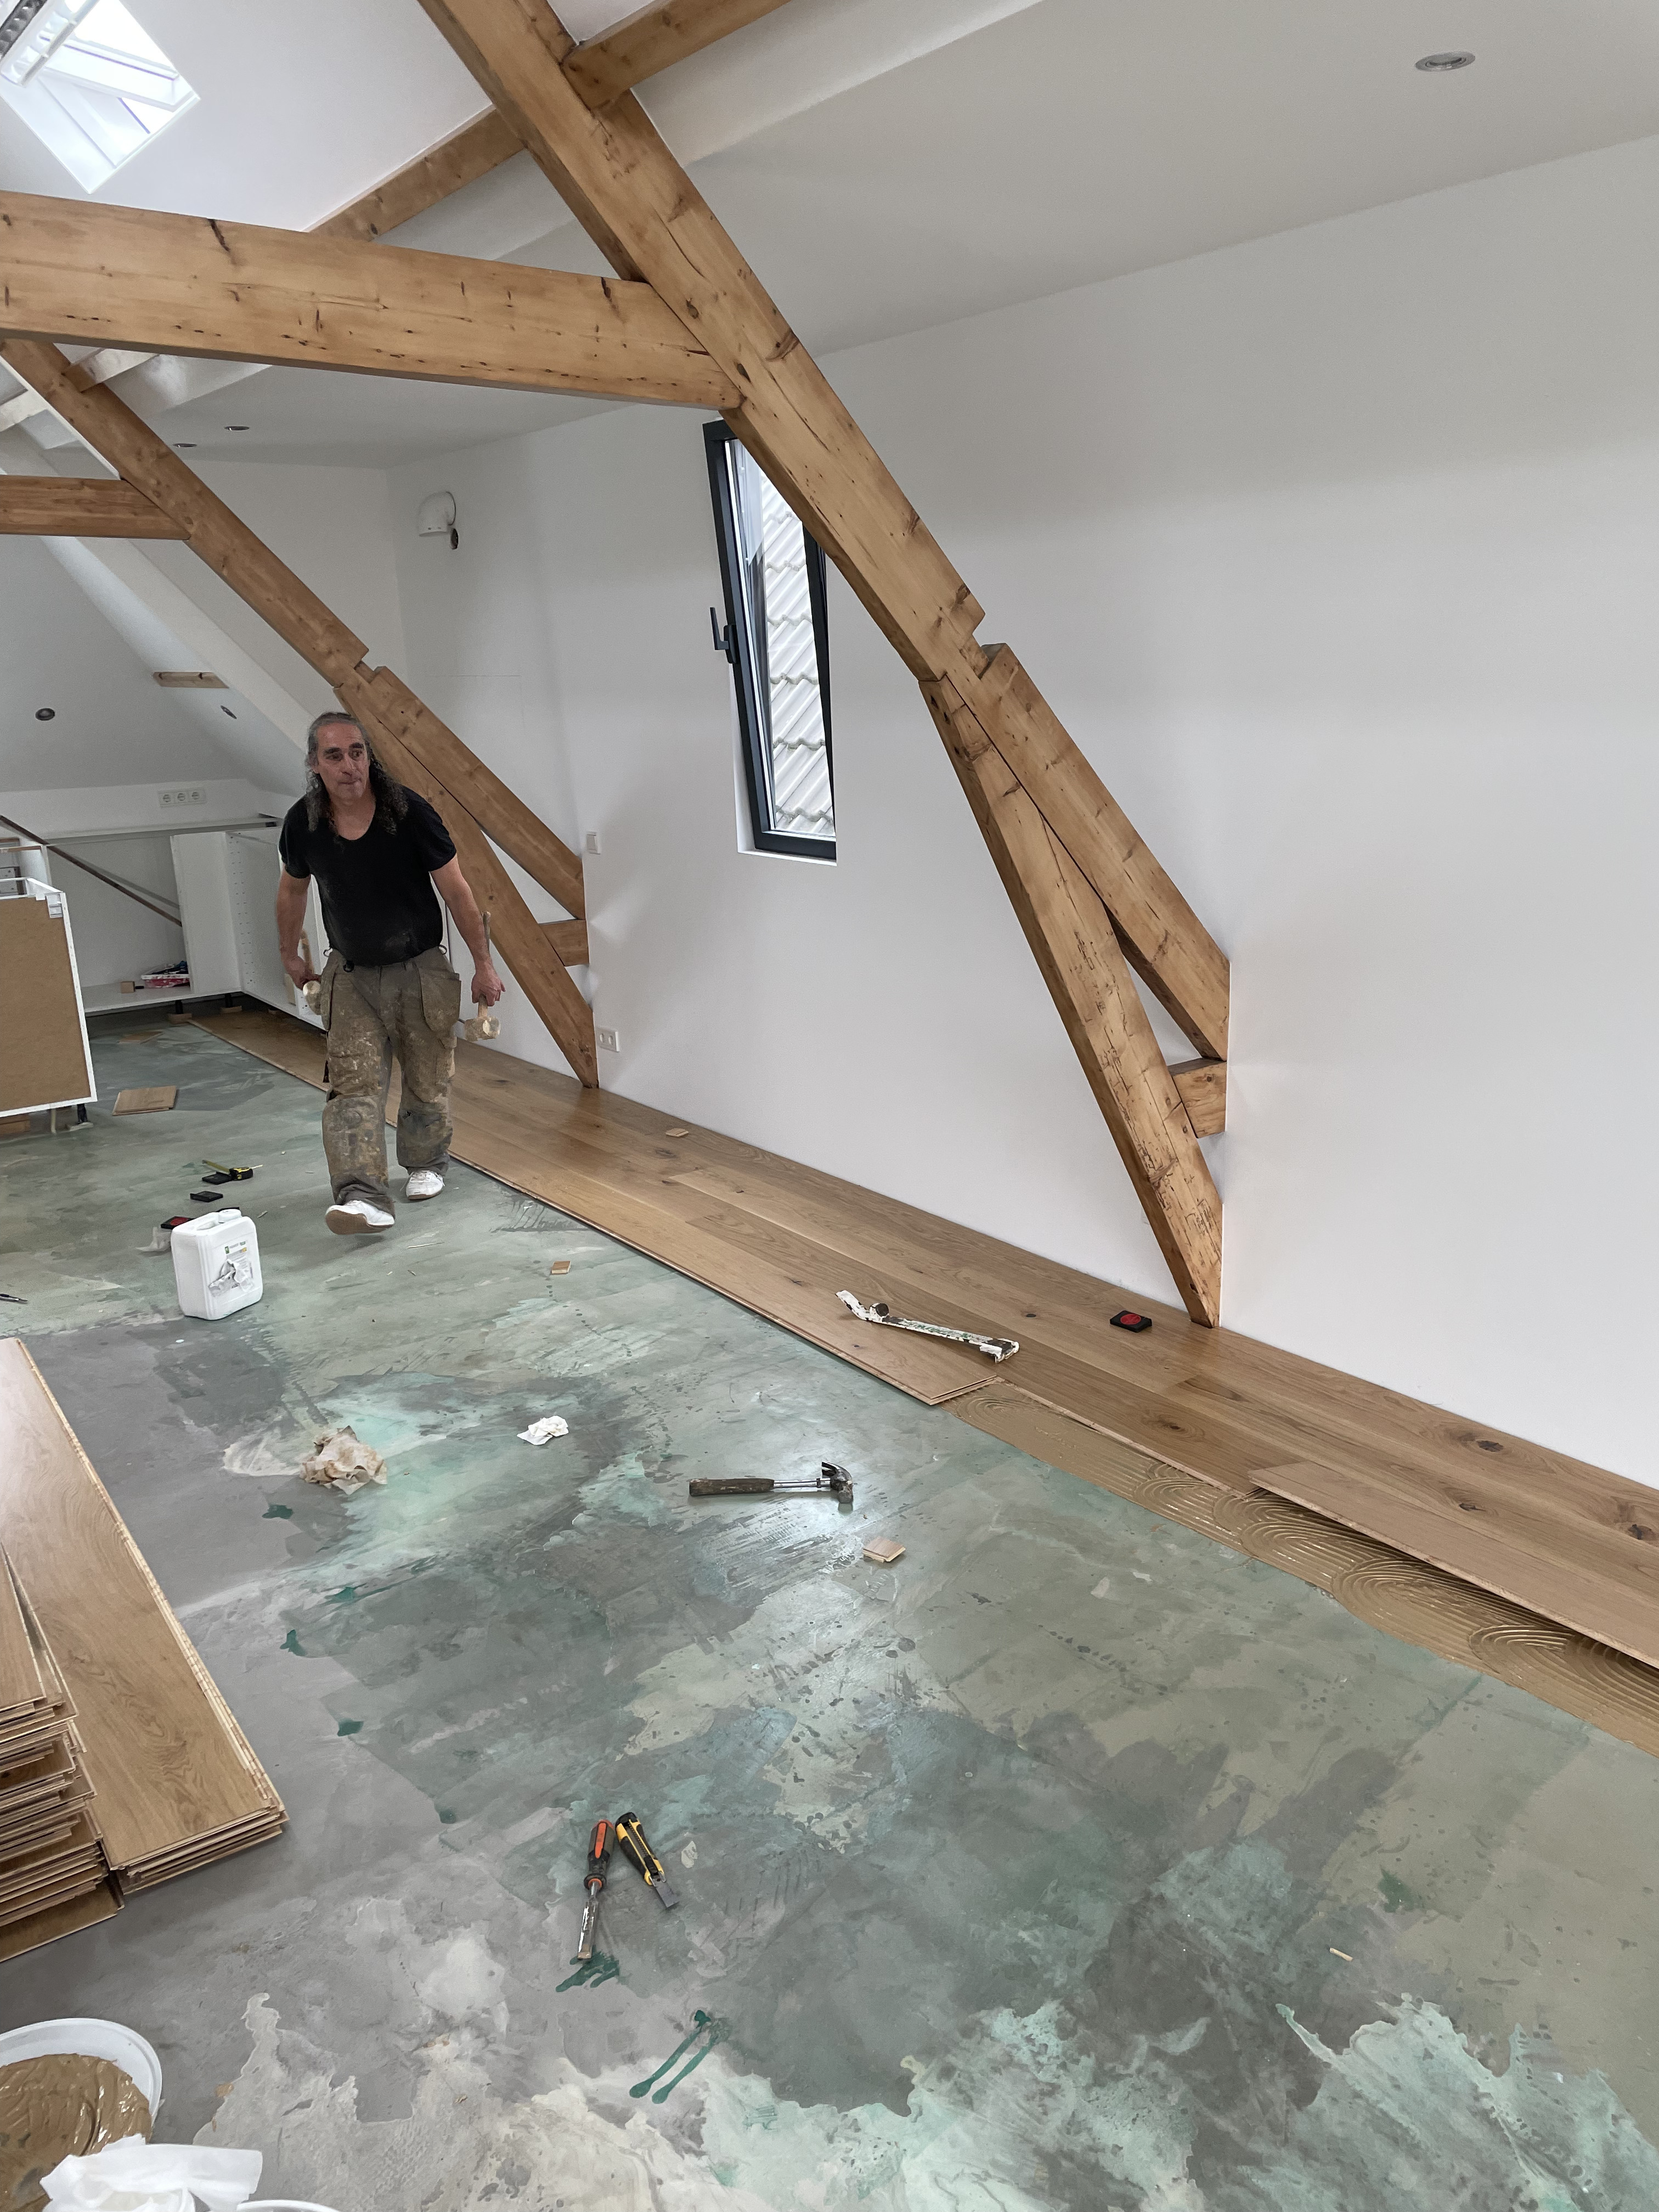
We got lucky with Ali, the guy we found on Werkspot who installed the floor